Shamic Sheetmetal Coonara Woody Manual
Revised: 17/12/2020 1 of 15 Printed: 12/02/2021
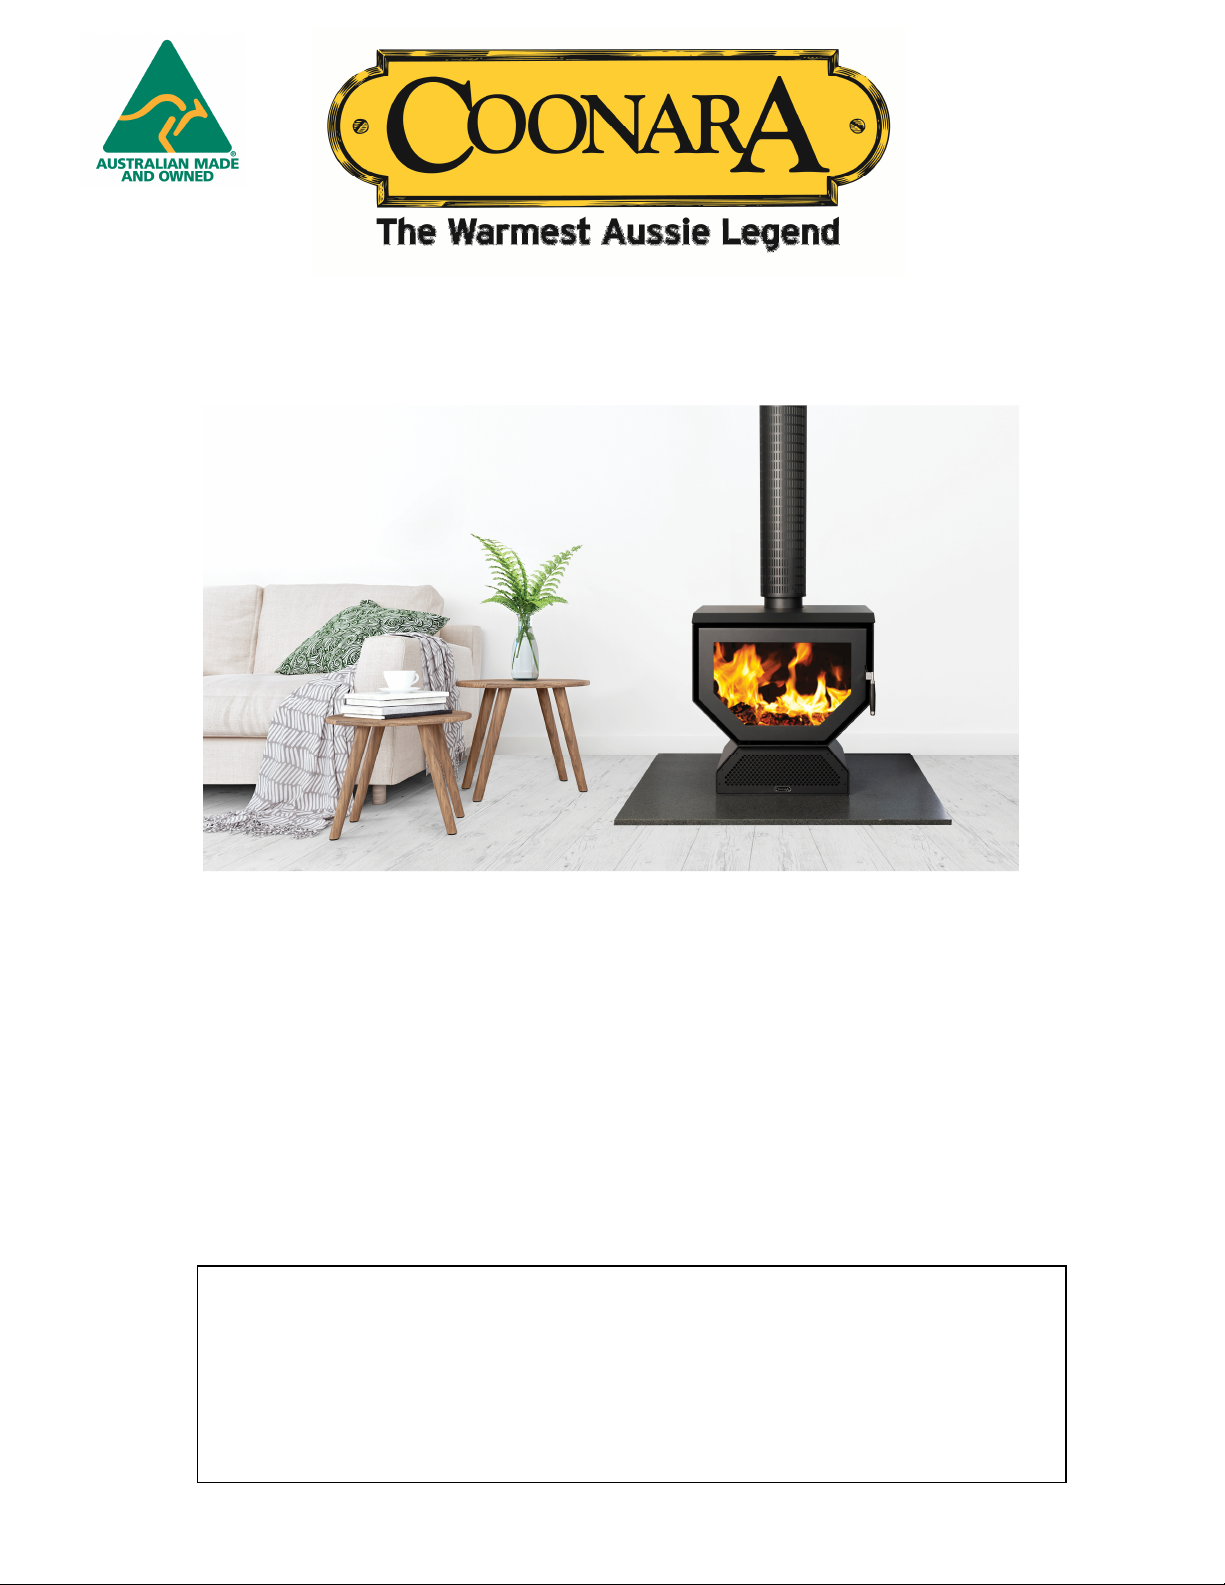
Coonara Woody
.
INSTALLATION
&
OPERATING INSTRUCTIONS
Serial Number of Heater: ________________________________________
Coonara
WOODHEATERS ARE AUSTRALIAN OWNED AND
MANUFACTURED BY
SHAMIC SHEETMETAL
SHAMIC SHEETMETALSHAMIC SHEETMETAL
SHAMIC SHEETMETAL
(AUST.) PTY. LTD.
PO BOX 8, KILSYTH, VIC. 3136
PH: 03 9737 5300
h ps://shamic.com

Revised: 17/12/2020 2 of 15 Printed: 12/02/2021
SAVE THESE INSTRUCTIONS
INSTALLATION AND OPERATION INSTRUCTIONS
Have your heater installed by a registered or licensed installer and advise your insurers for inclusion
in your household contents policy.
In some states the installer is required to issue a certificate of compliance on the installation; - ensure
you obtain this if applicable!
The heater should be checked for scratches/dents prior to installation. Once the heater has been
installed scratches or dents may not be covered by warranty.
Coonara Woodheaters should not be modified in any way!
Do not operate the heater with the door open for extended periods.
Always operate with door closed except when lighting or refuelling and maintain all seals in good
condition!
Keep children away from the heater when operating! Coonara Dealers can advise on heater / door
shield accessories for your unit.
WARNING: WHEN IN OPERATION HEATER DOOR GLASS AND SOME DOOR HANDLES
MAY BE EXTREMELY HOT! GLOVES SHOULD BE WORN TO TOUCH THESE PARTS.
WARNING: Coonara WOODHEATERS AND DEALER SPECIFIED FLUES SHALL BE
INSTALLED IN ACCORDANCE WITH THE AUSTRALIAN STANDARD AS 2918 AND THE
APPROPRIATE REQUIREMENTS OF THE LOCAL BUILDING REGULATORY
AUTHOR
I
TY.
WARNING:
“BURN ONLY HARDWOOD”
WARNING: DO NOT USE FLAMMABLE LIQUIDS SUCH AS PETROL, KEROSENE, OR
ENGINE OIL TO START OR REKINDLE THE FIRE!
CAUTION: MIXING OF APPLIANCE OR FLUE SYSTEM COMPONENTS FROM
DIFFERENT SOURCES OR MODIFYING THE DIMENSIONAL SPECIFICATIONS OF
COMPONENTS MAY RESULT IN HAZARDOUS CONDITIONS. WHERE SUCH ACTION IS
CONSIDERED, THE MANUFACTURER SHOULD BE CONSULTED IN THE FIRST
INSTANCE!
CAUTION: THE USE OF SOME TYPES OF PRESERVATIVE TREATED WOOD AS FUEL
CAN BE HAZARDOUS (for example: treated radiata pine).
CAUTION: DO NOT STORE FUEL WITHIN THE HEATER INSTALLATION CLEARANCES
OR WITHIN THE SPACE REQUIRED FOR FUEL CHARGING OR ASH REMOVAL!
CAUTION: OPEN AIR SLIDE AND TURN FAN OFF BEFORE OPENING DOOR!
DISCLAIMER
The information supplied by this company is our interpretation of AS 2918 and we do not
accept responsibility for any errors or omissions.
All Coonara Woodheaters have been tested in accordance with and comply to AS 4013.
Please read and thoroughly understand these instructions prior to operating this appliance!
Please store these instructions in a safe place for future reference.

Revised: 17/12/2020 3 of 15 Printed: 12/02/2021
INSTALLATION INSTRUCTIONS (FREESTANDING MODELS ONLY)
The Coonara Woody Free-Standing solid fuel appliance, installed with a Wildcat 6 inch triple flue kit
with 8 inch decromesh or solid casing with rear stainless steel flue shield installed between the
casing and active flue, conforms to the requirements of the joint AS/NZS 2918:2018 Standard,
Appendix B.
Select the position of your heater carefully, taking into consideration all combustible materials in the
roof, e.g. ceiling joists, roof trusses, etc.
Floor Protector
A minimum 1055 deep x 1000mm wide a 18mm thick floor protector (compressed board) should be
used under and in front of the appliance base when installing the appliance (see joint AS/NDS
2918:2018 3.3.2). The floor protector should extend 520mm in front of the appliance door and be
placed centrally in the 1000mm width. The thermal resistivity of the floor protector is 0.08² K/W for
6mm thick sheets.
Determine flue location through the ceiling
Position the hearth correctly, and then place the heater on the hearth so that the flue spigot on the
heater is correctly aligned with the flue location from the ceiling.
Clearance to combustible surfaces – 8 inch decromesh casing

Revised: 17/12/2020 4 of 15 Printed: 12/02/2021
Clearance to combustible surfaces – 8 inch solid casing
Installing Liners and Grates
1. When you receive your new heater quite a few components are packed in the firebox behind
the closed door. Remove the packaging, manuals, front covers, baffle plate and burner tube
and from the firebox.
2. The rear plate and bottom grate will be in position in the firebox so leave them in place. The
side liners will be sitting on top of the bottom grate, lift them and place them on the sides so
the bottom tags engage with the bottom place and rest on the sides of the firebox.
3. The ashpan is located under the bottom grate and when required can be removed by pulling
its handle.
4. Lift the Baffle plate (with the ribs facing downward) into the firebox and onto the Hanger
brackets located at the tops of both sides of the firebox. Push the Baffle plate back to ensuring
it is hard up against the rear wall of the firebox.
5. Place the secondary air tube onto the hangers such that the hole in the end engages with the
pin on the Right Hand Hanger.
The heater is now ready for operation.

Revised: 17/12/2020 5 of 15 Printed: 12/02/2021
FIRST FIRE
YOUR HEATER HAS BEEN SPRAYED WITH HIGH TEMPERATURE
PAINT. TO ENSURE THAT THE PAINT IS PROPERLY “CURED IN”,
PLEASE FOLLOW THESE STEPS WHEN LIGHTING THE FIRST FIRE IN
THE HEATER:
•TURN THE HEATER ON VIA THE REMOTE OR THERMOSTAT, THE DAMPER SHOULD
FULLY OPEN AND THE LIGHTS WILL DISPLAY BLUE.
•OPEN THE DOOR AND PLACE A MINIMUM OF 12 PIECES OF DRY KINDLING WOOD ON
TOP OF FIRELIGHTERS OR PAPER.
•LIGHT THE FIRE, LEAVING THE DOOR SLIGHTLY OPEN. THIS WILL HELP TO CURE THE
PAINT AROUND THE DOOR AND PREVENT THE DOOR SEAL STICKING TO THE
FIREBOX. IF THE DOOR SEAL HAPPENS TO COME OUT OF THE DOOR SIMPLY PUSH
IT BACK IN. TO ENSURE THE SAFETY OF YOUR HOME, PLACE A SAFETY SCREEN IN
FRONT OF THE HEATER OR STAY NEAR THE FIRE WHILE THE DOOR IS OPEN.
•WAIT UNTIL THE KINDLING WOOD HAS CAUGHT ON THEN ADD ONE SMALL PIECE OF
HARDWOOD.
•LET THAT BURN DOWN TO HOT COAL AND ADD ANOTHER SMALL PIECE OF
HARDWOOD.
•AFTER 40 MINUTES CLOSE THE DOOR
•CONTINUE TO ADD ENOUGH WOOD TO MAINTAIN A SMALL FIRE
•PLEASE NOTE THAT AS YOU CURE THE FIREBOX THE HEATER WILL PRODUCE AN
ODOUR. OPEN A WINDOW OR DOOR TO HELP REDUCE THE SMELL.
•HAVING A SMALLER FIRE WILL HELP CURE THE FIREBOX & THE DOOR ROPE
PROPERLY AND WILL ALSO REDUCE THE SMELL OF THE PAINT CURING.
•IT WILL TAKE BETWEEN FOUR TO SIX HOURS TO CURE IN YOUR HEATER.
Table of contents
Popular Wood Stove manuals by other brands


RAIS
RAIS attika NEXO 100 GAS installation guide

WoodPro
WoodPro WS-TS-1500 owner's manual

Contura
Contura C 586W installation instructions

Palazzetti
Palazzetti EVA GENERAL INFORMATION - WARNINGS - INSTALLATION - MAINTENANCE

Lopi
Lopi 1250 Republic owner's manual

Panadero
Panadero CAPRI 3V Usage and maintenance instructions