- 8 -
Initial Settings
You can operate your TV both using the remote control
handset and onset buttons.
Operating with the onset buttons
Volume setting and programme selection can be made using
the buttons on the front panel.
Volume Setting
Press button to decrease volume or button
to increase volume, so a volume level scale (slider) will be
displayed at the middle of the bottom on the screen.
Programme Selecting
Press CH button to select the next programme or
CH button to select the previous programme.
Entering Main Menu
Press "MENU" button to enter Main menu. In the Main
menu select sub-menu using CH or CH button and
enter the sub-menu using or button. To
learn the usage of the menus, refer to the Menu System
section.
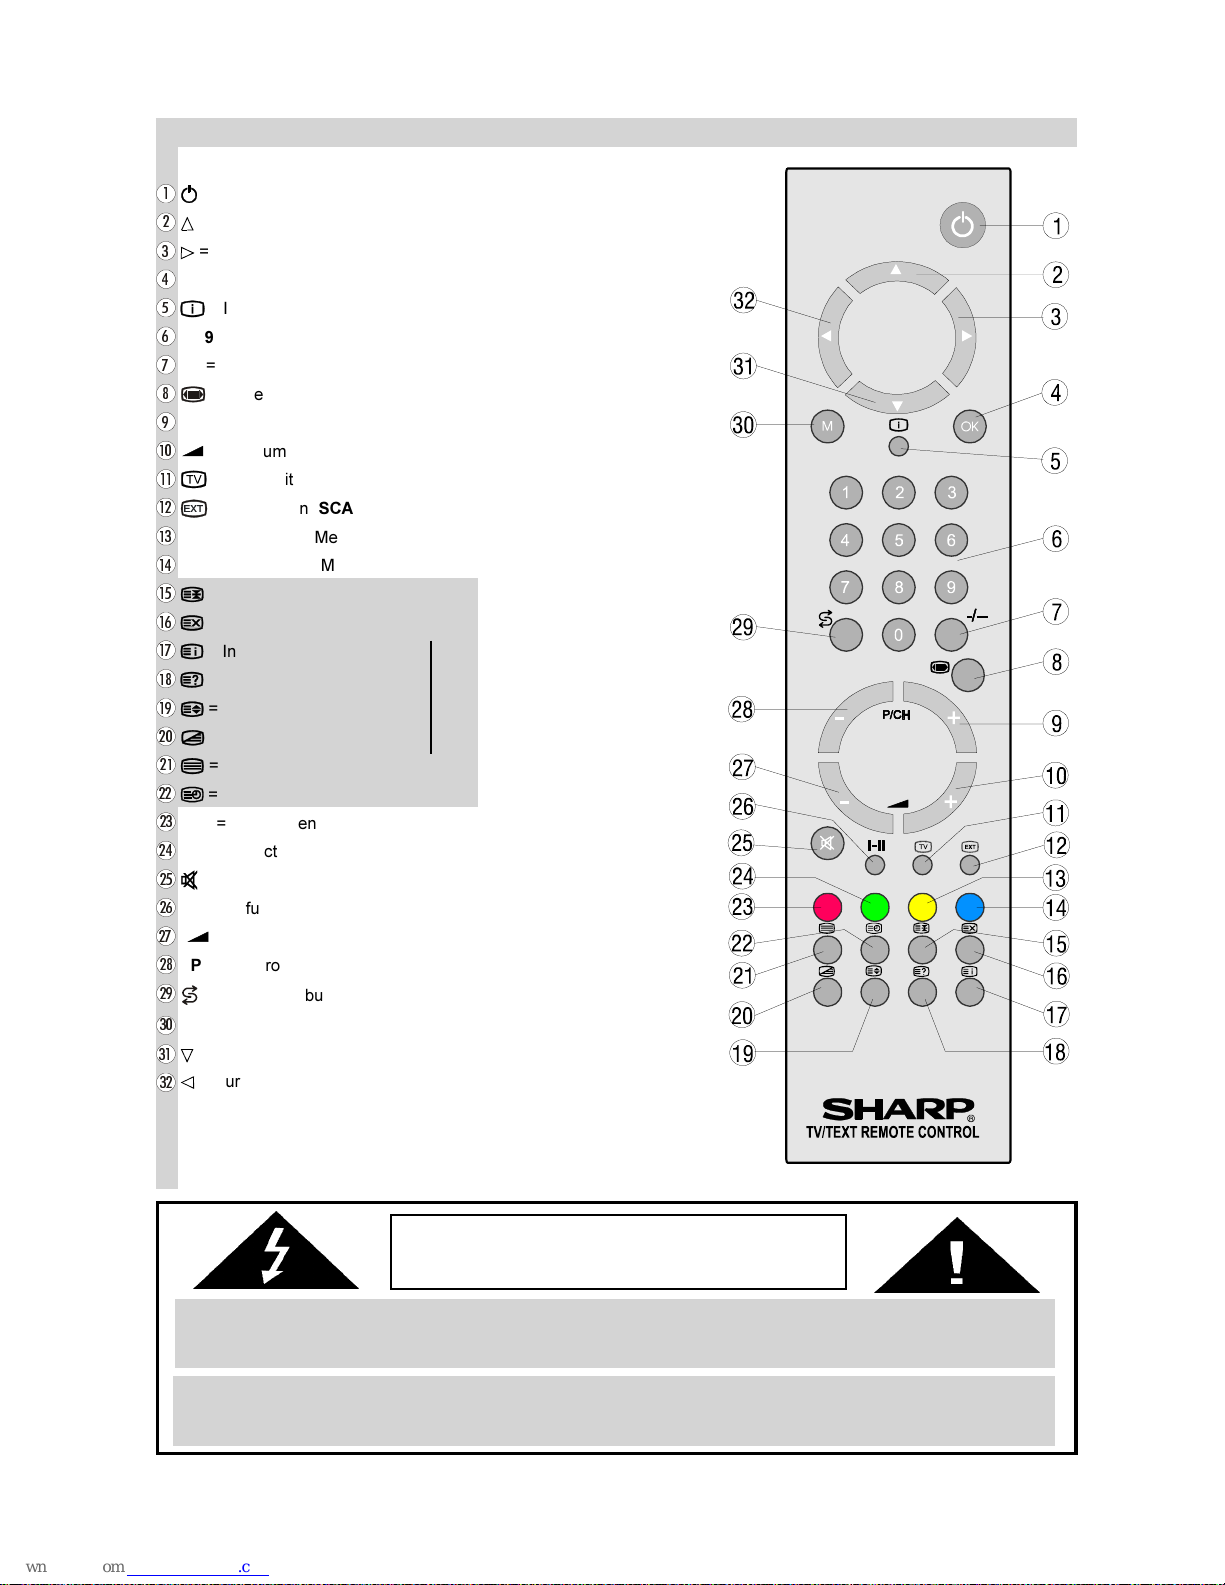
Operating with Remote Control
The remote control handset of your TV is designed to control
all the functions of the model you selected. The functions will
be described in accordance with the menu system of your
TV.
Functions which you can use out of menu system are de-
scribed below.
Volume Setting
Press + button to increase volume. Press - button
to decrease volume.
Programme Selecting (Previous or next
programme):
Press -P/CH button to select the previous programme.
Press P/CH+ button to select the next programme.
Programme Selecting (direct access):
Press digit buttons on the remote control handset to select
programmes between 0 and 9. TV will switch to the selected
programme.
For a two digit program number press -/-- button. Press
the first digit and then second digit of the programme chan-
nel you want to watch.
Menu System
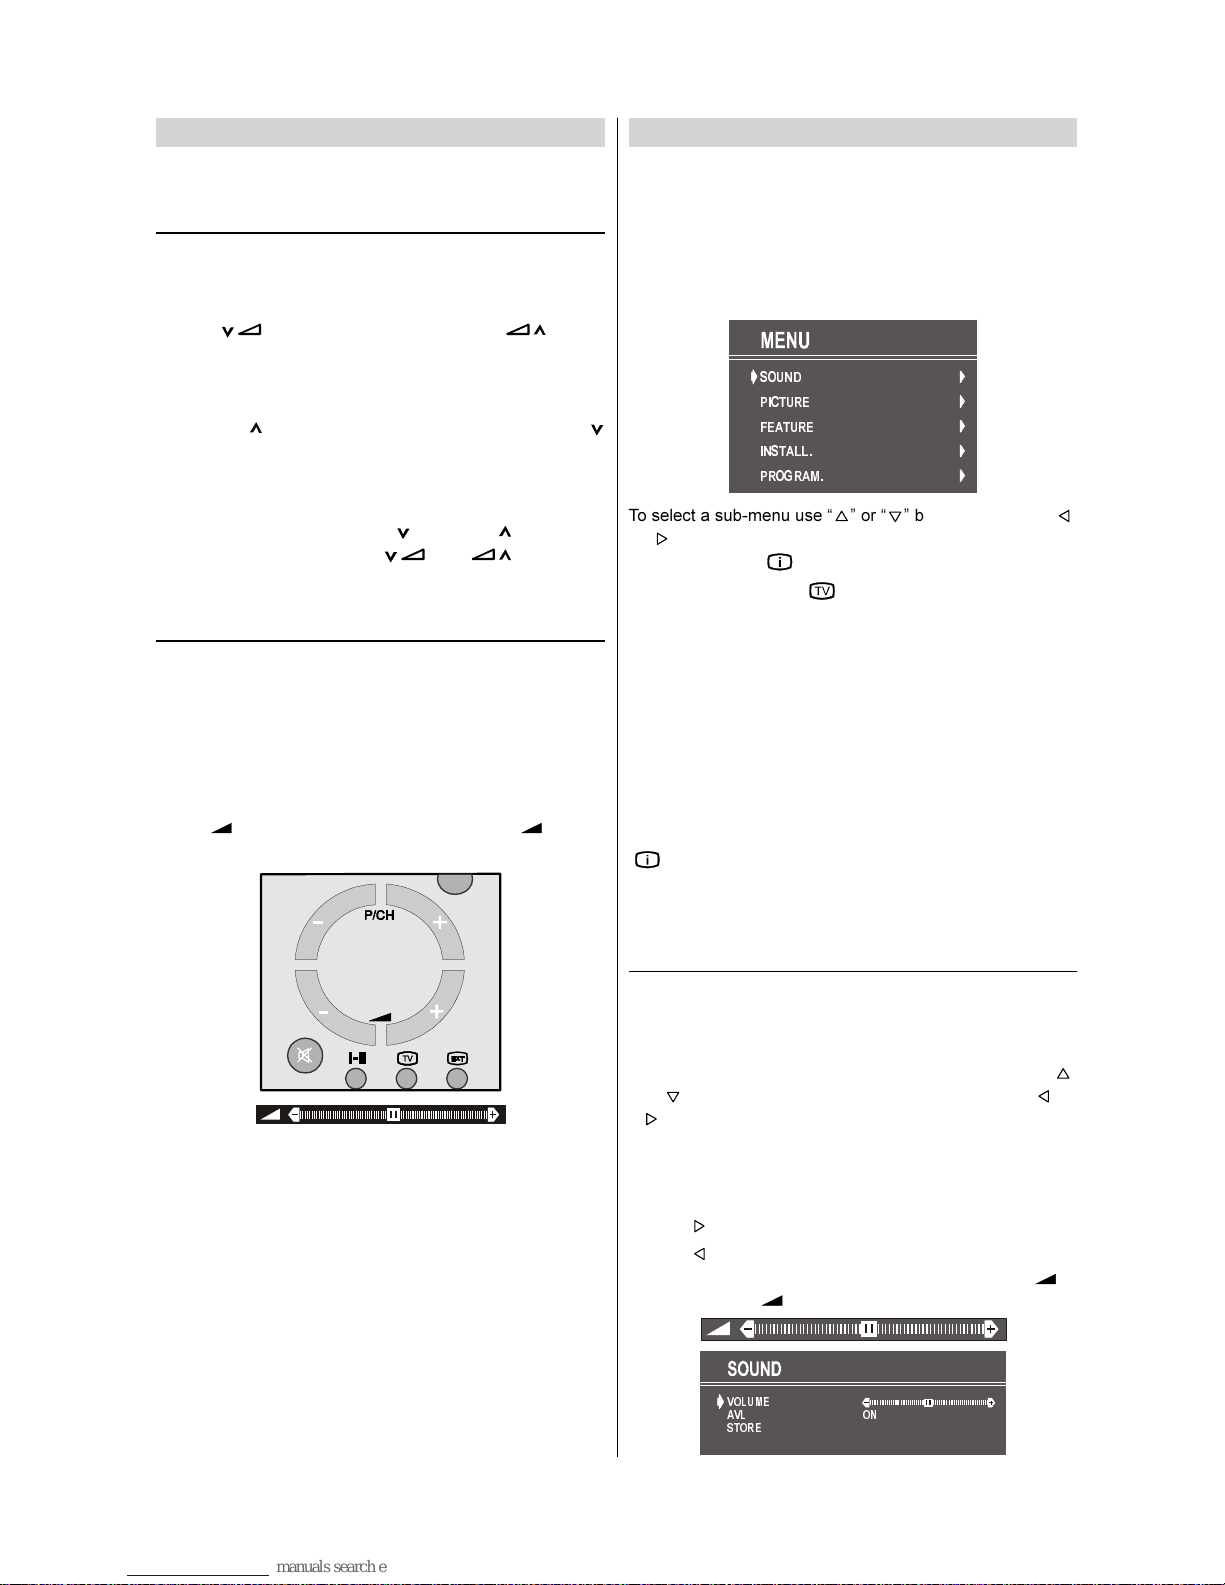
Your TV has been designed with a menu system. Display
MENU (main menu) and enter one of five menus (SOUND,
PICTURE, FEATURE, INSTALL. and PROGRAM.).
Press the M button. The Main menu will be displayed at the
middle on the screen.
All the selected items in this menu system is indicated with
CYAN characters and with an arrow on the leftside of items.
6281'
3,&785(
)($785(
,167$//
352*5$0
To select a sub-menu use or button, and press
or button. Each option can also be selected with the co-
loured button and button on the remote control.
To exit a menu, press button.
To go to the previous menu, press M button.
MAIN MENU
The menu system is described below.
The short way in order to enter the menus, press :
M Button, Main Menu.
Red Button, Sound Menu.
Green Button, Picture Menu.
Yellow Button, Feature Menu.
Blue Button, Install. Menu.
"" Button, Program. Menu.
Menu button has two functions; first is opening or closing the
"MAIN MENU", and the second is closing the sub-menu and
then opening its parent menu.
Sound Menu
To change sound settings
Enter the Sound Menu directly, pressing the Red button or,
As you enter the main menu, sound will be the first se-
lected option. In the main menu, select SOUND using
or button, then enter the sound menu pressing or
button.
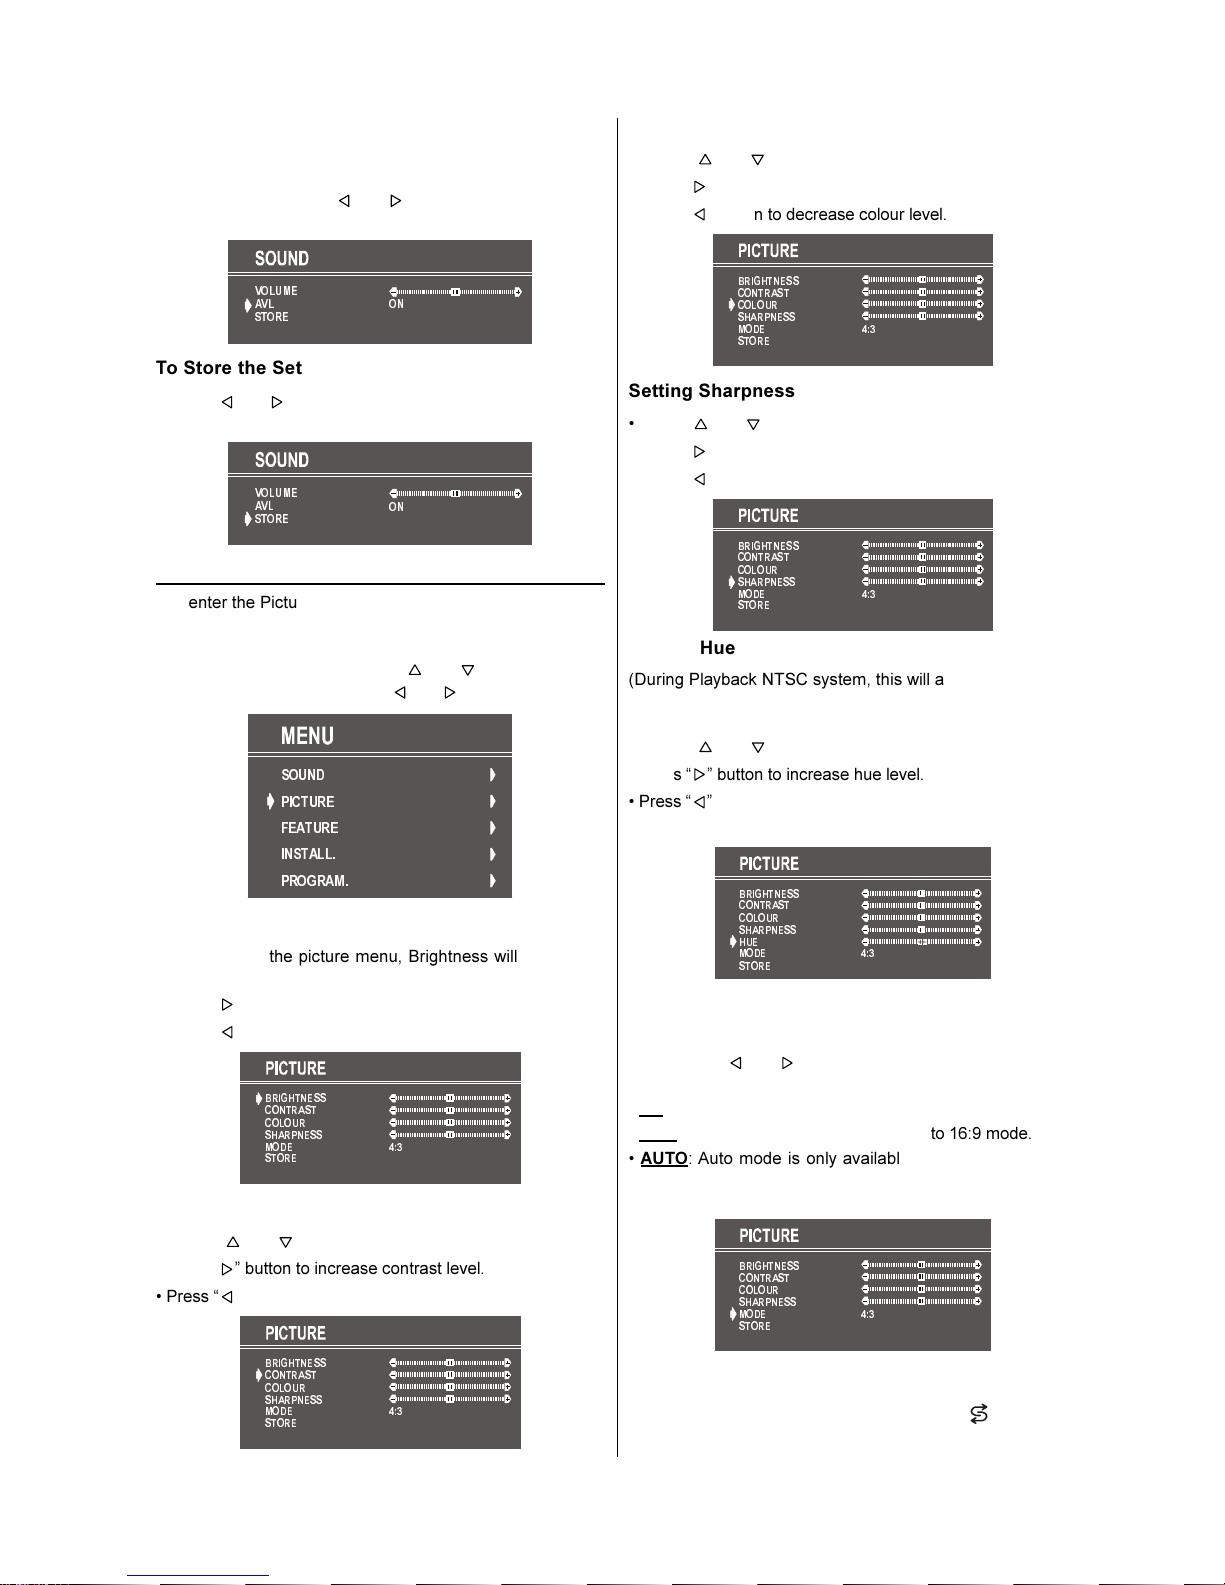
Setting Volume:
As you enter the sound menu, Volume will be the first select-
ed option.
Press button to increase volume.
Press button to decrease volume.
Or you can directly change the volume settings using +
(to increase) or - (to decrease) button.
92/80(
6725(
$9/ 21