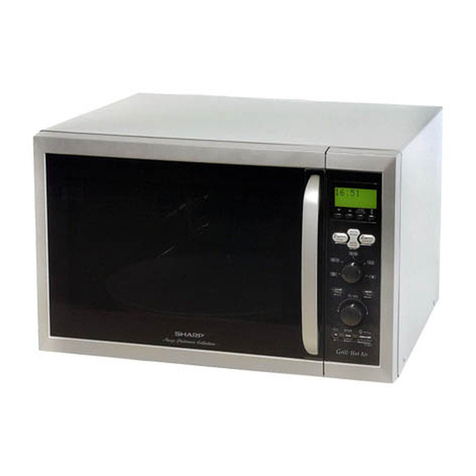
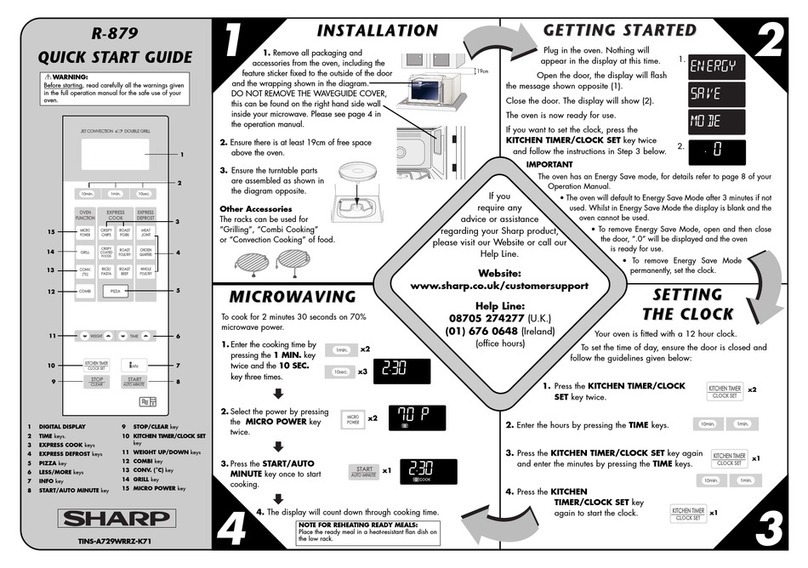
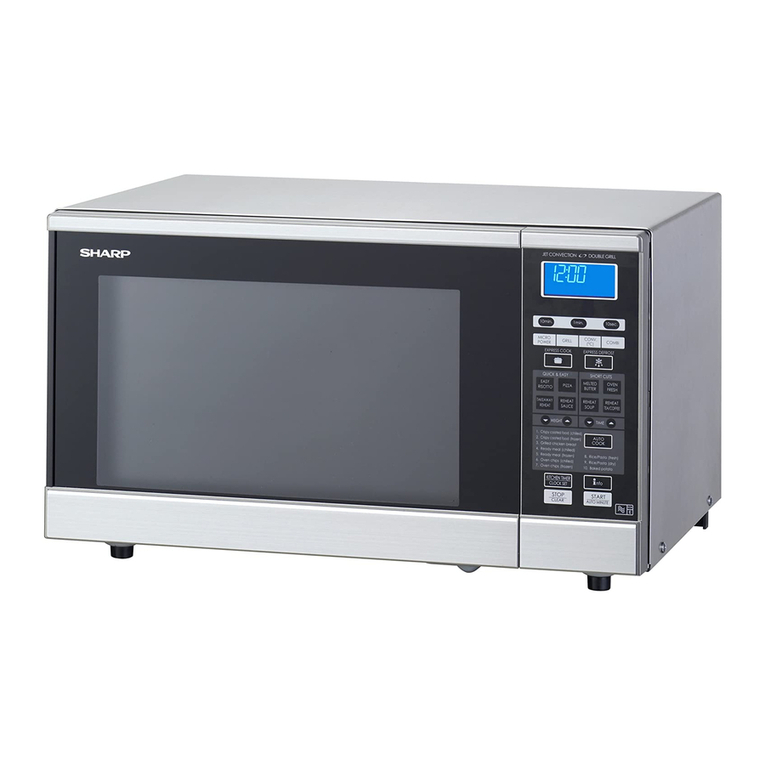
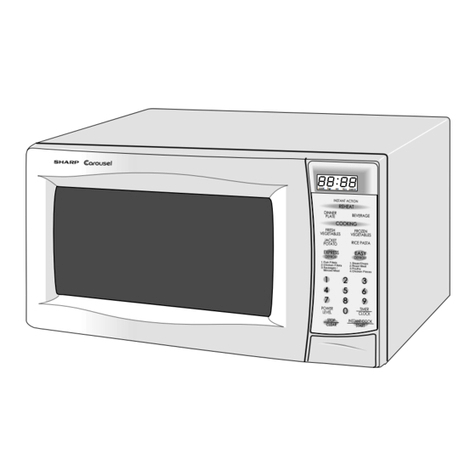
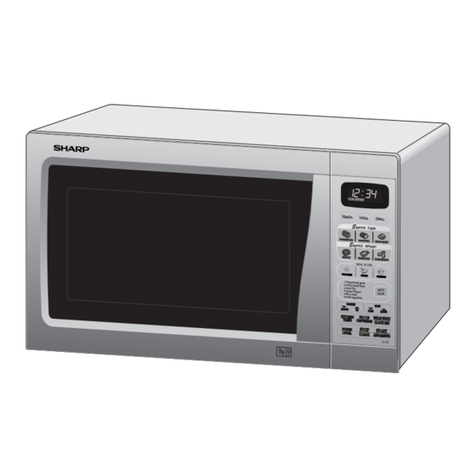
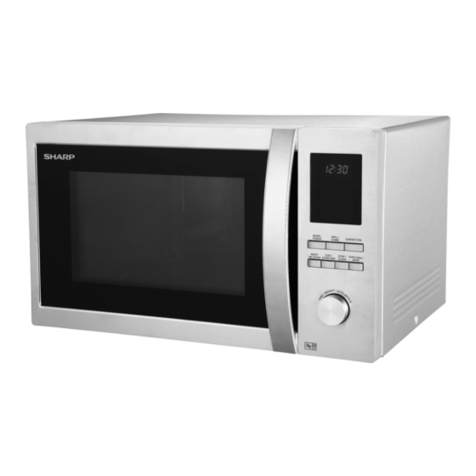
Sharp R-94ST User manual

R-969-A/96ST-AA INFORMAZIONE RAPIDA
Nella modalità di risparmio energetico, se non si utilizza il forno per almeno 3 minuti
(ad esempio chiudendo lo sportello, premendo il pulsante STOP oppure al termine della
cottura), non sarà possibile farlo funzionare, se non dopo aver aperto e chiuso lo sportello.
Gentile cliente,
Il forno è dotato di una modalità risparmio energia. Non verrà visualizzato nulla al
momento del primo collegamento.
Per far funzionare il forno nella modalità di risparmio energetico:
1. Aprire lo sportello del forno. Sul display viene visualizzato il messaggio
“
SELEZ.
LINGUA
”
in 5 lingue.
2. Posizionare il cibo nel forno per la cottura.
3.
Chiudere lo sportello. Sul display viene visualizzato uno “. 0”.
NOTA: il forno viene fornito già impostato sulla lingua Tedesco. Per modificare la lingua,
scorrere le opzioni disponibili premendo il pulsante LINGUA.
4. Impostare il tempo di cottura premere il pulsanti TEMPO.
5. Scelga il modo di cottura premendo le pulsante adatte.
6. Selezionare il livello di potenza desiderato (per la cottura a microonde) o la temperatura
desiderata (per la cottura a convezione) utilizzando i pulsanti appropriati.
7. Iniziare il processo di cottura premendo il pulsante (START).
8. Estrarre gli alimenti dal forno dopo il segnale acustico.
Si raccomanda di leggere le AVVERTENZE DI SICUREZZA contenute nel
manuale prima di mettere in funzione l’apparecchio!
En Modo Ahorro de Energía, si no manipula el horno durante 3 minutos o más (por ejemplo,
cerrando la puerta, presionando el tecla PARADA o al terminar de cocinar), no podrá
hacerlo funcionar hasta que abra y cierre la puerta.
Estimado Cliente,
Su horno dispone de un Modo Ahorro de Energía. No aparecerá nada en la pantalla
digital cuando lo enchufe por primera vez.
Para hacer funcionar el horno en Modo Ahorro de Energía:
1. Abra la puerta. En la pantalla aparecerá “SELECT LANGUAGE” (“ELIJA IDIOMA”) en
5 idiomas diferentes.
2. Introduzca los alimentos que vaya a cocinar en el horno.
3. Cierre la puerta. La pantalla mostrará “. 0”.
NOTA: Inicialmente su horno tiene el Inglés como idioma seleccionado. Para cambiar
al idioma que prefiera, desplácese por las opciones disponibles presionando el botón
IDIOMA.
4. Establezca el modo de cocción, girando la rueda MODO DE COCCIÓN hasta que
apunte al símbolo adecuado.
5. Seleccione el nivel de potencia necesario para cocinar con microondas o la
temperatura necesaria para cocinar con convección, utilizando los botones pertinentes.
6. Introduzca el tiempo de cocción deseado girando la rueda TIEMPO/PESO.
7. Inicie el proceso de cocción presionando el tecla (INICIO)/+1 min.
8. Saque los alimentos del horno una vez haya escuchado la señal acústica.
!Lea las INSTRUCCIONES DE SEGURIDAD del manual antes de usar el horno!
Display digitale ed indicatori
1Indicatore COTTURA IN CORSO
2Indicatore GRILL
3Indicatore CONVEZIONE
4Indicatore MICROONDE
5Indicatore INFORMAZIONI
Pulsanti di funzione
6Pulsante SCONGELARE EXPRESS
7Pulsante COTTURA SENSOR
8Pulsanti PATATE
9Pulsanti AVVIO IMMEDIATO
10 Pulsanti MENO/PIÙ
11 Pulsante LINGUA
12 Pulsanti TEMPO
13 Pulsante GRILL
14 Pulsante CONVEZIONE
Premere per cambiare l’impostazione
della convezione di calore
15 Pulsante COTTURA COMBINATA
per cottura con il forno a microonde
con la CONVEZIONE
per cottura con il forno a microonde
con il GRILL
16 Pulsante di + 1min
17 Pulsante (START)
18 Pulsante di ARRESTO (STOP)
19 Pulsante CONTASECONDI
20 Pulsanti PESO IMMISSIONE
21
Pulsante di LIVELLO POTENZA MICROONDE
Premere per modificare l’impostazione
22 Pulsante INFO
23 Pulsante COTTURA EXPRESS
Più avanti, troverete il pannello di controllo del modello R-969-A.
Per l’R-96ST-AA il display digitale, gli indicatori e i tasti operativi sono gli stessi.
R-940/94ST INFORMACIÓN RÁPIDO
IE
PANNELLO DE CONTROLLO
IPANEL DE MANDOS
E
If you do not operate the oven for 3 minutes or more (e.g. closing the door, pressing the
STOP key, or at the end of cooking), you will not be able to operate the oven until you
open and close the oven door.
Dear Customer,
Your oven has Energy Save Mode. Nothing will appear on the digital display when you first
plug it in.
To operate the oven in Energy Save Mode:
1. Open the oven door. The display will show “SELECT LANGUAGE” in 5 different languages.
2. Place the food in the oven for cooking.
3. Close the door. The display will show “. 0”.
NOTE: The language that is initially selected is English. To change to a language of your
choice, step through the options available by pressing the LANGUAGE button.
4. Set the cooking mode by rotating the COOKING MODE dial until it points to the
appropriate symbol.
5. Select the power level required (for microwave cooking) or the temperature required
(for convection cooking) using the relevant buttons.
6. Input the desired cooking time by rotating the TIME/WEIGHT dial.
7. Start the cooking process by pressing the (START)/+1min button.
8. Remove the food from the oven after the audible signal sounds.
Read IMPORTANT SAFETY INSTRUCTIONS in the manual before operating
TINS-A840WRRZ-H11
ITALIANO ESPANOL ENGLISH
6
7
8
9
10
11
12
13
14
15
16
18 17
19
20
21
22
23
3
4
5
2
1
R-940/94ST QUICK START GUIDE
GB
CONTROL PANEL
GB
Display e indicadores digitales
1 Indicador de GRILL
2 Indicador de CONVECCIÓN
3 Indicador de MICROONDAS
4 Indicador de COCCIÓN EN CURSO
5 Indicador de INFORMACIÓN
6 Indicador de MENOS/MÁS
Teclas de operación
7 Tecla de INFORMACIÓN
8 Tecla de IDIOMA
9 Tecla de DESCONGELACIÓN
RÁPIDAS
10 Tecla de RECALENTAR AUTOMÁTICA
11 Tecla del MODO DE COCCIÓN
microondas
microondas con GRILL
microondas con CONVECCIÓN
GRILL
CONVECCIÓN
12 Tecla de TEMPORIZADOR
13 Tecla de CONVECCIÓN
Presione para cambiar el ajuste de
convección
14 Mando de TIEMPO/PESO
Gire este mando para seleccionar el
tiempo de cocción o descongelado y
para pesar los alimentos.
15 Tecla (INICIO)/+1 min
16 Tecla de PARADA (STOP)
17 Tecla de NIVEL DE POTENCIA
MICROONDAS
Pulse esta tecla para cambiar el nivel de
potencia
18 Tecla de COCCIÓN AUTOMÁTICA
19 Tecla de COCCIÓN RÁPIDAS
20 Teclas MENOS/MÁS
6
5
4
2
3
1
7
8
11
12
13
14
19
17
16
20
18
9
10
15
Digital display and indicators:
1 GRILL indicator
2 CONVECTION indicator
3 MICROWAVE indicator
4 COOKING IN PROGRESS indicator
5 INFO indicator
6 LESS/MORE indicator
Operating buttons:
7 INFORMATION button
8 LANGUAGE button
9 EXPRESS DEFROST button
10 AUTO REHEAT button
11 COOKING MODE dial
for microwave cooking
for microwave cooking with GRILL
for microwave cooking with
CONVECTION
for GRILL
for CONVECTION
12 TIMER button
13 CONVECTION button
Press to change the convection
temperature.
14 TIME/WEIGHT knob
Rotate the knob to enter either the
cooking/defrosting time or weight of
food.
15 (START)/+1min button
16 STOP button
17 MICROWAVE POWER LEVEL button
Press to change the microwave power
setting.
18 AUTO COOK button
19 EXPRESS COOK button
20 LESS/MORE buttons
6
5
4
2
3
1
7
8
11
12
13
14
19
17
16
20
18
9
10
15

BEDIENFELD
Sehr geehrter Kunde,
Das Gerät weist einen Energiesparmodus auf. Beim erstmaligen Anschließen wird auf dem
digitalen Display nichts angezeigt.
Betrieb der Mikrowelle im Energiesparmodus:
1. Öffnen Sie die Tür des Geräts. Auf dem Display erscheint die Meldung “SELECT LANGUAGE”
(“SPRACHE WÄHLEN”) in 5 verschiedenen Sprachen.
2. Stellen Sie die zu garende Speise in das Gerät.
3. Schließen Sie die Tür. Auf dem Display wird “. 0” angezeigt.
HINWEIS: Die zu Beginn eingestellte Sprache ist Englisch. Sie können auf Wunsch eine
andere Sprache wählen, indem Sie die SPRACHEN-Taste drücken und durch die
verfügbaren Optionen gehen.
4. Wählen Sie die Betriebsart, indem Sie den Drehknopf für BETRIEBSART drehen, bis er
auf das gewünschte Symbol zeigt.
5. Wählen Sie die erforderliche Leistungsstufe (für Mikrowellenbetrieb) oder Temperatur
(für Heißluftbetrieb) mithilfe der entsprechenden Tasten.
6. Geben Sie die gewünschte Garzeit ein, indem Sie den ZEIT/GEWICHTS-Knopf
entsprechend einstellen.
7. Starten Sie den Betrieb, indem Sie die (START)/+1min-Taste drücken.
8. Nehmen Sie die Speise aus den Gerät, nachdem das akustische Signal ertönt ist.
Lesen Sie vor Inbetriebnahme des Gerätes die SICHERHEITSHINWEISE in der
Bedienungsanleitung aufmerksam durch!
TABLEAU DE COMMANDE
Cher client,
Votre four possède le Mode Economie d’Energie. Aucun élément ne s’affiche à l’écran
lorsque vous le branchez pour la première fois.
Pour opérer le four en mode Economie d'énergie:
1. Ouvrez la porte du four. Le message “SELECT LANGUAGE” (“CHOISIR LA LANGUE”)
s'affiche en 5 langues.
2. Placez les aliments dans le four.
3. Fermez la porte. L’écran affi che “.0”.
REMARQUE: La langue initialement sélectionnée est Anglais. Pour sélectionner la langue
de votre choix, faites défiler les options disponibles en appuyant sur la touche LANGUE.
4. Réglez le temps de cuisson voulu en faisant tourner le cadran du MODE DE CUISSON
jusqu'à ce qu'il indique le symbole approprié.
5. Sélectionnez le niveau de puissance (cuisson au micro-ondes) ou la température requise
(cuisson par convection) à l'aide des touches correspondantes.
6. Entrez la durée de cuisson désirée en faisant tourner le cadran TEMPS/POIDS.
7. Démarrez la cuisson en appuyant sur la touche (DEPART)/+1min.
8. Retirez les aliments du four lorsque le signal sonore retentit.
Veuillez lire les INSTRUCTIONS DE SECURITE que contient le manuel
avant d’utiliser l’appareil!
BEDIENINGSPANEEL
Geachte klant,
Uw oven beschikt over een Energiespaarstand. Wanneer u het voor eerst de stekker van de
eenheid in het stopcontact steekt, wordt er niets op het digitale display weergegeven.
Bediening van de combi-magnetron in de energie spaarstand:
1. Open de ovendeur. Het display toont “SELECT LANGUAGE” (“KIES TAAL”) in 5 verschillende
talen.
2. Zet het voedsel in de magnetron om het te bereiden.
3. Sluit de deur. Op het display verschijnt een “. 0”.
OPMERKING: De taal waarin de magnetron bij levering staat is Engels. Voor het
wijzigen naar een taal van uw keuze, doorloopt u de beschikbare mogelijkheden door
de TAAL-toets in te drukken.
4. Stel de bereidingsmodus in door de BEREIDINGSMODUS-draaiknop te draaien tot hij
naar het gewenste symbool wijst.
5. Kies het gewenste vermogen (voor magnetronbereiding) of de gewenste temperatuur
(voor convectiebereiding) met de betreffende toetsen.
6. Voer de gewenste bereidingstijd in door de TIJD/GEWICHT knop te draaien.
7. Start het bereidingsproces door op de (START)/+1min-toets te drukken.
8. Haal het voedsel uit de magnetron wanneer het geluidssignaal weerklinkt.
Lees de WAARSCHUWINGEN m.b.t. VEILIGHEID in de handleiding
alvorens te starten!
R-940/94ST SCHNELL INFO
D
R-940/94ST INFORMATION RAPIDE
F
R-940/94ST
SNELSTART HANDLEIDING
NL
NL
F
D
Wenn Sie das Gerät länger als 3 Minuten nicht verwenden (z.B. die Tür schließen,
die STOP-Taste drücken oder das Ende einer eingestellten Garzeit erreichen), ist die
Mikrowelle erst wieder einsatzbereit, nachdem Sie die Tür öffnen und schließen.
Si le four est en mode Economie d’énergie et n’est pas utilisé pendant 3 minutes ou plus
(par ex., fermeture de la porte, activation de la touche STOP, fin de cuisson.), il ne
fonctionnera pas jusqu’à ce que la porte soit à nouveau ouverte et fermée.
Als de combimagnetron in de spaarstand staat en u doet drie minuten of langer niets met
de oven (bijv. de ovendeur sluiten, op de STOP-toets drukken, of het gerecht is klaar), dan
moet u eerst de ovendeur openen en sluiten, voordat u de oven weer kunt gebruiken.
DEUTSCH FRANCAIS NEDERLANDS
6
5
4
2
3
1
7
8
11
12
13
14
19
17
16
20
18
9
10
15
Digitaal display en indicatielampjes:
1 GRILL indicatielampje
2 CONVECTIE indicatielampje
3 MAGNETRON indicatielampje
4 KOKEN indicatielampje
5 INFORMATIE indicatielampje
6 MINDER/MEER-toets
Bedieningstoetsen:
7 INFORMATIE-toets
8 TAAL-toets
9 EXPRESS ONTDOOIEN-toets
10 AUTOMATISCH OPWARM-toets
11 KOOKSTAND-toets
voor koken met de magnetron
voor koken met de magnetron in
combinatie met GRILL
voor koken met de magnetron in
combinatie met CONVECTIEWARMTE
voor GRILL
voor CONVECTIEWARMTE
12 TIMER-toets
13 CONVECTIEWARMTE-toets
Druk de toets in om de convectie-instelling
te wijzigen.
14 TIJD/GEWICHT-draaiknop
Draai de knop voor het instellen van de
kooktijd/ontdooitijd of het gewicht van
het voedsel.
15 (START)/+1min-toets
16 STOP-toets
17
MAGNETRONVERMOGENNIVEAU-toets
Hiermee stelt u het vermogen van uw
magnetron in
18 AUTOMATISCH
KOOKPROGRAMMA-toets
19 EXPRES BEREIDEN-toets
20 MINDER/MEER-toetsen
6
5
4
2
3
1
7
8
11
12
13
14
19
17
16
20
18
9
10
15
Affichage numérique et témoins:
1 Témoin GRIL
2 Témoin CONVECTION
3 Témoin MICRO-ONDES
4 Témoin CUISSON EN COURS
5 Témoin INFORMATION
6 Témoin MOINS/PLUS
Touches de fonctionnement:
7Touche INFORMATION
8Touche LANGUE
9Touche DECONGELATION RAPIDE
10 Touche RÉCHAUFFER AUTO
11 Touche MODE CUISSON
pour une cuisson micro-ondes
pour une cuisson micro-ondes avec
GRIL
pour une cuisson micro-ondes avec
CONVECTION
GRIL
CONVECTION
12 Touche MINUTEUR
13 Touche CONVECTION
Appuyer pour changer le réglage de la
convection
14 Bouton rotatif DUREE/POIDS
Tourner le bouton rotatif pour sélectionner
le temps de cuisson/décongélation ou le
poids des aliments.
15 Touche (DEPART)/+1min
16 Touche STOP (ARRET)
17 Touche NIVEAU DE PUISSANCE
MICRO-ONDES
Appuyer pour changer les réglages de
puissance du four micro-ondes
18 Touche CUISSON AUTO
19 Touche CUISSON RAPIDE
20 Touches MOINS/PLUS
6
5
4
2
3
1
7
8
11
12
13
14
19
17
16
20
18
9
10
15
Anzeigen und Symbole:
1 Symbol für GRILL
2 Symbol für HEISSLUFT
3 Symbol für MIKROWELLE
4 Symbol für GARVORGANG
5 Symbol für INFORMATION
6 Anzeige KÜRZER/LÄNGER
Bedienungstasten:
7INFORMATIONS-Taste
8SPRACHEN-Taste
9 EXPRESS-AUFTAUEN-Taste
10 ERHITZUNGS-AUTOMATIK-Taste
11 Drehknopf für die Wahl der
BETRIEBSART
für Mikrowellengaren
für Mikrowellengaren mit GRILL
für Mikrowellengaren mit HEISSLUFT
für GRILL
für HEISSLUFT
12 ZEITSCHALTUHR-Taste
13 HEISSLUFT-Taste
Zum Ändern der Heißlufttemperatur.
14 ZEIT/GEWICHTS-Knopf
Geben Sie mit diesem Knopf entweder die
Gar- oder Auftauzeit bzw. das Gewicht
der Speise ein.
15 (START)/+1Min-Taste
16 STOP-Taste
17
MIKROWELLEN-LEISTUNGSSTUFEN-Taste
Zum Ändern der Mikrowellenleistung
18 GAR-AUTOMATIK-Taste
19 EXPRESS-GAREN-Taste
20 KÜRZER/LÄNGER-Tasten
This manual suits for next models
1
Table of contents
Other Sharp Microwave Oven manuals

Sharp
Sharp R-451ZS User manual

Sharp
Sharp Carousel R-350L User manual

Sharp
Sharp R-G271VN-W User manual

Sharp
Sharp R-345M Instruction Manual

Sharp
Sharp R-520LK User manual

Sharp
Sharp R-658SLM User manual

Sharp
Sharp R-244M Instruction Manual

Sharp
Sharp R-334 User manual

Sharp
Sharp R-90GCK User manual

Sharp
Sharp R-428JKF User manual

Sharp
Sharp R-793M User manual

Sharp
Sharp R98STM-AA User manual

Sharp
Sharp SMD2480CS User manual

Sharp
Sharp R-9H56 User manual

Sharp
Sharp R-330EK User manual

Sharp
Sharp KB-6525PS User manual

Sharp
Sharp R-330E Use and care manual

Sharp
Sharp R-83STM Instruction Manual

Sharp
Sharp R-230HW User manual

Sharp
Sharp Carousel R-7260 User manual