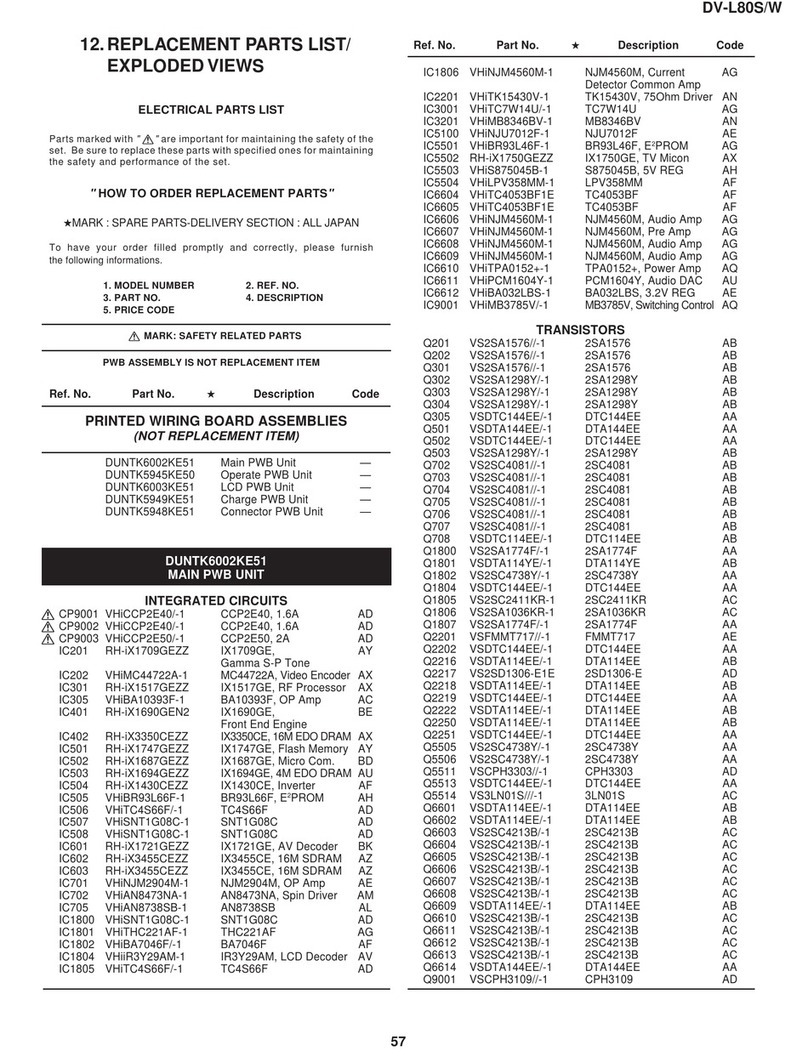
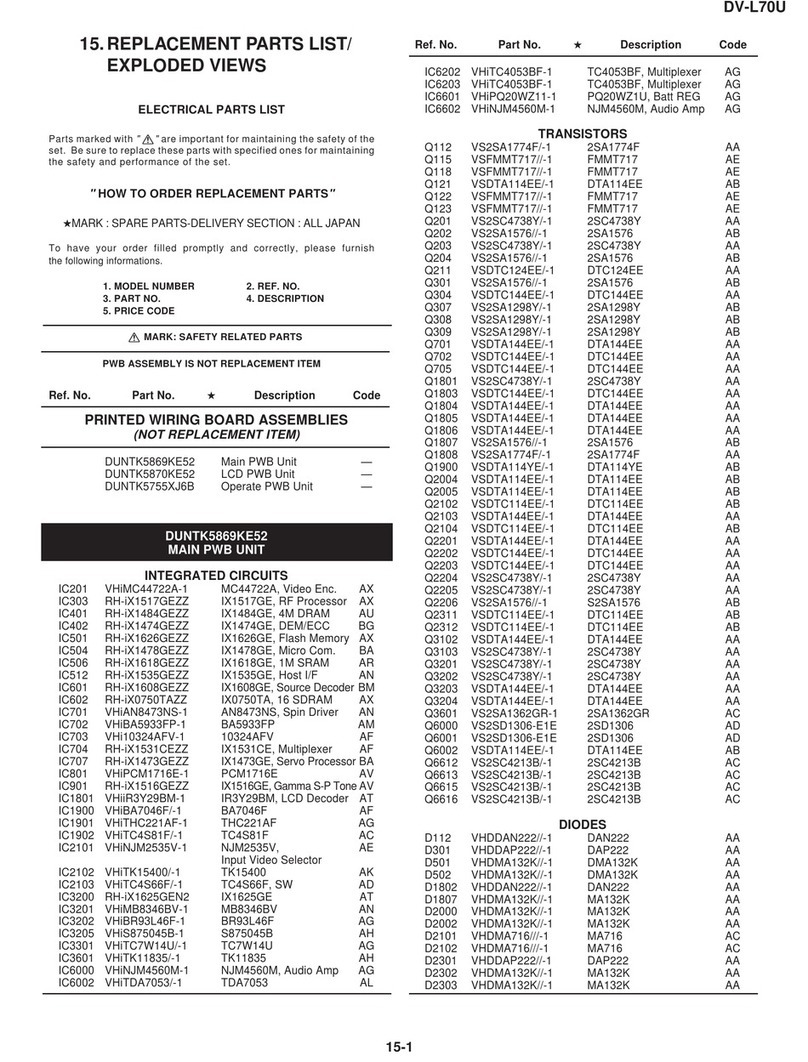
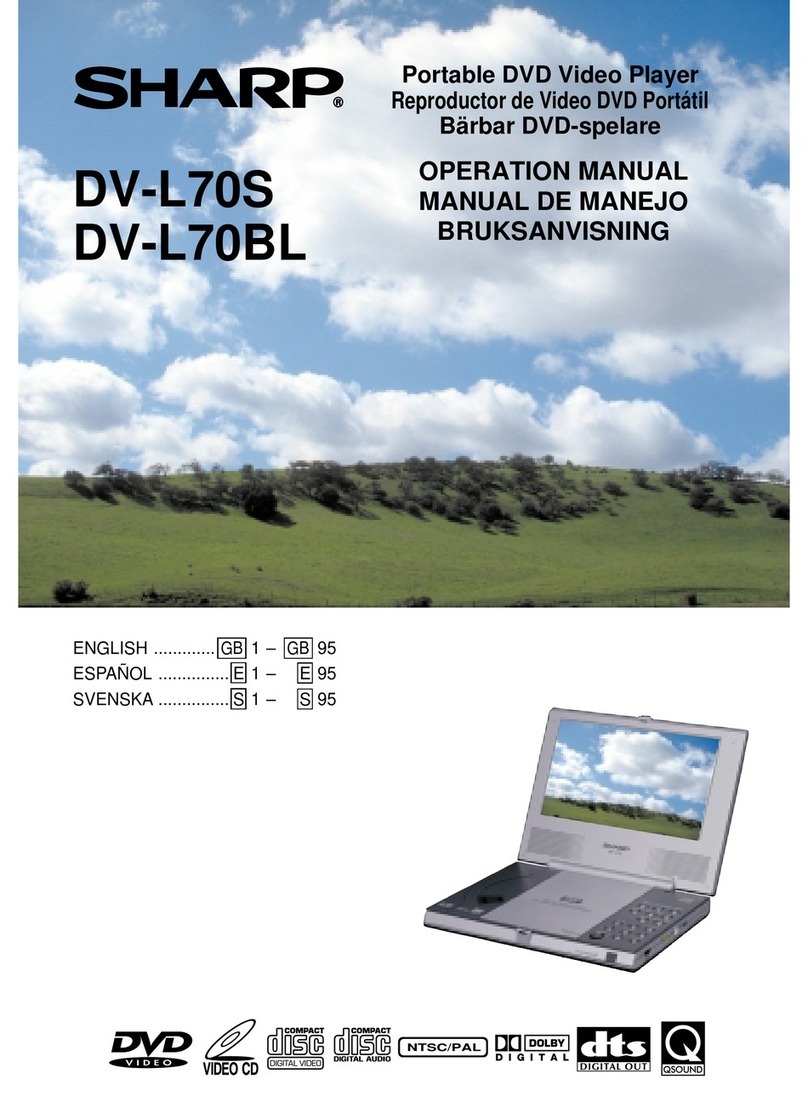
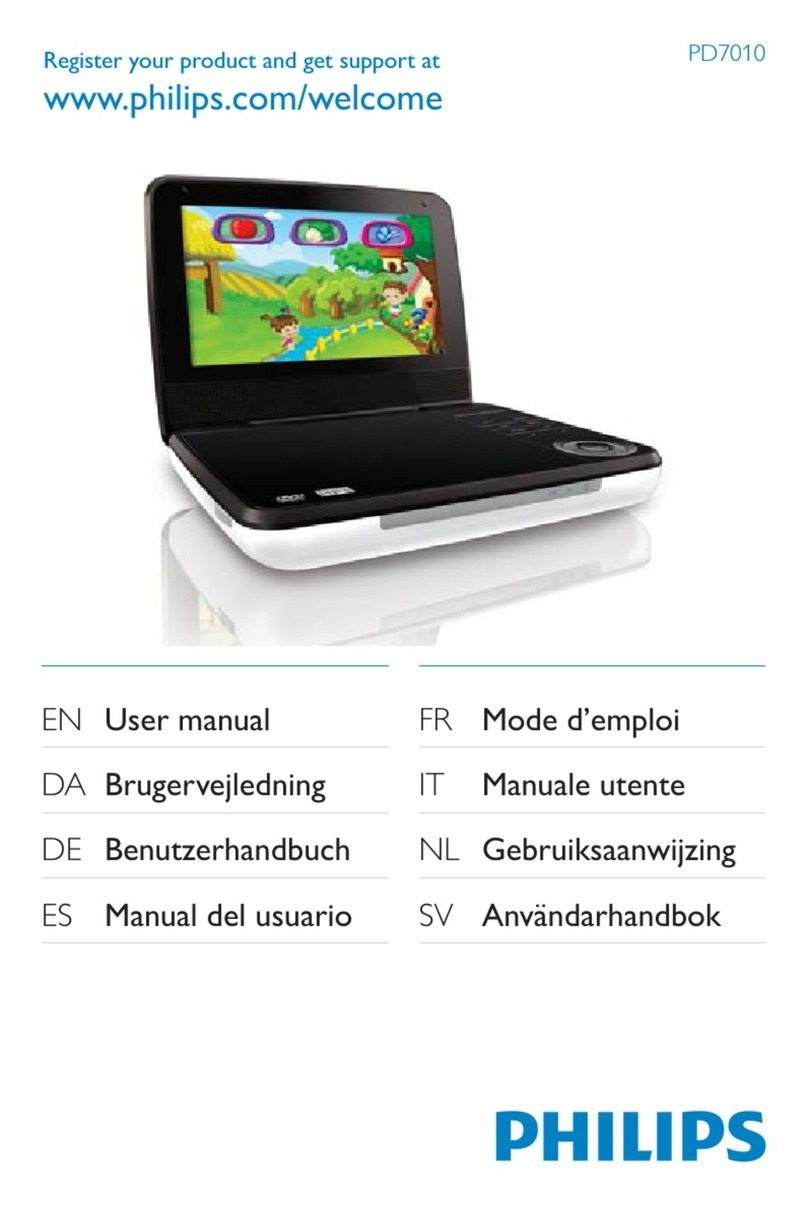
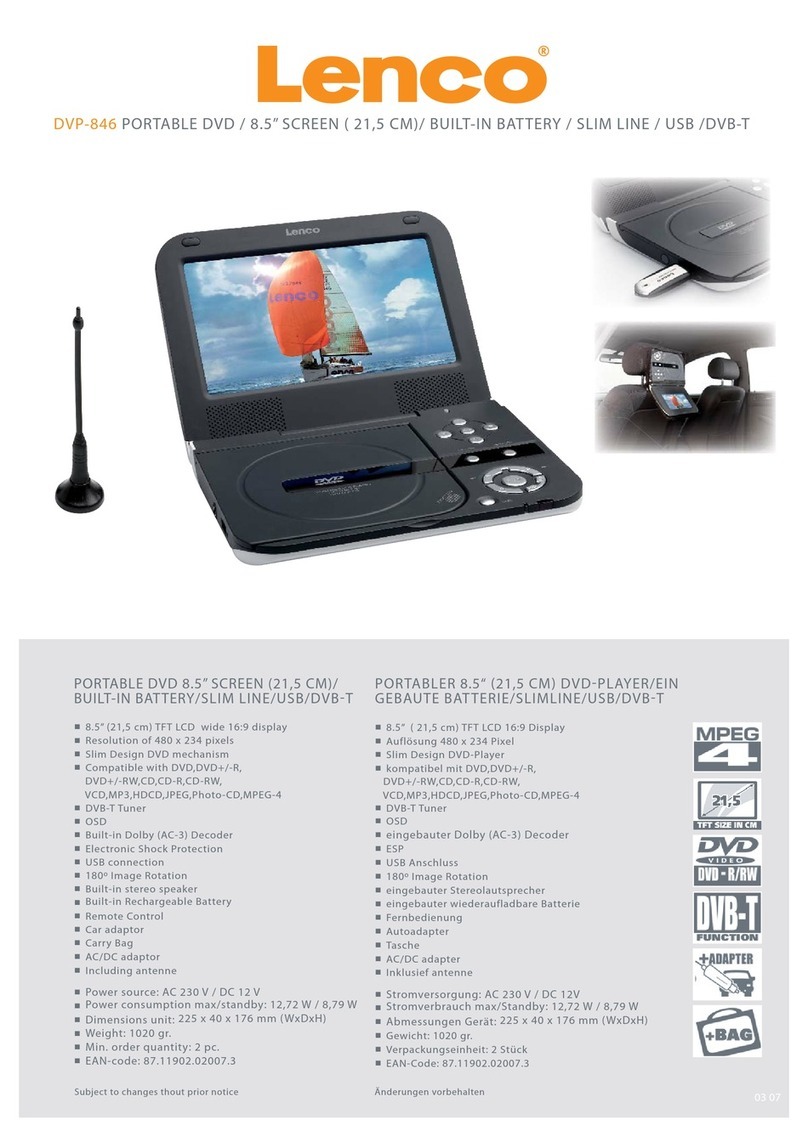
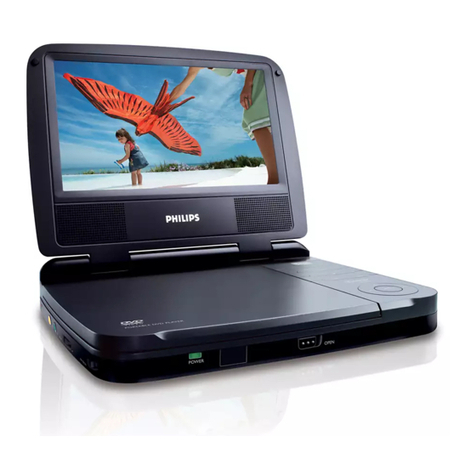
Sharp DV-L78U User manual

1
DV-L78U
S00J7DV-L78U/
SERVICE MANUAL
Page
1. IMPORTANT SAFEGUARDS AND PRECAUTIONS .........................................................................2
2. FEATURES ........................................................................................................................................ 6
3. SPECIFICATIONS ............................................................................................................................. 6
4. PART NAMES .................................................................................................................................... 8
5. DISASSEMBLY METHOD ................................................................................................................. 9
6. ADJUSTMENT METHOD................................................................................................................. 10
7. TEST MODE .................................................................................................................................... 15
8. TROUBLESHOOTING ..................................................................................................................... 18
9. IC FUNCTION LIST.......................................................................................................................... 22
10. SEMICONDUCTOR LEAD IDENTIFICATION .................................................................................54
11. WIRING DIAGRAM .......................................................................................................................... 55
12. BLOCK DIAGRAMS ......................................................................................................................... 56
13. SCHEMATIC DIAGRAMS ................................................................................................................ 62
14. PRINTED WIRING BOARD ASSEMBLIES......................................................................................72
15. REPLACEMENT PARTS LIST ......................................................................................................... 77
16. PACKING OF THE SET ................................................................................................................... 90
CONTENTS
In the interests of user-safety (Required by safety regula-
tions in some countries) the set should be restored to its
originalcondition andonly partsidenticaltothosespecified
be used.
MODEL DV-L78U
SERVICE MANUAL PORTABLE DVD VIDEO PLAYER MODEL DV-L78U
PORTABLE DVDVIDEO PLAYER
This document has been published to be used for
after sales service only.
Thecontentsare subjecttochange withoutnotice.
SHARP CORPORATION

DV-L78U
2
1. IMPORTANT SERVICE NOTES
BEFORE RETURNING THE DVD VIDEO PLAYER
Before returning the DVD video player to the user,
perform the following safety checks.
1. Inspect all lead dress to make certain that leads are
not pinched or that hardware is not lodged between
the chassis and other metal parts in the DVD video
player.
2. Inspect all protective devices such as non-metallic
control knobs, insulation materials, cabinet backs,
adjustmentandcompartmentcoversorshields,isola-
tion resistor/capacitor networks, mechanical insula-
tors etc.
3. To be sure that no shock hazard exists, check for
current in the following manner.
●Plug the AC line cord directly into a 120 volt AC outlet
(Do not use an isolation transformer for this test).
●Using two clip leads, connect a 1.5k ohm, 10 watt
resistorparalleledbya0.15µFcapacitorinserieswith
all exposed metal cabinet parts and a known earth
ground, such as a water pipe or conduit.
●UseanDVMorVOMwith1000ohmpervolt,orhigher,
sensitivityor measure theAC voltage dropacross the
resistor (See Diagram).
●Move the resistor connection to earth exposed metal
parthavingareturnpathtothechassis(metalcabinet,
screw heads, knobs and control shafts, etc.) and
measure the AC voltage drop across the resistor.
ReversetheACplugonthesetandrepeatACvoltage
measurementsforeachexposedpart.Any readingof
0.45V rms (this corresponds to 0.3mA rms AC.) or
more is excessive and indicates a potential shock
hazard which must be corrected before returning the
DVD video player to the owner.
1. IMPORTANT SAFEGUARDS AND PRECAUTIONS
1. NOTES DE SERVICE IMPORTANTES
AVANT DE RENDRE LE REPRODUCTOR DE VíDEO
DVD
AvantderendrelereproductordevídeoDVDàl’utilisateur,
effectuer les vérifications de sécurité suivantes.
1. Vérifier toutes les gaines de fil pour être sûr que les fils
ne sont pas pincés ou que le matériel n’est pas coincé
entrele châssisetles autrespièces métalliquesdansle
reproductor de vídeo DVD.
2. Vérifier tous les dispositifs de protection tels que les
boutonsdecommandenonmétalliques,lesmatériaux
d’isolement, le dos du coffret, les couvercles de
compartiment et ajustement ou les boucliers, les
réseauxderésistance/condensateurd’isolement,Ies
isolateurs mécaniques, etc.
3. Pourêtresûrqu’iln’yaaucunrisquedechocélectrique,
vérifier le courant de fuite de la maniére suivante.
●Brancherlecordond’alimentationsecteurdirectement
dansuneprisedecourantde120volts.(Nepasutiliser
de transformateur d’isolement pour cet essai).
●Utiliser deux fils à pinces et connecter une résistance
de10watts1,5kohmenparallèleavecuncondensateur
de0,15µFensérieavecdespiècesducoffretmétallique
exposées et une masse de terre connue telle qu’un
tuyau ou un conduit d’eau.
●Utiliser un DVM ou VOM avec une sensibilité de 1000
ohms par volt ou plus ou mesurer la chute de tension
CA entre la résistance (voir diagramme).
●Déposer la connexion de la résistance à toutes les
pièces métalliques exposées ayant un parcours de
retourauchâssis(coffretmétallique,tétesdevis,boutons
et arbres de commande, etc.) et mesurer la chute de
tensionCAentrelarésistance.InverserlaficheCA(une
fiche intermédiaire non polarisée doit être utilisée à
seule fin de faire ces vérifications.) sur l’appareil et
répéter les mesures de tension CA pour chaque piéce
métallique exposée. Toute lecture de 0,45 V rms (ceci
correspond à 0,3 mA rms CA) ou plus est excessive et
signaleundangerdechocquidoitêtrecorrigéavantde
rendre le reproductor de vídeo DVD à son utilisateur.
DVM
AC SCALE
1.5k ohms.
10W
CONNECT TO
KNOWN EARTH
GROUND
TO EXPOSED
METAL PARTS
0.15 µF
TEST PROBE
0,15 µF
SONDE D'ESSAI
VERS PIECES
METALLIQUES
EXPOSEES
VTVM
ECHELLE CA
1.5 KOHMS
10W
CANNECTER A
UNE MASSE DE
TERRE CONNUE
3
DV-L78U
WARNING :TOREDUCETHE RISK OF FIRE OR ELECTRIC SHOCK,DO NOT EXPOSE
THIS APPLIANCETOWET LOCATIONS.
CAUTION: TO REDUCE THE RISK OF ELECTRIC
SHOCK. DO NOT REMOVE COVER. NO
USER·SERVICEABLE PARTS INSIDE.
REFER SERVICING TO QUALIFIED SERVICE
PERSONNEL.
CAUTION
This symbol mark means following.
For continued protection against fire haz-
ard, replace only with same type fuse
F9001 (4A, 63V) on DC-IN jack PWB or
F9002 (1A, 63V) on DC/DC CONV. PWB
orF9901(1.5A,63V)onCCFTINV.PWB.
RISK OF ELECTRIC SHOCK
DO NOT OPEN
This symbol alerts the user that there are
importantoperatingandmaintenanceinstruc-
tions in the literature accompanying this unit.
This symbol warns the user of uninsulated
voltagewithintheunitthatcancausedanger-
ous electric shocks.
ATTENTION:POURREDUIRELESRESQUESD'INCENDIEOUDECHOCELECTRIQUE,
NE PAS EXPOSER CET APPAREIL A LA PLUIE OU A L'HUMIDITE.
ATTENTION: AFIN DE REDUIRE LES RISQUES DE
CHOC ELECTRIQUE, NE PAS RETIRER LE
COUVERCLE, AUCUN ORGANE INTERNE
NE PEUT ETRE REPARE PAR
L'UTIUSATEUR, CONFIER L'APPAREIL A
UN DEPANNEUR QUALIFIE.
ATTENTION
Ce symbole signifie que l'on devra uti-
liserunfusibledemêmetypeF9001(4A,
63V) on DC-IN Jack PWB or F9002 (1A,
63V) on DC/DC CONV PWB or F9901
(1.5A, 63V) on CCFT INV. PWB. pour
assurer la sécurité.
Ce symbole signale à l'utilisateur la présence
d'unetensionnonisoléeàl'intérieurdel'appareil
quipeutêtrelacausedesecoussesélectriques
dangereuses.
Ce symbole avertit l'utilisateur que des in-
structions importantes relatives à l'utilisation
et àl'entretien se trouvent dans le manuel
accompagnant l'appareil.
RISQUE DE CHOC ELECTRIQUE
NE PAS OUVRIR
CAUTION
ATTENTION

DV-L78U
4

5
DV-L78U
åå
åå
åCAUTION
BEFORE BATTERY DESTROY
ËË
ËË
ËNICKEL-CADMIUM BATTERY
Thefollowing program isavailable in theUnited States. Please consultlocal environmental authoritiesconcerning the
availability of this or other programs in your area.
The RBRCTM Seal
SHARPparticipatesintheRBRCTM*Nickel-CadmiumBatteryRecyclingProgramintheUnitedStates.TheRBRCTM
Seal on our battery pack contained in our product indicates that SHARP is voluntarily participating in an industry
program to collect and recycle these batteries. The RBRCTM program provides you with a convenient alternative
to placing spent Nickel-Cadmium battery packs into the trash or municipal waste stream, which is illegal in some
areas.Attheendoftheirusefullife,theNickel-Cadmiumbatterycanbedroppedoffatthenearestcollectioncenter
for recycling. For information on the nearest collection center, call 1-800-8-BATTERY or your local recycling
center.IfyouarelocatedoutsidetheUnitedStates,contactyourlocalauthoritiesforinformationconcerningproper
disposaland/orrecyclingofthisbattery.SHARP'sinvolvementinthisprogramispartofourcommitenttoprotecting
our environment and conserving natural resources.
[Footnote] *RBRCTM is a trademark of the Rechargeable Battery Recycling Corporation.
ËË
ËË
ËNICKEL-METAL HYDRIDE BATTERY
ËË
ËË
ËLITHIUM or LITHIUM-ION BATTERY
ËË
ËË
ËSEALED LEAD BATTERY
Battery disposal
Contains the above Rechargeable Battery. must be recycled or disposed of properly.
Remove the Battery from the products and contact Federal or State Environmental Agencies for information on
recycling and disposal options.

DV-L78U
6
2. FEATURES
7" LCD Screen and Stereo Speakers
• A big 7" LCD screen and built-in stereo speakers provide exciting DVD viewing, even without connecting to a TV.
• Dolby Virtual provides high-quality surround sound.
2-WAY Power Supply
• A 2-way power supply allows operation using the supplied AC adapter for indoor play, or the supplied battery pack
for outdoor play.
Compact, Lightweight Design
• About the size of a movie DVD case, your DVD video player is designed to go along just about anywhere.
High-Resolution Images, High-Quality Sound
• A high-resolution 336,960-pixel LCD screen produces images of outstanding quality.
• Digital gamma correction and digital super picture provide more realistic image detail.
• Dolby Virtual ensures richer sound from two built-in speakers.
AV input/output, optical digital output jack equipped as standard
•An optical digitaloutputjack (whichdoublesas theaudioinput/output jack) canbe used tooutput a streamof *1Dolby
Digital 5.1 channel audio and *2DTS digital audio. Connecting a Dolby Digital/DTS digital surround processor or
amplifier to this jack creates an environment of amazingly powerful surround sound.
• The AV input/output jack can be used to connect a video deck or camcorder to your DVD video player. Or you can
use these jacks to connect to a TV for big-screen viewing. (Output only is supported for S-video. An S-video signal
cannot be input to your DVD video player.)
*1Manufactured under license from Dolby Laboratories. "Dolby", "Pro Logic" and the double-D symbol are trademarks
of Dolby Laboratories.
*2"DTS" and "DTS Digital Surround" are trademarks of Digital Theater Systems, Inc.
3. SPECIFICATIONS
Product: Portable DVD Video Player
Model: DV-L78U
Signal System: NTSC
Supported Disc Types: DVD (Region Number 1, ALL), Video CD, Audio CD
Video Input/Output: Input/Output Jack: Mini jack × 1 (accepts supplied S-video/video cord)
Input/Output Levels: 1Vp-p (75Ω)
S-Video Output: Y Output Level: 1Vp-p (75Ω)
C Output Level: 0.286Vp-p (75Ω)
Output Jack: Mini jack (shared with Video In/Out) × 1
(accepts supplied S-video/video cord)
Audio Input/Output: Input /Output Jack: Mini jack × 1 (accepts supplied audio cord)
Input/Output Levels: 2Vrms (1kHz, 0dB)
Digital Audio Interface: Optical digital output: Mini jack (shared with audio In/Out)
Audio Output: 0.8W + 0.8W
Headphones Output: Output Jack: Mini jack (stereo)
Display: Screen Size: 7 inches (87.8 (315/32") (H) × 155.5 (61/8") (W) mm)
Type: Transmissive TN liquid crystal panel
Drive: TFT (thin transistor) active matrix
Pixels: 336,960 (234 (H) × 480 (W) × 3),
Effective Pixel Rate:99.99% minimum
Speakers: Two 28mm round speakers
Light Source: Internal (fluorescent)
Video Signal: Horizontal Resolution: 500 lines
S/N Ratio: 60 dB minimum

7
DV-L78U
Audio Signals: Frequency Characteristics:
Linear PCM DVD: 4Hz to 22kHz (48kHz sampling)/
4Hz to 44kHz (96kHz sampling)
CD: 4Hz to 20kHz (EIAJ)
S/N Ratio: CD: 96 dB 1kHz (EIAJ)
Dynamic Range: Linear PCM DVD: 96dB (EIAJ)
CD: 96dB (EIAJ)
Total Harmonic Distortion Ratio: 0.006% maximum (EIAJ)
Power Requirements: AC Adapter: 9V DC
Battery Pack:7.4V DC
Power Consumption: Main Power On: 11W average (15.5W maximum)
(AC Adapter) Standby: 0.5W (Power/standby lamp lit red)
Main Power Off:0W
Dimensions: 188 (W) × 141 (D) × 25.4 (H) mm (713/32" × 59/16" × 1")
(except for projections)
Weight: 620g (1.37 lbs)
Operating Temperature: 5°C to 35°C (41°F to 95°F)
Operating Humidity: 80% RH maximum
Storage Temperature: -20°C to 40°C (-4°F to 104°F)
AC Adapter Specifications
Power Requirements: 110 to 240V AC, 50/60Hz
Rated Input Capacity: DVD Operation: 30VA
Charging (100V): 30VA
Rated Output: DVD Operation: 9V DC
Charging: 9V DC
Dimensions: 58 (W) × 104 (D) × 275 (H) mm
(219/64" × 47/64" × 1053/64")
Weight: 170g (0.38 lbs)
Battery Pack Specifications Type: Lithium-ion type
DC output: 7.4V
Capacity: 4200mAh
Operating temperature: 0°C to +40°C (32°F to 104°F) (charging: 10°C to 30°C (50°F to 86°F))
Max. Dimensions: 184 (W) × 134.5 (D) × 14.5 (H) mm
(71/4" × 519/64" × 37/64") without protruding parts
Weight: 430g (0.95 lbs)
Specifications are subject to change without notice.
Weight and dimensions are approximate.
Digital Output (linear PCM)
· The digital output format used in this DVD video player is linear PCM audio sampling at 44.1 kHz or 48 kHz.
Linear PCM sound for DVD video discs sampled at 96 kHz cannot be output digitally.
Check the disc jacket for information on the audio sampling used.
3-1. ACCESSORIES
Accessories: Audio Cord x 1, S-Video/Video cord x 1, AC Power Cord x 1, UM/SUM-3 battery x 2,
Remote Control Unit x 1, Lithium-ion Battery Pack x 1, AC Adapter x 1, Operation Manual x 1

DV-L78U
8
For details on the use of each control.
4. PART NAMES

9
DV-L78U
5. DISASSEMBLY METHOD
5-1. DISASSEMBLY METHOD
1.Remove the nine screws 1.
2. Loosen the two screws 2.
3.AfteropeningtheLCDunit,removethehingeclawofcabinetAtodetachitfrom
cabinet B.
Note: The power SW button is also removed. Be careful not to forget it when
assembling the unit.
4. Remove the FFC A from the main PWB.
1
2
A
Power SW Button
3
4
5
6
5
10
11
11
12
13
14
15
16
17
778
8
9
Space Washer
Space Washer
5. Remove the screws 3.
Note: Check the screws before assembling because they are different
depending on the right and left hinges.
6. Remove the connectors 4from the main PWB.
7. Remove the pickup FPC/sled lead connectors 5.
8. Remove the screws 6fixing the DC jack PWB.
9. Remove the four LCD rubber caps 7.
10. Remove the four screws 8.
Note:Becarefulnottoforgettoputspacewasherswhenassemblingbecause
they are tightened with the above screws.
11. Remove the cabinet D. At this time, remove engagement claws (two on the
upperLCDpanel,twoontherightandleftsides,twoonthelowerLCDpanel).
Note: Do not break the claws on the right and left sides by opening cabinet C
a little.
12. Remove the right and left speaker connectors 9.
13. Remove the screw 0.
14. Remove the FPC qfrom the connector.
15. Remove the screw w.
16. Remove the FPC efrom the connector.
17. Remove the screws r.
18. Remove the connectors t.
19. Remove the four screws y.
20. Remove the three claws on the control panel (front: 2 pcs., rear: 1 pc.).
21. Open the disc cover u180˚ to remove it from cabinet A.

DV-L78U
10
Parts Code Price Code Remarks Parts Code Price Code Remarks
QCNW-8145GEZZ AQ P.U. extension, 30-pin QCNW-8151GEZZ AQ Inverter extension, 6-pin
QCNW-8146GEZZ AQ Spindle extension, 13-pin QCNW-8152GEZZ AQ LCD panel extension, 32-pin
QCNW-8147GEZZ AN Sled extension, 2-pin QCNW-8154GEZZ AQ Operation PWB extension, 12-pin
QCNW-8148GEZZ AM Power supply extension, 14-pin QCNW-1766TAZZ BF Inverter junction PWB
QCNW-8149GEZZ AQ Main LCD extension, 14-pin QPWBF5002GEZZ BF LCD junction PWB
QCNW-8150GEZZ AQ Main LCD extension, 14-pin QPWBF5003GEZZ BF Pickup junction PWB
Adjustment VR R1102
Adjustment Point Put a voltmeter between 6PIN (+7.5V) and 4PIN (GND) of TP1191.
Input Signal/Setting No input
Adjustment Method Adjust it to 7.50±0.02V.
Adjustment VR R1103
Adjustment Point Visual observation of the panel
Input Signal/Setting Monoscope full screen
Adjustment Method Adjust the screen so that it is located in the center.
Adjustment VR R1104
Adjustment Point Observe the 3PIN of TP1191 with a frequency counter.
Input Signal/Setting No input, external input mode
Adjustment Method Adjust it so as to get the HSY frequency of 15.735±0.01KHz
(63.554µS).
HSY
15.735KHz
(63.554µS)
6-2. ADJUSTMENT PROCEDURE AND METHOD OF LCD PWB SIDE
1. 7.5V adjustment
2. Free run adjustment
3. Screen center adjustment
Drawing for service jigs
Operation cabinet
Mechanism
Power
supply PWBPA
AE AD
AC
AA
CN302
CN301AB
MA
FFC
FFC spindle
Lead wire
FFC
Pickup junction PWB
QPWBF5003GEZZ Pickup
QCNW-8145GEZZ
QCNW-8146GEZZ
QCNW-8147GEZZ
Sled
Power supply, 14-pole
QCNW-8148GEZZ QCNW-8154GEZZ
QCNW-8150GEZZ
LCD junction
QCNW-8152GEZZ
LCD junction PWB
QPWBF5002GEZZ
Inverter junction PWB
QCNW-1766TAZZ
Inverter
QCNW-8151GEZZ
Inverter PWB
QCNW-8149GEZZ
Lead wire
LC
LB LA
LCD LCD PWB
F
F
C
F
F
C
Panel
Main PWB
6. ADJUSTMENT METHOD
6-1. HARNESS LIST FOR SERVICE PARTS

11
DV-L78U
Adjustment Point Put voltmeters in 4PIN (GND), 5PIN (-16V) and 7PIN (13V) of TP1191.
Input Signal/Setting Check in the DVD mode.
Adjustment Method Check that each voltage indicates -16±1V and 13±0.5V respectively.
6-3. CHECK ITEMS OF LCD PWB SIDE
1. Power supply voltage check
Adjustment Point Check the panel visually by connecting to the checker.
Input Signal/Setting External input
Adjustment Method Check that the horizontal movement of ODS is 1 mm or less when
inputting a signal in the external input mode with no signal input.
2. Free run check
Input
6-4. ADJUSTMENT PROCEDURE AND METHOD OF MAIN PWB SIDE
1. Press the UP+DOWN key is pushed at the same time, and made power source on.
2. It moves to the special mode(SP MODE), and a BACKLIGHT(HI/LOW/OFF) key is pushed and turned off.
3. After setting is completed, a power source is turned off.
4. Again, a UP+DOWN key is pushed at the same time, and a power source is turned on and made special mode.
5. An INPUT/ DVD key is pushed, and it becomes adjustment mode.
6. Each operation in the adjustment mode changes as follows:
(1) Switch the adjustment block with the TILT key input.
(2) Perform paging of each adjustment block with the RETARN key.
(3) Switch each adjustment item with the menu key input.
(4) Change each adjustment value with the left or right cursor key.
DAC adjustment OPT adjustment BAT adjustment
TV1 TV2 TV3
GAM0
TV1 adjustment
TV2 adjustment
TV3 adjustment
SBRI GPOS CONT
WB-R WB-B SCOL STIN
COM OSDH BBRI GAM2

DV-L78U
12
1. DAC adjustment
(1) TV1 adjustment
Adjustment VR GAM0
Initial value "44" adjustment is unnecessary.
Adjustment VR SBRI
Adjustment Point ————
Input Signal/Setting It is set in "56".
Adjustment VR GPOS
Adjustment Point Connect the oscilloscope to COM output (6PIN of TP1901) and GND.
Input Signal/Setting Black-and-white 10STEP
Adjustment Method Adjust the common amplitude to 8.0±0.1Vp-p.
8.0±0.1Vp-p
Adjustment VR WB-R
Adjustment Point Connect the oscilloscope to 3PIN (VG) and 4PIN (VR) of TP1901.
Input Signal/Setting Black-and-white 10STEP
Adjustment Method Adjust the white balance (red) so that peak-peak the equal of green and red output become equal.
(2) TV2 adjustment
Adjustment VR WB-B
Adjustment Point Dual the oscilloscope to 3PIN (VG) and 5PIN (VB) and GND of TP1901.
Input Signal/Setting Black-and-white 10STEP
Adjustment Method Adjust the white balance (blue) so that peak-peak the equal of green and blue output become equal.
Adjustment VR SCOL
Adjustment Point Connect the oscilloscope to 5PIN (VB) and GND of TP1901.
Input Signal/Setting 100% color bar
Adjustment Method Adjust the blue amplitude of the color bar (black level to peak level) to 3.8±0.1Vpp.
Adjustment VR GAM2
Adjustment Point Connect the oscilloscope to 3PIN (VG) and GND of TP1901.
Input Signal/Setting Black-and-white 10STEP
Adjustment Method Adjust the Vpp of VG to 4.3±0.1Vp-p.
4.3±0.1Vp-p
Adjustment VR CONT
Adjustment Point Connect the oscilloscope to 3PIN (VG) and GND of TP1901.
Input Signal/Setting Black-and-white 10STEP
Adjustment Method Adjust the Vpp of VG to 3.3Vp-p.
3.3±0.1Vp-p
White level
Black level
Sync.

13
DV-L78U
Adjustment VR STIN
Adjustment Point Connect the oscilloscope to 5PIN (VB) and GND of TP1901.
Input Signal/Setting 100% color bar
Adjustment Method Blue of the color bar and the crest value of magenta are made to become equal.
(3) TV3 adjustment
Adjustment VR COM
Adjustment Point Specified adjustment jig (illuminometer) or visual observation
Input Signal/Setting No input state
Brightness: Center
Perform it in a combination of PWB and the liquid crystal panel which will be supplied as
products finally.
Adjustment Method • When using the specified adjustment jig
Connect the output of jig to the oscilloscope and
adjust the waveform to the minimum point.
At this time, perform the adjustment several times
to fix the optimal point because the measuring value
hardly changes around the optimal point.
• In case of visual adjustment
Stand or tilt the panel as shown in the figure and check
by shaking your head and seeing whether stripes appear.
If the adjustment is improper, you will see stripes in the
longitudinal direction. Perform the adjustment so that they
do not appear.
(Type drawing) Optimal point
Adjust within the above
range to fix the optimal point
Direction of stripe
Adjustment VR OSDH
Adjustment Point Visual observation
Adjustment method Adjust the OSDH of TV3 to 27 mm from the right of screen.
27mm
B brightness
Adjustment VR B BRI
Adjustment method Set the B brightness to “76”.
Adjustment VR OPT adjustment
Initialization It is set respectively in WIDE "03", OSDV"00", BL"01".
2. OPT adjustment
3. BAR adjustment
Adjustment VR BAT adjustment
Initialization Stabilized power supply, in the body, connection.
It is made DVD start rise state, and a BACKLIGHT(HI/LOW/OFF) key is pushed and made "HI".
The voltage of the stabilized power supply is adjusted to become 6.4±0.05V in the stabilized
power supply connection part.
Adjustment Method It is set so that the numerical value of the BAT display may become "00"

DV-L78U
14
Adjustment VR R1104
Adjustment Point Visual observation
Input Signal/Setting External input
Check and Check that the horizontal movement of OSD position is 1 mm or less
Readjustment when inputting a signal in the external input mode with no signal input.
If it is more than 1 mm, adjust it so as to get 1 mm or less.
6-5. CHECK AND READJUSTMENT
1. Free run check
Input
2. Screen position check
Adjustment VR R1103
Adjustment Point Visual observation of panel
Input Signal/Setting Monoscope full screen
Check and Check whether the screen is located in the center. If it is not located in the center, adjust it to the
Readjustment center.
Adjustment VR GPOS
Adjustment Point Comparison with the standard set
Input Signal/Setting 10STEP signal
Check and Check whether the luminance and gradation of 10STEP signal are not different in comparison
with the standard set. If they are different, adjust them so as to get equal to the standard set.
3. Luminance/gradation check
4. Depth check
Adjustment VR S depth
Adjustment Point Comparison with the standard set
Check and Check whether the depth of color is not different in comparison with the standard set. If it is
Readjustment different, adjust it so as to get equal to the standard set.
Adjustment VR S tint
Adjustment Point Comparison with the standard set
Check and Check whether the tone is not different in comparison with the standard set. If it is different, adjust
Readjustment it so as to get equal to the standard set.
5. Tint check

15
DV-L78U
7.TEST MODE
Adjustment Mode A power source is put with pushing and .
ROM renewal mode It is put with pushing a playback key and a still key.
When a power source is put with pushing a key.
When there is a disc Error rate display mode (There are a DVD and CD mode of it, and a disc is put, and a key manipulates.)
When there is Test mode (Version display mode, color bar pattern display mode, mecha test mode.)
A power source is put.
[The flow of the test mode]
A power source is put, and closing, a playback key and a stop key are pushed for about two seconds at the same time
without a disk the disk cover. It goes into the (test mode.
The preparation date display of the program
10000000 ∗∗∗∗∗∗∗∗
(Last updata)
Model number display
10000001 ∗∗∗∗∗∗∗∗
(Model number)
The preparation date display of the program
10000002 ∗∗∗∗∗∗∗∗
(Program ver.)
Region code display
10000003 ∗∗∗∗∗∗∗∗
(Region code)
Color bar display
20000001 00000000
Microcord version display
10000004 ∗∗∗∗∗∗∗∗
(Microcode ver.)
The preparation date display of the servo program
10000005 ∗∗∗∗∗∗∗∗
(Servo ver.)
It is returned to the test mode initial image plane.
<The "2" key of the remote controller is pushed.>
<The "1" key of the remote controller is pushed.>
Test mode initial image plane
F0000000 00000000
The "playback" key of the remote controller is pushed.
The "reactivation" key of the remote controller is pushed.
The "playback" key of the remote controller is pushed.
There is no copy guard signal.
As for the symptom when it was
dubbed in the video tape recorder?
Color bar display
20000002 00000000
The "playback" key of the remote controller is pushed.
AGC only
As for the symptom when it was
dubbed in the video tape recorder?
Color bar display
20000003 00000000
The "playback" key of the remote controller is pushed.
AGC+Color stripe1
As for the symptom when it was
dubbed in the video tape recorder?
AGC+Color stripe2
As for the symptom when it was
dubbed in the video tape recorder?
Color bar display
20000003 00000000
To (1)
Model name Model number
DVL70U/L78U 00000701
Region No. Region cord
1 00000001
Micro-code is the thing of the process
program of the system integrated circuit.

DV-L78U
16
Mecah test mode display
3000E000 EEEEEEEE
<Disk is put, and the "2" key of the remote controller is pushed.>
*It is usually returned in power source off for the state.
<The "3" key of the remote controller is pushed.>
<The "1" key of the remote controller is pushed.>
When it failed in servo initialization.
It is returned to the test mode initial image plane
by pushing "the playback" of the remote
controller and a "stop" key at the same time.
Laser test mode display
0D000100 00000000
The "playback" key of the remote controller is pushed.
A playback key and a stop key are pushed at
the same time, and it is returned to the test mode
initial image plane.
DVD mode (Light is sent out by DVD laser,
and a pickup is moved to the circumference.)
DD000100 00000000
The "playback" key of the remote controller is pushed.
CD mode (Light is sent out by CD laser,
and a pickup is moved to the circumference.)
CD000100 00000000
The "playback" key of the remote controller is pushed.
The emission of the laser can be confirmed when
a disk cover is opened and a cap switch is
pushed with the thin bar and so on.
Note:Not to face the light of the laser squarely,
caution!
Slead motor is rotated, and it moves a pickup to
the circumference.
Laser off mode (Light isn't sent out by laser,
and a pickup is moved to the circumference.)
FD000100 00000000
The "playback" key of the remote controller is pushed.
It is returned to the cause in power source off.
How to distinguish a difference in the DVD laser
and the CD laser.
DVD laser is lighter in comparison with the CD laser.
Note:Not to face the light of the laser squarely,
caution!
From (1)
To (2)
Mecah test mode display
30000000 00000000
DDT mode
0D000100 00000000
DDT step 1
DD000201 ∗∗++--00
DDT mode
0D00E201 000000EE When a disk is not in.
It is executed to focus on of DDT.
Focus offset value(∗∗)
Track offset value(++)
0 layer focus balance value(--)
The "playback" key of the remote controller is pushed.
DDT step 2
DD000202 ∗∗++0000
A track, slead on are done after RF gain outline adjustment and track balance adjustment are done.
0 layer RF gain value(∗∗)
Track balance value(++)
0 layer focus balance value
The "playback" key of the remote controller is pushed.
DDT step 3
DD000203 ∗∗++0000
Just focus adjustment is done.
RF gain adjustment is done again after the completion.
0 layer focus balance value(∗∗)
Track RF gain value(++)
The "playback" key of the remote controller is pushed.
DDT step 4
DD000204 ∗∗000000
Focus gain adjustment is done.
0 layer focus gain value(∗∗)
The "playback" key of the remote controller is pushed.
DDT step 5
DD000205 ∗∗000000
Track gain adjustment is done.
Track gain value(∗∗)
DDT step 6
DD000206 ∗∗++0000 (DVD)
DD000206 00000000 (CD)
A two-layer disk does just focus of layer 1 and focus gain adjustment.
A CD does reading of TOC.
1 layer focus gain value(∗∗)
1 layer focus balance value(++)

17
DV-L78U
The "playback" key of the remote controller is pushed.
From (2)
Servo version display
F1000001 99071400
Focus offset value display
F1000002 ∗∗∗∗∗∗∗∗
The "playback" key of the remote controller is pushed.
Track offset value display
F1000003 ∗∗∗∗∗∗∗∗
The "playback" key of the remote controller is pushed.
0 layer focus balance value display
F1000004 ∗∗∗∗∗∗∗∗
The "playback" key of the remote controller is pushed.
1 layer focus balance value display
F1000005 ∗∗∗∗∗∗∗∗
The "playback" key of the remote controller is pushed.
Track balance value display
F1000006 ∗∗∗∗∗∗∗∗
The "playback" key of the remote controller is pushed.
0 layer focus gain value display
F1000007 ∗∗∗∗∗∗∗∗
The "playback" key of the remote controller is pushed.
1 layer focus gain value display
F1000008 ∗∗∗∗∗∗∗∗
The "playback" key of the remote controller is pushed.
Track gaine value display
F1000009 ∗∗∗∗∗∗∗∗
The "playback" key of the remote controller is pushed.
RF swing value display
F100000A ∗∗∗∗∗∗∗∗
The "playback" key of the remote controller is pushed.
RF gain value display
F100000B ∗∗∗∗∗∗∗∗
The "playback" key of the remote controller is pushed.
The inside switch ID value display
F100000C ∗∗∗∗∗∗∗∗

DV-L78U
18
8.TROUBLESHOOTING
Flow Chart NO.2
Flow Chart NO.3
NO
3.2V and 4.95V are not output to the pins 2 - 3
and pins 6 - 8 of connector CN9002, respectively.
YES
The power is not turned on.
Check the DC jack and fuse F9001.
NO
Is almost the same voltage as the input voltage being
applied to the source pins 1 - 3 of FET-TrQ9006?
YES
Check the IC9001 and FET-TrQ9004.
NO
Is the pulse being applied to the gate pin 4 of
FET-TrQ9006? Or, is the voltage 1.5V or less?
Check the FET-TrQ9003, D9003 and L9003.
YES
Check the switch SW9001.
NO
Is the voltage of gate pin 4 of FET-TrQ9006 1.5V
or less? YES Check the FET-TrQ9006.
NO
Is almost the same voltage as the input voltage
being output to the drain pins 5 - 8 of Q9006?
YES Are the connector CN9002 and FFC wire normal?
NO
Is the "H" voltage being applied to the pin 1 of
connector CN9002? YES YES
Check the IC9001 and FET-TrQ9002.
NO
Is the pulse being applied to the gate pin 4 of
FET-TrQ9001? Or, is the voltage 1.5V or less?
NO
Check the IC3200 and IC3205 on the main PWB.
(Power-H line.)
Check the IC9001, Q9005, D9004, and D9005.
4.95V is not being output.
Check the fuse F9002.
NO
Is almost the same voltage as the input voltage being
applied to the source pins 1 - 3 of FET-TrQ9001?
YES
3.2V is not being output.
Is the control voltage normally into the pins 95
and 96 of IC504? (95pin-key1, 96pin-key2)
Replace key switch.
Is key switch contact and installation state?
YES
YES
Check the peripheral circuit or replace IC504.
YES
Check the FET-TrQ9001, D9002 and L9002.
Key manipulation on the DVD function side doesn't function.
FLOW CHART NO.1
FLOW CHART NO.2
FLOW CHART NO.3
FLOW CHART NO.4
NO
The key matrix circuit of IC3200 is checked.
30~27pins(S0~S3), 26~25, 23~22, 20pins(K0~K3),
D3101~D3103, D3106~D3108
Replace key switch.
Is key switch contact and installation state?
YES
YES
Check the main PWB unit of IC3200 and IC3205.
Key manipulation on the LCD function side doesn't function.
FLOW CHART NO.5
When S1001 is pressed, are the pins 1 and 2
short-circuited?
NO NO
YES
Is the tray lid open?
Replace the S1001.
Check the M_4.8V line.
The disc does not rotate.
FLOW CHART NO.7
NO
NO
NO
NO
Is 4.8V voltage supplied to the pin 2 terminal of
remote control receiver?
Replace the remote control receiver or replace the
remote control transmitter is necessary.
Operation is possible from the DVD, but no
operation is possible from the infrared remote
control. YES
Is the "L" pulse sent out pin 3 terminal of receiver
when the infrared remote control is activated?
YES
Check A_4.8V line.
Replace the remote control receiver.
YES
Is pulse signal supplied to the pin 32 of IC504
and the pin 40 of IC3200? Check the line between the remote control receiver
and the pin 32 of IC504 and the pin 40 of IC3200.
YES
Check IC504, IC3200, IC3205 and their periphery.
NO
NO
NO
Does the pickup move in the direction of inner
periphery?
YES
After moving in the direction of inner periphery,
does the pickup move in the direction of outer
periphery?
YES
Check the connection between pins 2 or 4 of S1001
and pins 27 of IC504.
Check the cable connecting to the CN302.
(Check the CN302 and line of pins 2 and 3 of IC702.)
YES
Is 4.8V being applied to the pins 16 and 17 of
IC701?
Check the cable connecting to the CN702.
(Check the CN302 and line of pins 1 and 2 of IC702.)
YES
Check IC701 their periphery.
No operation is possible from the infrared remote control.
FLOW CHART NO.6

19
DV-L78U
YES
NO
YES
In case of DVD:Is the input signal supplied to the
pins (58, 63), (59, 64), (60, 3), and (61, 2)of IC303?
In case of CD: Is the input signal supplied to the
pins (49, 55), (50, 54), 46, and 47 of IC303?
NO
Is the FE signal output to the pin 21 of IC303?
Check the connection of optical pickup cable.
If it is normal, replace the optical pickup cable.
Refer to "The disc is not recognized. (When the
focus servo does not function)".
NO
When the playback button is pressed while both
tray switch(S1001) and LD switch(S502) are held
down with a disc loaded, the disc rotates but stops
immediately. YES
The disc is not recognized.
(In case of focus error)
FLOW CHART NO.8
NO
NO
The disc is not recognized.
(When the focus servo does not function)
FLOW CHART NO.9
NO
NO
NO
YES
Is the focus control signal being output to the pin
43 of IC707?
Check the line between pin 21 of IC303 and pin
38 of IC707.
Is the FE signal being input to the pin 38 of IC707?
(Check item for the symptom)
YES
Check the connection of optical pickup cable.
If it is normal, replace the pickup.
YES
YES
Check the power supply peripheral circuit.
If it is normal, replace the IC707.
NO
Is the focus control drive voltage being applied to
the pins 4 and 2 of CN301?
Check the line between IC707 and IC702.
Is the voltage of 4.8V being applied to the pins 5
and 20 of IC702? NO
Check the AT 8V line.
Replace the IC702.
Check the line between IC702 and connector CN301.
Is the focus control voltage being output from the
pins 24 and 25 of IC702? Is the focus control voltage being input to the pin
17 of IC702?
YES
NO
Is the drive signal (SEL) of Q301 (LD POWER
ON) being output to the pin 52 of IC707?
Is the drive signal (LDO1) of Q307 (LD POWER
CTL) being output to the pin 45 of IC303?
When S502 is pressed, is the base of Q309 0.8V?
NO
NO
NO
Is the voltage of 3.4V being applied to the emitter
of Q308?
NO
Is the drive signal (LDO2) of Q308 (LD POWER
CTL) being output to the pin 4 of IC303?
When S502 is pressed, is the base of Q309 0.8V?
YES
The CD disc is not recognized.
(When the laser beam does not go on)
FLOW CHART NO.11
The DVD disc is not recognized.
(When the laser beam does not go on)
FLOW CHART NO.10
NO
NO
Is the voltage of 3.1V being applied to the emitter
of Q301? And, is the voltage of 3.4V being applied
to the emitter of Q307?
YES
Is the voltage of 3.1V and 2.3V being applied to
the pins 14 and 23 of CN301, respectively?
Check the line between the pin 4 of IC303 and
base of Q308.
Check the line between S502 and R397.
YES
Check the D_3.1V line and A_4.8V line.
Check the A_4.8V line.
YES
Check the connection of optical pickup cable.
If it is normal, replace the pickup.
Check the Q301 and line between Q307 and
CN301.
NO
Is the voltage of 2.3V being applied to the pin 9
of CN301?
YES Check the line between Q308 and CN301.
Check the connection of optical pickup cable.
If it is normal, replace the pickup
YES
Check the line from the pin 52 of IC707, through
Q304, to the base of Q301.
Check the line between the pin 45 of IC303 and
base of Q307.
Check the line between S502 and R397.
NO
YES
NO
NO
Is it possible to hold normally the disc with the
check?
Set the disc on the disc tray.
YES
Replace the main pwb unit.
YES
YES
Check the loading switch (S502).
Replace the optical pickup unit.
It is laundered by the disk cleaner.
Is the level of RF signal which is output from the
pin 28 of IC303, normal? Check for contamination of objective lens of optical
pickup.
YES
Does a signal come out in the following, each
output terminal of the integrated circuit?
Picture signal
IC201 20pin Y-SIG.
IC201 22pin C-SIG.
Sound signal
IC801 16pin AUDIO(L-CH)-SIG.
IC801 13pin AUDIO(R-CH)-SIG.
Both picture and sound do not operate normally.
FLOW CHART NO.12

DV-L78U
20
NO
Does a signal come out in the following, each
output terminal of the integrated circuit?
Picture signal
IC2102 12pin Y-SIG.
IC2102 8pin C-SIG.
IC2102 10pin CVBS-SIG. NO
NO
Are the video signals inputted to the pins of LCD
DECODER IC1801.
IC1801 3pin Y-SIG.
IC1801 5pin C-SIG. NO
NO
A disk is set on the tray, and played back.
It confirms that there is no problem by flowchart
NO.12. YES
A video signal doesn't come out in the outside
projected image output terminal (J6002).
FLOW CHART NO.13
Check the peripheral circuit of IC1801.
YES
Doesn't the voltage adjustment of the line come off
+7.5V? If it deviates, it is readjusted with R1102.
Check the peripheral circuit of IC2102, Q1805,
Q2102, D2301.
NO
Check the line between the pin 4 of IC201 and
pin 3 of IC1801. (Q203~204, IC2101, Q1801,
Q1807, Q1808)
Check the line between the pin 7 of IC201 and
pin 5 of IC1801. (Q201, Q202)
NO
Do 19 of IC1801, 21, 24 pin (VR, VG, VB) output
appear?
YES
LCD panel peripheral circuit and the existence of
the failure place of the appearance are confirmed.
YES
A LCD panel power circuit and rogic circuit are
examined. (IC1000, Q1100, T1100, etc.)
Is a power source being supplied to the LCD panel
normally?
VGH(+13V), VSS(-16V), VCC(-10.9V), VSH(4.8V),
VGL(-10V)
YES
NO COMMON AMP., CURRENT DET. circuit are
examined. (Q1102~1103, IC1103, etc.)
YES
COMMON Doesn't AMP. adjustment come off?
If it deviates, it is readjusted based on the GPOS
adjustment.
Is the COM bias level of the LCD panel normal?
YES
NO Check the peripheral circuit of IC1101.
Is TFT LCD CONTROL PROCESSOR (IC1101)
normal?
YES
The outside output terminal (J6002) peripheral is
checked from 12 of IC2102, 8 pin.
The VIDEO DRIVER circuit composed of Q2201,
Q2206 is examined.
Picture do not operate normally.
FLOW CHART NO.14
Does 13 pin of IC1801 gain the control voltage
(about 3.1V) of TINT?
YES
YES
NO
Is the outside horizontal synchronizing of 34 pin of
IC1801 normal? NO
NO
Is (the 14,16 pin of IC1801) doing oscillation
(3.58MHz) with VCO of the chroma circuit
normally? YES
NO
NO
NO
NO
Is the voltage of pins 5, 6, 7, and 8 of TP1191
normal?
Is the backlight going on? YES
YES
Is each voltage of CN1105 normal?
Is the oscillation of inverter normal?
NO
Check the pin 49 of IC3200 and pin 9 of IC3201.
Replace the inverter unit.
Check the periphery of IC1000, Q1100 and T1100.
Is TFT LCD CONTROL PROCESSOR (IC1101)
normal? YES
LCD panel peripheral circuit and the existence of
the failure place of the appearance are confirmed.
Check the periphery of IC1101.
NO Check the periphery circuit 13 pin of IC1801.
NO The readjustment of white balance is done.
Check the peripheral circuit 6 pins of IC1801.
Replace the backlight.
Is white balance normal? YES
NO Check the chroma periphery circuit of IC1801.
Are 19 of IC1801, 21, 24 pin (VR, VG, VB) output
normal?
YES
Check the LCD panel unit.YES
NO Check the chroma periphery circuit of IC1801.
Are 19 of IC1801, 21, 24 pin (VR, VG, VB) output
normal?
NO
Check the LCD panel unit.NO
Check the periphery circuit of X1801 and pins 14,
16 of IC1801.
Does 6 pin of IC1801 gain the control voltage
(about 3.0V) of COLOR?
YES
No picture
FLOW CHART NO.15
Color of the picture image is abnormal.
FLOW CHART NO.16
A color doesn't have it about the picture image.
FLOW CHART NO.17
Check the pins 38, 44, 43 of IC1101 and L1109,
D1105, IC1102, Q1101, etc.
Table of contents
Other Sharp Portable DVD Player manuals

Sharp
Sharp DV-L80S User manual

Sharp
Sharp DV-L70U Application guide

Sharp
Sharp DV-L88 User manual

Sharp
Sharp DV-L88S/S User manual

Sharp
Sharp DV-L88W User manual

Sharp
Sharp DV-L70S User manual

Sharp
Sharp DV-L80 User manual

Sharp
Sharp DV-L88S User manual

Sharp
Sharp DV-L70U User manual

Sharp
Sharp DV-L80S Application guide