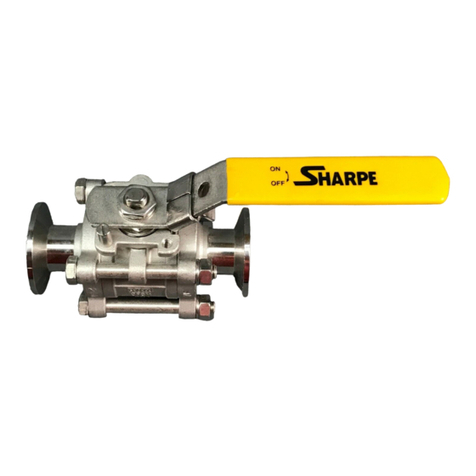
Sharpe 50 Series User manual

IM-50-2, Rev. B
July 29, 2011
Page 1 of 5
Installation, Operation, and Maintenance Manual
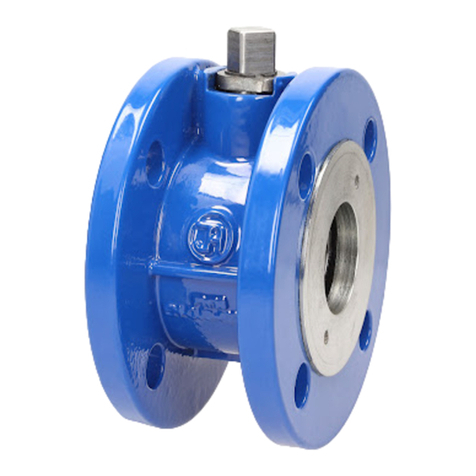
Series 50 / FS50 Flanged Ball Valves
Sizes 6” - 12” , Classes 150 & 300
DESCRIPTION:
Split body, two piece construction full port ball valve. Design allows maintenance without the
need for special tools. Ball support supplied for 10” and 12” Class 150 valves, and 6” through
12” Class 300 valves.
INSTALLATION:
1. Before installing the valves, the pipes must be flushed clean of dirt, burrs and welding
residues, or you will damage the seats and ball surface.

IM-50-2, Rev. B
July 29, 2011
Page 2 of 5
2. These valves may be installed in any position using good pipe fitting practices. Flanges
conform to ASME Standard B16.5, Class 150 or Class 300.
3. Periodically check and tighten body joint and flange bolting. (See TABLE 1 for torque
requirements.)
MANUAL OPERATION:
1. The valve is opened and closed by turning the handle ¼ turn (90°). Turning the handle
clockwise closes the valve (handle perpendicular to pipeline). Turning the handle
counterclockwise opens the valve (handle parallel to pipeline).
AUTOMATED OPERATION:
1. Valves with Actuators should be checked for alignment of the actuator to the valve.
Angular or parallel misalignment may result in high operational torque, and potential
damage to the stem seals or stem.
STEM SEAL ADJUSTMENT:
1. Stem seal leakage may be corrected without disassembly. If leakage is evident in stem
packing area, tighten the gland bolts 1/4 turn, each. If leakage persists, repeat above.
Replacement of stem seals is indicated if the leak is still apparent after 1/2 turn.
DISASSEMBLY:
-CAUTION-
If the Valve has been used to control hazardous media, it must be decontaminated before
disassembly.
---WARNING---
Do not attempt to repair or partially disassemble a valve while it is in line and under pressure.
Isolate the line, de-pressurize, and remove valve prior to performing maintenance.
1. Remove flange bolts and nuts and lift valve from line. Care should be taken to avoid
scratching or damaging flange facings.
2. Remove handle, snap ring, and travel stop plate.
3. Remove gland bolts, gland, and gland ring from stem.
4. Remove body end nuts, using proper wrench size. Lift off body end. One seat should
come out with body end.

IM-50-2, Rev. B
July 29, 2011
Page 3 of 5
5. Remove body seal.
6. For 10” and 12” valves only: Ball support must be backed off to remove ball. Loosen
support nut, set nut and back out tuning screw on bottom of valve to release the ball
support. The weight of the ball will cause the ball support to come down.
7. To take out the ball, rotate stem so ball is in fully closed position. Carefully lift ball off
stem tang and from body with a “rolling” motion. Use a strap and lift device, if
necessary. Note: Extreme caution should be taken to avoid damage to the ball.
8. Take out other seat.
9. Stem must be removed from inside the body. The thrust bearing should come out with
the stem. Then remove the stem packing and stem bushing.
VISUAL INSPECTION:
1. Clean and inspect all metal parts. Replace the ball and/or stem if the seating or sealing
surfaces have been damaged, worn, or corroded.
2. Stem seals, seats, and body seal must be replaced whenever the valve is
disassembled to avoid seal leakage and ensure proper performance.
ASSEMBLY:
Note: The valve may be assembled and operated dry where no lubricants are allowed in the
system; however, a light lubrication of mating parts will aid in assembly and reduce initial
operating torque. Lubricant used must be compatible with the intended line fluid.
1. Set the valve body on a clean work suface, resting on the end flange.
2. Install one seat in the body cavity with the spherical curvature facing the ball (upwards).
3. Cut new stem bushing on one side at approx. 30° - 60° angle and wrap around stem
above shoulder.
4. Install thrust bearing on stem and holding stem bushing in place, slide the stem up
through stem bore from inside body.
5. Install new stem seals, gland ring, and gland. Install gland bolts and tighten hand tight.
6. Install travel stop, and snap ring.

IM-50-2, Rev. B
July 29, 2011
Page 4 of 5
7. Turn the stem to the CLOSED position (bottom stem tan parallel to flow passage). Line
up the ball slot with the stem tang and roll and lower the ball into position on the stem
tang, letting the ball rest in the seat. Turn the stem and ball to the OPEN position to
hold the ball in place.
8. For 10” and 12” Valves Only: Re-set the ball support by turning the tuning screw
inwards until the support pin seat firmly contacts the ball. Do not cause the ball to
move. Holding the tuning screw in place, tighten the support nut and then the set nut.
9. Install the remaining seat into body end.
10.Place new body seal into counterbore in valve body.
11.Put body end into body and align the flange bolt holes to straddle the valve centerlines.
Note: Be careful not to damage body seal when putting end into body.
12.Install body end nuts and tighten in a "Star" pattern to the torque specified in Table 2.
Take care to make sure that complete engagement of studs with body flange is
maintained. There should be at least one stud thread exposed on each side.
13. Tighten the gland bolts to the torques specified in Table 1.
14. Install handle, making sure that the handle aligns with the flow passage through the
ball.
15.Cycle the valve open and closed several times slowly to ensure that operation is
smooth and free of binding or sticking.
16.Pressure test valve, if possible, before reinstalling in pipeline.
Table 1 – Gland Bolt Torques
SIZE Tightening Torque (lb-ft) Max
6” – 8” 42 (1/2-13UNC)
10” - 12” 83 (5/8-11UNC)

IM-50-2, Rev. B
July 29, 2011
Page 5 of 5
Table 2 – Body Bolting Torques
SIZE THREAD
Tightening
Torque (lb-ft)
Max
6”,8” (Class 150) / 3”~6”(Class 300) 5/8-11UNC 83
10”,12” (Class 150) / 8”(Class 300) 3/4-10UNC 120
10”(Class 300) 7/8-9UNC 190
12”(Class 300) 1-8UNC 260
This manual suits for next models
1
Table of contents
Other Sharpe Control Unit manuals
