manuals.online logo
Brands
  1. Home
  2. •
  3. Brands
  4. •
  5. Shelti
  6. •
  7. Game
  8. •
  9. Shelti Foos 400 User manual

Shelti Foos 400 User manual

Assembly Instructions
Thank you for purchasing a Shelti product. All of us at Shelti want you to be completely satisfied with
your Foos game, so feel free to contact us for help with the assembly of your product, Shelti parts, or
other information you may require.
Tools Required:
1/2" Wrench
3/4" Wrench
Hammer
Phillips screwdriver
Level
STEP #1
• Remove the following parts from the Foos 400 accessory box.
Description Part Number Quantity
Shelti Soccer Leg Assembly CS-SSL-0 4
Goalie Rod Assembly ES-GRA-0 2
5 - Man Rod Assembly ES-5RA-0 2
3 - Man Rod Assembly ES-3RA-0 2
2 - Man Rod Assembly ES-2RA-0 2
C - Accessories Bag CS-ASA-0 1
C - Assembly Instructions 210-0001-0 1
Shelti Rubber Bumper 203-0001-0 16
Shelti Soccer Man Red 201-0001-0 13
Shelti Soccer Man Black 201-0005-0 13
Spirol Pin 205-0006-0 26
5/16" Flat Washer 303-0002-0 8
5/16" Hex Nuts 302-0002-0 8
Score Posts 201-0006-0 4
Score Rods 205-0007-0 2
Red Score Beads 003-0002-0 5
Black Score Beads 003-0003-0 5
#8 x 2" Wood Screw 304-0005-0 4
Spirol Pin Punch 210-0012-0 1
Super Lube Tube 210-0002-0 1
Balls 201-0007-0 3
Rod Block 102-0070-0 1
To Purchase This Item, Visit BMI Gaming | www.bmigaming.com | (800) 746-2255 | +1.561.391.7200
STEP #2 – Leg Assembly
• Carefully lay the table upside down on a cushioned surface (carpeting, blanket, etc.) to prevent
damaging the cabinet laminate.
• Assemble the legs using the holes in the leg pads. Tighten nuts with a 1/2" wrench.
For Installing Optional
Commercial Duty
3½" x 5½" Legs
• Carefully lay the table upside
down on a cushioned surface
(carpeting, blanket, etc.) to
prevent damaging the
cabinet laminate.
• Viewing the table from eithe
r
long side (the sides with rod
holes), install a left leg
(coded "L") on the left hand
side of the table by inserting
the leg's threaded studs into
and through the mounting
pad holes. Then secure with
a flat washer/split-lock
washer/ hex nut (see
drawing). Install a right leg
(coded "R") in the same
manner on the other end of
the same long side.
• Move to the other long side
of the table and repeat the
process.
2
To Purchase This Item, Visit BMI Gaming | www.bmigaming.com | (800) 746-2255 | +1.561.391.7200
STEP #3 – Rods, Bumper And Men Assembly
• Once the table legs are secure, (using two people) pick the table up and turn it over onto its legs.
• Locate the five man rods… These two rods will be located in the center of the game as illustrated
below. Note… The men are designed with a slight press fit onto the rods in order to maximize
playability.
°
°
°
°
Place the five man rod through the bushing in one wall… Slide on the first bumper making sure
that the larger hole in the bumper is away from the wall and toward the man. This will allow
the bumper to snap onto the shoulder of the outside man.
Slide on the five men and the second bumper and slide the rod through the bushing hole in the
far wall… Note that the red and black men face in opposite directions as shown in the
illustration. In some cases you may need to add a small amount of lubricant inside the
shoulder hole of the man to ease the sliding of the man onto the rod.
Align each man over a hole in the rod and drive in a spirol pin. Note: place the rod block under
the rod before hammering in the spirol pins.
Snap the bumpers onto the shoulder of the outside men. This can be done by pulling/pushing
the men into the side walls until the bumpers are securely seated.
• Repeat these operations for the 3-man, 2-man, and goalie rods. Note: the 3-man and goalie rods
both have three holes. The goalie rod is the shorter rod.
3
Goalie Rod – Shorte
r
Than Three Man Rod
Two Man Rod –
Longest Rod
Black Men
Five Man Rod
Black Men
Three Man Rod – Longe
r
Than Goalie Rod
Black Men
Black Men
Ball Return
Red Man
Red Man
Three Man Rod – Longer
Than Goalie Rod
Red Man
Five Man Rod
Red Man
Two Man Rod –
Longest Rod
Goalie Rod – Shorter
Than Three Man Rod
To Purchase This Item, Visit BMI Gaming | www.bmigaming.com | (800) 746-2255 | +1.561.391.7200
STEP #4 – Score Post & Rod Assembly
• Assemble the score posts - score rod - beads.
• Screw the score posts to the top of the game.
• The black scoring assembly contains 4 black beads and 1 red bead and should be placed at the end
of the table where the black goalies are located. The odd colored bead signifies the final point and
should be placed so that it is the last bead pulled toward you (the black team). The red team
scoring assembly on the other side is just the opposite.
Black Goalie End Of Game
4 – Black Beads
1 – Red Bead
Opposite End Of Game
4 – Red Beads
1 – Black Bead
STEP #5 – Level The Game
• Turn the leg levelers in or out of the leg until the ball rolls true on the play surface.
• For more precise leveling, use a level. Place the level horizontally on the playing surface pointing
toward the goal openings. Be sure all the levelers are screwed all the way in as a starting point.
Turn the leg levelers up equally on one end until you are horizontally level. Then turn your level
90° so it is pointing toward the ball server holes. Now turn the levelers up on one side of the table
until you are vertically level.
4
To Purchase This Item, Visit BMI Gaming | www.bmigaming.com | (800) 746-2255 | +1.561.391.7200
STEP #6 – Lubricate The Rods / Bearings
5
• Push the rod away from you until the bumper hits the opposite wall. Apply two or three drops of
lubricate on the face of the bearing and rod using the Super Lube Tube furnished with the game.
Rotate the rod while pulling the rod toward you to evenly spread the lubricant on the rod. Perform
the same operation on the opposite bearing face and rod. Repeat as needed.
STEP #7 – Rotating The Bushings
• Once a year the bushings should be rotated 180 degrees to assure an even wear of the bushing
surface. To accomplish this rotation remove the rods from the game and push a 7/8" socket head
over the bushing fingers (Drawing - A). Push the bushing out of the hole and rotate the bushing
180 degrees (Drawing - B). Snap the bushing back into place and return the rod and men to the
game.
7/8 " 7/8 " 7/8 "
Drawing - A Drawing - B
To Purchase This Item, Visit BMI Gaming | www.bmigaming.com | (800) 746-2255 | +1.561.391.7200

Other Shelti Game manuals

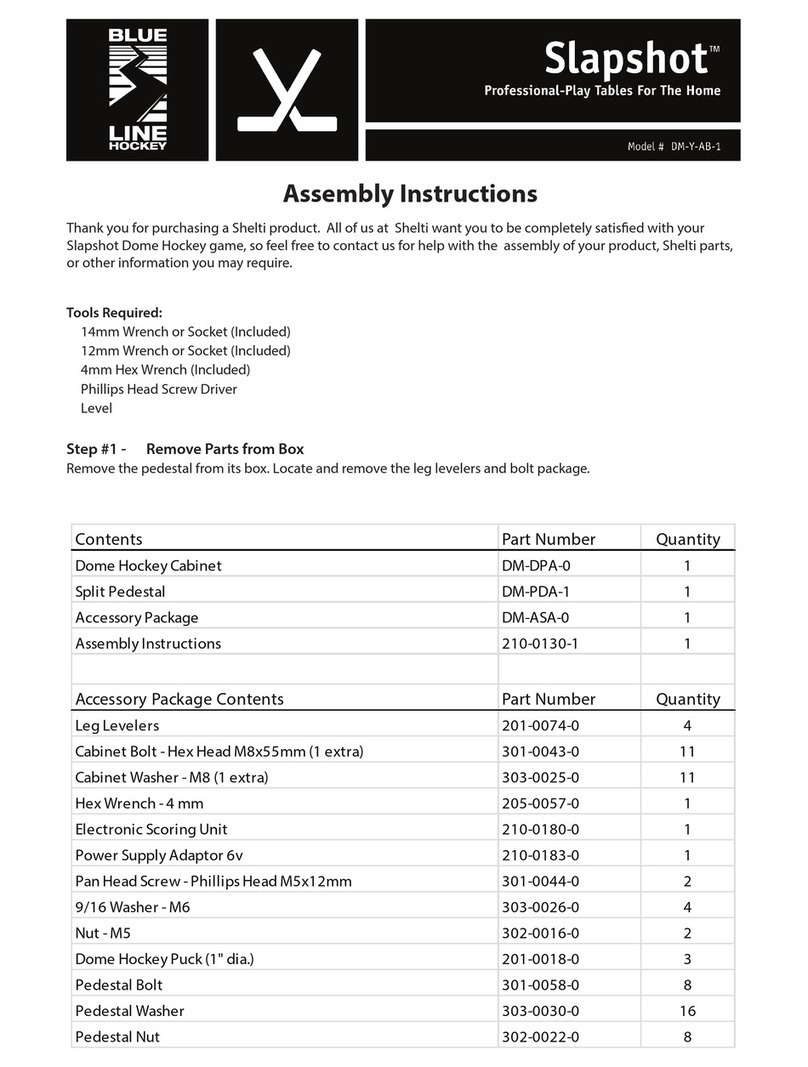
Shelti Slapshot Dome Hockey DM-Y-AB-1 User manual

Shelti

Shelti Slapshot Dome Hockey DM-Y-AB-1 User manual

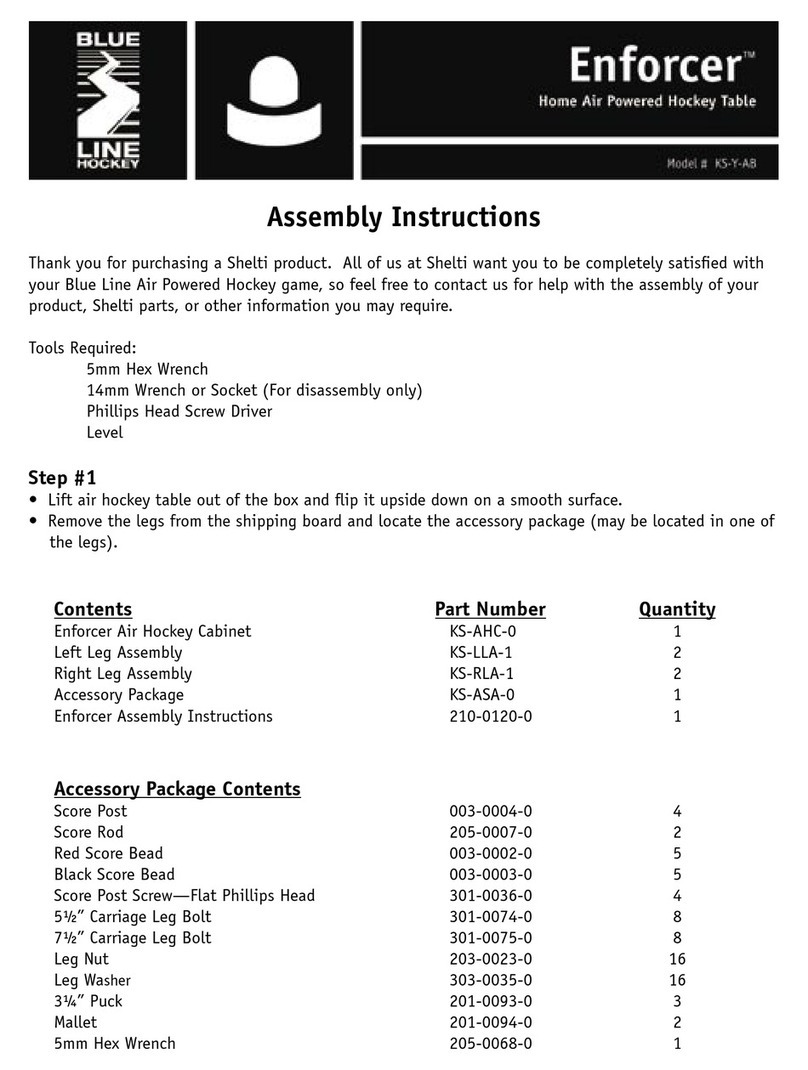
Shelti Enforcer User manual

Shelti

Shelti Enforcer User manual

Popular Game manuals by other brands

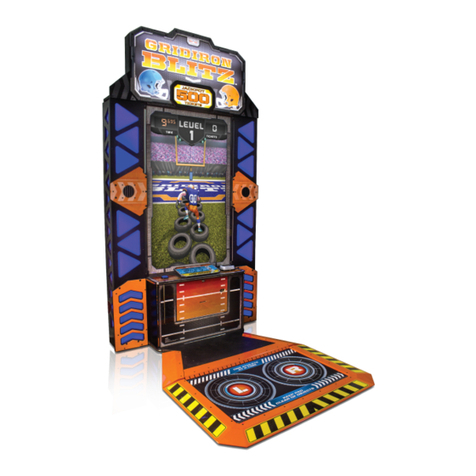
Bay Tek Games GRIDIRON BLITZ Service manual

Bay Tek Games

Bay Tek Games GRIDIRON BLITZ Service manual

Outdoor Play Box it! 2020 instruction manual

Outdoor Play

Outdoor Play Box it! 2020 instruction manual

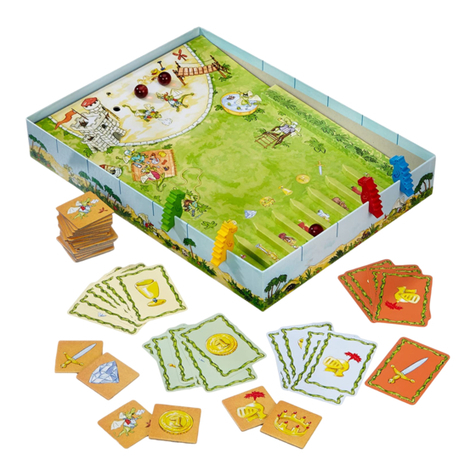
Beleduc Papilio Instruction

Beleduc

Beleduc Papilio Instruction

Costway UY10001 user manual

Costway

Costway UY10001 user manual

Vex Add It Up Assebly instructions

Vex

Vex Add It Up Assebly instructions

Radica Games BUCKAROO 630 instruction manual

Radica Games

Radica Games BUCKAROO 630 instruction manual

Roberto Sport INGLESE Assembly instructions

Roberto Sport

Roberto Sport INGLESE Assembly instructions

Koala Technologies KoalaWare Spider Eater owner's manual

Koala Technologies

Koala Technologies KoalaWare Spider Eater owner's manual

Tomy The Magic Oven manual

Tomy

Tomy The Magic Oven manual

Tiger Electronics Last Out 7-584-0 instructions

Tiger Electronics

Tiger Electronics Last Out 7-584-0 instructions

Fisher-Price RollOverRover manual

Fisher-Price

Fisher-Price RollOverRover manual

Mattel World Championship Football instructions

Mattel

Mattel World Championship Football instructions

DGT Centaur manual

DGT

DGT Centaur manual

Haba Dragon Diego Dart manual

Haba

Haba Dragon Diego Dart manual

Tiger Electronics Brain Warp instruction manual

Tiger Electronics

Tiger Electronics Brain Warp instruction manual

Tiger Electronics Bot-Ster 59704 instruction manual

Tiger Electronics

Tiger Electronics Bot-Ster 59704 instruction manual

Fundex Games Timber Tumble User instructions

Fundex Games

Fundex Games Timber Tumble User instructions

Crivit DS-1532 Playing and user instructions

Crivit

Crivit DS-1532 Playing and user instructions

manuals.online logo
manuals.online logoBrands
  • About & Mission
  • Contact us
  • Privacy Policy
  • Terms and Conditions

Copyright 2025 Manuals.Online. All Rights Reserved.