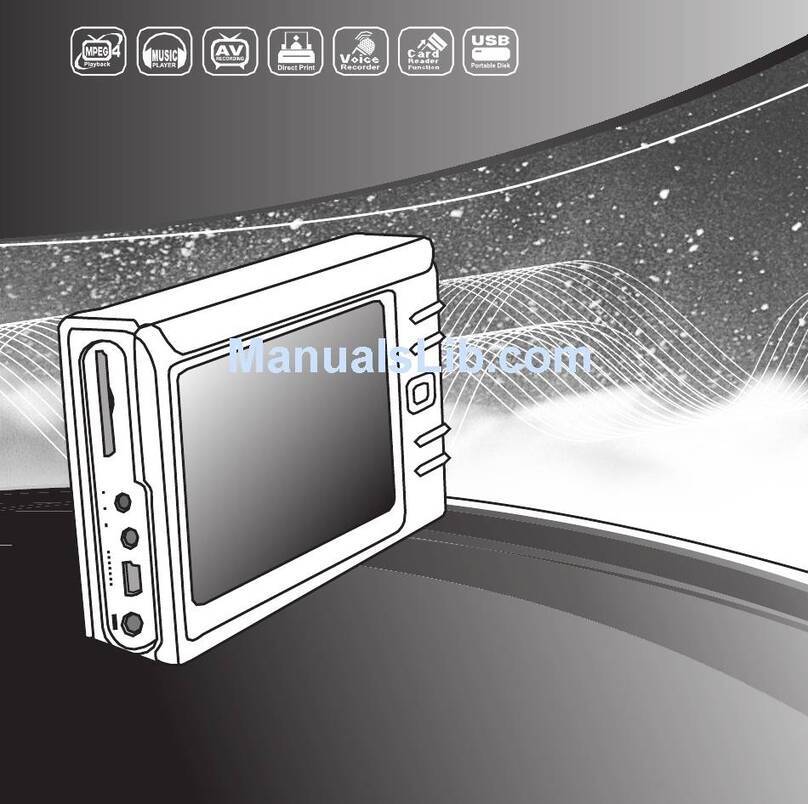
SHENZHEN XINYI TECHNOLOGY PV110 User manual

1
VR-1500 Operation Manual
Table of Contents
Contents P1
Hardware Orientation P2
Main Unit P2
RemoteControl P3
Accessories P3
Setting Record Modes P4
Basic Operation P4 P11
How to turn on / offtheDVR P4P6
How to stat arecording P6 P10
Managingand playback YourFiles P10P12
SystemParameter Setting P12 P15
How to Connecting External Device P16 P19
Type Usage P19
Updating the DVR Firmware P20
DVR Specifications P20
PV110 Mini DVR Manual
PV110 Mini DVR Manual

2
HardwareOrientation
. DVR
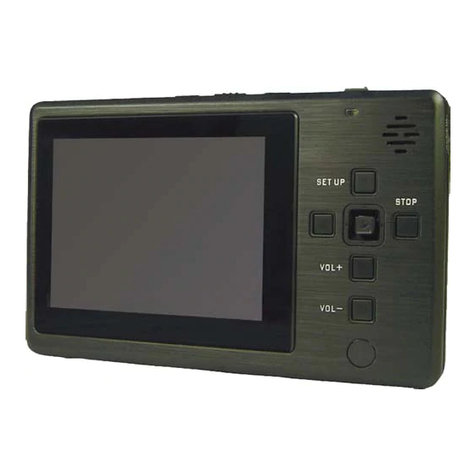
1. Power On/Off 2. ChargeLed3. Internal Microphone
4. AV Input & 5V DC Out jack
5. Low Power LED 6.Record /Stop Button
7. Power On/Record LED 8. DC5V In Jack9. USB Port
10. AV Out & Trigger button jack 11. ResetButton 12. LockSwitch
13. Internal Speaker14. SD Socket15. IR Sensor
16. Down Button 17. Up Button 18. Enter Button
19. EscButton 20. Menu Button

Ⅱ. Remote Control
1. Record/Stop button2. Up Button 3. EnterButton;
4. Down Button 5. LCD/TVSwitch Button 6. Exit Button;
7. Menu Button 8. LCD Off Button;
Ⅲ. Accessories
Trigger button cable

4
Setting RecordModes
There are three work model for record :showedas the following Figure
Figure 0
lRecord ----- for video and audio record, the record data will be saved in AVIfiles under the Record Files”
folder;the prompt iconwill appear on the top leftcorner ofthe screen.
lPhoto --- for still picturecapture,thephotos will besaved in JPG files under the Photo Files”,
and theprompt icon will appear on theto left corner of thescreen.
lAudio ----for only audio record, the record data will be saved in WAVfiles under ”Audio Files”and the
prompt iconwill appear on the top leftcorner ofthe screen;
BasicOperation
.How to turn on / off the DVR:
lTurn on /offthe DVRbythe PowerOn/Off switch.
PushPower On/Off to On/Off”side until the RED powerled light to turn the DVR on , thenthe
startup picture will appear on the screen; when the DVRis power on,push the Power On/Offswitch to
On”side until the shut down picture appear on the monitor to turn theDVR off,
PS: ifthe video signal and SDcard are unavailable the DVRwill alarm by vibration and the red letters on screen
until they allare ready;

5
lYou can turn the VR-1500 recorder using the trigger cable that come with it.
Press the button to turn the recorder "ON" and it will also begin to record.
button the release the switch , the DVR will save all files and power down;
The trigger button is inserted into the AV Out jack.
lYou canturn offthe DVR onyourschedule as the setting automaticshutdowntime,asshown inthe following
figure ;
PS: CameraManager Interface orientation as the following: (as shownin Figure 4)
Press the button again and it will stop recording and turn "OFF".
Press the button again and it will stop recording and turn "OFF".

6
Figure 4
1. Image Size; 2.Resoluton ;3.Overwite On/Off;
4.In/Out Microphone; 5.Vibration On;6.SD card info..;
7.Battery Capacity;8.Date and TimeStamped;9.User ID; 10.Mode;
.How to start a recording
1. Preparing foryourrecording task:
lSelect acorrect record mode for your task by setting work mode;
lPlease charge the internal mobile battery over3hoursbefore you begin recording ;we advisethat you
equip the UPS Battery Bank (7200mAH) to theDVR for your long time record task(over 10 hours); as
shown in theunderside figure ;
Mobile Battery
lThe specialexternal camera from our DVRkits can beconnected to the DVRdirectly via the AV-Inport
without additionalpower cord,the DVR canoutput DC5V@400mAfor aexternal DC5VCCD or
CMOS camera by the AV-In cable;

7
lPrepare ahigh speed SDcard to save your record data.
lAvideo image and OSD will appear on the screen ofthe display device,you can select aTVor LCD as
the display device by pressing the LCD/TVSwitch Button onWireless Remote Controller,press
the button toswitch the display as the following: LCD-->TVPAL-->TVNTSCLCD,
2. Howto capturethevideo and audio:
lPush theRecord /Stopswitch to Rec”side to startarecording,thered power led
lamp and thered dot icon on the leftup cornerofscreen will flash atonce per second until the switch
be pushto Stop”side to stop recording; the continued recording time will be shown onthe right up
corner,as shown in recording figure,ifthe switch is set on Rec”sidebefore power on,the DVR will
record directly iftheSD card is available
lOne buttonforyourrecording task.: ,Press down thered buttontoturn
ontheDVRtorecording,andrelease thebuttontostoprecording,then theDVRwill
power off after savingrecorddate automatically. (the trigger Cable ispluggedinto the AV port.
Recording
l
Motion detect recording,the DVRwill be triggered to record when only the videoimage is changed
in the motiondetect red area covered by the redblock, ashow in Figure13,14.
Whenthemotion detectfunctionis on, you canselectthemotionsensitivity (showedasthe
following figure)

8
Figure 15
Ⅳ. Managing and play back your evidence files
1. Learning to use thenavigationbuttons
l:Forbringout the popup main menu;
l: For moving cursoror adjust the value ofspeaker/microphone and the number ;
l:For exit;
l:for selecting or enter;
On the Camera Manager screen, press the MenuButton , select Event Playback option, ,the evidence files are sorted
in related folders. Select one files then pressed the end keyto playback the files, as shownin the following figure
Playbackevidence
lPlaying backrecord files:
Play backthe video files: Pressthe select button on the Video Playeritem optionto play back the video
files; the prompt information will appear on the screen such as: time, soundvolume, etc. asshownin following
figure,meanwhile, you can press the up or down key to adjust the audio value once by once, you canalso
select the speed ofplayback by holding the key up or down key ispressed over 3seconds,

9
Figure 20Figure 21
Browse stillphotos:Press the select button on the image Viewer itemto browsethe still photos, press
the up or down key to view last or next picture;
Play backthe audio files:Press the select button on the Voice Player item to playback the audio files;
lManaging recorded files:
movethe cursor to select afile, when press the MenuButton , the filemanager menu will popup on the
screen, ,youcan play back, copy, paste, delete the file,etc.

10
Figure 22 Figure 24
Ⅲ.RecorderSetting
Press the key to bring out the recorder setting interface , showed as thefollowing picture
lWork Mode :There are three work mode for selection, showed as the following pictures.
lMotion Detection:

11
You can select the YESor NO toenable or disable the Motion detection record function, When the motion
detect recordfunction ison , andthe Push the Record /Stop switch to Rec”side, amotion can
trigger aautomatic recording;
lSensitivity and Redefine Level: there are three grades for the sensitivity motion:high, medium, low
lResolution: You canselect the image size for your photo or video capture: D1:720*480 or 720*576,
VGA:680*480 ;showed as thefollowing pictures:
lVideo Quality: there are three grade quality for you for video record,it will effectMPEG rate,the High is
about 8-9 Mbps,the Medium is about 3.5Mbps,andthe Low isabout 2.5Mbps,the video qualitywill be
better and bigger whenyou select abigger bit rate;

12
lTimestamp and format: The realtimestampwill appear on right topofthe video image when your selection
Timestamp setting is On, otherwisethe timestamp will not been shown;
lFile Length :Set the record files time length:
lFPS Set: This option isfor settinghow many frames picture per second when you video record ,such as 30
frames per second, 15 frames per second;

13
lAudio Record Volume: Youcanadjust thevolume level value for the audioinput in 1to10;ifthereare
some noiseplease adjust the volume to lower, otherwise you can select higher volume for audio recording.
lMicrophoneSelcet: You can select the build in microphone or external microphone as your audio source;
lOverwrite: Ifyour selection is ON ,the DVRwill stop recording once the SD Disc becomes full, ifyour
selection is Off, the DVRwill continue to record by writing over the old files once the SD Disc becomes
full;

14
Ⅲ.SystemParameterSetting
lLanguage : For youselect the OSD language for you can read;
lDate and Time: Use the navigation buttons to move the cursor to the date line and correct
the YEAR,DAYor MONTH,Next move to the time line and adjust to the
correct time for your time zone. Press the Enter button to save setting

15
lPassword Protedction: you can set or cancel the password protection for USB or format SD Disc orfiles to prevent
been deletedwithout your authorization.The default password is 000000 for all password.
USB Password: You canset or enable or disable the USB password for accessing the DVR byUSB.
Delete Password: You can set or enable or disable the delete password for deleting the files in the SD disc.

16
Format Password: Youcan set or enable or disable the delete password for formatting the SDdisc.
lVideo Output: Youcan select the video output signal format your external display devices,such as TV,monitor or
LCD ,etc.

17
lPowerSave: In order tosave more power, youcan set the DVR turn offthe LCD automatically after 3seonds by
setting the LCD off.The LCD will be turned on ifyou press any key.
lVibe Alert: ifyou select the On to open the vibration alarm, the DVRwill give avibration prompt for power on ,
video loss,SD card invalidation, low power, and power off.
lBeep: When you select the On to open the beep sound on, there will be abeep sound for pressing the button.

18
lFormat: You can format the SD card, the default passwordis 000000.
lFirmwareUpdate
1. Copy thefirmware update file toaSDcard;
2. Insert theSDcard into the DVR;
3.Select Yes then press the Select Button , thenthe firmware update dialog blockwill appear on the screen, as
shown in thefollowing Figure ,while updating ,please keep enough battery power or connect the AC adapter to AC power
outlet and not to operate the DVR toavoid FWupdate failing

19
lSD CardInfo: Youcan check the informationon the current SD card.
lDefault Setup: You can reset the DVR todefault settingifit is necessary; select the YES then to pressthe select
button toreset to default setting;
lVersion: You can check the current FWversion.

20
How to Connect External Devices
lConnect with the external camera:
You can connect the special cameras to the DVR by the AV-Inport directly, or you can input avideo and
audio source by the AV-In &DCOut cable, on the same time the DVRcan output DC5Vvoltage (max 400mA)
to power theexternal CCD or CMOS camera by the AV-In&DC Outcable,The yellow RCAconnector is for
video, the white and the red RCAconnector are for audio;
lConnecting with the UPS Battery Bank
Table of contents
