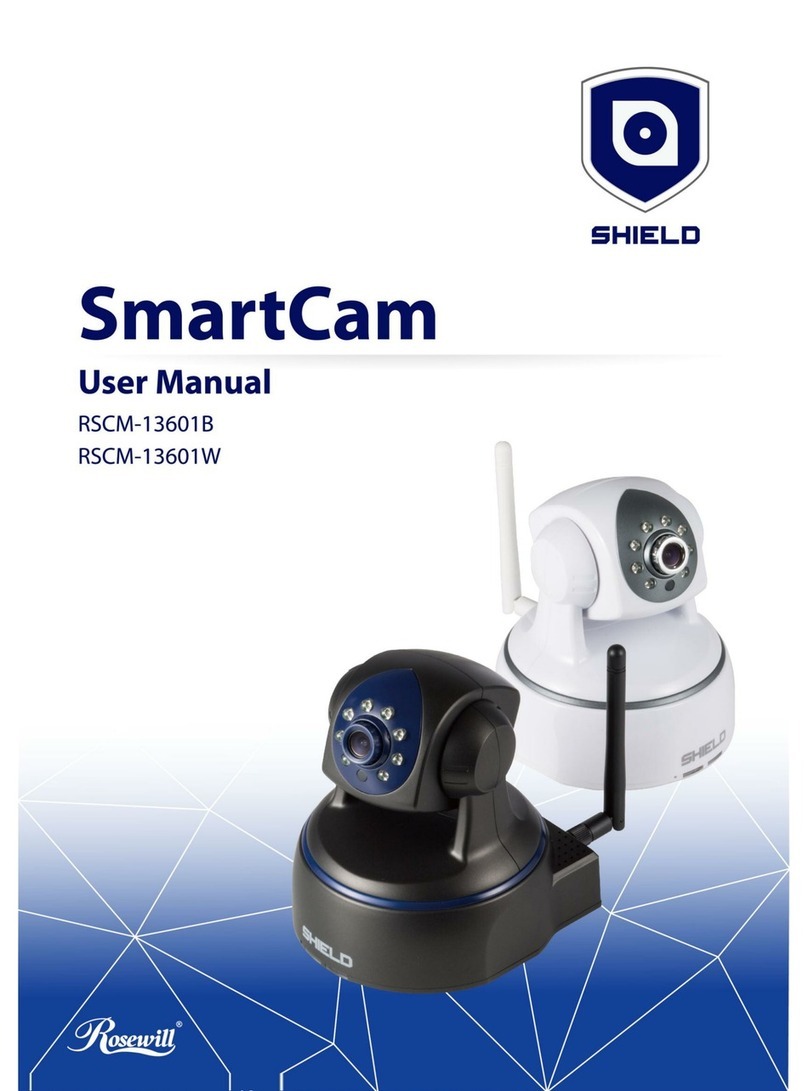
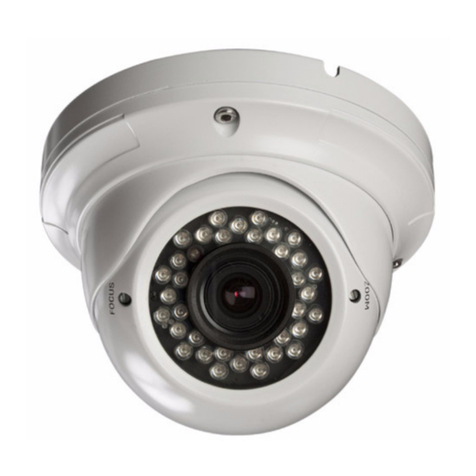
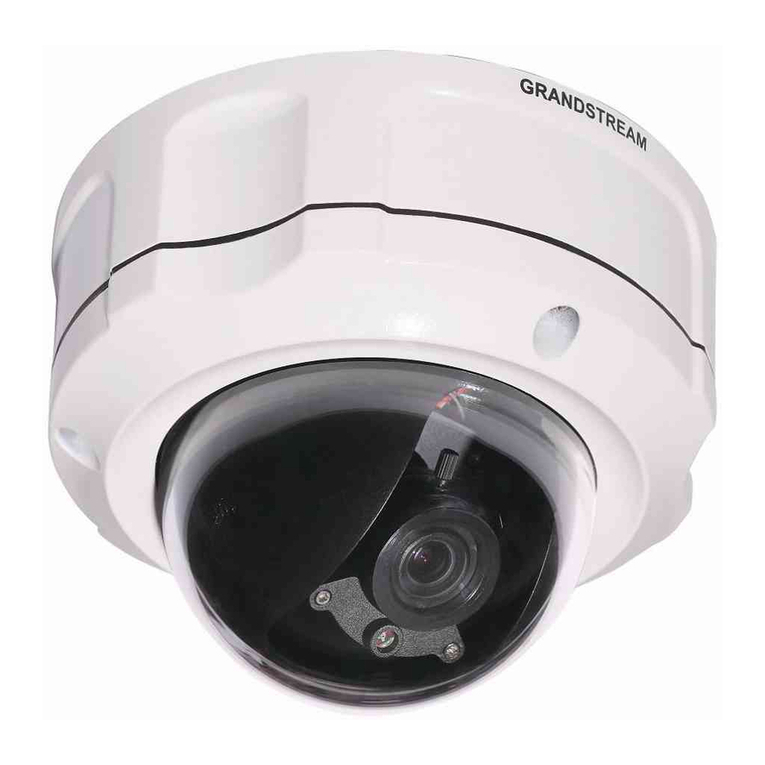
Shield RSCM-13601B User manual

SHIELD IP Camera RSCM-13601B/W
Getting to know your RSCM-13601B/W
1. Infrared LEDs: Active while encountering conditions such as lower lights, generating
black and white image even in entire darkness.
2. Illumination Sensor: Detecting the light and enable the IR LEDs when required.
3. Microphone: Enable the camera to transit sounds nearby the camera and allows the
interaction with ones nearby.
4. Power LED: Indicating that the camera is operating when the LED light is on.
5. Network LED: The light flashing whilst the camera is sending/ receiving data via the
wired/ wireless network
6. DC In Power: Connecting the DC input here.
7. Antenna Connector: A Wi-Fi antenna could be attached to this port.
8. Reset Button: Pressing the reset button and held for 3-5 seconds would enable the
wireless connection to a WPS support router. All settings will be reverted to the
factory defaults when the button is press and held in the disconnected condition.
9. Network (LAN) Port: Connecting to a wired connection through this port and the
router.
10. Audio In: To connect an external microphone if audio monitoring required from other
locations.
11. Audio Out: Intercom function could active while linking speakers to the audio output.
Voice could be heard by the speakers via the mobile application.
12. Alarm I/O Block: Sensors and external alarms could be connected here.
1
2
3
4
5
7
6
8
9
10
11
12

SHIELD IP Camera RSCM-13601B/W
Start you IP camera via your smart phone
1. Installing the App, SHIELDeye
1. Go to Apple Store or Google Play Store.
2. Search SHIELDeye
3. Tap Free to download
2. Add Camera
Add Cameras by (a) Search in LAN,(b) Scan QR Code and (c) Add manually
1. If the Phone and IP camera are in the same Wi-Fi network, click LAN Search. Tap
the DID of the camera found and finish the details as step 4 and 5 below.
Note if you have more than one camera in your network, you see more camera
DIDs in this list, set each one up separately.
2. While the Phone and camera are in different networks, simply tap Scan QR code
and use your smartphone’s camera to scan the QR code on the bottom of the IP
camera. This automatically populates the DID box with the camera’s DID; then just
follow steps 4 and 5 to finish off.
3. Or if you prefer to add it manually, tap in the boxes and type the camera’s DID code
carefully. Make sure the DID code you enter is corrective or it will fail to connect.
4. Enter the camera’s password (default is 123456 but we recommend you change
this using the software on your PC as soon as possible).
5. Tap the Name box and we suggest you to name a unique ID for the camera that can
help you identify it easily. When you’re finished, tap back to the Camera List screen.
QR Code Sample
DID Code

SHIELD IP Camera RSCM-13601B/W
Camera Location Tips
The location of cameras is essential. Positioning cameras at the proper places could
maximize the proficiency of the camera. On the other hand, miss locating the cameras
could result in blind spots, poor definition or having blur vision of the inspecting targets.
Therefore, locations of camera should be well organized and refer to the below conditions:
1. The preferred monitoring area
2. Lighting and environmental conditions
3. The distance between the DVR/NVR and the camera
Mount cameras at an elevated position
Placing the cameras at a higher position would increase the inspecting area. The higher
mounting positions also prevent the camera out of reach of intentional damage.
Have the target area covered
A sufficient range should be covered by the camera. For instance, the camera for garage
inspecting should cover driveway and the garage gate. Hence the circumstance in front of
the garage gate could be captured as much as possible with high video quality.
Location suggestion
1. Front of House and Driveway
It is recommended to have a camera monitor the
front entrance, garden or driveway. To achieve a
better field of view and avoid vandalize, the
cameras should be install at the intersections
between the roof and wall where the cameras
could be sheltered.
2. Front Door
It is important to install a camera at the front door
since most burglars break in houses from the front
entrance. The front door camera is recommended
to set in an elevated position at a slight angle.
Placing the camera at a slight angle provides a
clear view to have facial recognition of those
approaching people at the front door.
3. Backyard and Side Entrance
To have an overview of the backyard, a camera
installing at the intersection between roof and
wall of the house would be recommended.
Furthermore, if the house includes side gate
and other entrances toward backyard, an
additional camera might need to be considered
to monitor these pathways.

SHIELD IP Camera RSCM-13601B/W
4. Indoors
The cameras could be placed along the high
traffic area like entrance, hallways or exits.
Other positions are those windows and rooms
where the luxury personal belongings stored.
5. Camera Field of View
The viewing area provided by a camera is the observable area the camera could deliver.
As the level of definition and the focusing distance could be influenced, the camera
setting should be considered according to the specific requirements. For instance, the
wide-angle lens allows a wider area but smaller objects in the monitor area. Instead, the
narrow-angle lens has a minor Field of View yet larger objects shown in the scene area.
6. Lighting and Environment Tips
Lighting
1. Do not point the camera towards a light
resource directly.
2. To avoid a poor display, please prevent the
camera monitor through glasses.
3. The light in front of the camera should be
bright as the location of the sensor to achieve
the clearer results.
4. Clean the lens regularly to prevent the picture degrades while activating night vision
via infrared LED.
Environment
1. Notice that the power connections are covered with water resistance equipment, the
circumstances outdoor such as moisture and humidity should be avoided.
2. The camera is weatherproof that enable its operation under conditions like raining
and snowing. Nonetheless, it cannot be plunged in water.
3. Avoid the lens to expose directly under rain and snow.
7. What’s in the box
Other manuals for RSCM-13601B
1
This manual suits for next models
3
Table of contents
Other Shield IP Camera manuals
