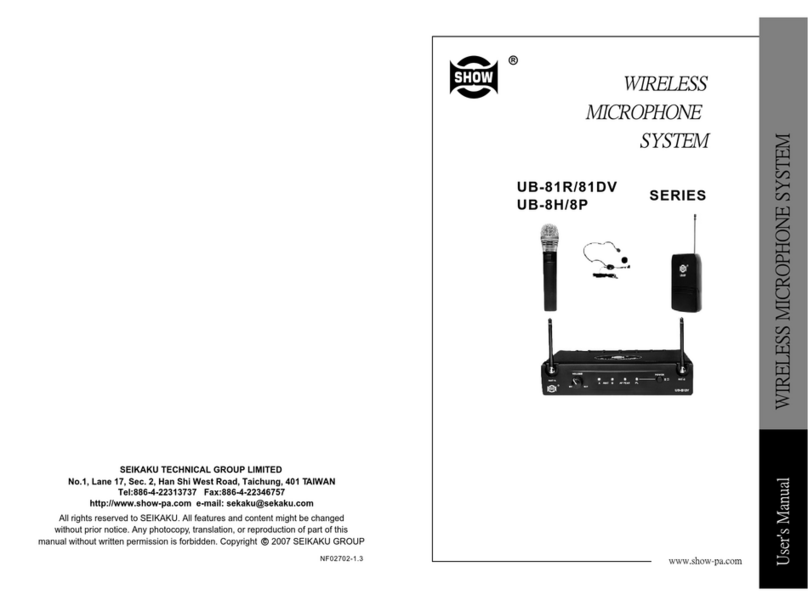
Show WT-X User manual

User's Manual
PLL UHF CREATIVE PEN-SHAPE
MICROPHONE SYSTEM
FCC STATEMENT
1. This device complies with Part 15 of the FCC Rules. Operation is subject to the following
two conditions:
(1) This device may not cause harmful interference, and
(2) This device must accept any interference received, including interference that may cause
undesired operation.
2. Changes or modifications not expressly approved by the party responsible for compliance
could void the user`s authority to operate the eauipment.
NOTE: This equipment has been tested and found to comply with the limits for a Class B
digital device, pursuant to Part 15 of the FCC Rules. These limits are designed to provide
reasonable protection against harmful interference in aresidential installation.
This equipment generates uses and can radiate radio frequency energy and, if not installed
and used in accordance with the instructions, may cause harmful interference to radio
communications.
However, there is no guarantee that interference will not occur in a particular installation.
If this equipment does cause harmful interference to radio or television reception, which can
be determined by turning the equipment off and on, the user is encouraged to try to correct
the interference by one or more of the following measures:
Reorient or relocate the receiving antenna.
Increase the separation between the equipment and receiver.
Connect the equipment into an outlet on a circuit different from that to which the receiver
isconnected.
Consult the dealer or an experienced radio/TV technician for help.
warning statement:
RF
The device has been evaluated to meet general exposure requirement. The device can be
used in portable exposure condition without restriction.
RF

Turn on the unit and press and hold "SET" button for 3 seconds, it will enter pair mode
with the channel number displayed flashing. Simultaneously the "READY" indicator
below will flash green. But once it pairs with transmitter successfully, "READY"
indicator will stop flashing and light solid green,
Turn on the unit and short press "SET" Button to select the channel you like, the unit
has total 16 channels which are represented by numbers "0-9" and the letters "A-F"
separately, The channel numbers displayed will increase each time when you short
press the button.
1
2
3
4
Power/Mute button: Press and hold for 3 seconds to turn the
unit on or off, the indicator will light red firstly and change to
light green after about 5 seconds. It enter normal operation
mode.
Status indicator: A quick press and release will mute or un-
mute the transmitter when the transmitter is on. It will light
red for mute and green for un-mute.
IR LENS: This window is used to capture the infrared signal
sent from receiver KRL/KRA, During the IR SET to channelize
the transmitter, the IR Lens must face towards the receiver to
load the selected channel.
1
2"SET" Button Operation
a.
b.
c.
3
4
5
6
KRL SPECIFICATIONS:KRL SPECIFICATIONS:
KRL/KRA
Mulit-Channel , up to 16 frequency
presets for each frequency bands
UHF470~494,542~566,823~832,
863~865MHZ Dependent on
applicable country regulations
PLL UHF SYNTHESIZED
100 Hz-12KHz ( 3dB)
0.005% (-10 ~ 50 )
C
1KHz <0.8%
FM (F3E)
>90dB
>95dB
-100dBm/12dB SINAD
+6dBu
MODEL
Channel
Mulit-Channel , up to 16 frequency
presets for each frequency bands
Frequency band
Frequency response
Oscillation mode
Frequency stability
T.H.D.
Modulation mode
Signal to Noise
Dynamic Range
RF output power
Microphone Element
Tone Key Frequency
Power Requirements
Battery Life
Dimensions(LxWxH)
Weight
PLL UHF SYNTHESIZED
100 Hz-12KHz ( 3dB)
0.005% (-10 ~ 50 )
C
1KHz <0.8%
FM (F3E)
>90dB
>95dB
10mW
Capacitive
30KHz
AA (LR6) 1.5V
4 hours
KRL(XLR/1/8") KRA( 6.3/1/8")
3.7V
85mA
Internal rechargeable lithium-ion battery
4~5 hours
5V DC 500mA
114x22x23mm
53g
MODEL
Channel
Frequency band
Receiver Type
Frequency response
Frequency stability
T.H.D.
Modulation mode
Signal to Noise
Dynamic Range
RF sensitivity
Audio Output Level
Output Connector
Operating Voitage
Current Consumption
Power
Battery Life
Chargier Voltage
Dimensions(LxWxH)
Weight
WT-X SPECIFICATIONS:WT-X SPECIFICATIONS:
WT-X
UHF470~494,542~566,823~832,
863~865MHZ Dependent on
applicable country regulations
33g
20x150mm
"POWER" Button: Press and hold it for 3 seconds to power on/off the unit. Short press
it to adjust the volume. The volume will increase 10dB each time you press with"1" to"5"
cycle display. The selected sound level shown on LED display will be represented with
"number (1-5)+ decimal point ".
Turn on the unit and press and hold "SET" button for 6 seconds, the unit will
automatically scan full-range frequency and select the cleanest channel, the channel
number will flash and the unit will enter pairing mode when it find the cleanest one.
The same as above the "READY" indicator will light solid green once it pairs with
transmitter successfully.
LED display: to show channel number or volume level selected.
Charging indicator: lighting red for charging and green for full charging.
Ready indicator : to show different status based on LED color.
flash green
light green
light red
TX&RX unpaired
TX&RX paired
low battery power
KRL output plug- as XLR plug to be inserted into your video camera or audio advice
directly.
7KRA output plug- as 1/4"(6.3 mm) plug to be inserted into your video camera or audio
advice directly.
IR Transmitter-The port cantransfer current channel data to
transmitter by infrared transmission in order to channelize
the transmitter finally.
9
10 Output Jack-Use this 1/8"(3.5mm) locking mini-phone jack
to connect with your video camera or audio advice. .
Battery cover-Insert one standard AA (1.5V) battery here, Being
sure the plus and minus polarity marking of battery are facing
correctly. Although rechargeable NI-CAD battery can be used
too, but the unit can't obtain adequate power to keep working
for more than 4 hours. Warning: don't insert the battery
backwards, Or it maybe cause severe damage to your WT-X
and will void your warranty.
8USB charge port- Insert one USB cable with an AC adaptor
to connect with your unit(KRL or KRA) for recharging.
*How to pair your receiver and transmitter
Power on your receiver "KRA or KRL", then select the channel you like or scan the cleanest
channel automatically according to above steps, Then quick the "SET" button and release it
to enter pair mode. Power on your WT-X, Then place the IR port of KRA/KRL to face
towards the IR lens of transmitter WT-X within 20cm distances. Once TX and RX are paired
successfully, the "READY" indicator on KRA/KRL will light solid green.
This manual suits for next models
2
Other Show Microphone System manuals
