Showerbuddy ABSB6c User manual
Manual
ABSB6c &
APSB6w
INTENDED USAGE:
The Showerbuddy shower/commode chair is a medical device indicated for use by
persons with limited mobility who are unable to stand, walk and/or seat independently.
The device is specifically designed for individuals who require additional support and
stability during washing, toileting and other hygienic activities. It is a class 1 medical
device, which is intended to be used only as a seating option for toilet issues,
showering and bathing. Its purpose is to help physically handicapped people during
their hygienic activities. Any other use is prohibited.
INDICATIONS:
The device is specifically indicated for individuals who (because of the wide variety
of possible health problems) are unable to stand and /or walk and so they need an
assistance device to maintain some or all daily hygienic tasks.
CONTRADICTIONS:
This type of device must not be used by a disabled person alone. The user should
always be accompanied by a caregiver or assistance person. The device is not
recommended for persons with flaccid paralysis or other diseases that cause
serious body control problems. Such persons require special wheelchairs designed
for extra stability and support of the user’s body. The need for this type of specialty
wheelchair should be always estimated and indicated by a physician or a physical
therapist.
WARNING – Included in this packaging and fitted to the Showerbuddy chair are
small parts, plastic wrap and polystyrene packing that could be dangerous to
children under 5.
Keep children away from this device and do not let them play with any parts.
This Shower Chair is a Class 1 Medical Device designed to support people
with disabilities or users with reduced mobility during toileting and showering.
Exploded Parts
Parts List
Chair Assembly
Chair Operation
Accessories
24” Wheel Kit
Back Rest
Safety Restraint
Lateral Supports
Seat Cushion options
Cleaning and Maintenance
Safety Instructions
Warranty Information
3
4
5
11
18
21
17
22
23
24
25
28
Contents Page
SB6 Roll-in Shower Chair 2

Exploded Parts
3 SB6 Roll-in Shower Chair
500-042
500-296 SB6c ONLY

500-052
500-049
500-059
500-035
500-036
500-275
500-269
500-079
500-255
500-267
500-268
500-254
500-266
500-078
500-253
500-020
500-023
500-026
500-265
500-256
Parts List
SB6 Roll-in Shower Chair 4
SB6w only
500-052
Wheelchair Main Bracket
Wheelchair Brake Assembly
Anti Tip Leg
Anti Tip Foot
24”Wheel
Wheelchair Axle
500-049
500-059
500-035
500-036
500-275
500-296
500-236
500-236
WW24 front caster leg

Step 1
Insert Caster Legs (part #500-296 Front
and 500-010 rear) into Leg Frame (part
#500-001).
SB6 caster legs differ between front &
rear. Ensure the correct ones are used
Ensure all push pins are set at the
same height location to ensure the
wheeled base is level and does not rock
when sitting on all 4 caster wheels.
Assembly Instructions
If you have purchased the SB6w model,
please refer to the rear wheel assembly
instructions on page 18.
Some factory assembly may have been
carried out for you, which may differ
slightly from the following instructions.
Step 2
Sit Seat Frame (part #500-021) on top
of Leg Frame (part #500-001) and
secure in position by screwing in 4 x
Fixing Knobs (part #500-078).
Note: This part may come
pre-assembled from the factory.
5 SB6 Roll-in Shower Chair
500-010
500-296
SB6c only
refer to page 18 for SB6w
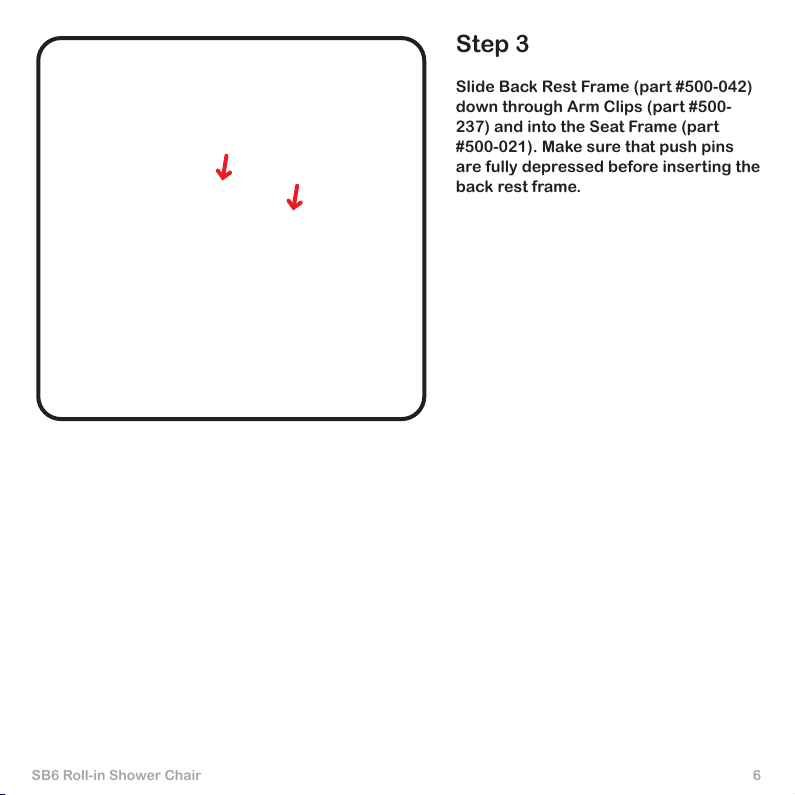
Step 3
Slide Back Rest Frame (part #500-042)
down through Arm Clips (part #500-
237) and into the Seat Frame (part
#500-021). Make sure that push pins
are fully depressed before inserting the
back rest frame.
SB6 Roll-in Shower Chair 6

Step 4
Fit Left Hand Arm (part #500-043) and
Right Hand Arm (part #500-045) by
positioning the axle (smaller diameter)
part of the tube against the hollow tube
across the rear of the Seat Frame (part
#500-021) and sliding into this tube.
The Push Pin (part #500-269) will need
to be pushed in (depressed) to allow
the arms to be fully inserted into this
tube.
Once fully inserted the Push Pin will
“pop out” into the formed slot to lock
the arm into position. This prevents the
arm from being removed again without
depressing the Push Pin.
7 SB6 Roll-in Shower Chair

Step 5
Note: This part may come
pre-assembled from the factory.
Fit Commode Cushion (part #500-020)
by positioning onto the Seat Frame
(part #500-021) and align the 4 fixing
locations.
Fix down using 4 x Seat Fixing Knobs
(part #500-079) and tighten.
The Cushion will have the Commode
Bucket Connectors (part #500-059)
pre-fitted at the factory.
Step 6
The Footrest Assemblies will come
pre-assembled from the factory.
To install these assemblies insert the
Left and Right hand Footrest Support
Tubes (parts #500-253 and #500-254
respectively) into the Seat Frame (part
#500-021) as shown on the diagram.
Ensure the location pins are seated
inside the location grove shown (part
#500-259)
SB6 Roll-in Shower Chair 8

Adjust the Footrest height to suit the
user as shown ensuring that the screw
lock is fully tightened and the foot
supports are level.
Note: The Footrest to Seat Cushion
distance can be increased further, if
required, by raising the seat height.
To adjust the Seat Height adjust the
Caster Legs (part #500-296 front &
500-010 rear) by using the Push Pins in
the legs and ensure that the push pins
fully engage the height adjustment
holes evenly.
9 SB6 Roll-in Shower Chair
12
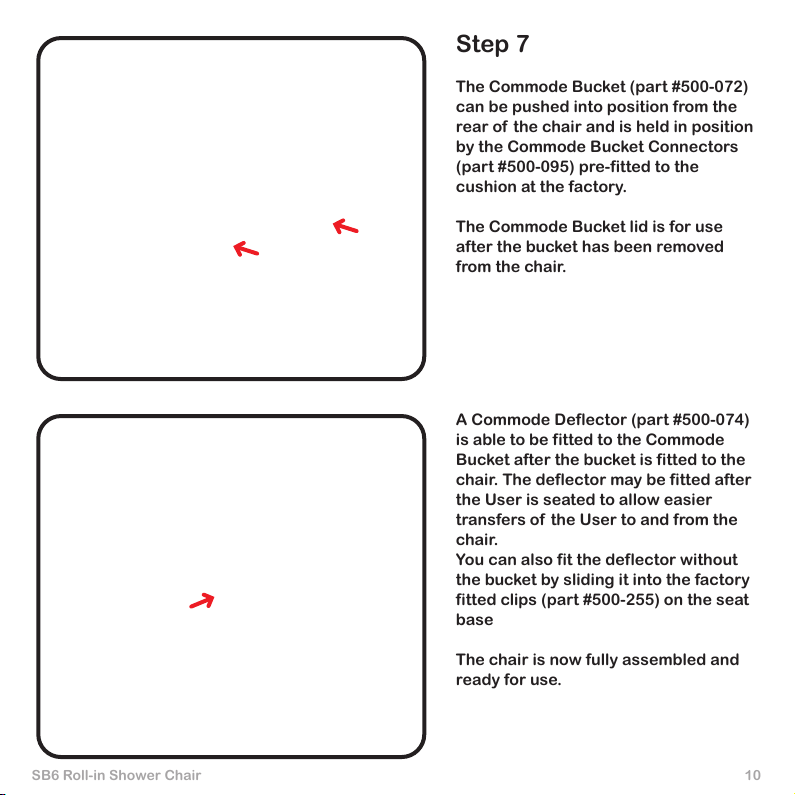
Step 7
The Commode Bucket (part #500-072)
can be pushed into position from the
rear of the chair and is held in position
by the Commode Bucket Connectors
(part #500-095) pre-fitted to the
cushion at the factory.
The Commode Bucket lid is for use
after the bucket has been removed
from the chair.
A Commode Deflector (part #500-074)
is able to be fitted to the Commode
Bucket after the bucket is fitted to the
chair. The deflector may be fitted after
the User is seated to allow easier
transfers of the User to and from the
chair.
You can also fit the deflector without
the bucket by sliding it into the factory
fitted clips (part #500-255) on the seat
base
The chair is now fully assembled and
ready for use.
SB6 Roll-in Shower Chair 10
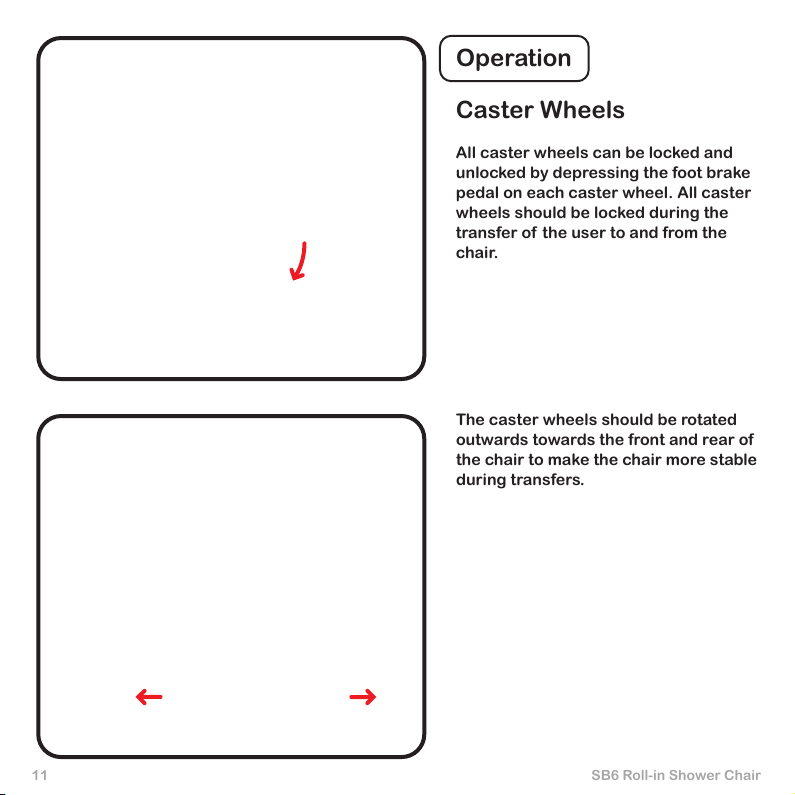
Caster Wheels
All caster wheels can be locked and
unlocked by depressing the foot brake
pedal on each caster wheel. All caster
wheels should be locked during the
transfer of the user to and from the
chair.
Operation
The caster wheels should be rotated
outwards towards the front and rear of
the chair to make the chair more stable
during transfers.
11 SB6 Roll-in Shower Chair
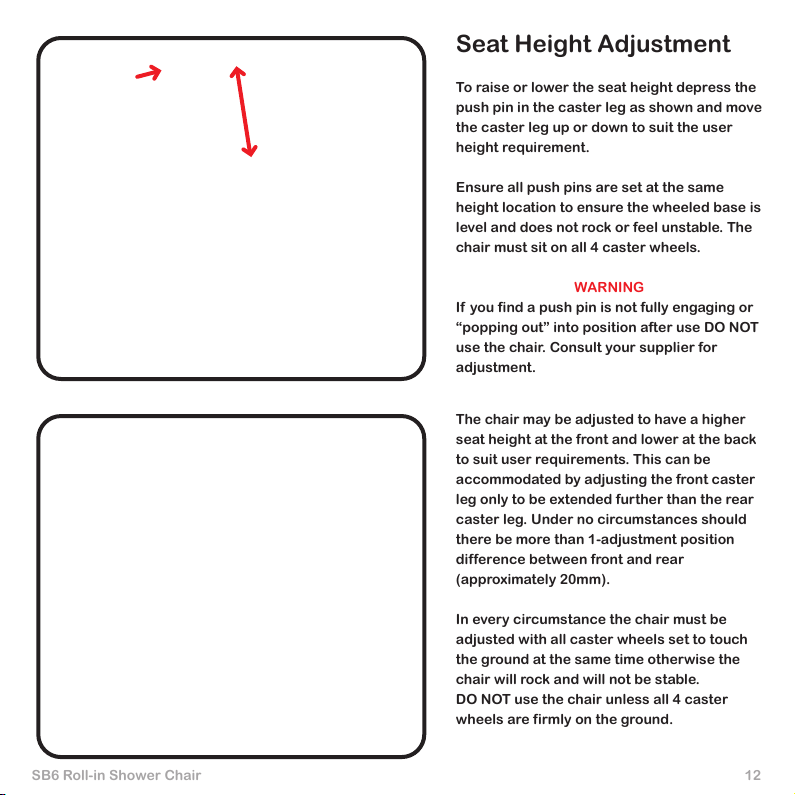
Seat Height Adjustment
To raise or lower the seat height depress the
push pin in the caster leg as shown and move
the caster leg up or down to suit the user
height requirement.
Ensure all push pins are set at the same
height location to ensure the wheeled base is
level and does not rock or feel unstable. The
chair must sit on all 4 caster wheels.
WARNING
If you find a push pin is not fully engaging or
“popping out” into position after use DO NOT
use the chair. Consult your supplier for
adjustment.
The chair may be adjusted to have a higher
seat height at the front and lower at the back
to suit user requirements. This can be
accommodated by adjusting the front caster
leg only to be extended further than the rear
caster leg. Under no circumstances should
there be more than 1-adjustment position
difference between front and rear
(approximately 20mm).
In every circumstance the chair must be
adjusted with all caster wheels set to touch
the ground at the same time otherwise the
chair will rock and will not be stable.
DO NOT use the chair unless all 4 caster
wheels are firmly on the ground.
SB6 Roll-in Shower Chair 12

Footrest / Height
Adjustment / Fold Away
The tray style footrests fitted to your chair
are not designed to carry user weight. They
are designed for a user to rest their feet.
WARNING - DO NOT STAND on the footrest
as the chair may become unstable and tip
forward causing injury to the user.
To raise or lower the footrests unscrew the
locking knob in the footrest supports (parts
#500-253 and part #500-254) and move the
footrest supports up or down to suit the user
height requirement.
Should the user be very tall and require
additional seat cushion to footrest adjust-
ment, raise the seat height (as detailed
earlier) while having the footrest support at
the lowest setting.
The footrests can be folded and swung away
when not in use or during transfers.
1. Lift the footrest plate and fold it up until
required to be lowered again.
2. Lift footrest assembly and rotate to swing
the entire leg out and away should more
room be required.
To remove completely simply lift away from
the main seat assembly.
13 SB6 Roll-in Shower Chair
12

Arm Rests / Locking and
Release Mechanism
You can easily swing the armrest up and out
of the way or secure the armrest in the down
position. To unlock the armrest slide the arm
lock (part# 500-117) in towards the centre
line of the chair back as shown, to allow the
arm to be moved upwards and out of the
locked position. To lock the armrests just
push the armrest back down into the lowered
position and slide the lock back to its original
position. Ensure the slide lock is fully over
the plastic clip.
To fully remove an arm rest from the chair,
depress the push pin (part #500-269) fully
allowing the arm rest to be pulled outwards
from the seat frame tube. To re-fit the arm,
reverse this action.
SB6 Roll-in Shower Chair 14
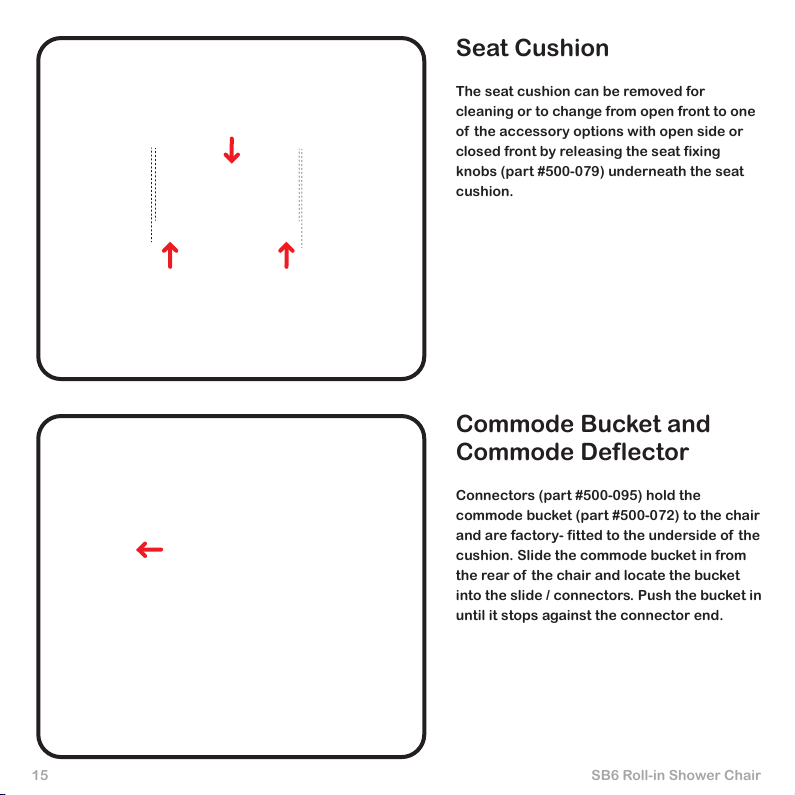
Seat Cushion
The seat cushion can be removed for
cleaning or to change from open front to one
of the accessory options with open side or
closed front by releasing the seat fixing
knobs (part #500-079) underneath the seat
cushion.
Commode Bucket and
Commode Deflector
Connectors (part #500-095) hold the
commode bucket (part #500-072) to the chair
and are factory- fitted to the underside of the
cushion. Slide the commode bucket in from
the rear of the chair and locate the bucket
into the slide / connectors. Push the bucket in
until it stops against the connector end.
15 SB6 Roll-in Shower Chair

Safety Restraints
A safety restraint (part# 500-270) is supplied
with the chair and should be used, it can also
be used as a waist restraint if preferred. You
can also purchase an additional harness if
you require waist and chest restraints.
To fit or remove the restraints unscrew the
clamp and remove the belt. Make sure the
clamp is tight enough to prevent the belt
pulling though when refitting.
Clamp bars (part #500-106) are fitted to the
chair back (part #500-022) and at the lower
lap area on the seat frame (part #500-021).
Before use, adjust the length of the safety
restraints to suit the user.
SB6 Roll-in Shower Chair 16
A Commode Deflector (part #500-074) can
be fitted to the front of the commode bucket
if required, after the bucket has been fitted
to the chair, allowing the user to transfer
easily to the chair prior to fitting the splash
guard.
The commode cover (part# 500-073) should
be used when transferring contents to the
toilet to avoid spils.
500-270

Leg Restraint
An addition calf strap (part# 500-256) is
supplied with your chair. We recommend that
the supplied harnesses are installed and
used at all times.
To fit, simply wrap your harness around the
footrest support arm as shown, making sure
that the harness is above the locking knob,
this will prevent it slipping down during use.
17 SB6 Roll-in Shower Chair
Fit your harness to the holes shown here if
you prefer to use it as a waist restraint.
Fitting two harnesses adds extra support
should it be needed.
Fit your waist harness as shown below
500-256

18
SB6 Roll-in Shower Chair
Accessories
A range of accessories are available
for your SB6 chair. Installation of these
is shown below.
24” Wheelchair Kit
(Order code WW24)
If you have purchased the SB6w model,
you will have this kits included already.
This kit also converts your SB6c into a
SB6w model
Step 1
If you have the SB6c model start by
removing the Rear Caster Legs (part #
500-010) from Leg Frame (part #
500-001).
To do this, simply press the push pin
inwards and slide the leg out from the
bottom as shown.
If you have purchased the SB6w model
continue to Step 2.

19 SB6 Roll-in Shower Chair
Step 2
Slide the anti-tip leg (part# 500-035)
into the frame as shown. Line the bolt
holes up with the desired holes in the
frame for your chosen chair height
setting.
Your wheel kit requires 2 holes
to be lined up as shown. This
allows 2 possible height
positions in Wheelchair mode.
Step 3
Using the M8 screws and supplied
washers, fix the pre-assembled wheel
and hub assembly as shown. Be sure to
tighten the screws using the supplied
tool so that there is no movement
between the wheel assembly and
frame.
Note: Periodic checks should be
carried out and the M8 screws
re-tightened if required.
500-035
This manual suits for next models
2
Table of contents
Popular Bathroom Aid manuals by other brands


Arjo
Arjo Malibu Instructions for use

aidapt
aidapt VB505 Fixing and maintenance instructions

ARC
ARC 2000 Series quick start guide

NRS Healthcare
NRS Healthcare MOWBRAY LITE PLUS User instructions

Essential Medical Supply
Essential Medical Supply B5082 manual

lifestyle mobility aids
lifestyle mobility aids B3600F quick start guide

Hewi
Hewi 801.22.30036 Installation and operating instructions

Invacare
Invacare Aquatec Sorrento user manual

Adjust-a-Sink
Adjust-a-Sink K100 Series installation instructions

EZee Life
EZee Life CH3060 manual

Vitea Care
Vitea Care Blu VCTP0011 user manual

lifestyle mobility aids
lifestyle mobility aids B3150 user manual