SiForce LOCKBOX SLIM User manual
Technical Support: [email protected]
Sales: [email protected]
www.siliconforensics.com
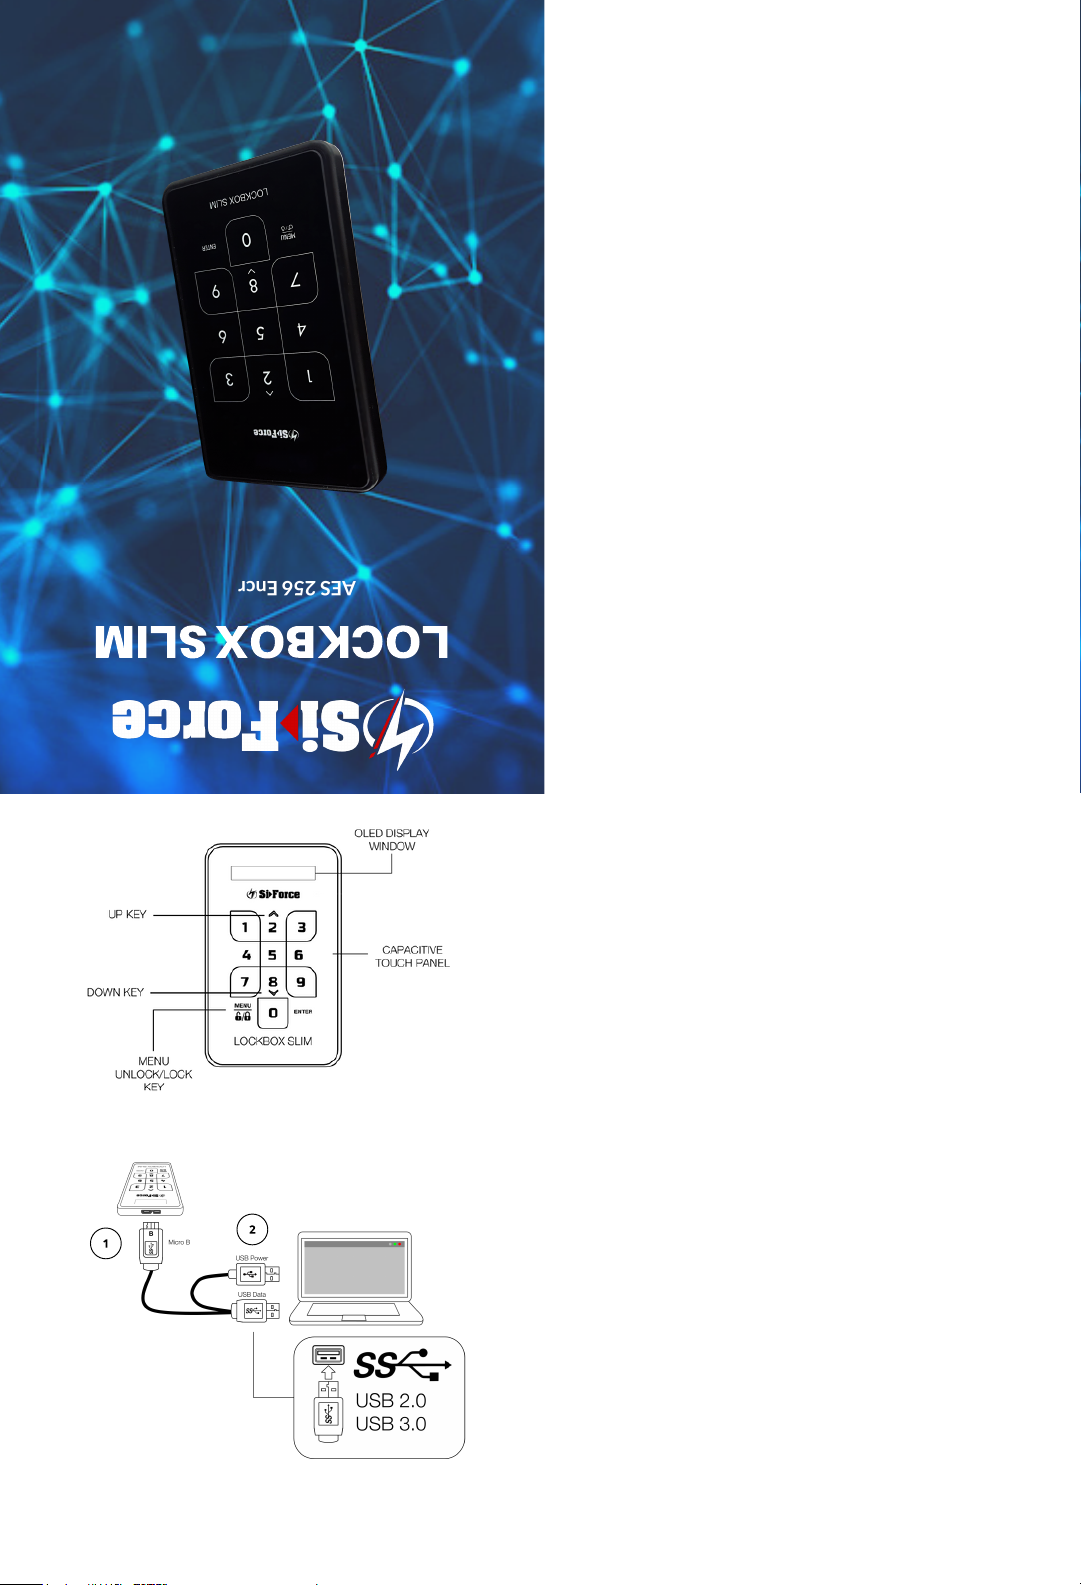
LOCKBOX
SLIM
AES 256 Encrypted
Portable Hard Drive
User Manual
Hardware Requirements
Warranty Information
The following limited warranty applies to the SiForce Lockbox Slim hard drive but
does not supersede regional and national laws and regulations.
Silicon Forensics warranties do not cover any problem that is caused by (a)
commercial use; accident; abuse; neglect; shock; electrostatic discharge; heat or
humidity beyond product specifications; improper installation; operation;
maintenance or modification; or (b) any misuse contrary to the instructions in the
user’s manual; or (c) lost passwords; or (d) malfunctions caused by other
equipment.
Our warranties do not cover data loss – back up the contents of your drive to a
separate storage medium on a regular basis. Also, consequential damages;
incidental damages; and costs related to data recovery, removal and installation
are not recoverable under our warranties.
The warranty period for product is three (3) years from the documented date of
purchase from Silicon Forensics.
Lockbox Slim can be connected to computers with USB 3.0 and USB 2.0 ports.
However, you can reach transfer rates up to 5Gb/s when connected to a USB 3.0
port. Connecting the SiForce Lockbox to a computer with USB 2.0 limits
performance to USB 2.0 speeds.
*To maximize performance,
connect your drive
to a USB 3.0 port.
**USB power plug is only needed
for backwards compatibility to a
USB 2.0 port.
Connect to Mac/ Windows Computer
File System Format
SiForce Lockbox Slim is pre-initialized and formatted in NTFS.
NTFS:The native file system for Windows. Volumes created in NTFS are able to
read/ write with computers running Windows.
Step 4. Copying / Moving Files
Now that you have successfully set up your new SiForce Lockbox Slim Hard Drive,
you can copy or move files from your new SiForce Lockbox Slim to your computer
and vice-versa.
Copy:To make a duplicate folder or file and store it so that you have two copies.
Move:To take a folder or file from one location and put it into another.
[!] WHEN YOU MOVE A FOLDER OR FILE, YOU NO LONGER HAVE A
BACKUP COPY.
Step 5. Safely Remove Hardware
Abruptly removing storage devices can lead to data loss. To safely remove
thedrive, press and hold the Menu key for 5 seconds. The OLED display should
showLockbox Slim HDD Disconnect.
Step 2. Reset Password
1. Once you have gained access to the drive select the Menu key.
2. Press the down arrow(v) located on the number 8 key to scroll down and
view further options on the OLED display.
3. Select Password Change and press Enter.
4. Enter default password 1122 and press Enter.
5. You will be prompted toenter a new 4-8-digit password.
6. Re-enter your new password for confirmation.
7. A successful password reset will showPassword Change Success in the OLED
display.
[!] Please remember your new password as this will be the ONLY way to access
your data.
Mac users see "Re-initialize for Mac" and "Format for Mac" sections before
continuing to step 3.
Step 3. Select SiForce Lockbox Drive
Once the Lockbox Slim is connected the operating system will recognize the drive
as"SiForce Lockbox.” You are now ready to use the SiForce Lockbox Slim Portable
Hard Drive.
Reset Password Mac / Windows
Default Password: 1122
Step 1. Connect to Your Computer
The Lockbox Slim is powered through the USB cable.
1. Attach the USB Micro B end of the included USB cable to the hard drive.
2. Attach the USB Type A end of the included USB cable to
a compatible port on your computer.
3. Input the default password 1122 and press Enter to access the drive.
First Time Setup

Re-Initialize/ Format Device
[!] Caution: Re-intializingand formatting erases everything on the storage
device. Silicon Forensics highly recommends that you backup all data on your
storage device before performing the steps below. Silicon Forensics is not
responsible for any data lost due to formatting, partitioning or using a
SiForce storage device.
To re-initializefollow these steps:
1. Unlock your device and press the Menu key.
2. Use the down arrow (v) to find and select Initialization of HDD Usage
Mode from the device menu.
3. Press (1) for Yes if you wish to initialize the hard drive.
4. Press (1) for Yes once more if you agree that initializing will
render your data unreadable and no longer available.
5. Initialization will begin immediately. Once the process is
complete, the drive will reset.
After re-initialization the Lockbox Slim will state:
“The new HDD is connected. Will you use Password?“
0= No, 1=Yes
Select (1) Yes to encrypt the hard drive and set up a 4-8 digit password.
Select (0) No for no encryption nor password input.
Your SiForce Lockbox Slim now needs to be formatted. Please
see either "Format for Windows" or "Format for Mac" for formatting
instructions.
Re-initialize for Mac and Windows Format for Windows
*Windows users, formatting is not required for set-up as
the Lockbox Slim is formatted in NTFS for Windows out
of the box.
Formatting SiForce Lockbox Slim:
1. Connect the SiForce Lockbox to the computer.
2. Go to Search and then type Disk Management. In your
Windows search bar, look up and select Disk Management.
3. In the Disk Management window, a prompt may appear to
initialize a disk. Select Cancel.
4. From the list of storage devices in the lower half of the Disk
Management window, locate your SiForce Lockbox device.
5a. If you have re-initialized your lockbox, right-click the disk
-Select Initialize Disk or follow the pop up.
-Select the Disk for your lockbox and select MBR
(Master Boot Record) for any lockbox 2TB and smaller.
-Select GPT (GUID Partition Table) for any lockbox larger
than 2TB.
-Select "OK."
5b. If you have not re-initialized, right-click the diskand select
“Delete Volume.”
6. Right-click the disk again and select “New Simple Volume.”
7. A Create Partition Wizard window should pop up. Press “Next”
until you reach the Format Partition section.
8. Select the Format volume settings for NTFS or exFAT.
9. Enter a volume label for your SiForce Lockbox.
10. Select "Perform a quick format."
11. Select “Next’ and then select “Finish.”
Once formatting is complete, the drive will appear in Windows
File Explorer.
Format for Mac
Mac users, you will need to reformat the drive prior to using it.
SiForce Lockbox Slim is pre-initialized and formatted in NTFS, the
native file system for Windows. Reformat the Lockbox Slim from NTFS
to exFat for compatibility with MacOS and Windows.
[!] Caution: Formatting erases everything on the storage device.
Silicon Forensics highly recommends that you backup all data on
your storage device before performing the steps below. Silicon
Forensics is not responsible for any data lost due to formatting,
partitioning or using a SiForce storage device.
1. Make sure the storage device is connected to the computer.
2. Search for Disk Utility, double-click Disk Utility.
3. Select the SiForce Lockbox drive in the left column.
4. Find and select the Erase tab.
5. Rename the drive.
6. Under Format: Select ExFat from the drop-down window.
7. Under Scheme: Select GUID Partition Map from the drop-down
window.
Note: If you do not see the scheme option, or if it fails to format,
check to see that you have selected thedriveand not the volume.
Click on the view button in the upper left-hand side, select Show All
Devices. Select the non-indented entry for your Lockbox Slim drive.
8. Select Erase again.
9. Disk Utility will start formatting the drive.
10. Once complete, click done.
SiForce Lockbox Slim
Hard Drive
USB 3.0 Cable with
(Red) Extension for
Additional Power
Cleaning Wipe
User Manual
Zippered Black Hard
Drive Case
Box Contents
Minimum System Requirements
You can connect your SiForce Lockbox to a computer that meets
the following minimum requirements:
•Windows XP or higher
•Mac OS X 10.7 or higher
NTFS: Thisis the native file system for Windows. Volumes created in
NTFS can read and write with computers
running Windows.
exFAT: Generally compatible with Mac and Windows. exFAT
is not a journaled file system, which means it can be more susceptible
to data corruption when errors occur or the
drive is not disconnected properly from the computer.
Additional Notes
Table of contents
Popular Storage manuals by other brands

LaCie
LaCie LaCie Big Disk Extreme with Triple Interface... Brochure & specs

Overland Storage
Overland Storage SnapServer Administrator's guide

HP
HP StorageWorks MSL2024 Getting started

Panasonic
Panasonic LB-DH8 series Operator's guide

HP
HP LTO Ultrium Technical reference manual

Symantec
Symantec J5300 40T quick start guide


