ss
Operation Instructions
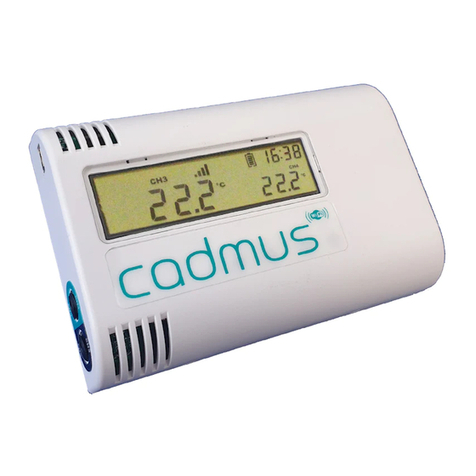
Press button
1. Press and hold for at least 5 seconds to start recording.
If the green led ashes 10 times, the start was successful.
Note: If the green led does not ash 10 times to indicate a
correct start or the red led ashes 3 times, do not use this
data logger.
Status request or set mark (optional)
2. Press button once at any time to check current status
of the logger. Double-click button to set a mark in the
report. See details of these optional features in the table
below.
Press button
3. Keep button pressed for minimum of 5 seconds to
stop recording. Then the red led will ash 10 times, which
indicates it has successfully stopped.
Note: The logger cannot be stopped within 30 minutes of it
being started.
Tear off
4. After stopping record, tear off the transparent plastic
cover and connect the logger in the USB port of a computer
or laptop. The PDF and CSV report will be generated
automatically and can be found in the device’s “tempmate”
folder.
START / STOP
Status Action LED conrmation
Start logger Push button for 5 seconds Green led ashes 10 times
Set mark Double-click button Red led and green led ash 5 times simultaneously
Mark limit full Double-click button Red led and green led ash 5 times alternating
Stop logger Push button for 5 seconds Red led ashes 10 times
STATUS REQUEST BY PUSHING BUTTON ONCE
Not started Push button once Red led and green led ashes 1 time
Recording - ok Push button once Green led ashes once
Recording - alarm Push button once Red led ashes once
Stopped - ok Push button once Green led ashes twice
Stopped - alarm Push button once Red led ashes twice
Low battery Push button once Red led ashes 3 times
Scheduled start Push button once Red led and green led ashes 2 times alternately
