manuals.online logo
Brands
  1. Home
  2. •
  3. Brands
  4. •
  5. Signtex
  6. •
  7. Lighting Equipment
  8. •
  9. Signtex Moonlite LED MHE-RE Series Manual

Signtex Moonlite LED MHE-RE Series Manual

Series MHE-RE
Installation Instructions & Users Manual
Moonlite LED™
High Output Emergency Light 02.17.02
1. Disconnect AC power before servicing.
2. Refer to wiring diagram for proper connections.
3. All servicing should be performed by qualified personnel.
4. Consult your local building code for approved wiring and installation.
5. Do not use outdoors.
6. Do not use this equipment for other than intended use.
7. Do not let power cords touch hot surfaces.
8. Mount and secure the fixture at a location and height to avoid ready access and tampering by unauthorized persons.
9. The use of accessory equipment is not recommended by the manufacturer and may cause an unsafe condition.
IMPORTANT SAFEGUARDS READ AND FOLLOW ALL SAFETY INSTRUCTIONS
SAVE THESE INSTRUCTIONS
PIGTAIL & LAMP
CONNECTOR
(SUPPLIED)
BL
Y
B
R
BL
Y
B
R
24 VDC
IN/ OUT
24 VDC
IN/ OUT
BL BL
BL
Y
B
R
BL
Y
B
R
YY
BB
RR
Fig. 1. STANDARD SURFACE MOUNT
CEILING CEILING
POLARIZED
LAMP
CONNECTOR
LAMP
HOUSING PIGTAIL
(SUPPLIED)
LAMP
ASSBY
COVER
WIRING FOR EM OPERATION ONLY WIRING FOR EM & NORMAL ON OPERATION
8”
1. See Fig 1. Identify mounting position on ceiling in accordance with fixture layout specifications, and install (2) screw anchors, minimum size
#10, at 8” between centers.
2. Insert small flat blade screwdriver or similar tool under notch at either end of cover, twist gently to release snap and lift cover. Unscrew (4) #8
lamp assembly screws, lift lamp assembly from Housing and disconnect lamp plug.
3. Mount housing to ceiling with (2) mount screws. Route 24VDC IN/OUT wiring from CBS branch circuit into Housing.
4. Connect wiring with standard wire nuts to the supplied wiring pigtail, as shown. For emergency lighting only operation only, connect RED and
BLACK; for normally ON/security lighting operation, connect RED, BLACK and BLUE. (YELLOW wire is passed through and not connected to
this fixture).
5. Reconnect lamp plug and reinstall lamp assembly with (4) #8 screws, and replace cover. Supply 24VDC power from central battery or normal
on/security power system to check lamp operation.
KEY
B= BLACK:COMMON: 12/24 VDC NEG -
Y= YELLOW: EXITS/CVRE: 12/24 VDC POS +
R= RED: EMERGENCY: 24VDC POS +
BL= BLUE: NORMAL ON LIGHTING (NOL): 24 VDC POS +
220 VFW Avenue, Grasonville, MD 21638 P (410)827- 8300 F(410)827- 8866
Signtex Lighting
-2-
Series MHE-RE
Moonlite LED™
High Output Emergency Light 02.17.02
Fig. 2. SURFACE MOUNT WITH END BRACKETS Fig. 3. SURFACE MOUNT TO J-BOX
WIRING SHOWN FOR EM OPERATION ONLY WIRING SHOWN FOR EM & NORMAL ON OPERATION
END BRACKET
(2) SUPPLIED
PIGTAIL & LAMP
CONNECTOR (SUPPLIED)
24 VDC
IN/ OUT 24 VDC
IN/ OUT
BL BL
Y
B
R
BL
Y
B
R
YB R
CEILING
POLARIZED LAMP
CONNECTOR
LAMP
HOUSING
MOUNT
SCREWS
(2) REQ'D
LAMP
ASSBY
COVER
SCREW
ANCHOR
BRACKET
SCREW
(4) SUPPLIED
LAMP
ASSBY
COVER
15 1/2”
CEILING
J- BOX
4" Octagon
24 VDC
IN/ OUT
24 VDC
IN/ OUT
BYRBL
SURFACE MOUNT WITH END BRACKETS
1. See Fig 2. Install (2) screw anchors at 15 ½” centers.
2. Insert flat blade screwdriver under notch at end of cover, twist gently to release cover plate. Unscrew (4) #8 lamp assembly screws, lift lamp
assembly from Housing and disconnect lamp plug.
3. Attach end brackets with (4) #8 screws and nuts as shown, mount housing assembly to ceiling and route 24VDC IN/OUT wiring from CBS
branch circuit into housing.
4. Proceed as for STANDARD SURFACE MOUNT steps 4 - 5
SURFACE MOUNT TO J-BOX
1. See Fig 3. Install standard 4” Octagon J-box centrally above installation point as shown and secure to ceiling using appropriate screw
anchors. 2.
Route 24VDC IN/OUT wiring from CBS branch circuit into j-box.
KEY
B= BLACK:COMMON: 12/24 VDC NEG -
Y= YELLOW: EXITS/CVRE: 12/24 VDC POS +
R= RED: EMERGENCY: 24VDC POS +
BL= BLUE: NORMAL ON LIGHTING (NOL): 24 VDC POS +
Series MHE-RE
Moonlite LED™
High Output Emergency Light
14 1/2”
24"-48"
For T-Bar installations, rotate side bracket clips as
required to fit T-Bar hangers. For masonry ceilings,
attach side brackets to framing.
T-BAR T-BAR
ROTATE B-CLIPS
90° TO FIT BAR
HANGERS AS
REQUIRED
HANGER
ALTERNATE
POSITION
CENTERED CUTOUT
7/8" K.O. 2 PLCS
CEILING
MOUNT BRACKET 4 SUPPLIED
B-CLIP (4) SUPPLIED
DROPWIRES
BAR HANGER
(SUPPLIED
BY OTHERS)
CEILING
MOUNT BRACKET
SCREW: (4) SUPPLIED
B-CLIP
14 1/2””
3 3/8”
3 3/8”
12-48"
Fig. 3. RECESSED MOUNT: T-BAR CEILING
MOUNT BRACKET
(2) SUPPLIED
B-CLIP 4 REQD.
BACK BOX
-3-
Install Housing in ceiling using supplied end brackets with B-
Clips to framing or hanger bars (supplied by others). Long
edges of Housing should be flush or just below finished panel
surface.
02.17.02
-4-
Series MHE-RE
Moonlite LED™
High Output Emergency Light
Fig. 4. RECESSED MOUNT- WIRING
24 VDC
OUTPUT
CEILING
24 VDC
INPUT
BL
Y
B
R
BL
Y
B
R
BL YB R
POLARIZED
LAMP
CONNECTOR
LAMP
ASSBY
TRIM PLATE
24 VDC
OUTPUT
24 VDC
INPUT
BL BL
Y
B
R
BL
Y
B
R
YBR
CEILING
KEY
B= BLACK:COMMON: 12/24 VDC NEG -
Y= YELLOW: EXITS/CVRE: 12/24 VDC POS +
R= RED: EMERGENCY: 24VDC POS +
BL= BLUE: NORMAL ON LIGHTING (NOL): 24 VDC POS +
1. Route 24VDC IN/OUT wiring from CBS system into Housing.
2. Connect wiring with standard wire nuts to the supplied wiring pigtail, as shown. For emergency lighting operation only, connect RED and
BLACK; for normally ON/security lighting operation, connect RED, BLACK and BLUE. (YELLOW wire is passed through and not connected to
this fixture).
3. Connect lamp plug and install lamp assembly with (4) #8 screws. Attach Trim Plate with (2) color- matched #8-32 screws as shown.
4. Supply 24 VDC power from Central Battery System to check lamp operation.
220 VFW Avenue, Grasonville, MD 21638
TEL: (410) 827-8300 Fax:(410)827- 8866
sales@signtexinc.com www.signtexinc.com
Signtex Inc
LIGHTING
WIRING FOR EM OPERATION ONLY WIRING FOR EM & NORMAL ON OPERATION
PIGTAIL
(SUPPLIED)
PIGTAIL
(SUPPLIED)
02.17.02

Other Signtex Lighting Equipment manuals
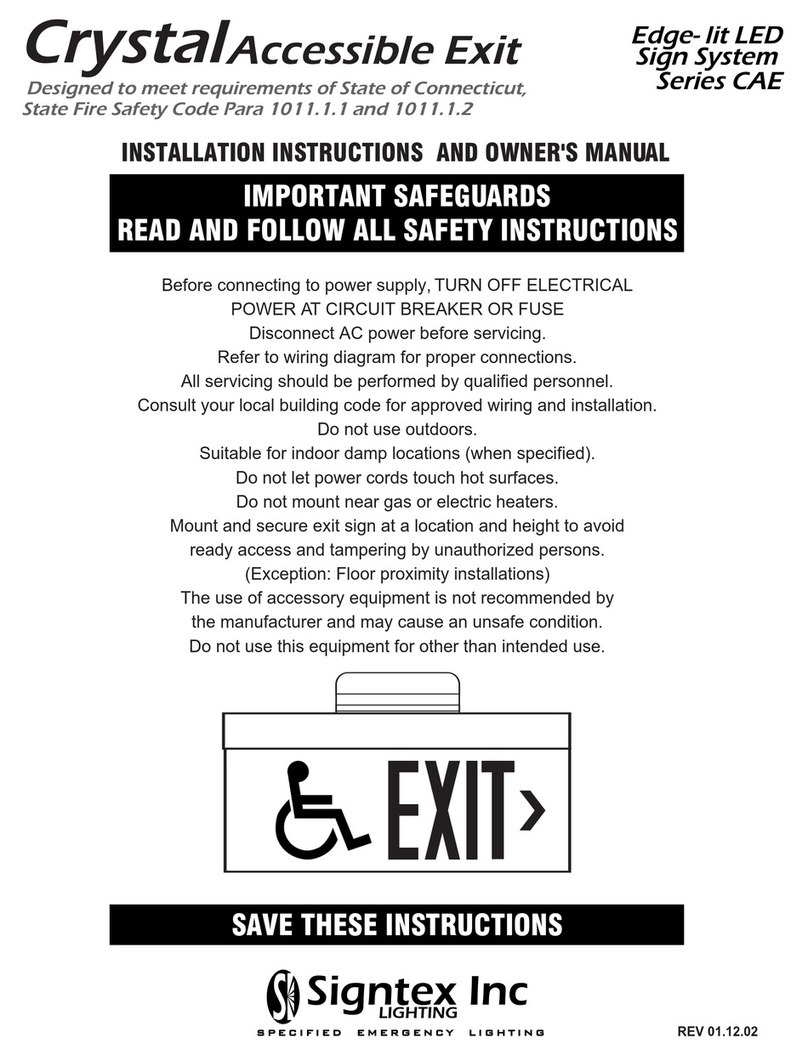
Signtex CAE Series Quick start guide

Signtex

Signtex CAE Series Quick start guide

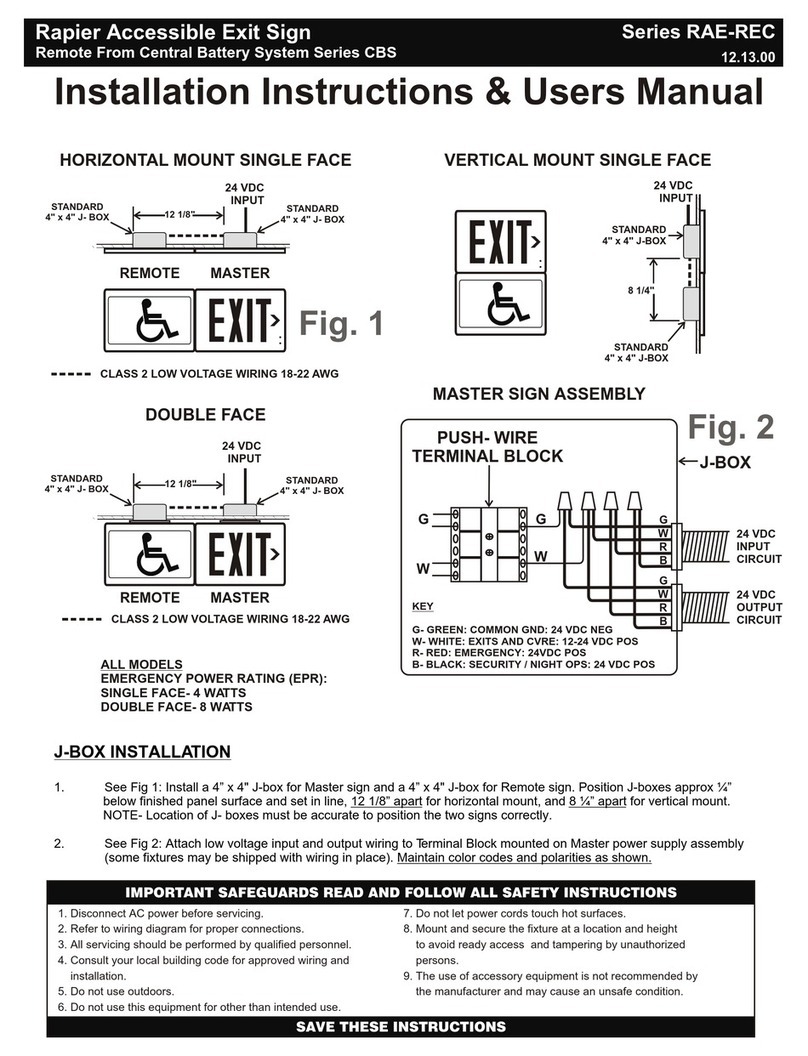
Signtex RAE-REC Series Manual

Signtex

Signtex RAE-REC Series Manual

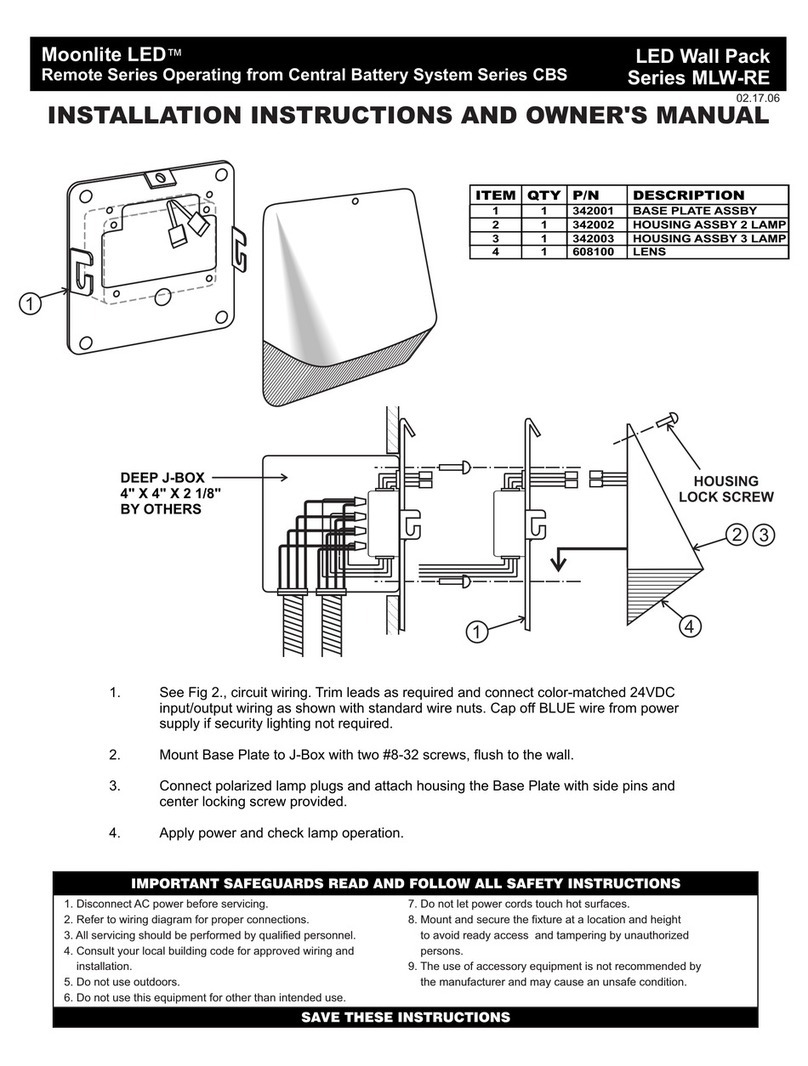
Signtex Moonlite LED MLW-RE Series Quick start guide

Signtex

Signtex Moonlite LED MLW-RE Series Quick start guide

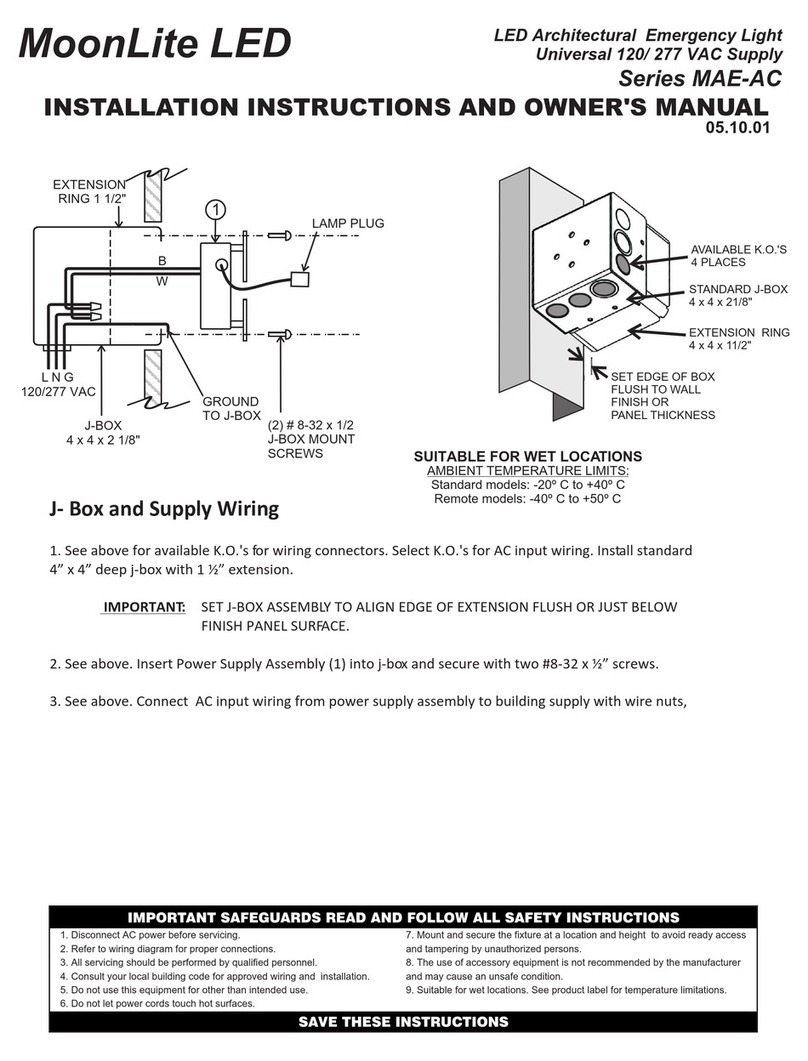
Signtex MoonLite LED MAE-AC Series Quick start guide

Signtex

Signtex MoonLite LED MAE-AC Series Quick start guide

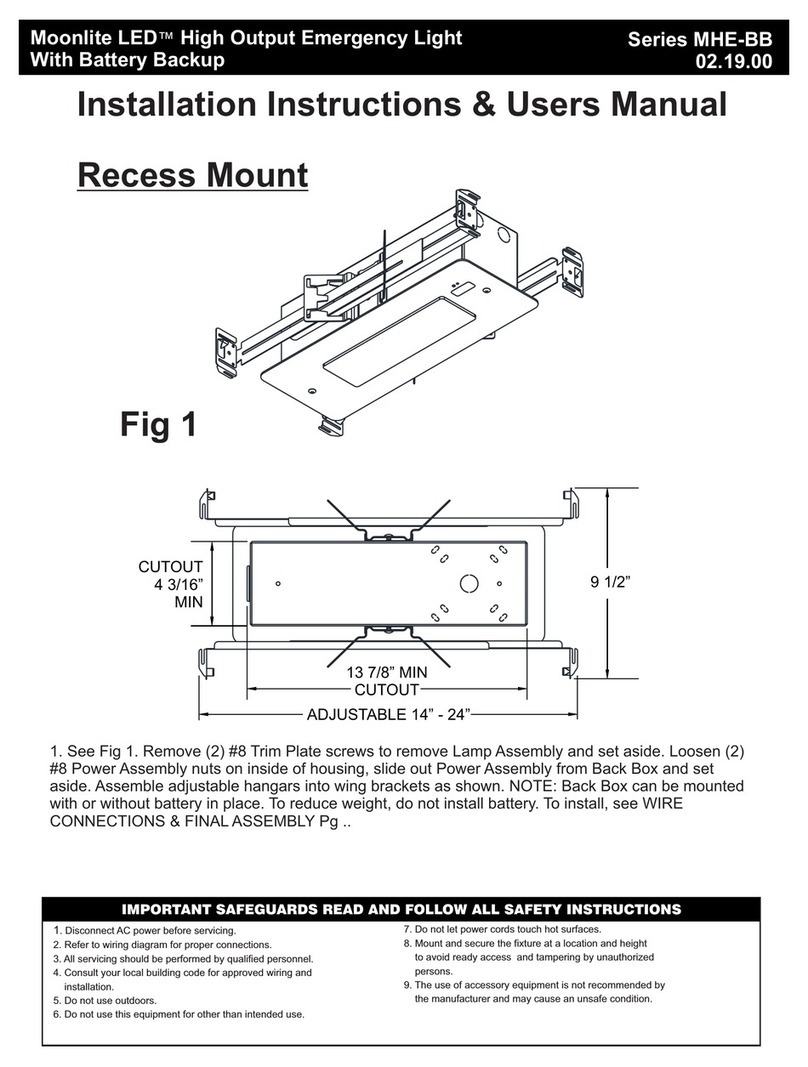
Signtex Moonlite LED MHE-BB Series Manual

Signtex

Signtex Moonlite LED MHE-BB Series Manual

Popular Lighting Equipment manuals by other brands

BEGA 84 638 Instructions for use

BEGA

BEGA 84 638 Instructions for use

Clas Ohlson CB5214-3 quick start guide

Clas Ohlson

Clas Ohlson CB5214-3 quick start guide

Trendspot OutDoozie Solar Fire manual

Trendspot

Trendspot OutDoozie Solar Fire manual

ALS PEN154R manual

ALS

ALS PEN154R manual

Kampa SabreLink 30 Installation and operating manual

Kampa

Kampa SabreLink 30 Installation and operating manual

Vision & Control LDLF60x540-IR850/24V Instructions for use

Vision & Control

Vision & Control LDLF60x540-IR850/24V Instructions for use

Beamever LINIO NEON 1220 SV PIXEL RGBW installation instructions

Beamever

Beamever LINIO NEON 1220 SV PIXEL RGBW installation instructions

Adesso Roswell 5093-22 Assembly instruction

Adesso

Adesso Roswell 5093-22 Assembly instruction

Welch Allyn XENON 300 Operating instructions manual

Welch Allyn

Welch Allyn XENON 300 Operating instructions manual

B.K.Licht BKL1262 Mounting instructions

B.K.Licht

B.K.Licht BKL1262 Mounting instructions

Infinity Chimp 100 user guide

Infinity

Infinity Chimp 100 user guide

JB Systems LED PINSPOT Operation manual

JB Systems

JB Systems LED PINSPOT Operation manual

INTER LIGHT IL-DCISET+ manual

INTER LIGHT

INTER LIGHT IL-DCISET+ manual

Viatek LL03-RGB-R instructions

Viatek

Viatek LL03-RGB-R instructions

Barco SolaSpot LED user manual

Barco

Barco SolaSpot LED user manual

EuroLite Orchestra stand light user manual

EuroLite

EuroLite Orchestra stand light user manual

Robus VEGAS 19.2W quick start guide

Robus

Robus VEGAS 19.2W quick start guide

RoomTec MA04R32TD-OL manual

RoomTec

RoomTec MA04R32TD-OL manual

manuals.online logo
manuals.online logoBrands
  • About & Mission
  • Contact us
  • Privacy Policy
  • Terms and Conditions

Copyright 2025 Manuals.Online. All Rights Reserved.