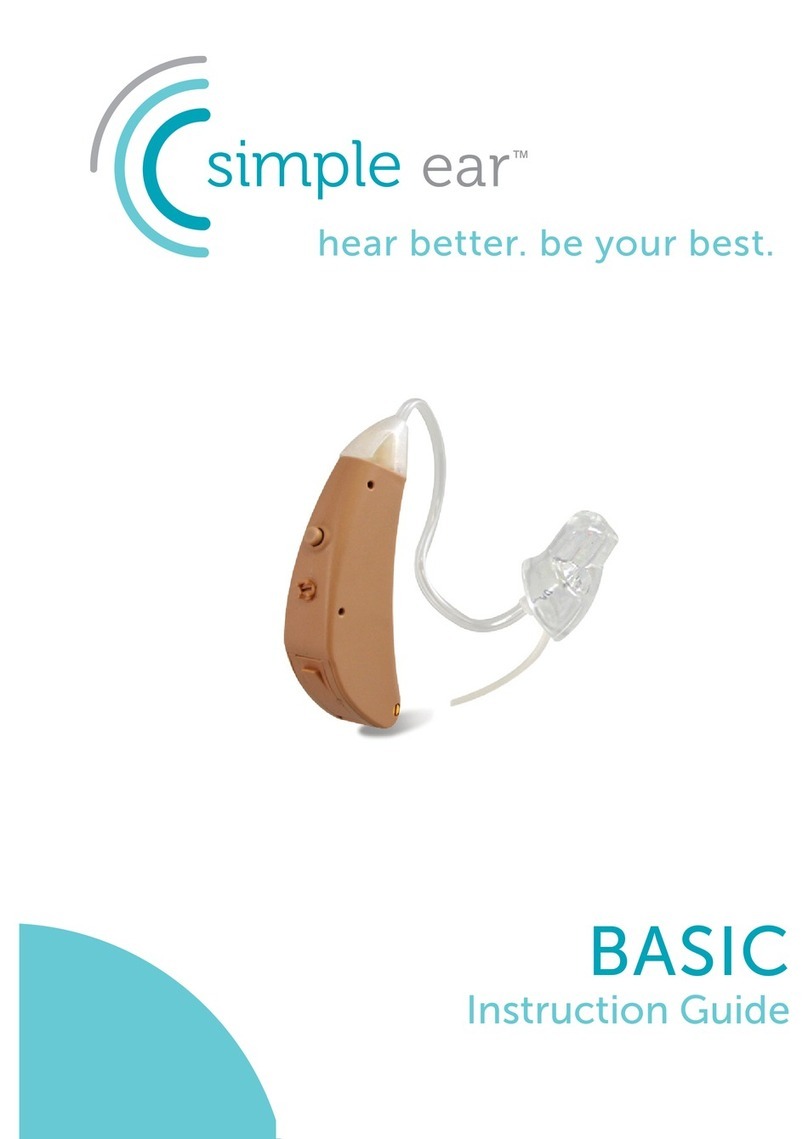
Simple Ear Premium Manual

PREMIUM
Instruction Guide
hear better. be your best.

Simple Ear Premium, your nearly invisible
hearing device, is a quality digital personal
sound amplier.
While much of the technology and
function of hearing aids are similar, our
goal is to amplify speech frequencies
while reducing background noise for
recreational, social and business use.
No prescription is needed and no
adjustments required. Simple Ear products are pre-
programmed, over the counter products.
When You Want a Boost
Simple Ear is simple to use, comfortable,
inconspicuous and easy to wear and maintain. Simple
Ear turns ordinary hearing into extraordinary hearing
and will benet most people looking to hear speech
and other normal sounds with more clarity.
Adjusting to any new hearing device takes a little
patience and a positive attitude. Your brain will need a
little time to get used to using any hearing device. Use
it for 3-4 hours at a time in a quieter environment when
you start to get comfortable and adjust. Time to hear
better and be your best.
Simple Ear vs. Hearing Aids

Powering Your Simple Ear
Simple Ear uses a 10A Battery.
TO TURN ON
With your nger, gently open the door. Insert battery and
close the door. Your Simple Ear is equipped with a power
on delay, so you will be given several seconds to seat the
device comfortably in your ear before it turns on. When
placing the battery in your Simple Ear device, position
the battery with the positive (+) side (or totally at side)
up and insert it into the battery compartment. If the
battery is inserted correctly, the door will close easily.
Do not force the door closed.
CAUTION: Batteries are dangerous if swallowed! Keep
batteries out of the reach of children. Never put batteries
in your mouth for any reason - they are easily swallowed. In
the event a battery has been swallowed, seek immediate
medical attention.
TO TURN OFF
Run the index nger around the edge of the retention
tube until the nger is able to pull up retention tube lock,
remove the device out from the ear.
To turn your Simple Ear off, simply open the battery door
completely. Store in a safe dry place.
NOTE: Your Simple Ear device will beep twice when
your battery is running low.

Inserting and Removing
Before insertion, please clean your ear and make sure the
battery door is closed properly. Follow the procedure for
inserting your Simple Ear device listed below:
(Fig. A)
(Fig. B)
(Fig. C)
(Fig. D)
Step 1 - Hold the device with your
thumb and index nger. (Fig. A)
Step 2 - Insert the device into the
ear canal. (Fig. B)
Step 3 - Gently push the retention
tube into the back part of the ear.
(Fig. C)
Step 4 - Tuck the tip of retention
tube into the top/helix area of the
ear and run your nger around the
concha of your ear to ensure that
the lock is not slipping out
Removal - Run the index nger
around the edge of the concha until
the nger is able to pull up retention
tube, remove the device out from
the ear. (Fig. D)
NOTE: Some irritation may occur due to becoming
accustomed to wearing a hearing device. If swelling or
redness occurs, discontinue use and visit your Doctor.

Simple Ear allows you to select
between modes with the greatest
of ease. Simply tap the outer part
of your ear canal and the sound
pressure triggers mode change. This
device does not require buttons or
switches and does not need to be
touched to change modes.
With your ngers together, lightly tap
the ear canal area. This will toggle successively from the
rst mode through the fourth, and then back to the rst.
The modes are preset to meet your desired hearing
amplication. A few minutes of practice should be
sufcient for you to become comfortable with this
technology.
Note: The number of beeps corresponds with the mode
that you have entered.
Mode Adjustment
The volume directly correlates with the
different modes, by increasing the modes
you are increasing the volume.
Mode 1 will be the lowest volume setting
and mode 4 will be the highest.
Volume Adjustment
VOLUME
MODE 4
MODE 3
MODE 2
MODE 1
POWER ON

Wax Barrier
Your Simple Ear device is equipped with a wax barrier
to help protect against wax related damage. To avoid
serious damage please change the wax barrier when
you experience reduced sound or see wax on the
barrier.
REMOVE USED
WAX BARRIER
DISPOSE OF
USED WAX BARRIER
TAKE OUT NEW
WAX BARRIER
INSERT NEW
WAX BARRIER INTO
SIMPLE EAR DEVICE

Identifying your Simple Ear
Battery Door
Wax Guard
Microphone
Retention Tube (R/L)
Sound Outlet
Changing the Retention Tube
• To remove the retention tube, use your
ngernail to push on each clip just
enough to unseat the retention tube
and pull to remove. (g. 3)
• Hold the body of the device in your
hand with the battery facing you.
The battery door hinge should be at
the top of the device. Next, with the
color dot indicator facing you, grab
the retention tube and snap the base
into the bottom of the device. The
blue dot should assemble from the
right and the red from the left. (g. 1)
• Finally, attach the top of the
retention tube into the top of the
device (g. 2)
(g. 1)
(g. 2)
(g. 3)

DO YOU NEED ADDITIONAL HELP?
Please do not return this product to the store.
If you need installation assistance, replacement parts,
or have questions regarding our warranty,
please contact us at:
www.simpleear.com
Simple Ear
5021 Vernon Avenue, #169
Minneapolis, MN 55436
ATTENTION
Simple Ear is trademarked
Made in the USA
Table of contents
Other Simple Ear Hearing Aid manuals
