Dex FM+DEX User manual
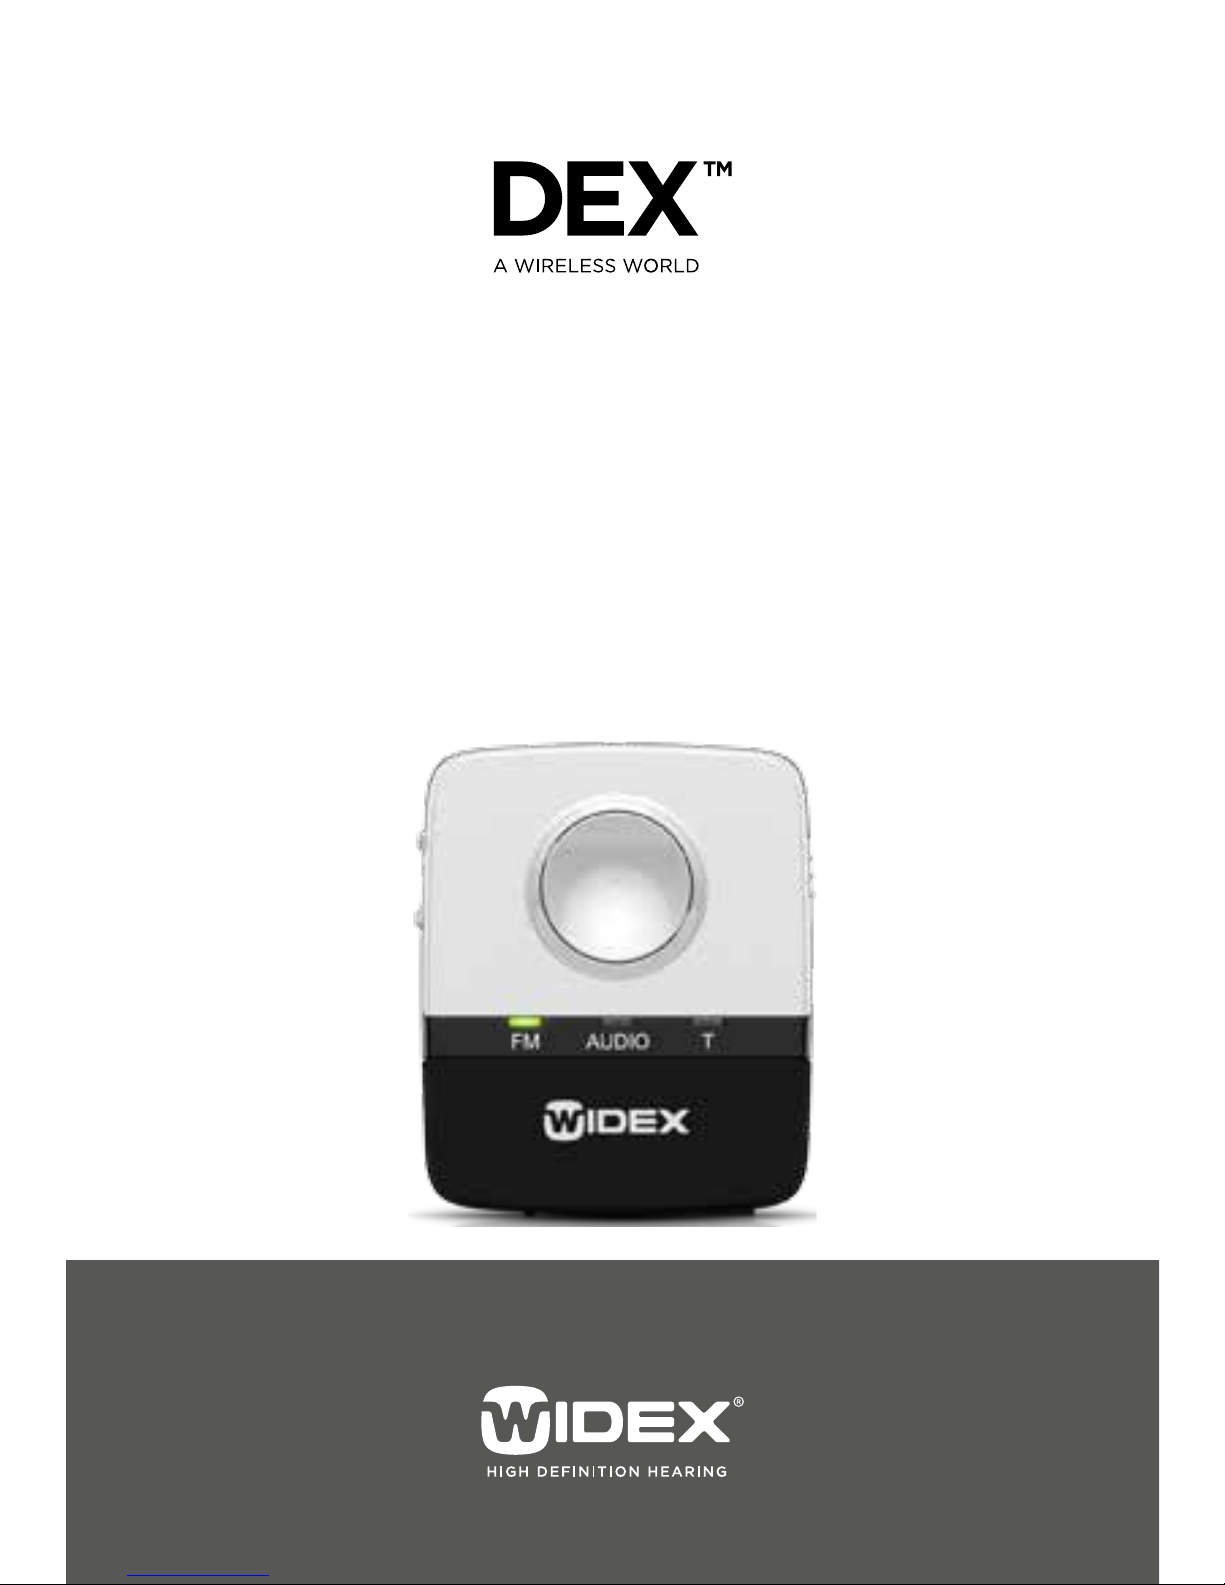
USER INSTRUCTIONS
FM+DEX
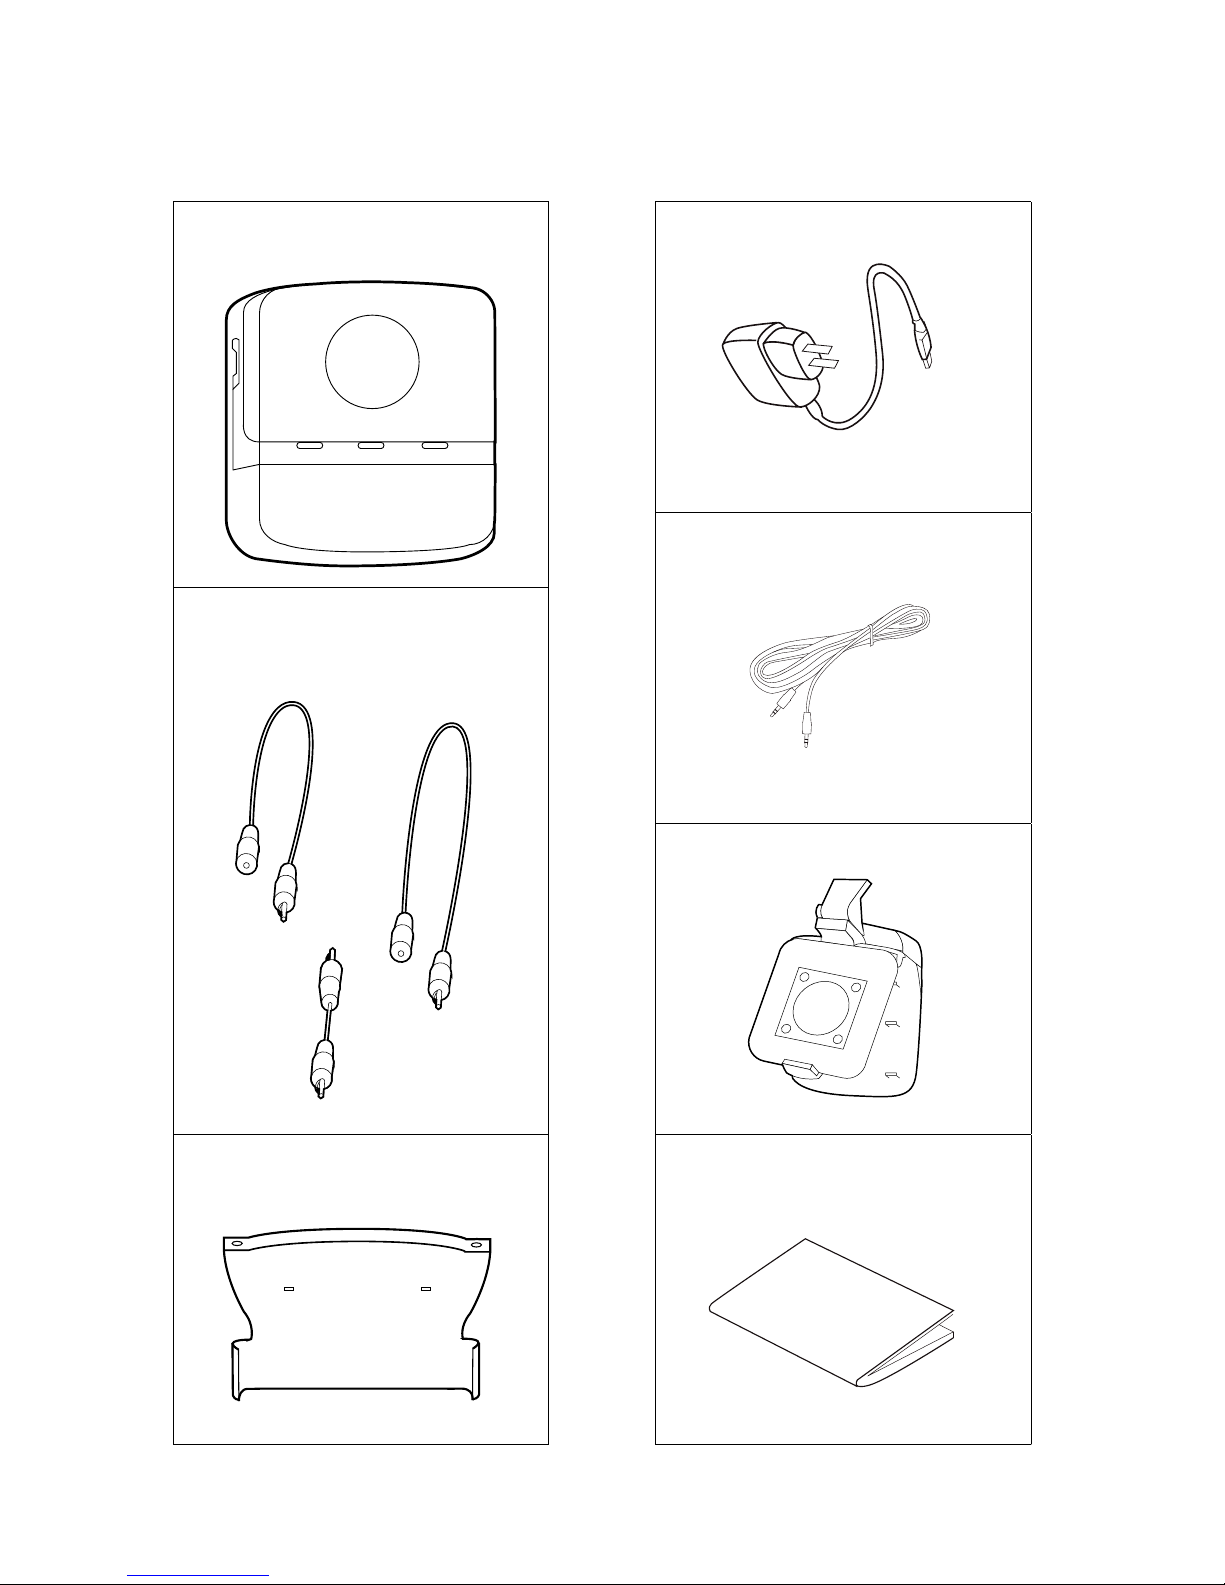
PACKAGE CONTENTS
FM+DEX
Neck loop antenna
(two lengths)
Click-on module
Charger
Jack-to-jack cable
Clip
User instructions
2

CONTENTS
YOURNEWFMDEX ..............................
Intendeduse.....................................
Descriptionofdevice .............................
FMDEXOVERVIEW ..............................
LEDS ...........................................
OPERATINGRANGES .............................
GETTINGSTARTED ...............................
Chargingthebattery .............................
PreparingforTelecoilFMorAudio ................
Antenna........................................
TURNINGONTHEDEVICE ........................
ACOUSTICINDICATORS ..........................
SELECTINGINPUTSOURCE .......................
VOLUMEADJUSTMENT ..........................
ROOMOFF .....................................
TURNINGOFFTHEDEVICE .......................
TAMPERSWITCH ................................
CARINGFORYOURFMDEX ......................
WARNINGS.....................................
SAFETYWARNING ..............................
INCASEOFMALFUNCTION ....................
REGULATORYINFORMATION .....................
3
YOUR NEW FM+DEX
Your FM+DEX is part of the DEX™ family of assistive lis-
tening devices. These user instructions explain how the
FM+DEX should be operated.
WARNING
This booklet contains important information and instructions.
Please read this booklet carefully before you start using the
device.
Intended use
The FM+DEX is a battery-powered device intended to
transmit (or stream) signals to Widex hearing aids using
the wireless WidexLink technology; i.e. signals are
received, altered and transmitted to the hearing aid.
4

Description of device
The FM+DEX is offered in order to support Widex hear-
ing aids without DAI (direct audio input) or a telecoil.
When the FM module is attached, the user is able to
receive FM signals.
In the same way, the device can substitute for a telecoil
in hearing aids not fitted with a telecoil. The third input
possibility is the line in, which can be used to stream
music, etc., by connecting a computer or portable unit
to the device.
The FM+DEX is worn on a neck loop antenna or attached
directly to clothing using the included clip.
If you need help to identify the serial number (usually
six or seven digits) on the product, please contact your
hearing care professional.
5

FM+DEX OVERVIEW
OnOff
InputtogglekeyRoomoff
Volumeupdown
FMinputLED
AudioinputLED
T(telecoil)LED
Batterylevelindicator
Tamperswitch
FMswitch
FMconnector(Europlug)
FMconnector(SCOLAFLEXreceiver)
Charge(miniUSBsocket)
Audio(line-in)
Cover
6
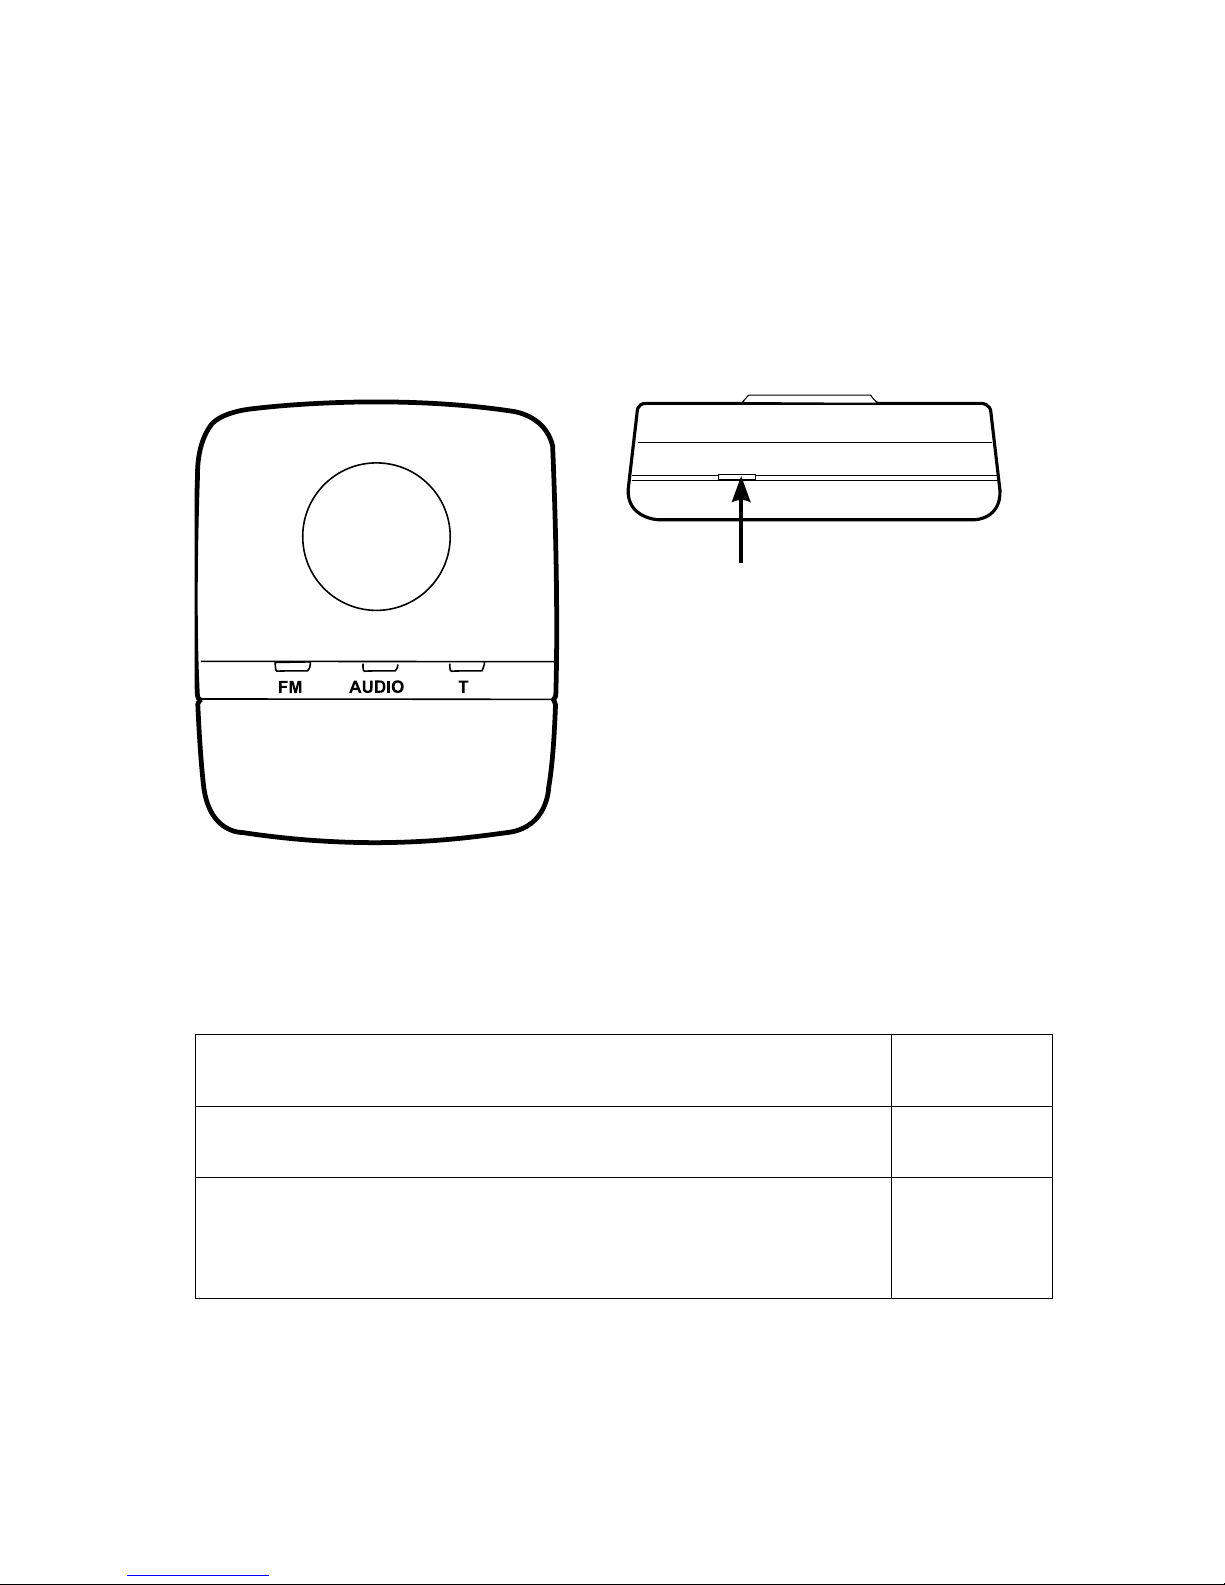
LEDS
Input indicators
Green light in any of the three input LEDs indicates that
this input source has been chosen.
Batteryindicator
Battery indicator
Battery low red
Battery charging orange
Battery fully charged, charging unit still
connected green
7

OPERATING RANGES
From FM+DEX to hearing aids Up to 40 cm
From FM transmitter to FM+DEX Up to 30 metres
8
GETTING STARTED
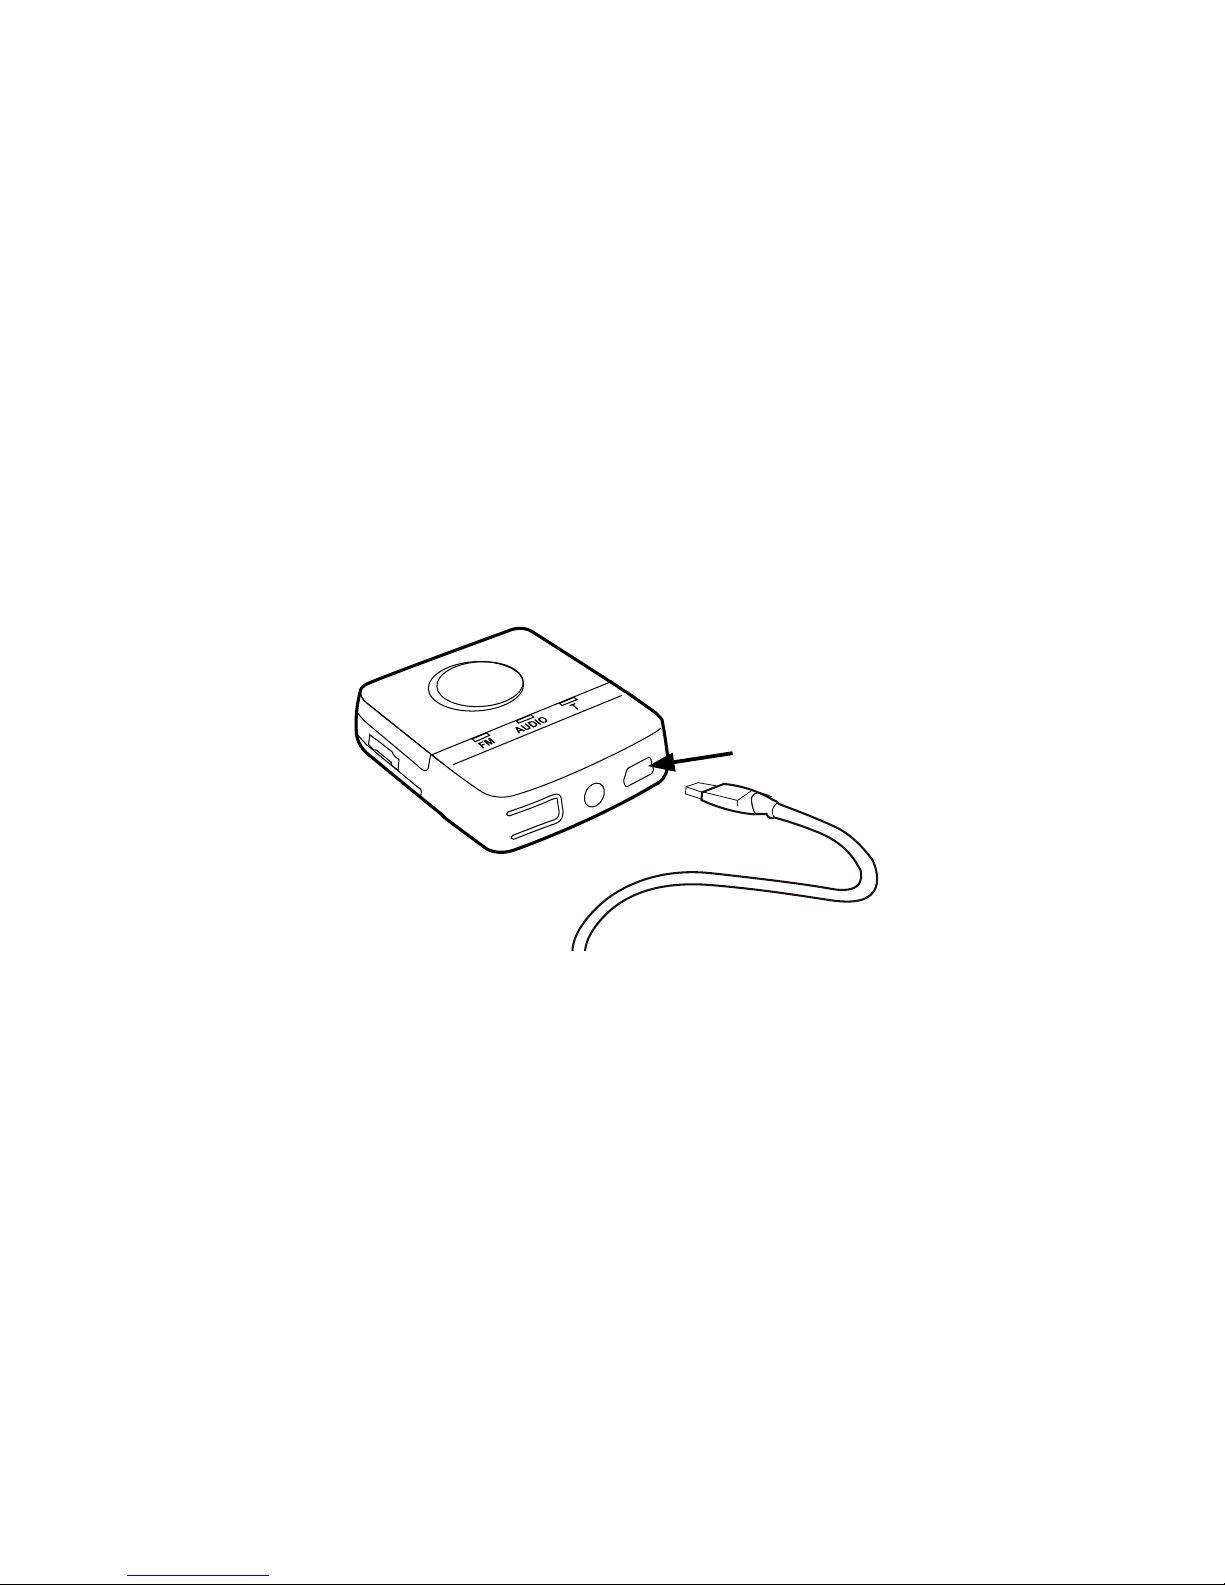
Charging the battery
The device uses a rechargeable battery that is charged
through the mini USB connector. When fully charged,
the battery has a capacity of approx. 10 hours of con-
tinuous use. The charger is available in four country
versions. The version you have may therefore not look
exactly as illustrated in this booklet.
9

1. Connect the charger to the mini USB connector at
the bottom of the FM+DEX.
2. Plug the charger into a wall socket.
It takes approximately 4 hours to charge the battery
the first time. Recharging takes approx. 2 hours. The
device cannot stream while recharging.
WARNING
Do not attempt to change the battery. Contact your hearing
care professional.
10
Table of contents
Other Dex Hearing Aid manuals


