Simply SJS15 User manual

FEATURES
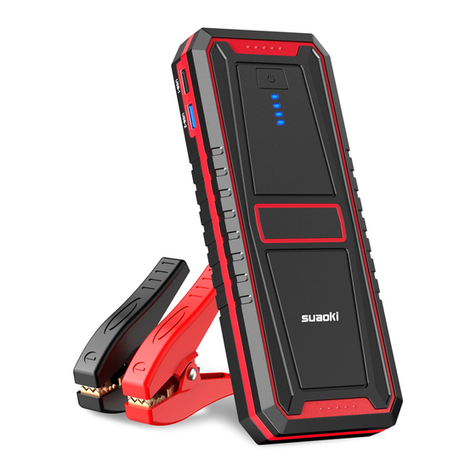
A portable jump starter with a 12V battery that is ideal for any jump
starting needs and can be used on boats, cars, trucks, tractors, generators
and is fully compatible with any 12 volt starting system. It also has a built
in air compressor and a 15 LED worklight. The jump starter utilizes a
MAINTENANCE FREE SEALED BATTERY which allows the unit to be
stored without fear of leakage. The jump starter can be conveniently
stored under or behind a seat. Included are 2 air valves, 1 sports needle,
1 12V car cigarette plug and 1 AC/DC charging adapter.
SPECIFICATIONS
1. Output voltage: 12VDC
2. Power output: 300AMPS start; app. 700AMPS peak
3. Output from cigarette lighter socket: 12VDC<15AMPS
4. Charging: 12VDC/500mA
5. Internal battery status: LED indicator
6. Safety switch
7. 250 PSi air compressor
OPERATIONAL INSTRUCTIONS
1.JUMP STARTING:
1. Switch the engine of the vehicle or boat to be jump started to OFF.
2. Connect the RED clamp to positive post(+) of battery, then the BLACK
clamp to negative post(-) of battery. CHECK THE 'POLARITY' LED IS
GREEN BEFORE PROCEEDING; IF RED DO NOT TURN UNIT ON!
3. Turn safety switch on Jump Starter to "I" position.
4. Switch the vehicle or boat ignition to "ON".
5. Wait a minute or two.
6. Switch the vehicle or boat engine ignition to "START" for no more than
5 to 6 seconds.
7. If the vehicle or boat engine does not start, wait a least 3 minutes before
trying again.
8. Once the vehicle or boat engine is running, safely switch to "O"
positon. disconnect the clamps and restore them to their storage
position.
Charging the Unit
Plug the adaptor into a mains power supply and the charging
connector into the 'charging' socket on the front panel of the unit.
When the red "charging" LED illuminates, the unit is then charging.
When charged the green LED will illuminate. The battery may require a
charge of 8-20hours. The charge cord should be disconnected once
the battery is fully charged.
For safe and correct use, when using to jump start a vehicle or
boat please read and follow these step-by-step instructions:
8. 15 super bright white LED light
9. 5V USB port
CHECK BATTERY
Press the "TEST" button to check the status of the internal
battery. When the yellow LED comes on, the battery should be
charged.
Green LED - Good charge
Yellow LED - Weak/Reacharge (Jump start may not be possible at this battery level)
Red LED - Recharge
ATTENTION
1. Do not use the battery if the cable or plug is damaged.
2. Repairs should be carried out by experts only. Otherwise it may cause
considerable danger for user.
3. Avoid short circuit of the product:
Do not touch the poles with any conductive material.
Do not store the battery in a box in which the poles might
touch other objects.
4. To avoid damage of cable or plug, never pull the cable to disconnect
the charger.
5. Keep this product out of reach of children.
6. Do not store in places where the temperature could exceed 50 C.
7. Do not expose this product to water or moisture.
8. This unit has a sealed lead-acid battery that should be kept at full
charge. Recharge when first received and immediately after each
use. Recharge the battery if not used for 90 days as failure to do
this may cause the battery life to be reduced.
9. Always wear glove and eye protection when working on or around
lead-acid batteries.
2.LIGHT & USB
Press the "LIGHT" button to turn on the light, and again to turn off.
Press the "USB" button to turn on the USB port so you can charge
your device at 5V.
3.COMPRESSOR OPERATION
Caution: Run compressor for a maximum of 10mins at a time. After this
leave for 10 minutes before using again so that the compressor can cool.
1.Be sure main power switch on front face is in the ON position.
2.For tyre inflation use the universal adapter that is attached permanently
to the air hose.Place this adapter onto the tyre valve system.Press
the adapter lever down to lock onto the valve system.
3. For inflating leather balls,floation devices, etc.,use one of the plastic
nozzles.
4. Check pressure gauge, determine the desired pressure.
5. Turn on air compressor with the switch on the rear of the unit.
6. When the desired pressure is reached turn the compressor switch off.
7. Remove the adapter from tyre or other item being inflated.
C
M
Y
CM
MY
CY
CMY
K
SJS15 MANUAL.pdf 1 11/03/2019 09:45:48
8.Turn main power switch OFF to prevent battery drain.
4 IN 1 JUMP STARTER
12V/15AH Battery
INSTRUCTION MANUAL
o
®
®
Part of Simply Brands simply-brands.com
Popular Remote Starter manuals by other brands

CrimeStopper
CrimeStopper Cool Start RS-3 operating instructions
ADS
ADS HCX000A owner's manual

Kia
Kia RED301-1WAY quick start guide
Digital Guard Dawg
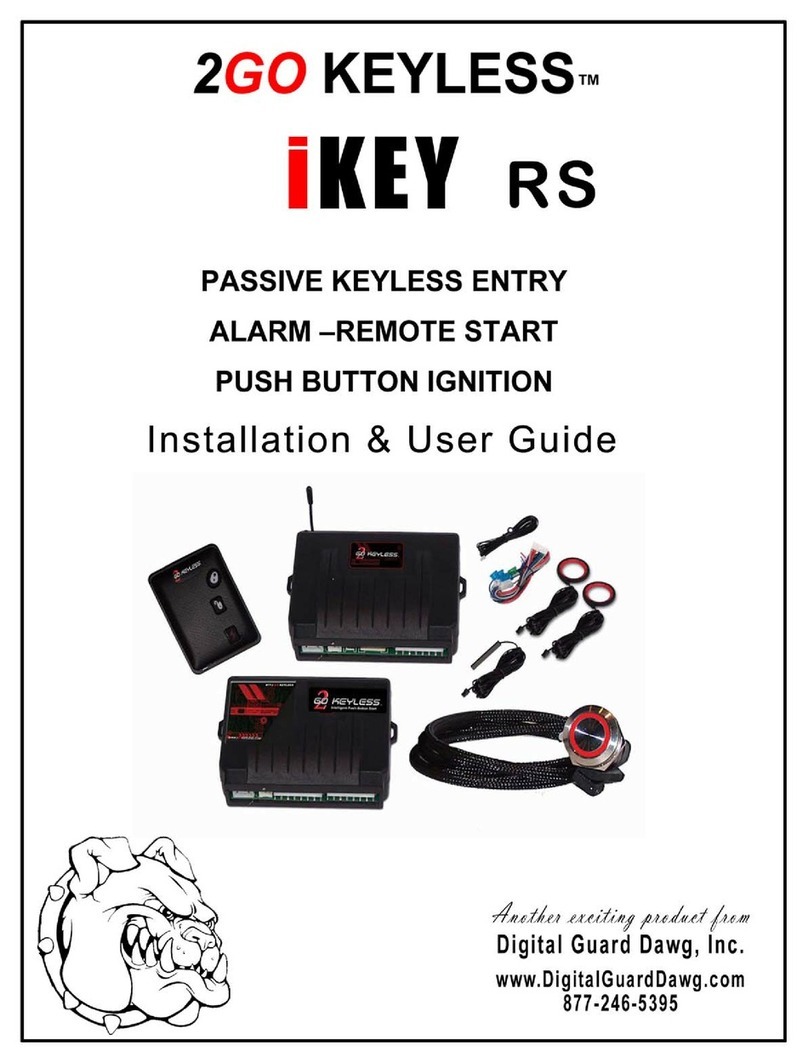
Digital Guard Dawg 2GO KEYLESS iKEY RS Installation & user guide
Voxx
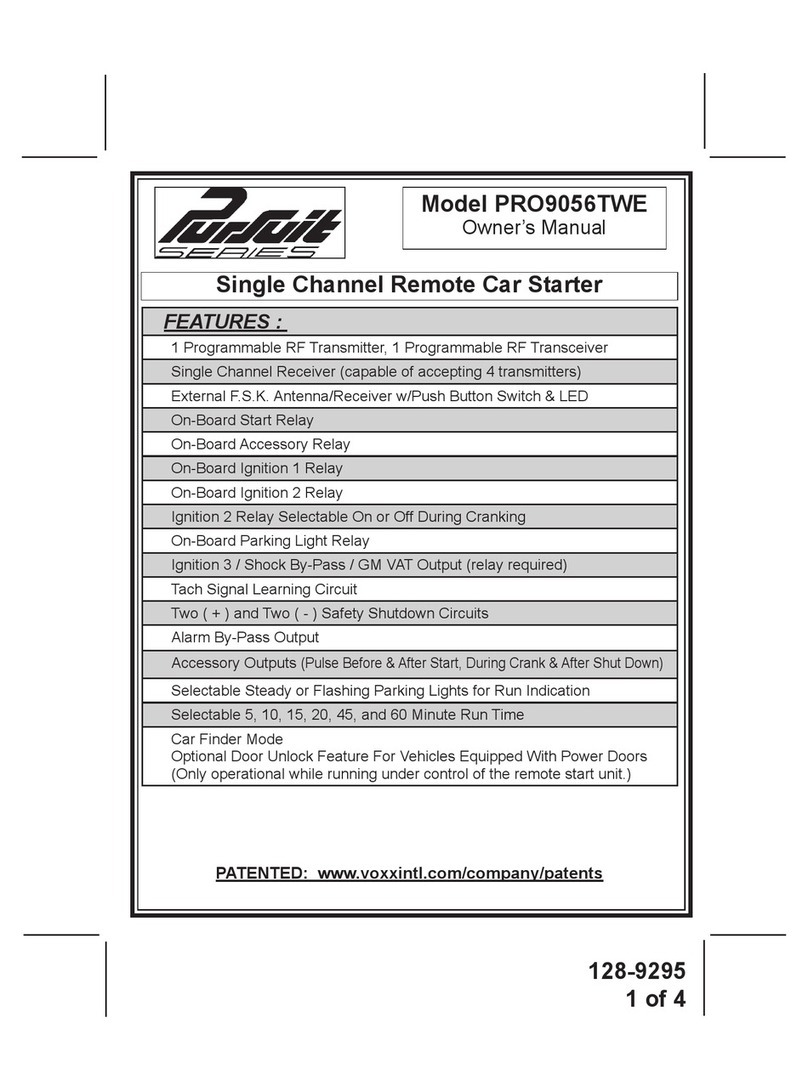
Voxx PRO9056TWE Pursuit Series owner's manual
Schumacher
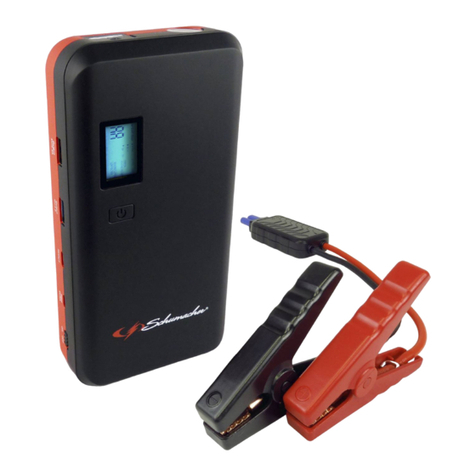
Schumacher SL1317U owner's manual

