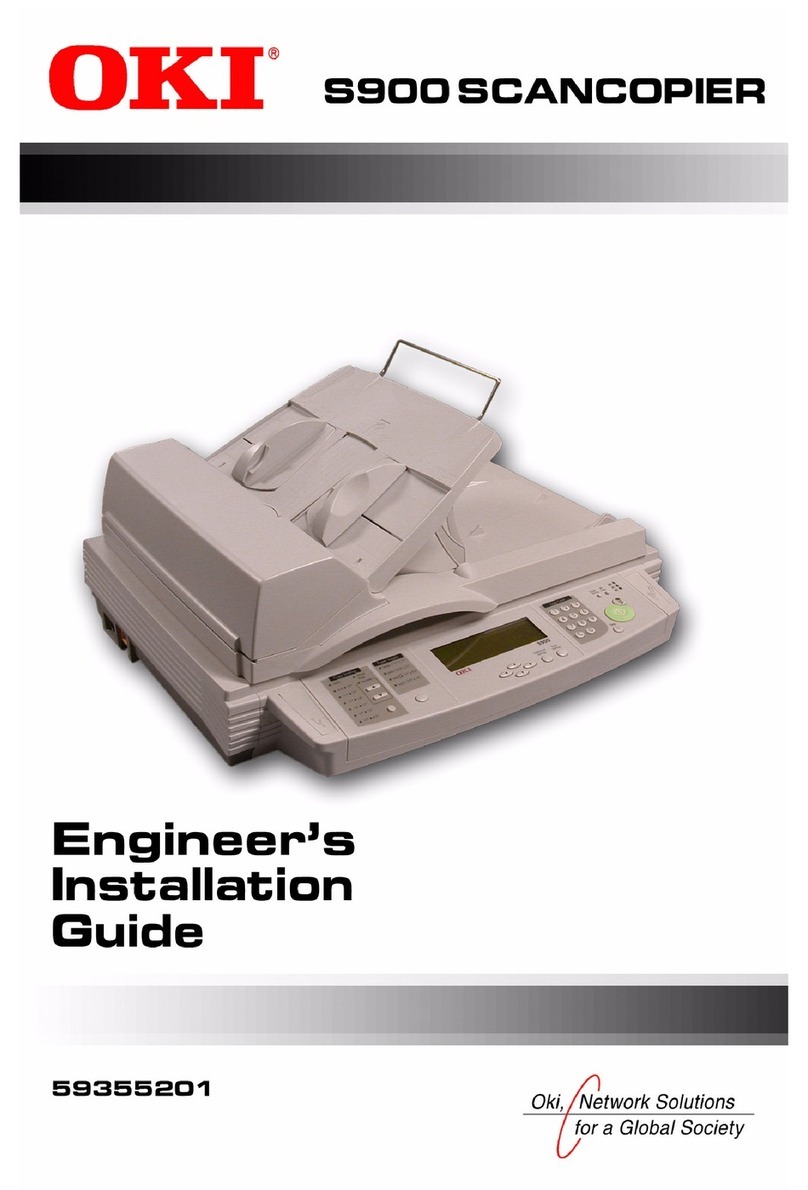
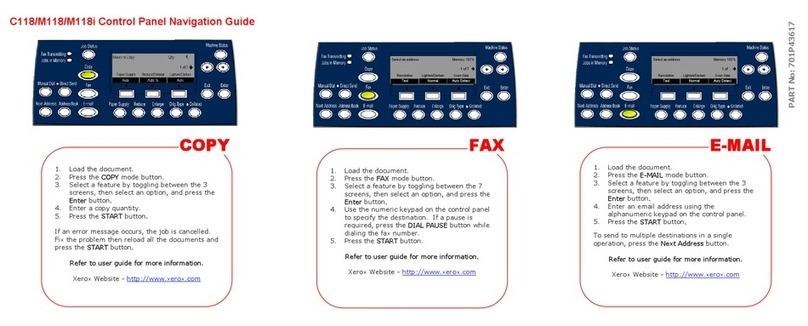
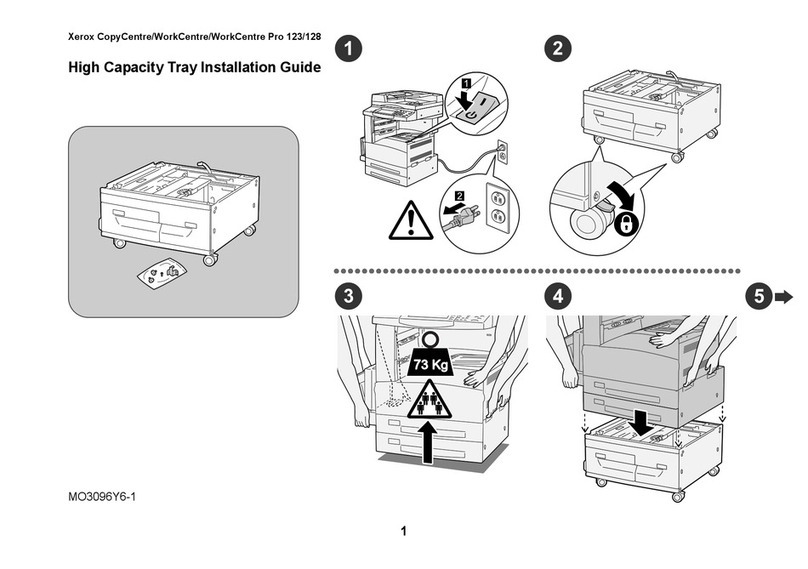
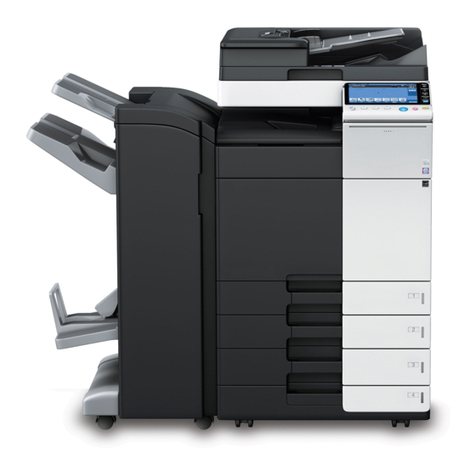
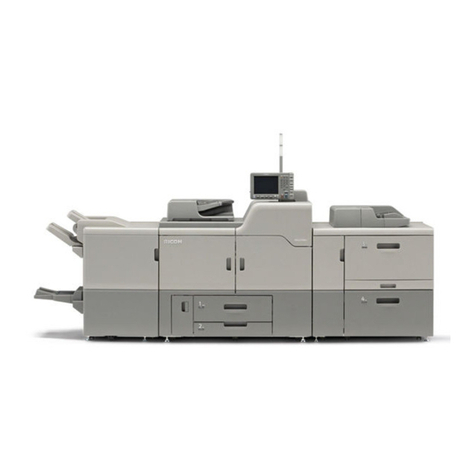
Sindoh D200 Series User manual

USER MANUAL
Copy Operations
D200 Series
Before using this Product, please read the
USER MANUAL carefully and keep it for
your reference.

Plug the power cord into the wall socket directly. Do not use a extension cord.
If the power cable or plug is worn out or damaged, pull the power plug out.
Do not remove the cover or bolt except specified on this USER MANUAL to prevent
from being exposed to electric shock or laser radiation (if a laser application is used).
Under the following conditions, turn the power switch to ON position and then pull the
power plug out:
- Something is spilled on the Machine;
- Service or repair request for the Machine is under consideration; or
- The cover for the Machine is damaged.
For the Machine with toner, do not burn the spilled toner or waste toner.
If toner particles are exposed to flames, it may ignite.
For discarding the Machine, use our designated shops or proper pickup places.
If not used in long time or when the business is closed at quitting time, turn the power
switch to OFF position. Otherwise, it may be a cause of flash fire.
Protect the Machine against moist or wet place with rain or snow.
Before moving the Machine, pull the power cord out of the wall socket.
Pay attention to the power cord not to be damaged while moving the Machine.
When pull the power cord out of the wall, do not pull the cable but give a pull to the plug.
Do not drop clip, staple, or small-sized metal object into the Machine inside.
When controlling the Machine Inside for the purpose of removing paper jam or cleaning
the Machine inside cleaning, pay attention to negligent accident.
For the Machine with toner, keep the toner and toner bottle out of the reach of children.
Do not discard the Machine or the consumables in the household waste disposal site.
In discarding the Machine, make use of our designated shops or proper pickup places.
The Machine inside may be very hot. Never touch the component with “CAUTION: High
Temperature” or around. If not, it may cause a burn.
Our Product conforms to the standard of high quality and performance.
We recommend you to use honest components available for buying from our designated
shops.
USERS MUST KEEP THE FOLLOWINGS WHEN USING THE MACHINE:
Guidelines for Safe Use
WARNING : Negligence of the instructions may cause death or serious injury:
CAUTION : Negligence of the instructions may cause slight injury or loss of
property.

Thank you very much for your buying the SINDOH’s Product.
This USER MANUAL specifies the right way to use the Machine and simple repairing in
detail to maintain it in optimal state at all times and to contribute to your company’s office
rationalization and efficiency.
Please read the USER MANUAL carefully and keep it close at head, before using this
product. Before using the Machine, read the Guidelines for Safety Use to use the Machine
sefely and correctly.
Before Using the Product
Prohibition and Restriction of Reproduction
1. The content of this USER MANUAL is subject to change without prior notice.
We disclaim all responsibility for any direct/indirect loss due to your handling this
machine or the operation results or for any damage caused by misuse.
2. Copying or printing paper money in circulation, banknote, revenue stamp, bond, stock,
bank bill, check, passport, or driver’s license is forbidden by the laws.
3. The works such as copyright book, music, picture, map, drawing, or photograph can be
used by copying it for personal or family use or within the corresponding scope, but
other uses are forbidden by the laws.
4. The above contents in this paragraph are part of legislation and they are not the
reprinting from the legislation. We disclaim all the responsibility for the accuracy or
integrity. For the legality of a copy or print, we suggest you get legal advice.

Table of Contents
ⅰ
Table of Contents
Chapter 1. Copy Operations
Copying (basic operation flow) --------------------- 1-2
Chapter 2. Specifying the Color and Image Quality for Copying
Enlarging or reducing an image for copying ([Zoom] -------- 2-2
Selecting the Copy Color ([CLR]) -------------------- 2-2
Selecting the appropriate image quality level for the contents of the original
([Orig. Type]) ------------------------------- 2-3
Adjusting the copy density ([DENSITY]) ---------------- 2-4
Specify the orientation of the original ([Original Direction]) ----- 2-4
Adjust the resolution depending on the original. ([Scan Resolution]) -- 2-5
Adjusting the background density of the original ([Bkgd. Removal]) -- 2-6
Adjusting the sharpness of the contour of text or images. ([SHARPNESS]) 2-6
Adjusting the brightness of an image ([BRIGHTNESS]) ------- 2-7
Adjust the saturation of an image. ([Saturation]) ----------- 2-8
Adjust the intensity of each color of an image. ([RED]/[GREEN]/[BLUE]) - 2-8
Enhance the text against the background. ([TEXT ENHANCEMENT]) -- 2-9
Adjusting the shading of an image ([Contrast]) ------------ 2-9
Adjust each color balance of an image. ([COLOR BALANCE(Y)]
/[COLOR BALANCE(M)]/[COLOR BALANCE(C)]/[COLOR BALANCE(K)]) - 2-10
Chapter 3. Saving the Number of Print Sheets
Copying on both sides of paper ([DUPLEX]) ------------- 3-2
Copying multiple pages on the same side of a single sheet ([Combine]) - 3-3
Copying the front and back sides of a card on the same side
of a single sheet of paper ([ID CARD COPY]) ------------- 3-5

Chapter 4. Specifying the Size or Type of the Paper to Be Copied
Selecting the paper size and paper type ([Paper]) ---------- 4-2
Chapter 5. Specifying the Method to Scan the Original and the Method to Output Copy
Specifying the size of the original to be scanned ([Original Size]) --- 5-2
Scanning a number of originals in several batches ([Separate Scan]) -- 5-2
Scanning multiple pages with different size ([Mixed Original]) ----- 5-3
Printing out on a set basis ([Finishing]) ---------------- 5-4
Table of Contents ⅱ


1
1
Copy Operations
D200 Series
Copy Operations

Copy Operations
1-2
Copying (basic operation flow)
1Press the Copy key.
2Load the original.

1-3
Copy Operations
1
3If necessary, configure copy settings.
The standard size will be detected automatically. If you fail to set the original size correctly,
the image may be cut off. For details on how to specify the original size, refer to P. 5-2.
For details on copy settings, refer to the respective columns of the following table.
Purpose Reference
To specify the color, image quality, density, etc. for copying P. 2-2
To reduce paper consumption using 2
-
sided copying or the Combine
function
P. 3-2
To change the size or type of the paper to be copied P. 4-2
To specify the original scanning method and copy output method P. 5-2
4If necessary, specify the number of copies using the Keypad.
To re
-
enter the number of copies, press the Back key.
5Press the Start key.
If you press the Stop/Reset key while scanning the original, scanning stops. To stop
scanning the original, check that [YES] is selected when an message appears to prompt you
to stop scanning, then press the Select key.
The original is scanned, and copying starts.

Copy Operations
1-4
Related setting
You can change the default copy settings to suit your environment.
To configure settings : Utility-[User Settings]-[Copier Settings]-[Default Copy Settings]

2-1
Specifying the Color and Image Quality for Copying
2
Specifying the Color
and Image Quality for
Copying
D200 Series
Copy Operations

Specifying the Color and Image Quality for Copying
2-2
Enlarging or reducing an image for copying ([Zoom])
Copy an original image enlarged or reduced by an arbitrary zoom ratio.
Settings Description
[AUTO] Automatically make a copy with the optimal zoom ratio to match
the image of the original with the paper size.
It is convenient that you do not need to specify the zoom ratio.
[Full Size] Copy an original image with the same size as for the original.
[Fixed Zoom] Select a preset zoom when copying from a standard size original
onto a standard size sheet of paper.
When [Tray Select] is set to [AUTO], the paper tray is
automatically switched depending on the selected zoom ratio.
[MANUAL] Enter a zoom ratio manually. You can also enter the zoom ratio
using the ▲/▼key or Keypad.
[Minimal] Place an original image in the center after slightly reducing
the size of the original when copying. Select this option when
copying the entire original image, including its edges.
1Select the current Zoom from the main (copy mode) screen by pressing the ▲/▼ key,
then press the Select key.
2Select [AUTO], [Full Size], [Fixed Zoom], [MANUAL] or [Minimal] by pressing the ▲/▼ key,
then press the Select key.
Selecting the Copy Color ([CLR])
Select a color for copying.
Settings Description
[Auto CLR] The machine automatically selects [Full CLR] or [BW] according
to the color of the scanned original when copying.

2-3
Specifying the Color and Image Quality for Copying
Settings Description
[Full CLR] Print the copy in full color, regardless of whether the scanned
original is in color or in black and white.
[BW] Print the copy in black and white, regardless of whether the
scanned original is in color or in black and white.
[R+BW] In the scanned original, an area judged to be color is copied with
the Red, and an area judged to be black is copied in black.
1Select the current CLR from the main (copy mode) screen by pressing the ▲/▼ key,
then press the Select key.
2Select [Auto CLR], [Full CLR], [BW] or [R+BW] by pressing the ▲/▼ key,
then press the Select key.
Selecting the appropriate image quality level for the contents of the original
([Orig. Type])
Select the optimum settings for the original to copy it at the optimum image quality level.
Settings Description
[MIX] Copy the original, which consists of text and photos, at the
optimum image quality level.
This function sharpens the edges of each character, creating
easy
-
to read images.
[TEXT] Copy originals primarily containing text at the optimum image
quality level. This function sharpens the edges of the text, and
reproduces smoother photos.
[PHOTO] Copy an original consisting of only photos at the optimum image
quality level.

Specifying the Color and Image Quality for Copying
2-4
1Select the current Orig. Type from the main (copy mode) screen by pressing the ▲/▼ key,
then press the Select key.
2Select [MIX], [TEXT] or [PHOTO] by pressing the ▲/▼ key, then press the Select key.
Adjusting the copy density ([DENSITY])
Adjust the density of a copy image.
1Select the density of a copy image from the main (copy mode) screen by pressing the ▲/▼ key,
then press the Select key.
2Adjust by pressing the ◀/▶ key, then press the Select key.
Specify the orientation of the original ([Original Direction]).
Specify the orientation of the loaded original.
1Select the current Other Setting from the main (copy mode) screen by pressing the ▲/▼ key,
then press the Select key.

2-5
Specifying the Color and Image Quality for Copying
2Select [Original Direction] from the Other Setting screen by pressing the ▲/▼ key, the press
the Select key.
3Select [Left], [Right], [Top] or [Bottom] by pressing the ◀/▶ key, then press the Select key.
Adjust the resolution depending on the original. ([Scan Resolution])
Adjust the resolution of the original.
Settings Description
[600x300 dpi] To be selected when copying a normal original.
[600x600 dpi] To be selected if a fine image quality level is required when
copying a full
-
color photo and etc.
1Select the current Other Setting from the main (copy mode) screen by pressing the ▲/▼ key,
then press the Select key.
2Select [Scan Resolution] from the Other Setting screen by pressing the ▲/▼ key,
then press the Select key.
3Select [600x300 dpi] or [600x600 dpi] by pressing the ▲/▼ key, then press the Select key.

Specifying the Color and Image Quality for Copying
2-6
Adjusting the background density of the original ([Bkgd. Removal])
You can adjust the background density of an original with the colored background such as
newspaper or an original made with recycled paper.
1Select the current Other Setting from the main (copy mode) screen by pressing the ▲/▼ key,
then press the Select key.
2Select [Bkgd. Removal] from the Other Setting screen by pressing the ▲/▼ key,
then press the Select key.
3Adjust by pressing the ◀/▶ key, then press the Select key.
Adjusting the sharpness of the contour of text or images. ([SHARPNESS])
Adjust the sharpness of the contour of text or images. Smoothen the rough contour or sharpen the
blurred image.
1Select the current
2Select [SHARPNESS] from the Other Setting screen, by pressing the ▲/▼ key,
then press the Select key.

2-7
Specifying the Color and Image Quality for Copying
3Adjust by pressing the ◀/▶ key, then press the Select key.
Adjusting the brightness of an image ([BRIGHTNESS])
Adjust the brightness of an image.
1Select the current Other Setting from the main (copy mode) screen by pressing the ▲/▼ key,
then press the Select key.
2Select [BRIGHTNESS] from the Other Setting screen by pressing the ▲/▼ key,
then press the Select key.
3Adjust by pressing the ◀/▶ key, then press the Select key.

Specifying the Color and Image Quality for Copying
2-8
Adjust the saturation of an image. ([Saturation])
Adjust the saturation of an image.
1Select the current Other Setting from the main (copy mode) screen by pressing the ▲/▼ key,
then press the Select key.
2Select [Saturation] from the Other Setting screen by pressing the ▲/▼ key,
then press the Select key.
3Adjust by pressing the ◀/▶ key, then press the Select key.
Adjust the intensity of each color of an image. ([RED]/[GREEN]/[BLUE])
Adjust the intensity of each color of an image.
1Select the current Other Setting from the main (copy mode) screen by pressing the ▲/▼ key,
then press the Select key.
2Select [RED], [GREEN] or [BLUE] from the Other Setting screen by pressing the ▲/▼ key,
then press the Select key.
3Adjust by pressing the ◀/▶ key, then press the Select key.

2-9
Specifying the Color and Image Quality for Copying
Enhance the text against the background. ([TEXT ENHANCEMENT])
Adjust the enhancement of the text against the background.
1Select the current Other Setting from the main (copy mode) screen by pressing the ▲/▼ key,
then press the Select key.
2Select [TEXT ENHANCEMENT] from the Other Setting screen by pressing the ▲/▼ key,
then press the Select key.
3Adjust by pressing the ◀/▶ key, then press the Select key.
Adjusting the shading of an image ([Contrast])
Adjust the shading of an image.
1Select the current Other Setting from the main (copy mode) screen by pressing the ▲/▼ key,
then press the Select key.
2Select [Contrast] from the Other Setting screen by pressing the ▲/▼ key, then press the Select key.
3Adjust by pressing the ◀/▶ key, then press the Select key.

Specifying the Color and Image Quality for Copying
2-10
Adjust each color balance of an image. ([COLOR BALANCE(Y)]/[COLOR
BALANCE(M)]/[COLOR BALANCE(C)]/[COLOR BALANCE(K)])
Adjust each color balance of an image.
1Select the current Other Setting from the main (copy mode) screen by pressing the ▲/▼ key,
then press the Select key.
2Select [COLOR BALANCE(Y)], [COLOR BALANCE(M)], [COLOR BALANCE(C)]
or [COLOR BALANCE(K)] from the Other Setting screen by pressing the ▲/▼ key,
then press the Select key.
3Adjust by pressing the ◀/▶ key, then press the Select key.
Other manuals for D200 Series
2
Table of contents

