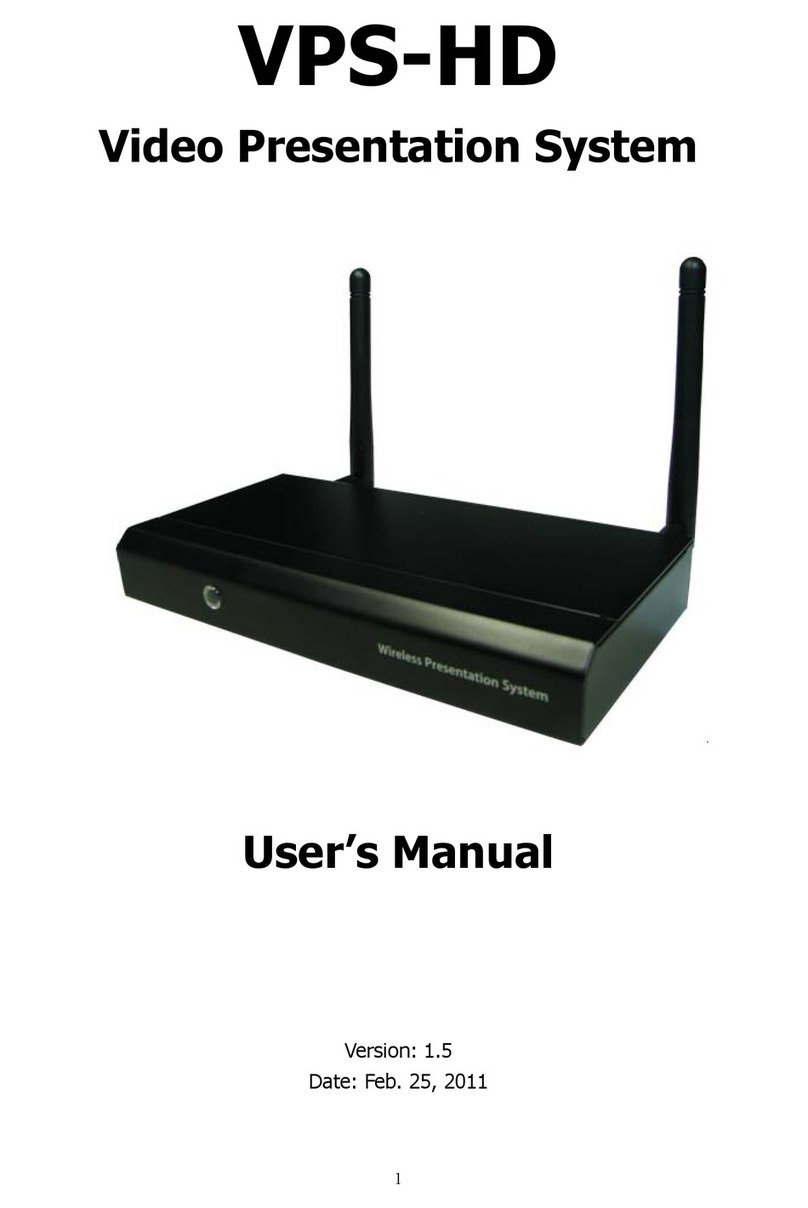
Sinew VPS-300D User manual

VPS-300D
Video Presentation System
Version: 1.0 Date: Nov. 3rd, 2009

2
Table of Contents
1.
Overview
.....................................................................................................3
2.
Specification
..............................................................................................5
3.
Quick Start
.................................................................................................6
4.
Client Utility
..............................................................................................9
4.1
Starting Program
.................................................................................9
4.2
Login
......................................................................................................10
4.3
Buttons Description
..........................................................................10
4.4
Start/Stop Presentation
................................................................. 11
4.5
Open Admin Web Page
.................................................................... 11
4.6
Searching Server
...............................................................................12
4.7
Make VPS Token
................................................................................13
4.8
System Information
.........................................................................15
4.9
VPS for PDA
.........................................................................................15
4.10
Exit Program
...................................................................................16
5.
Web Management
.................................................................................16
5.1
Home Page
...........................................................................................16
5.2
Download Software
..........................................................................17
5.3
Conference Control
...........................................................................18
5.4
Login Web Admin
..............................................................................20
5.5
System Status
.....................................................................................20
5.6
Network Setup
...................................................................................21
5.7
Projection Setup
................................................................................23
5.8
Change Passwords
............................................................................24
5.9
Reset to Default
.................................................................................25
5.10
Firmware Upgrade
........................................................................26
5.11
Reboot System
...............................................................................27
5.12
Logout
................................................................................................27
6.
Appendix
...................................................................................................28
6.1
Accessories
..........................................................................................28
6.2
Packaging Specification
..................................................................28
6.3
Wall Mounting Instruction (Optional)
.......................................29

3
1.Overview
VPS is a must-have device for your meeting room! It turns your existing
"wired" projector into a "high-end wireless" projector. With the revolutionary
Plug-and-Show, 4-to-1 split screen and PDA wireless projection features, VPS
makes every of your presentation and meeting efficient and successful.
Plug & Show
With the accompanied Plug & Show USB Token, wireless presentation becomes
easy! Just link your PC/Laptop to VPS (through WLAN or Ethernet), plug the
token into a USB port, and in seconds, your screen will be wireless projected to
the connected projector!
4-to-1 Split Screen Projection
With this 4-to-1 split screen feature, up to four PC screens can be projected to
one projector in the same time. Thus you can easily do side-by-side
comparison from four PC / PDAs to increase meeting productivity!
PDA wireless Projection
You don't have to bring the laptop for business presentation anymore. Just
connect your PDA phone to VPS through WiFi, and start your professional and
stylish presentation right away!
Conference control
VPS supports Conference Control function for easily moderating the conference.
The conference moderator can control projection from connected PCs through
a web-based control page. So you can streamline your meeting/presentation
to be more fluent and in order.

4
¾Features
■Support Windows Vista, XP, 2000 and Mobile 5/6
■Plug and Show! No installation required … just plug in the
accompanied token to a USB port, and hassle free presentation can be
started in seconds.
■4-to-1 split screen projection! Turn one projector into four, increase
meeting productivity right away.
■PDA wireless projection! PC-less stylish presentation becomes
possible!
■Conference control! Allows moderators to streamline grand meetings.
■Provide session security login, wireless WEP key and Gatekeeper
function to protect presentation contents and keep good security to
office networks.

5
2.Specification
Dimension 117mm(W) x 140mm(D) x 27mm(H)
Weight 279g
Wireless Standards IEEE 802.11g
LAN Standards IEEE 802.3u
Data Rate Wireless: up to 54Mbps
LAN: 10/100 Mbps with auto MDI/MDIX
Wireless Channels 11 (US, Canada)
13 (Europe)
14 (Japan)
Protocol TCP/IP
IP Configuration Automatic: DHCP
Manual: static IP address
Management Web-based Configuration
Security IEEE Standard 64/128 bit WEP
Antenna Detachable antenna with SMA connector
Transmission Power 2dBi external dipole antenna
Receiving Sensitivity – 65dBm @ 54Mbps
– 80dBm @ 11Mbps at 10-5 BER
Wireless Link Coverage Up to 300 feet/100 meters, depends on
environment
Supported PC/NB
Resolution Color Depth
16/32 bit color depth
Supported PC/NB
Resolution
SVGA (800x600), XGA (1024x768), WXGA
(1280x768)
Supported Output
Resolution
SVGA (800x600). XGA (1024x768), WXGA
(1280x768)
Supported Operation
System
Windows Vista/XP/2003/2000, Windows Mobile
5.0
Supported Windows
Account Right
Administrator, Limited User, Guest
Power DC5V, 2.5A
Interfaces 15-pin VGA, RJ-45, Power switch, Reset button
Environmental conditions Operating temperature: 0~40°C

6
3.Quick Start
1) Connect projector VGA cable to VPS box VGA connector and turn on
projector power.
2) Turn on VPS box.
♦When Projector shows the default menu on the screen as below, it
indicates the VPS box is ready now.
3) Make sure your PC WLAN is enabled already, and connect your PC with VPS
box.
4) Open your browser and it will redirect to VPS main page automatically, or
you can enter the IP address to access the VPS web home page.
♦The default IP address of VPS is 192.168.101.15 or refers to the IP

7
address shown on the left corner of projector screen.
5) Download the client software. Please select the” Windows Vista / XP /
2000” or ”Windows Mobile 5.0” and execute the installation program.
♦ After install the program, VPS shortcut will come out on the PC screen.

8
6) Make sure your personal firewall allows VPS software to pass through.
7) Enter the LOGIN CODE and
♦You can see the login code on the projector screen
8) Click the “Play” button to start projection!

9
4.Client Utility
4.1 Starting Program
After you download VPS Windows program via web page successfully, then
follow below steps to start.
1) Click VPS icon to execute the program.
2) Program start to search for VPS box automatically,
3) If VPS box founded then “Login Code” dialog box will be pop up on the PC
screen.
zSearching for VPS box
zVPS box is founded and enter login code to start.

10
4.2 Login
1) After “Login Code” dialog box shown, enter login code to start presentation.
2) You can see the login code shown on the projector screen.
4.3 Buttons Description
1) After login successfully, you will see main UI of VPS application.
2) Click following buttons to manipulate VPS Application.
Project desktop screen to Full screen or split screen
Full Screen projection
Project to Split #1
Project to Split #2
Project to Split #3

11
Project to Split #4
Pause projecting
Stop projecting
Refresh projecting screen
Server Login Code
While projecting in progress, this icon is blinking
Function menu
Minimize the program
Exit the program
4.4 Start/Stop Presentation
Click to project desktop (Full screen or split screen)
Click to stop presentation.
Click to pause presentation, which will hide any activities of your PC
screen.
4.5 Open Admin Web Page
Click to open function menu and select “Web Admin” management web
page. The web page detailed functions will be described on next chapter.

12
4.6 Searching Server
Click “Search Server” to search for VPS box.

13
4.7 Make VPS Token
Click “Make VPS Token” to make a USB VPS Token, please follow the steps
with the wizard:

14

15
4.8 System Information
Click “Info” to show system information. It includes product model name, IP
address and other information.
4.9 VPS for PDA
To project your PDA screen with VPS, please follow the steps:
1) Enable your WiFi and connect to VPS
2) Open the browser and enter Server IP address to download VPS client
software for PDA version.
3) Install VPS client software.
4) Launch VPS software and enter the login code.
5) Start Projection.

16
4.10Exit Program
Click to exit this program.
5.Web Management
5.1 Home Page
6. Make sure your PC connect to VPS box successfully.
7. Open your browser, it will enter VPS home page automatically.
8. If not, enter your IP address on the browser, you can see the IP on the
projector screen.
9. The default IP is 192.168.100.10

17
5.2 Download Software
1. Select “Download software” function.
2. Please select the”Windows Vista / XP / 2000” or ”Windows Mobile 5.0” and
execute the installation program.
3. Follow Installation Wizard instructions to proceed till the installation process
complete.
4. If pop up “Windows Security Alert” because Windows firewall block this
program. You just press “Unblock” button to continue installation.
5. Once installation complete, a utility shortcut come out on the screen.

18
Notice:
When using IE8.0 version, please close the “Smart Screen Filter” under
safety settings. Then re-access VPS web management again to download the
driver.
5.3 Conference Control
1) This function allows you to host a meeting smoothly without projector cable
swapping and each participant can show their presentation easily.
2) Select “Conference Control” function.
3) Enter password, the default value is “trainer”, and then press [Login].

19
4) After login, you can see a User List on the screen which indicates all of users
connected to VPS box.
5) There are three columns, “Computer Name”, “Play Control” and “IP
Address”.
6) Play Control,There are six buttons, including Play(Full) , Play Split #1
, Play Split #2 ,Play Split #3 , Play Split #4 and Stop .
7) User List

20
5.4 Login Web Admin
1. Click [Admin] and then enter password to login web page.
2. The password default value is “admin”.
5.5 System Status
Click [System Status], shows current system status.
Model Name: Product model name
Versions:
Table of contents
Other Sinew Projector Accessories manuals
