Singer EM9305 User manual
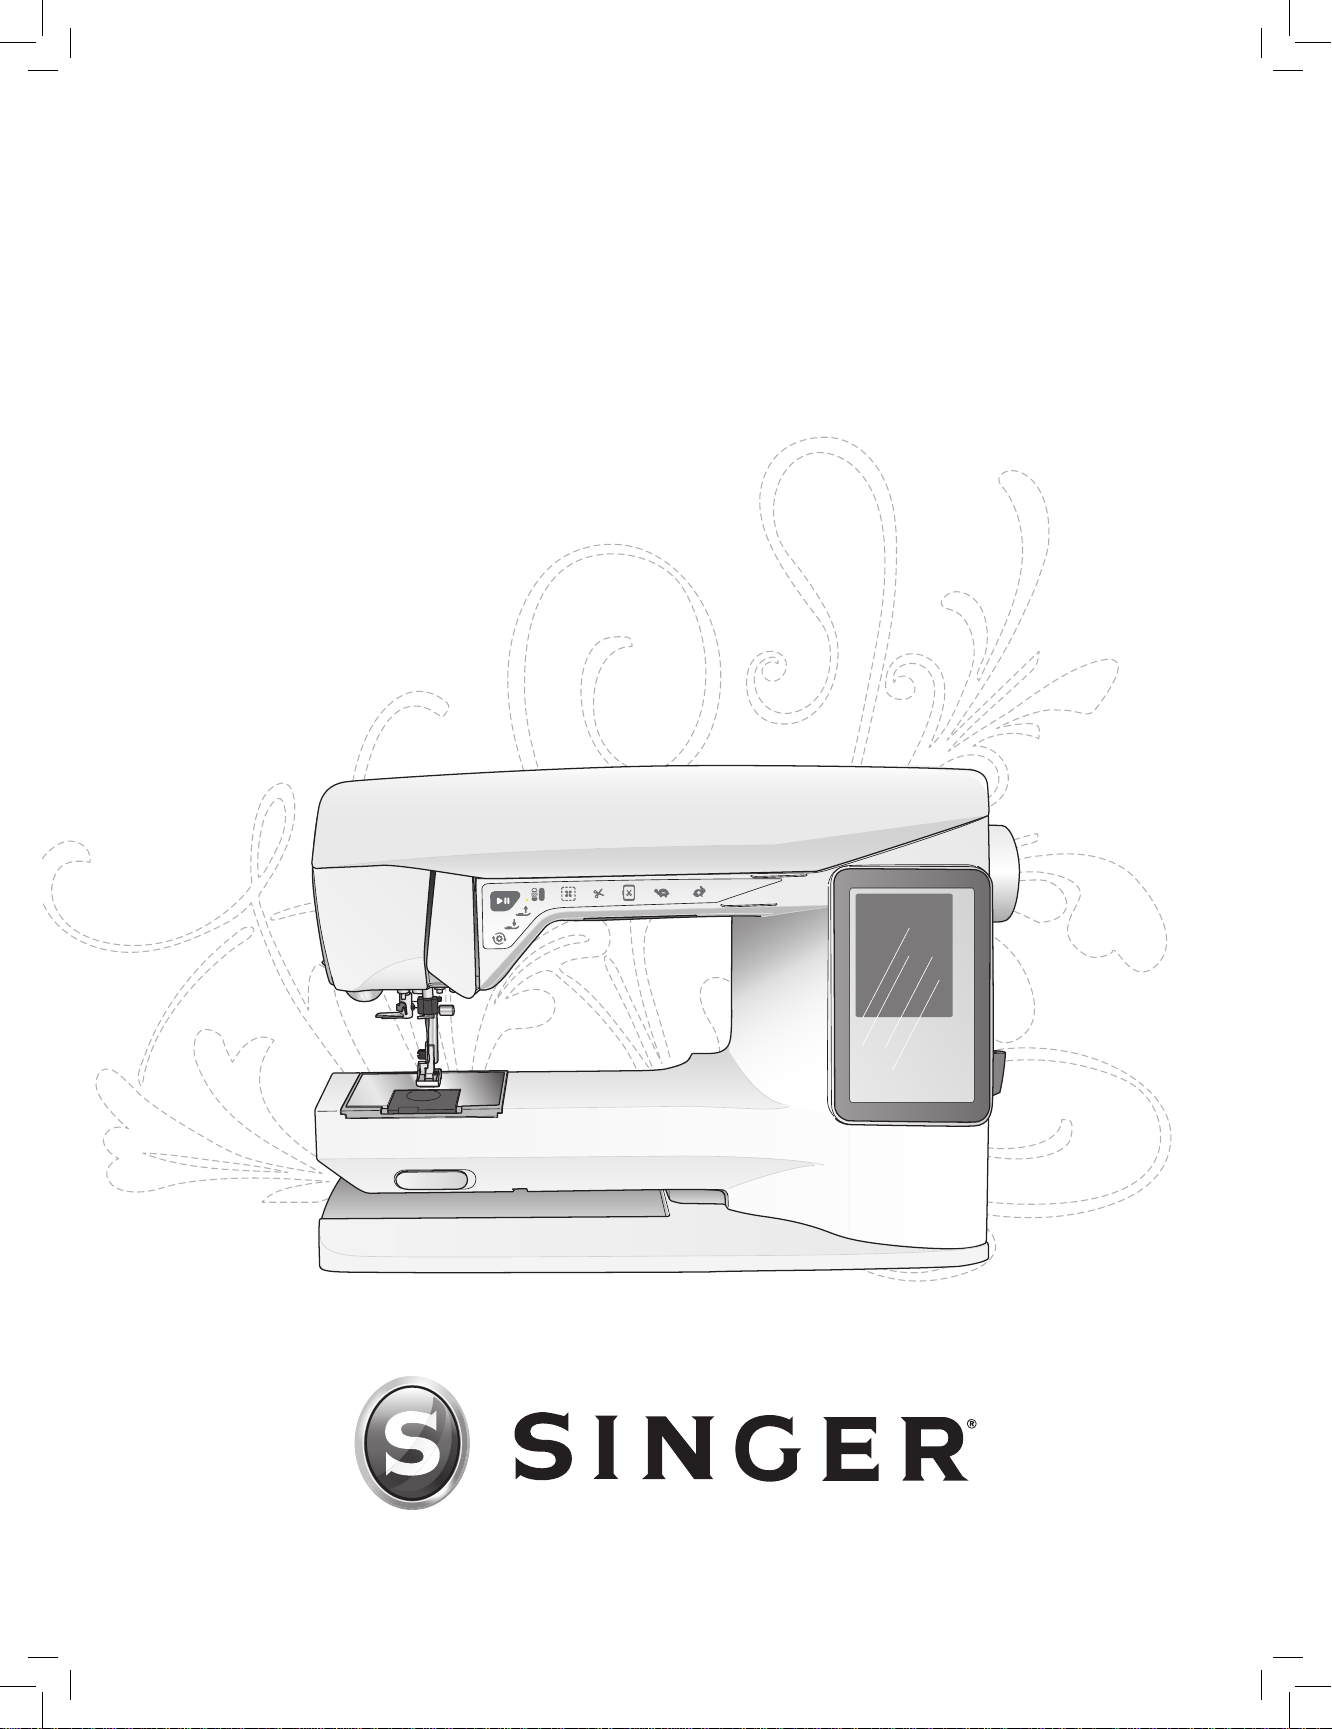
USER’S GUIDE
EM9305

This household embroidery machine is designed to comply with IEC/EN/CSA C22.2 No. 60335-1
& 60335-2-28 and UL1594.
IMPORTANT SAFETY INSTRUCTIONS
When using an electrical appliance, basic safety precautions should always be followed, including
the following:
Read all instructions before using this household embroidery machine. Keep the instructions in a
suitable place close to the machine. Make sure to hand them over if the machine is given to a third
party.
DANGER – To reduce the risk of electric shock:
• An embroidery machine should never be left unattended when plugged in. The electrical socket,
to which the machine is plugged in should be easily accessible. Always unplug this embroidery
machine from the electric outlet immediately after using and before cleaning, removing covers,
lubricating or when making any other user servicing adjustments mentioned in the instruction
manual.
WARNING – To reduce the risk of burns, re, electric
shock, or injury to person:
• Do not allow to be used as a toy. Close attention is necessary when this embroidery machine is
used by or near children.
• Use this embroidery machine only for its intended use as described in this manual. Use only
attachments recommended by the manufacturer as contained in this manual.
• Never operate this embroidery machine if it has a damaged cord or plug, if it is not working
properly, if it has been dropped or damaged, or dropped into water. Return the embroidery
machine to the nearest authorized dealer or service center for examination, repair, electrical or
mechanical adjustment.
• Never operate the embroidery machine with any air openings blocked. Keep ventilation openings
of the embroidery machine free from the accumulation of lint, dust, and loose cloth.
• Keep ngers away from all moving parts. Special care is required around the embroidery
machine needle.
• Always use the proper needle plate. The wrong plate can cause the needle to break.
• Do not use bent needles.
• Do not pull or push fabric while stitching. It may deect the needle causing it to break.
• Wear safety glasses.
• Switch the embroidery machine off (“0”) when making any adjustment in the needle area, such
as threading needle, changing needle, threading bobbin, or changing presser foot, etc.
• Never drop or insert any object into any opening.
• Do not use outdoors.
• Do not operate where aerosol (spray) products are being used or where oxygen is being adminis-
trated.
• To disconnect, turn all controls to the off (“0”) position, then remove plug from outlet.
• Do not unplug by pulling on cord. To unplug, grasp the plug, not the cord.
• Do not use the machine if it is wet.
• If the LED lamp is damaged or broken, it must be replaced by the manufacturer or it's service
agent or a similarly qualied person, in order to avoid a hazard.

SAVE THESE INSTRUCTIONS
FOR CENELEC COUNTRIES ONLY:
This appliance can be used by children aged from 8 years and above and persons with reduced
physical, sensory or mental capabilities or lack of experience and knowledge if they have been
given supervision or instruction concerning use of the appliance in a safe way and understand
the hazards involved. Children shall not play with the appliance. Cleaning and user maintenance
shall not be made by children without supervision.
The noise level under normal operating conditions is less than 75dB(A).
FOR NON CENELEC COUNTRIES:
This embroidery machine is not intended for use by persons (including children) with reduced
physical, sensory or mental capabilities, or lack of experience and knowledge, unless they have
been given supervision or instruction concerning use of the embroidery machine by a person
responsible for their safety. Children should be supervised to ensure that they do not play with
the embroidery machine.
The noise level under normal operating conditions is less than 75dB(A).

TABLE OF CONTENTS
GETTING TO KNOW YOUR MACHINE 1:6
Machine Overview 1:7
Accessories.....................................................................1:8
SET UP 2:1
Unpacking 2:2
Connect the Power Cord 2:2
USB Port 2:3
Packing Away After Embroidering 2:3
Spool Pins and Spool Caps 2:4
Threading the Upper Thread 2:5
Needle Threader 2:6
Cutting the Thread 2:6
Winding the Bobbin Using
the Vertical Spool Pin 2:7
Winding the Bobbin Using
the Auxiliary Spool Pin 2:7
Inserting the Bobbin 2:8
Thread Sensor 2:8
Snapping On and Off the Presser Foot 2:8
Changing the Needle 2:9
Needles 2:9
Threads 2:10
Fabrics 2:10
Stabilizers 2:10
How to Update Your Machine 2:11
Complimentary Software 2:11
SETTINGS & FUNCTION BUTTONS 3:1
Function Buttons
3:2
Overview Touch Area 3:3
Color Touch Screen 3:4
Start Menu......................................................................3:4
Toolbar ........................................................................... 3:4
SET Menu 3:5
Machine Settings............................................................3:5
Embroidery Settings.......................................................3:6
Frequently Used Icons 3:7
EMBROIDERY SET UP 4:1
Embroidery Unit Overview 4:2
Embroidery Hoop Overview 4:2
Built-In Designs 4:2
SINGER®EM9305 Sampler Book.................................4:2
Connect the Embroidery Unit 4:3
Remove the Embroidery Unit 4:3
Attach the Embroidery Foot R 4:3
To Hoop the Fabric 4:4
Slide On/Off the Hoop 4:4
Getting Started Embroidering 4:5
EMBROIDERY EDIT 5:1
Embroidery EDIT Mode 5:2
Start menu ......................................................................5:2
Load a Design.................................................................5:2
Load a Font.....................................................................5:2
Load from USB or My Files ..........................................5:2
Embroidery Text Editor..................................................5:3
Color Touch Screen Icons .............................................5:4
ALT 5:4
Position........................................................................... 5:4
Scale...............................................................................5:5
Rotate .............................................................................5:5
Zoom Options/Pan..........................................................5:5
Save to My Files 5:6
Delete 5:6
Mirror End-to-End and Side-to-Side 5:6
GO! 5:6
Embroidery Edit Pop-up messages 5:7
EMBROIDERY STITCH-OUT 6:1
To Enter Embroidery Stitch-Out 6:2
Embroidery Stitch-Out - Overview of Icons 6:2
Start Menu 6:3
Move Hoop 6:3
Basic Design Positioning 6:4
Monochrome 6:4
Baste 6:4
ALT in Stitch-Out Mode 6:4
Step Stitch-by-Stitch Control.........................................6:4
Thread Tension............................................................... 6:5
Zoom/Pan.......................................................................6:5
Number of Stitches in Embroidery Combination 6:5
Number of Stitches in Current Color Block 6:5
Color Block List 6:5
Return to Embroidery Edit 6:5
Basic Design Positioning 6:6
How to use Basic Design Positioning............................6:6
Corner Icons...................................................................6:7
Zoom Options/Pan..........................................................6:7
Embroidery Stitch-Out Pop-up Messages 6:8
FILE MANAGER 7:1
File Manager 7:2
Available Memory 7:2
File Formats 7:2
Browse File Manager 7:3
List View/Thumbnail View ............................................ 7:3
My Files..........................................................................7:3
USB................................................................................7:3
Open a Folder.................................................................7:3
Open a File.....................................................................7:3

Move Up One Folder Level ...........................................7:3
Organize 7:4
Create a New Folder.......................................................7:4
Move a File or Folder.....................................................7:4
Copy/paste a File or Folder............................................7:4
Delete a File or Folder ................................................... 7:4
File Manager Pop-up Messages 7:4
MAINTENANCE 8:1
Cleaning the machine 8:2
Troubleshooting 8:3
Technical Specication 8:5
Index 8:6
Intellectual Property 8:9

GETTING TO KNOW YOUR MACHINE
This section of the User’s Guide will give you an overview of your
machine and its accessories.
1

1:7
28
27
1
2
4
5
6
3
7
9
10 11
12
8
13
14
15
16
17
19
21
20
22
18
23
25
8
26
24
GettinG to know your machine
GETTING TO KNOW YOUR MACHINE
MACHINE OVERVIEW
1. Lid
2. Pre-tension thread guide
3. Thread tension discs
4. Thread take-up lever
5. Thread tension for bobbin winding
6. Function Panel
7. Thread cutter
8. LED-lights
9. Needle threader
10. Presser foot
11. Stitch plate
12. Bobbin cover
13. Free arm
14. Needle bar with needle clamp screw
15. Presser bar
16. Presser foot ankle
17. Spool pin
18. Spool caps
19. Auxiliary spool pin
20. Thread cutter for bobbin thread
21. Bobbin spindle, Bobbin stop
22. Handwheel
23. Interactive Color Touch Screen
24. Built-In USB port
25. Stylus holder
26. ON/OFF switch and
connector for power cord
27. Handle
28. Embroidery unit connection
socket

1:8
29
30
31
32
33
3534
39
36
40
44
37
41
45
38 42
46
43
Parts of the Embroidery Unit
(Type BE19)
29. Embroidery unit socket
30. Embroidery arm
31. Embroidery unit release button (underside)
32. Embroidery hoop attachment
33. Level adjustment feet
ACCESSORIES
Included Accessories
34. Stylus
35. Thread net (2)
36. Felt pad (2)
37. Screwdriver
38. Seam ripper
39. Brush
40. Spool cap, large
(attached on the machine at delivery)
41. Spool cap, medium
(attached on the machine at delivery)
42. Spool cap, small
43. SINGER® Snap On Embroidery Foot R
44. SINGER®bobbins, group EF (6)
45. USB embroidery stick (1 GB)
46. SINGER®Large Hoop (240x150)
Accessories Included - Not in the Picture
• Software to download
• Design Sampler to download
• Power cord
• SINGER®needles

2This section of the User’s Guide will help you get started with your
machine. Learn how to thread your machine, wind the bobbin, change
needle and how to update your machine.
SET UP
12 3
2:2
UNPACKING
1. Placethemachineonasturdy,atsurfaceandremovethe
packaging.
2. Removethepackingmaterial.
3. Themachineisdeliveredwithanaccessorybaganda
powercord.
4. Wipe the machine, particularly around the needle and stitch
platetoremoveanyoilbeforeembroidering.
Note: Your SINGER®EM9305 embroidery machine is adjusted
to provide the best stitch result at normal room temperature.
Extreme hot and cold temperatures can affect the result.
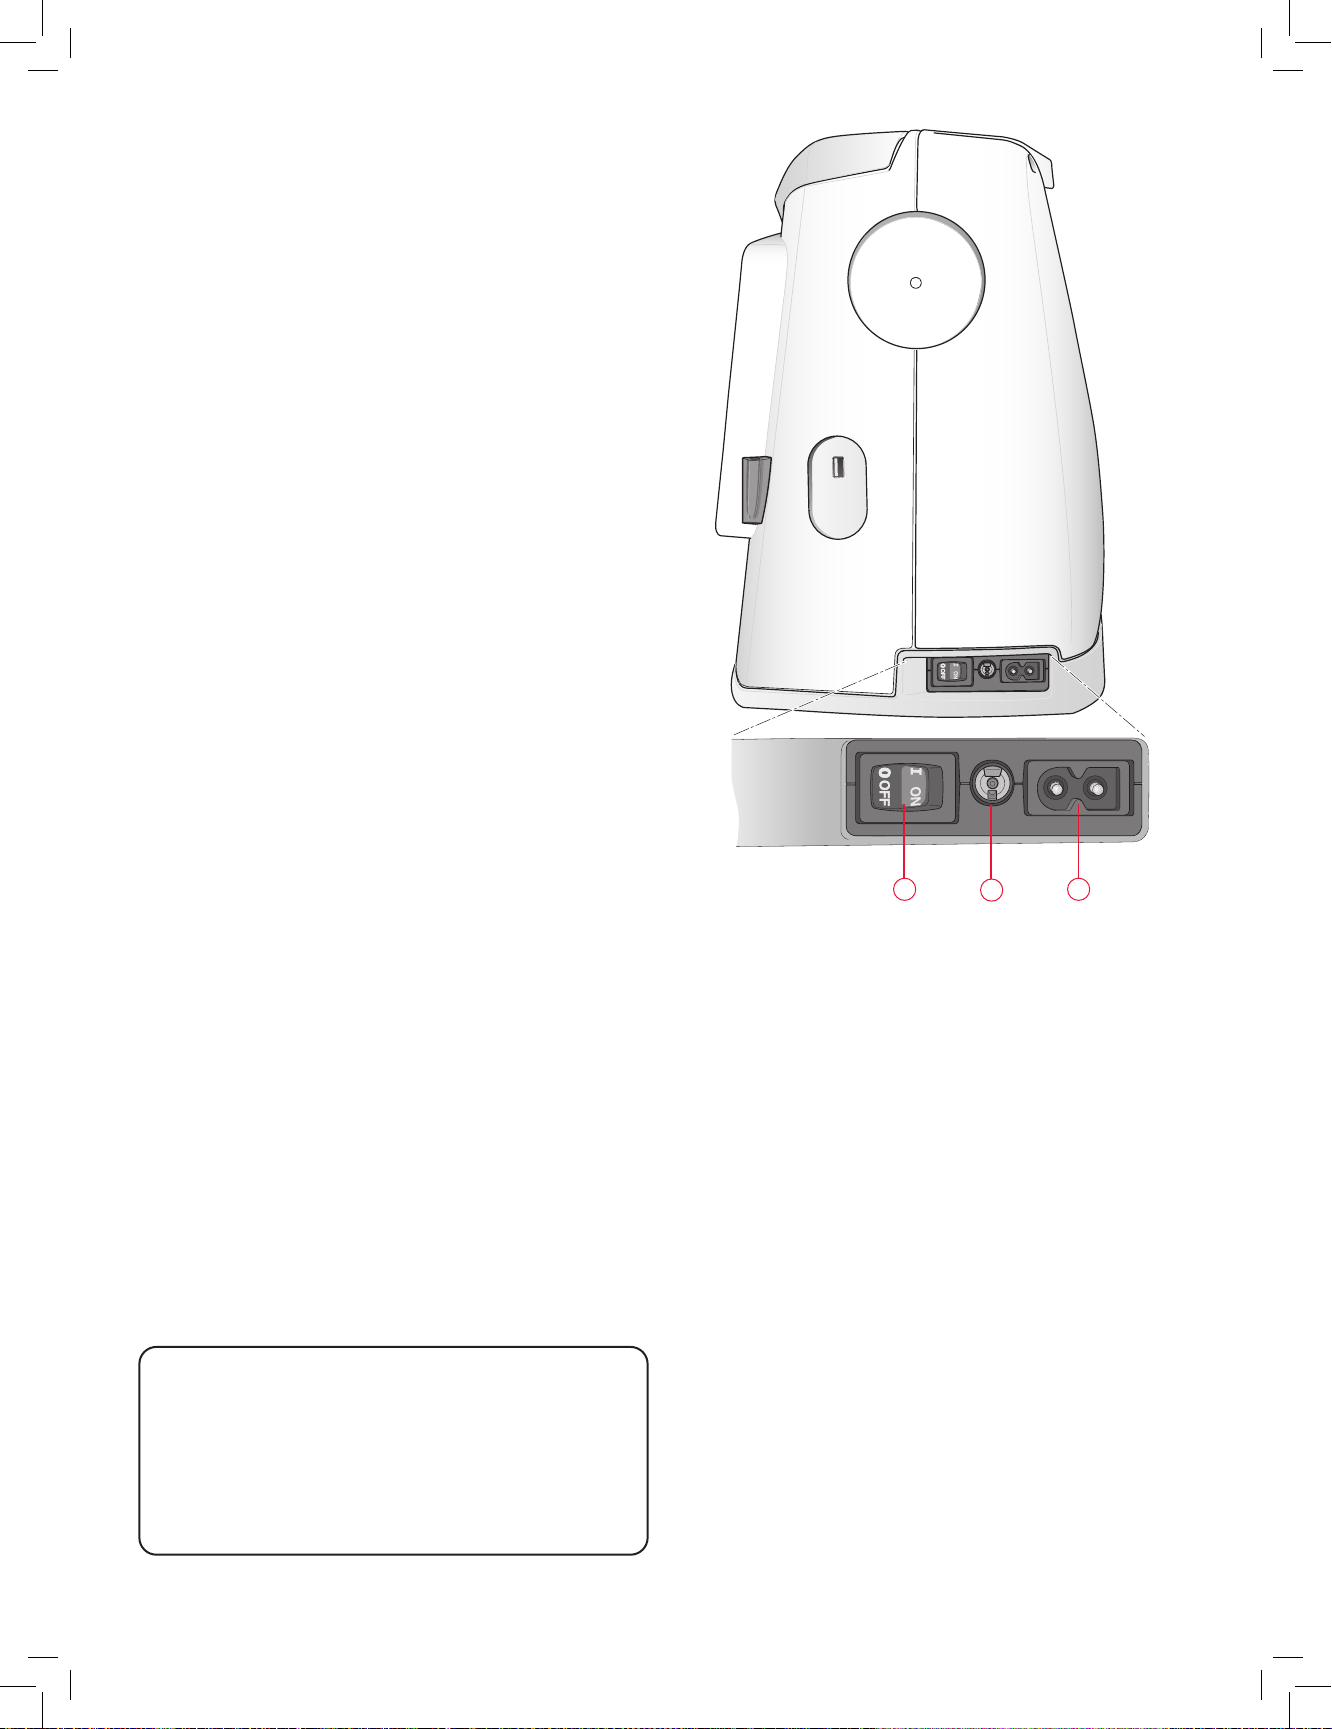
CONNECT THE POWER CORD
Ontheundersideofthemachineyouwillndinformation
aboutthepowersupplyvoltage(V)andthefrequency(Hz).
1. Connectthepowercordtotherearsocketonthebottom
rightsideofthemachine(1).
2. Press the ON/OFFswitchto“ION”toturnonpowerand
light(2).
Note: The middle socket (3) can be used for a foot control of
type FR5 (not included with the machine).
For the USA and Canada
This machine has a polarized plug (one blade wider than
the other). To reduce the risk of electric shock, this plug
is intended to t in a polarized outlet only one way. If the
plug does not t fully in the outlet, reverse the plug. If
it still does not t, contact a qualied electrician to install
the proper outlet. Do not modify the plug in any way.
Table of contents
Other Singer Sewing Machine manuals

Singer
Singer M2100 User manual

Singer
Singer 144B8BL-20 User manual

Singer
Singer 24-70 Installation and operation manual

Singer
Singer 112W118 Installation and operation manual

Singer
Singer 147-31 User manual

Singer
Singer 263 User manual

Singer
Singer One User manual

Singer
Singer Quantum Decor User manual

Singer
Singer 191D-20 User manual

Singer
Singer XL-550 User manual

Singer
Singer Esteem ll 2273 User manual

Singer
Singer 81-1 to 81-6 User manual

Singer
Singer 107W18 Quick start guide

Singer
Singer 109W100 User manual

Singer
Singer 82-21 User manual

Singer
Singer 147-82 User manual

Singer
Singer 675D User manual

Singer
Singer 1288 User manual

Singer
Singer 6021 User manual

Singer
Singer 245-4 User manual


