Installation Guide SM VOIP Replacement Equipment Installation Manual
2 | P a g e
Table of Contents
SM VOIP Replacement Equipment Installation Manual….........................................................................3
Contents of your box ...................................................................................................................3
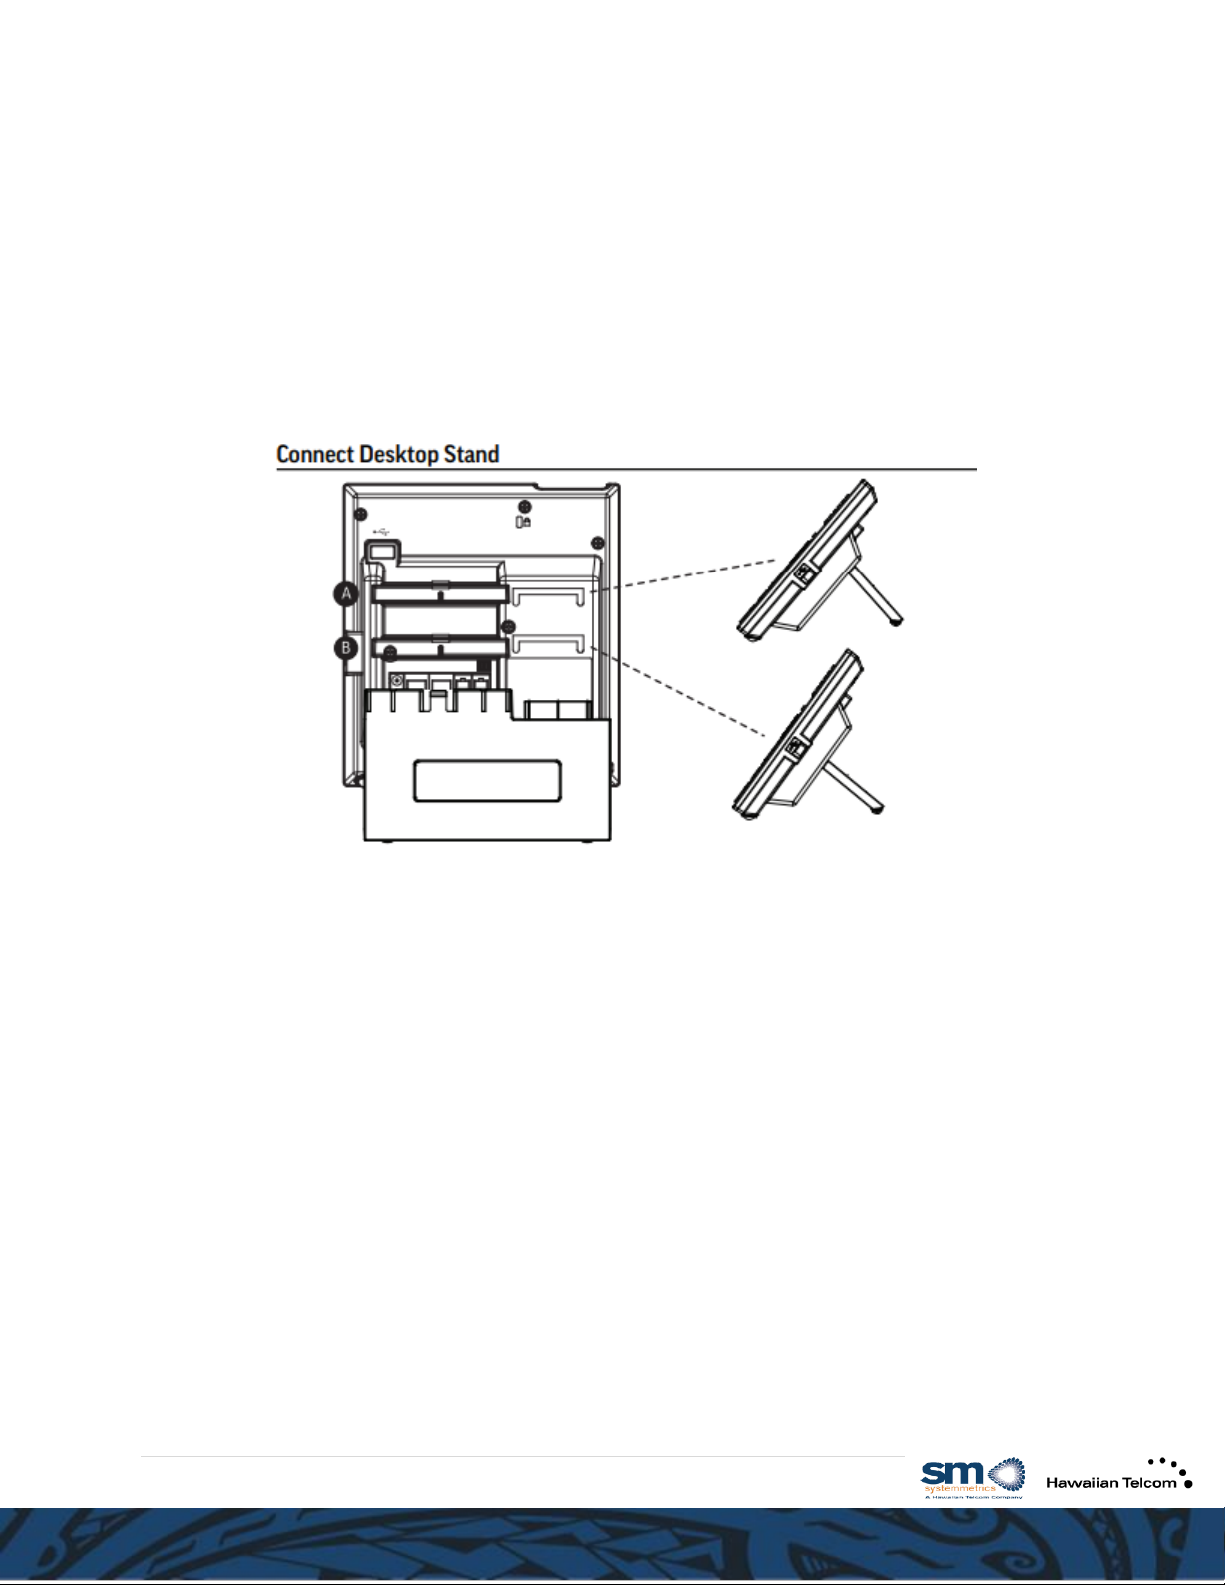
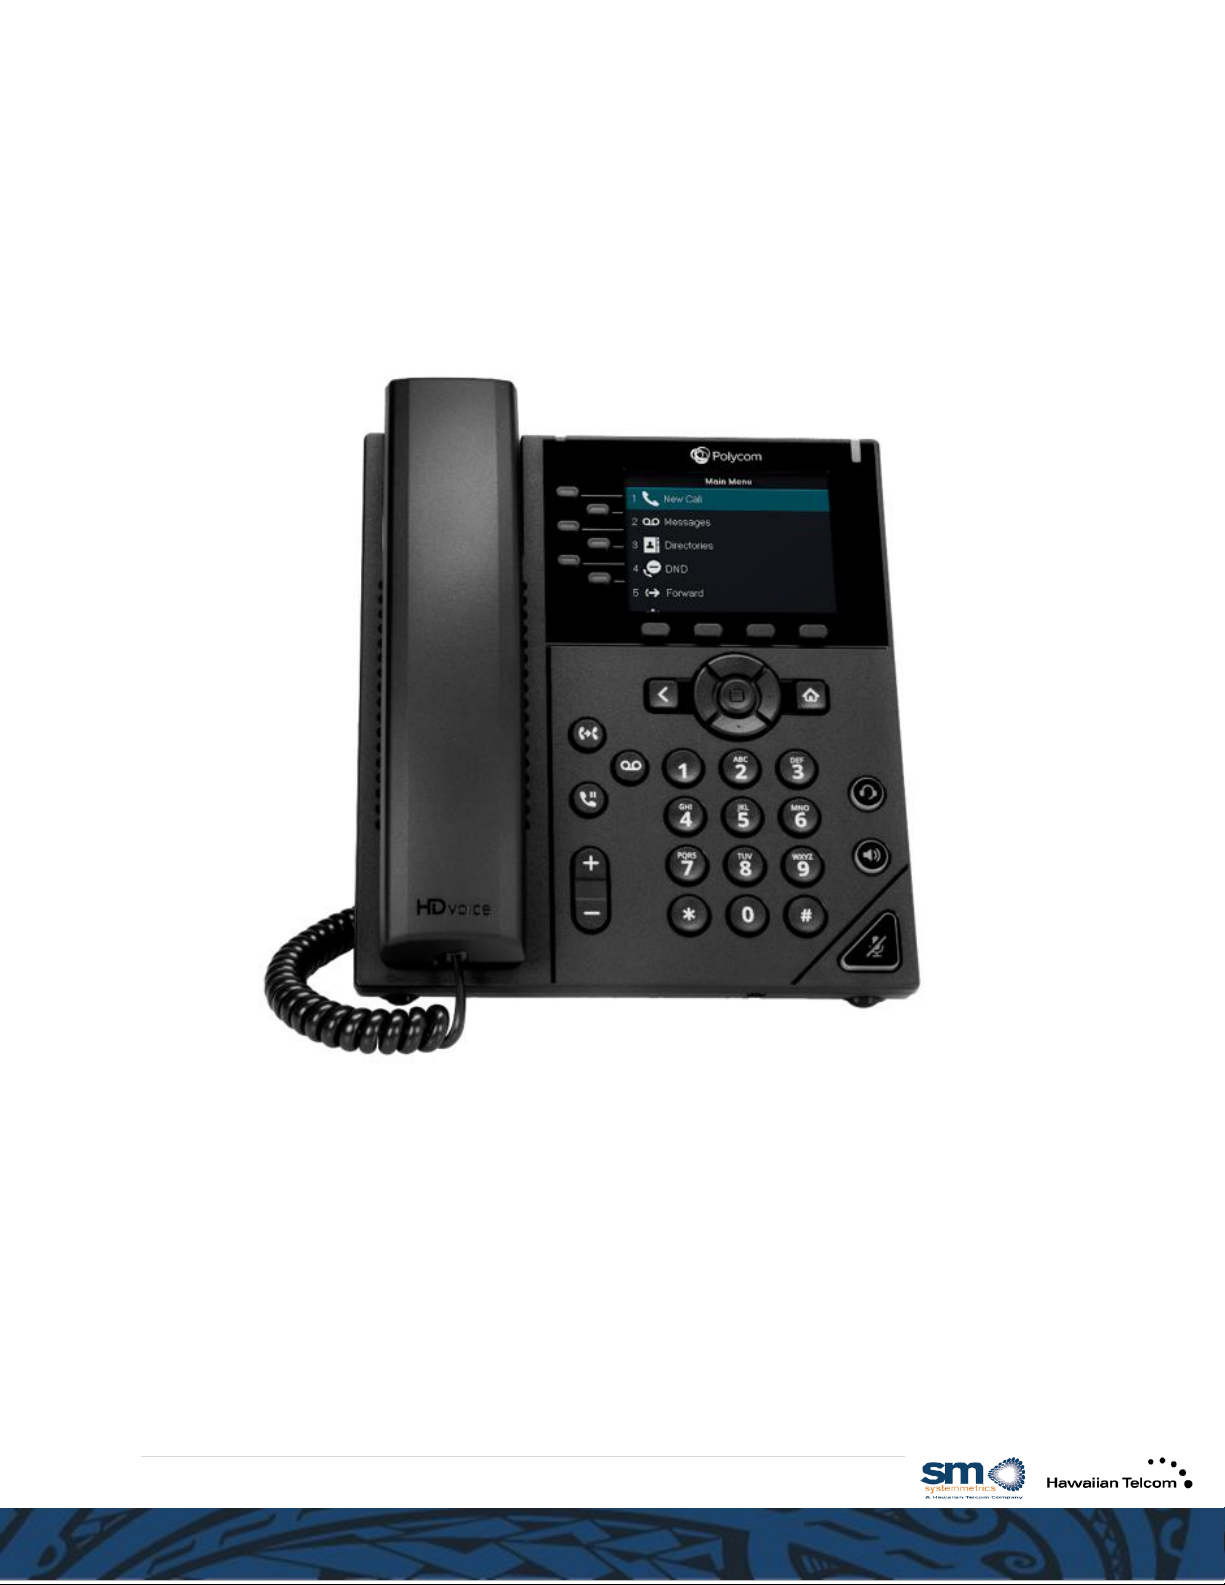
Putting the phone together..........................................................................................................4
Connecting the handset cord .......................................................................................................5
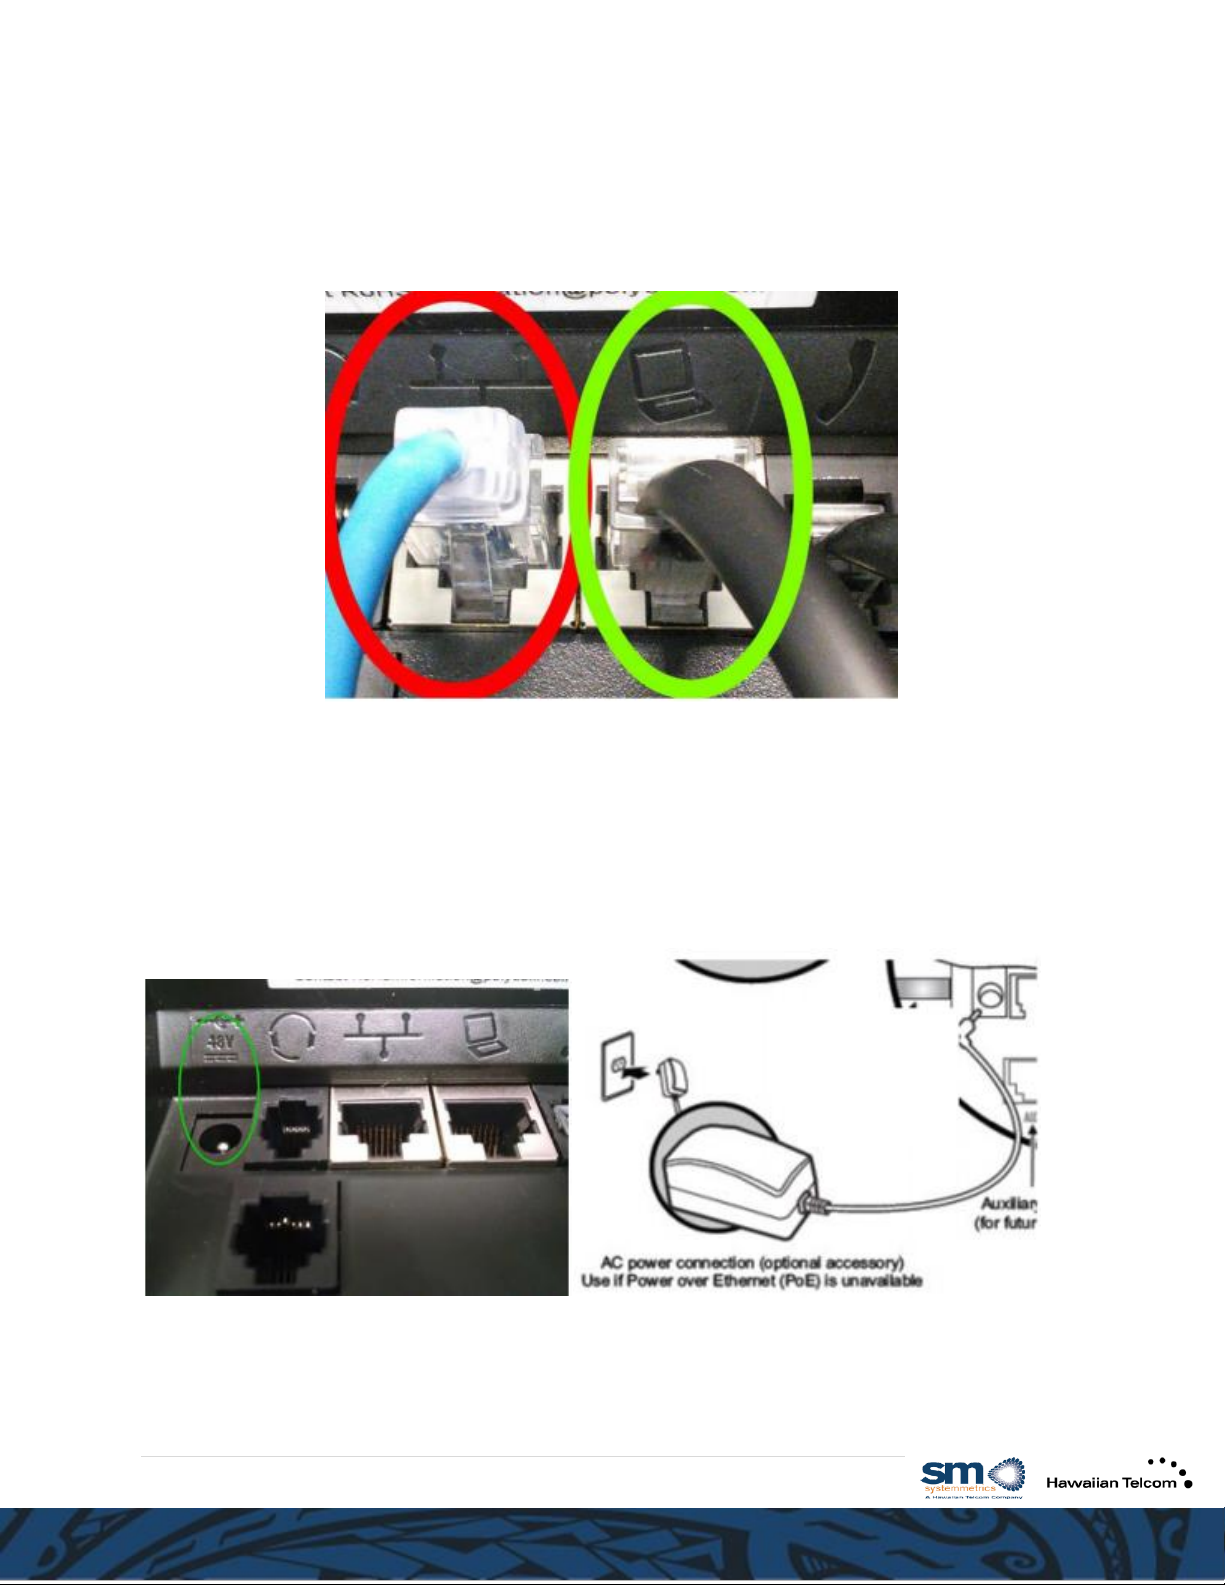
Connecting the power cord..........................................................................................................5
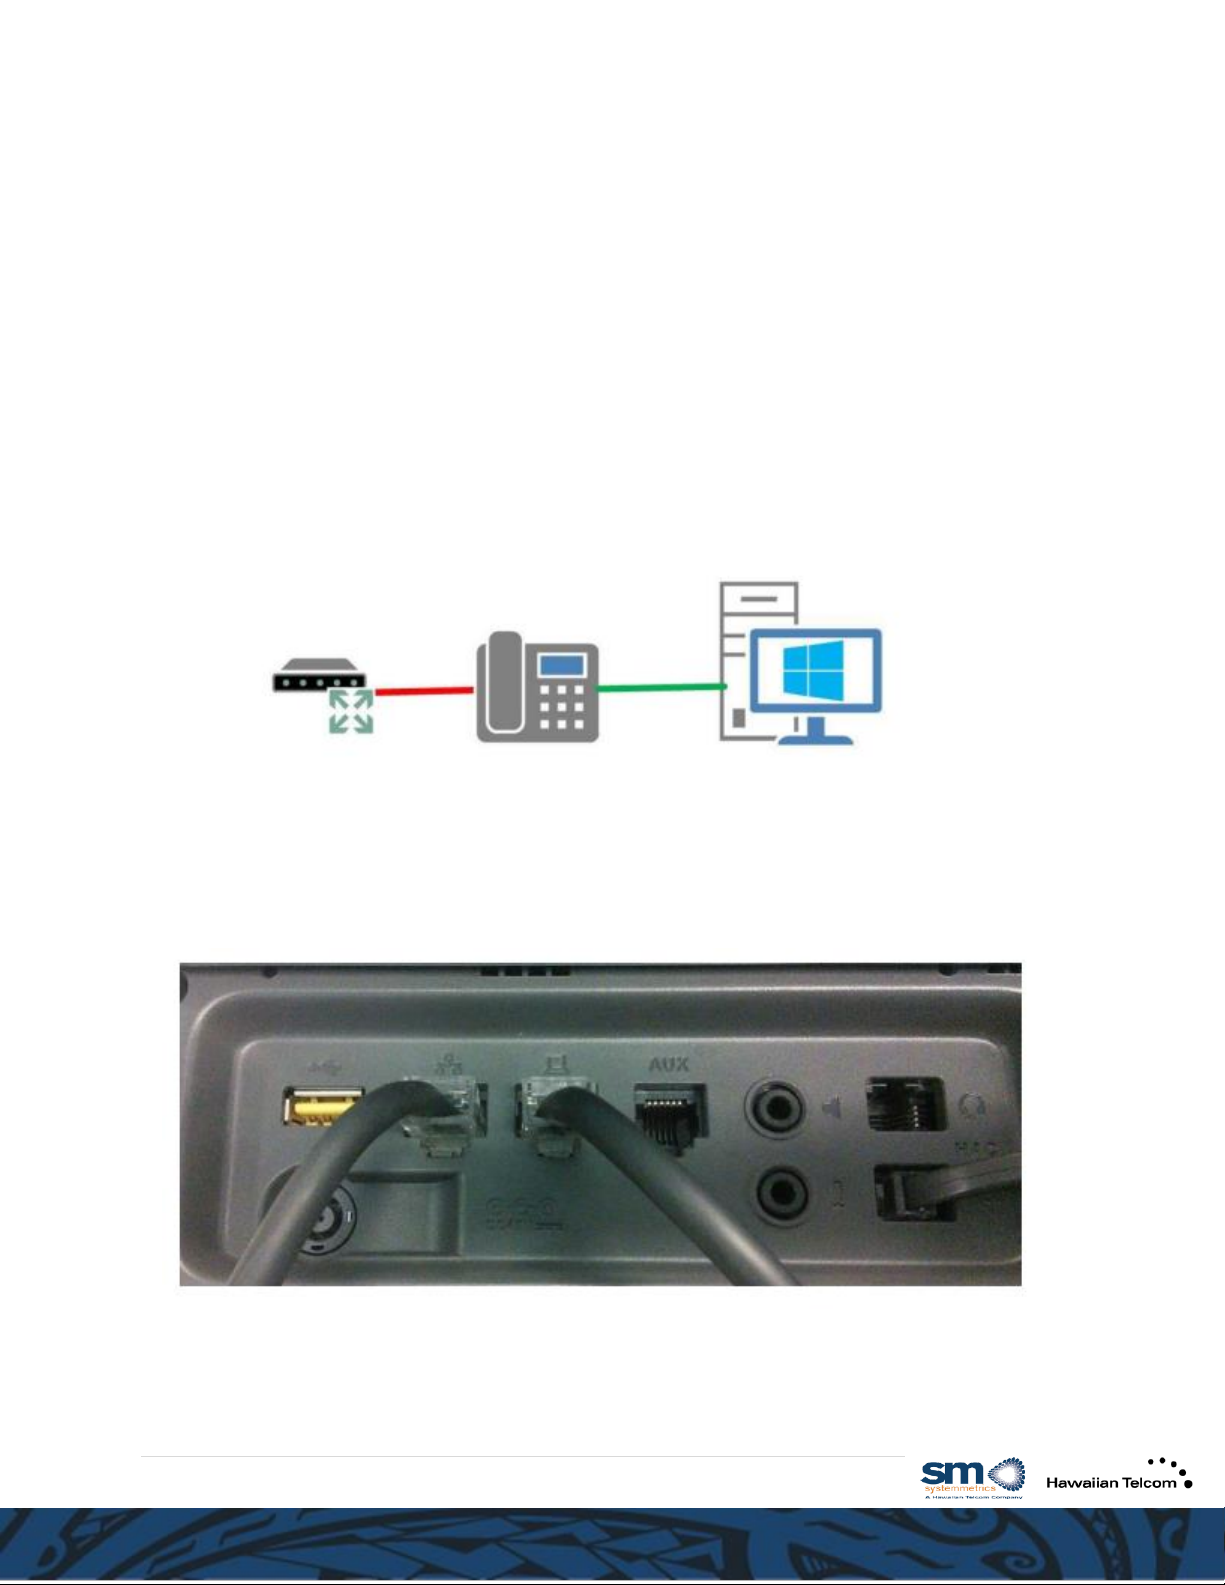
Connecting the network and computer lines...............................................................................6
Phone set-up ................................................................................................................................7
VoIP to VoIP Service Installation manual….................................................................................................8
Connecting your new IP phone to an existing IP phone................................................................8
Connecting the power cord...........................................................................................................10
Technical Support (Available M-F 8am-5pm): 808-643-4774