Smart Caregiver TL-2016REV Programming manual

TL-2016REV Digital Wireless Transmitter
Quick Start Instructions
Need Set-up Help?
Call Our Friendly Customer Service Reps at (800) 650-3637
TL-2016REV Digital WirelessTransmitter withVoice &Tone Options
1229 N. McDowell Blvd., Petaluma, CA. 94954
sales@smartcaregivercorp.com
www.smartcaregivercorp.com
Toll Free: (800) 650-3637
Step 4
Warning: Failure to comply with warning may result in injury or death. This device is not suit-
able for all individuals. Other devices may be required. This device is not a substitute for visual
monitoring by caregiver. The manufacturer does not claim that this device will stop elopement
and or stop falls. This device is to help augment caregivers comprehensive resident mobility
management program. Test this device before each use. Read the instructions and Legal Dis-
claimer. Please be aware that the transmitter will not be 100% accurate if it is out of range at anytime.
It is the end-user’s responsibility to make sure that the product is used correctly and within range of
each other.
Seller warrants that the goods sold will be free from defects of workmanship and manufacturing, for
a period of one year from the date of sale. Other than this limited warranty, seller makes no express or
implied warranties. Except for this limited warranty, NO EXPRESS OR IMPLIED WARRANTIES ARE GIVEN
AND NO AFFIRMATION OF SELLER, BY WORDS OR ACTION, WILL CONSTITUTE A WARRANTY. THE
GOODS BEING PURCHASED ARE BEING SOLD ON A “WITH ALL FAULTS”BASIS. THE ENTIRE RISK AS TO
THE QUALITY AND PERFORMANCE OF THE GOODS IS WITH THE BUYER. SHOULD THE GOODS PROVE
DEFECTIVE FOLLOWING THEIR PURCHASE, THE BUYER, AND NOT THE MANUFACTURER, DISTRIBUTOR
OR RETAILER, ASSUMES THE ENTIRE COST OF ALL NECESSARY INSTALLATION, SERVICING OR REPAIRS.
The Smart Caregiver Corporation Digital Wireless Transmitter is designed to be installed by the end-
user. As such, it is the entire responsibility of the buyer to insure that the system is properly installed
and tested. Further, the system is not designed to replace good care giving practices including, but
not limited to:
a.) Direct patient supervision
b.) Adequate training for sta personnel for elopement
c.) Testing of the system before each use.
WHERE PERMISSIBLE, IT IS THE SELLER’S INTENT TO LIMIT ANY LIABILITY FOR SPECIAL, CONSEQUEN-
TIAL OR INCIDENTAL ECONOMIC DAMAGES TO REFUND OF THE PURCHASE PRICE OR REPLACEMENT
OF THE GOODS. SELLER DISCLAIMS ANY LIABILITY FOR COMPENSATORY OR OTHER DAMAGES ARIS-
ING OUT OF THE USE OF THE GOODS.
WARNING: The manufacturer does not claim that this device will
stop elopement and or stop falls. This device is to help augment
caregivers comprehensive resident mobility management
program. This product is to be used by a licensed caregiver only.
Step 1
Step 2
Step 3
The switches above can be found inside the
battery cover at the back of the unit. You will need
a small screwdriver to adjust transmitter settings.
• Insert 9v battery (not included) into battery compartment. (See rst
diagram).
• Set delay switch (0 or 1 second). A one second delay can usually
allow for normal movement of resident when using a pressure pad.
(See second diagram).
• Set tone switch. Choose from a single chime (1), a siren alert (2), or
“Westminster” chimes (3). (See second diagram).
• Set volume. Choose from“high”,“medium”, or “silent”. Use “silent” if
you want alarm to signal at a Central Monitor Unit or Wireless Receiver
and not in the room. (See second diagram). Please note that the
monitor will be shipped with the alarm volume stet at 90 decibels. (90
decibels is the legally accepted occupational noise allowance).
• Verify code programming switch. The TL-2016REV is sent out
pre-programmed for use with the TL-2017REV. If you wish to use
TL-2016REV with a central monitoring unit or change programming
in any way, follow the programming instructions on the back page.
Otherwise, user may skip to Step 3.
• Select voice response (optional) by moving dial to position 0, 1, or
2. Choose from voice settings of“Sit back down.” (0); “Lay back down.”
(1); or warning tone (2).
• Connect external device (i.e. pressure pad for bed or chair, oor
mat, etc). Lace cord through T-shaped strain relief to guard against
accidentally unplugging device or general cord damage. (See third
diagram). Make sure the cord is placed so it is well out of resident’s
reach and is not a tripping hazard.
• Test system by triggering external device (i.e. pressure pad, oor mat,
etc). TL-2016REV should alarm (unless you have set it to“silent” as in
step four). Receiver device (TL-2017REV or Central Monitoring Unit)
should alarm. Test system before every use.
Step 5
• Mount TL-2016REV out of resident’s reach if you are using an external
device. Mount TL-2016REV within resident’s reach if you intend to use
the “nurse call”feature. The TL-2016REV also has a 1/4” input for a nurse
call button extension cord.
• A setting of “0” can be received as a common address by all of any number
of central monitors. During programming, if no more activity is detected
for approximately 1 minute, the unit will automatically return to normal
operating mode and any incomplete programming must be adjusted again,
from the start. If a central monitor is included, it should be programmed
to receive the address code from designated monitors. A setting of “0” at a
central monitor (if included) will receive calls from any bedside monitor unit
within wireless range.
• When using a central monitor, the unit must be programmed to the bed
number, also to the room number. The area code ( in step 8) must be set to
match the programming for the associated wireless central monitor.
• If using the wireless remote chime and/or the wireless indicator light, the
room number must be matched with the programming for the associated
wireless remote chime and light.
Note
+
-

TL-2016REV Wireless Transmitter
TL-2016REV Contents:
-Digital Wireless Transmitter with Voice & Tone Options
-Double-sided adhesive tape & two screw for mounting
TL-2016REV Optional Accessories:
-Bed or Chair Pressure Pads
-Floor Mat
-Optical Beam Sensor
-AC Adaptor
-Soft vinyl wrap-around case
-Metalwall mounting bracket for monitor
-Extension call button cord
-Wireless Central Monitoring Unit
-Wireless Receiver
Installation Instructions
1229 N. McDowell Blvd., Petaluma, CA. 94954
sales@smartcaregivercorp.com
www.smartcaregivercorp.com
Toll Free: (800) 650-3637
The Digital Wireless Transmitter features an audible and visual alert. The transmitter is designed
to detect change in a pressure pad (or other device) associated with a resident rising from bed or
chair. An alert is then set o on the unit itself and transmitted to either a Central Monitoring Unit
or Receiver Unit. The wireless transmitter also comes with a“nurse call”button, volume control,
tone & voice options, and a delay option. The Digital Wireless Transmitter can be used in a variety
of ways, please read instructions carefully before use.
Use these programming instructions only if you intend to use TL-2016REV with a Central Monitoring
Unit or if you wish to change the conguration with the TL-2017REV. The rotary code programming
switch has 10 positions.
The programming sequence is divided into three sequential operations.
1. Set two digit Room Number.
2. Set two digit monitor/bed individual ID Number.
3. Set address, or area code for particular Central Monitor (refer to Central Monitor Instructions).
• Power o/disconnect monitor battery.
• Simultaneously hold down reset and call button and re-connect power.
• Wait for two beeps indicating programming mode. Release reset and call buttons. The call light
will be illuminated.
• Turn rotary switch to rst of the two digit room number. Press call button once to hear the
acknowledgement beep.
• Turn rortary switch to second digit of the room number. Press call button once to hear the
acknowledgement beep.
• Turn rotary switch to rst bed number digit. Press call button once to hear the double
acknowledgement beep.
• Turn rotary switch to second digit of bed number. Press call button once to hear the double
acknowledgement beep.
• Turn rotary switch to the single digit central monitor address. Press the call button to hear the
triple acknowledgement beep, followed by a double beep to indicate that the unit has returned
to normal operatiing mode (this number is normally set to“0” if there is no central monitor).
TL-2016REV Wireless Transmitter
w/Voice & Tone Options
TL-2016REV Programming Instructions
Popular Transmitter manuals by other brands
Nautel
Nautel VX150 manual

Berker
Berker 2769 operating instructions
Extron electronics
Extron electronics XTP T HWP 101 4K user guide

DB Elettronica Telecomunicazioni
DB Elettronica Telecomunicazioni MOZART Series Calibration guide
M-system
M-system Mini-M M2AMS instruction manual
AW-Lake
AW-Lake RT-50 Installation operating & maintenance manual

Emerson
Emerson Rosemount 3051N Reference manual
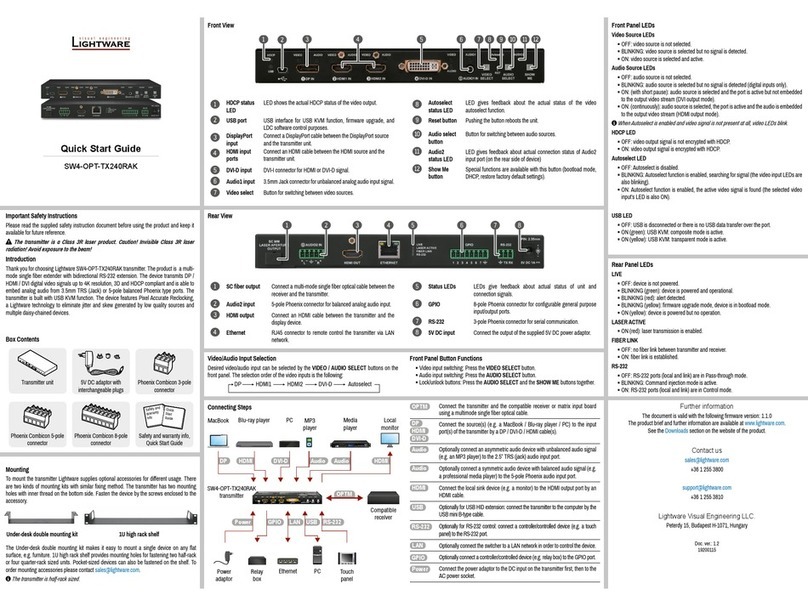
Lightware
Lightware SW4-OPT-TX240RAK quick start guide
Magtech
Magtech LTM-300 Series Operation manual
Sentera Controls
Sentera Controls DSTHG-2 Mounting and operating instructions
Velleman-Kit
Velleman-Kit K6706B Illustrated assembly manual
Magenta
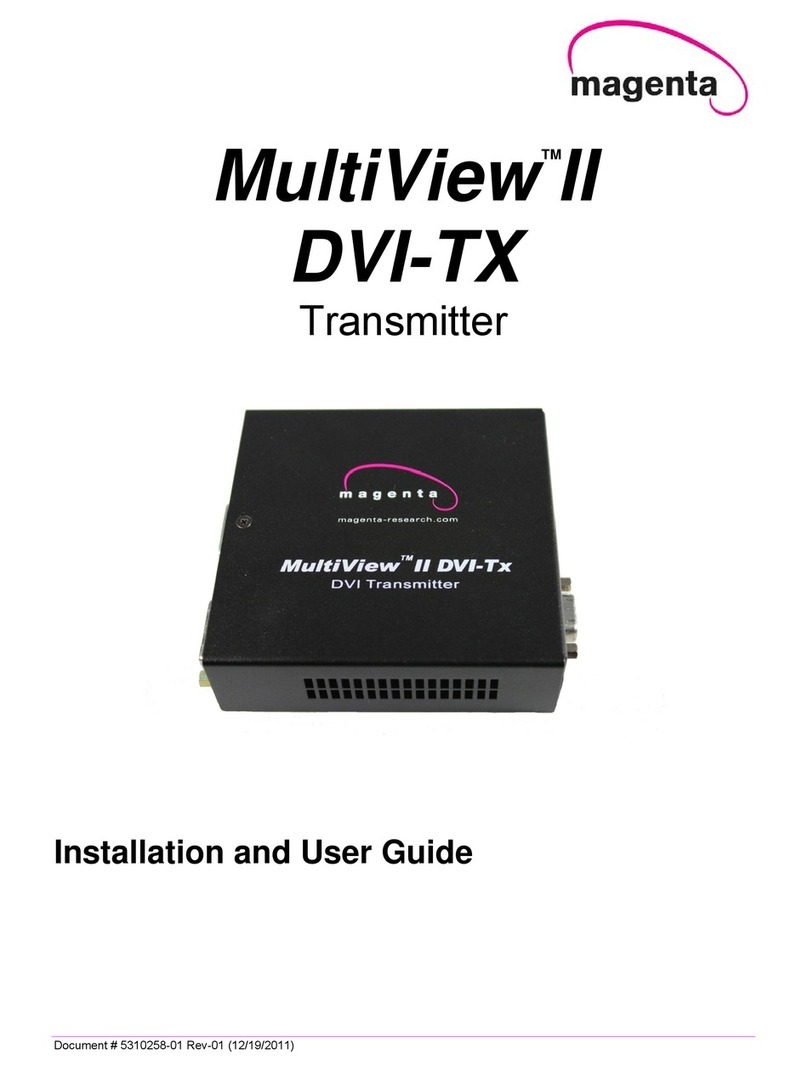
Magenta MultiView II DVI-TX Installation and user guide

