Smart system smartSlider PRO User manual

1
v1.1

Indice
Introduzione 3
Overview 3
Fissaggio su Cavalletto Centrale / Stativi 4
Fissaggio Camera 5
Carico Massimo Supporta ile 6
Checklist 6
Materiali Utilizzati 7
Manutenzione 7
Smaltimento 7
Garanzia 9
Index
Introduction 9
Overview 9
Central Tripod / Light Stands 10
Camera Fastening 11
Maximum Load 12
Checklist 12
Materials 13
Maintenance 13
Disposal 13
Warranty 14
2

Introduzione
Congratulazioni per aver acquistato SmartSLIDER PRO
SmartSLIDER PRO è stato progettato con l’unico scopo di permettere la movimentazione
lineare manuale di attrezzature video collegate al cursore mo ile per una portata massima
di 20kg.
E’ vietato e perseguibile l’utilizzo di tale attrezzatura con inalità
diverse da quanto previsto.
Overview
Disponi ile in tre versioni (560 — 680 — 800) in ase alla corsa del cursore espressa in
millimetri, SmartSLIDER permette di movimentare in modo lineare, una telecamera
connessa direttamente, o tramite testa fluida, al cursore mo ile. Grazie alla sue piastre
forate da 1/4” e da 3/8” (centrale e lateriali) , è possi ile fissare SmartSLIDER sulle più
comuni piastre video ed utilizzarlo direttamente su cavalletto. Le due testate laterali, grazie
al foro standard da 5/8”, ne permette l’utilizzo anche con stativi standard.
La presenza di 4 piedini a profilo conico, permettono l’utilizzo di SmartSLIDER anche sulle
superfici più delicate e garantiscono un perfetto grip anche in posizioni non orizzontali.
3

Fissaggio su Cavalletto Centrale / Stativi
Oltre all’utilizzo su superfici possi ilmente piane, SmartSLIDER PRO può essere installato
su piastre video anche dotate di perno antirotazione.
Accertatevi sempre di avere serrato correttamente le viti necessarie
per la connessione di SmartSLIDER PRO alla piastra video prima
dell’inserimento della stessa nel proprio alloggiamento.
4

In caso di fissaggio centrale, prevedere sempre un cavalletto ro usto per evitare,
soprattutto nella versione da 800, che il peso della macchina possa provocare il
ri altamento della struttura in caso di posizione estrema (desta o sinistra).
Il fissaggio tramite stativo da 5/8” è di immediata comprensione. Si raccomanda sempre il
serraggio del perno da 5/8” tramite le due manopole presenti nelle testate laterali di
SmartSLIDER.
In caso di utilizzo con stativi, accertarsi di porre entram i i supporti alla stessa altezza.
Fissaggio Camera
Grazie alla piastra removi ile tramite le 4 viti TSPCEI M5, è possi ile installare sul cursore
di SmartSLIDER una grande varietà di accessori di terze parti.
L’adattatore Testa Fluida, permette la
facile installazione delle più comuni
teste presenti in commercio asate su
fissaggio a vite da 3/8”.
Per loccare il carrello nella posizione
voluta, è sufficiente serrare il pomello
presente sul cursore.
Il sistema a leverismo, garantisce un
ottimo loccaggio anche senza
applicare una elevata coppia di
serraggio sul pomello
Veri icate sempre che la testa sia correttamente installata sul vostro
SmartSLIDER PRO prima di inziare una sessione di lavoro.
5

Carico Massimo Supportabile
Grazie alla presenza di arre di rinforzo, SmartSLIDER PRO è in grado di supportare
carichi elevati (massimo 20kg) anche nella versione da 800mm di corsa.
Nel caso applicaste un carico maggiore, si potrebbe verificare una deformazione
permanente dello stesso con conseguenti pro lematiche durante lo scorrimento.
SI RACCOMANDA DI NON SOVRACCARICARE LA STRUTTURA
OLTRE IL PREVISTO PER EVITARE DEFORMAZIONI PERMANENTI
CHE POSSANO DANNEGGIARE IL VOSTRO SLIDER
Qualora vi trovaste in difficoltà, il nostro ufficio tecnico sarà a Vostra completa
disposizione.
Checklist
Prima di iniziare il proprio lavoro, è consiglia ile seguire la seguente checklist:
•Assicurarsi di aver installato la Vostra attrezzatura in modo appropriato sul cursore
di SmartSLIDER
•In caso di fissaggio su cavalletto centrale, si raccomanda di aver serrato
adeguatamente le viti preposte alla connessione di SmartSLIDER alla piastra video
o direttamente al cavalletto.
•In caso di fissaggio tramite stativo da 5/8”, si raccomanda di aver serrato i pomelli
laterali presenti sulle testate.
•In caso di spostamento dello SLIDER per esigenze di scena, si raccomanda di
loccare il cursore nella posizione scelta tramite il l'apposito freno. Un improvviso
movimento, oltre a danneggiare l’attrezzatura, potre e arrecarvi infortuni. Prestare
la massima attenzione.
6

Materiali Utilizzati
SmartSLIDER PRO è un prodotto fa ricato utilizzando i seguenti materiali (in varia
percentuale) :
•Alluminio 6082
•Acciaio C40
•Acciaio FE360B
•Aisi 304
•Delrin / NYLON
I materiali ed i trattamenti a cui gli stessi sono stati sottoposti per la fa ricazione sono
compati ili con la corrente normativa ROHS.
I componenti di terze parti sono certificati dai rispettivi produttori
Manutenzione
Non utilizzare solventi alcoolici o prodotti detergenti per la pulizia del Vostro SmartSLIDER
PRO. Per i componenti in metallo Vi consigliamo della carta assor ente lievemente intrisa
di acqua distillata.
Si raccomanda di non lu rificare le guide in alluminio presenti in
SmartSLIDER PRO. Il sistema di scorrimento è asato su cuscinetti
prelu rificati con specifico grasso.
Smaltimento
Provvedere allo smaltimento di SmartSLIDER PRO operando in conformità alle norme
vigenti, rivolgendosi agli organismi preposti e/o ad imprese specializzate nella
rottamazione di materiali metallici e/o nello smaltimento dei rifiuti.
Il nostro u icio tecnico è a Vostra completa disposizione in caso di dubbi o
chiarimenti in merito lo smaltimento del Vostro SmartSLIDER PRO.
7

Garanzia
La ditta SmartSystem Srl Unipersonale, con sede in Via del Commercio, 22E, 61032
FANO (PU) - ITALY - Proprietaria del marchio SmartSystem e dei rand ad essa collegati,
accorda una garanzia limitata territorialmente di 24 mesi sui prodotti a partire dal giorno di
consegna al cliente finale (compratore).
Nell'am ito della garanzia verranno eliminate gratuitamente eventuali deficienze di
funzionamento imputa ili a difetti di fa ricazione o di materiale.
La ditta si riserva la possi ilità di decidere tra l'eventualità di eliminare il difetto oppure
consegnare un nuovo prodotto al cliente.
Eventuali reclami dovranno essere comunicati dal cliente, su ito dopo l'accertamento del
difetto, dietro presentazione della scheda di garanzia, de itamente compilata, oppure a
titolo sostitutivo, del contratto di acquisto del primo compratore.
La garanzia scade dopo 24 mesi; non verrà prolungata né dalla presentazione di un
reclamo né da eventuali adempimenti a posteriori.
Dalla garanzia sono esclusi eventuali danni causati da un uso improprio e/o errato
dell'attrezzatura, da cariche statiche oppure danni meccanici.
La garanzia non ha più valore in caso di riparazioni o interventi da parte del compratore e
di terzi non autorizzati e di modifiche ar itrarie della scheda di garanzia.
Le riparazioni potranno essere effettuate solo da persone o punti espressamente
autorizzati dal costruttore stesso.
Rivolgersi sempre a centri di assistenza autorizzati
Richiedere sempre il numero di RMA prima di inviare il prodotto
8

Introduction
Congratulations on the purchase o SmartSLIDER PRO!
SmartSLIDER PRO has een specifically designed for the unique purpose of allowing the
linear motion of video equipment with a maximum load of 20 kg
It is orbidden and punishable by law the use o the equipment or
di erent purposes.
Overview
SmartSLIDER PRO is availa le in three sizes, according to its carriage travel, calculated in
millimeters (560 - 680 - 800). Thanks to SmartSLIDER PRO, you'll o tain a smooth linear
motion of your camera eing directly connected, or via a fluid head, to the carriage itself.
Thanks to its central and side plates provided with 1/4" and 3/8" holes, you can mount your
SmartSLIDER PRO to the most popular photographic plates currently on the market or
directly on a tripod. The two 5/8" holes placed on the sides let you mount your
SmartSLIDER PRO quickly and safely to standard light stands too.
Thanks to its 4 adjusta le conical ru er feet, SmartSLIDER PRO can e placed on any
surface, even the most delicate and ensures you always a perfect grip also in non-
horizontal positions.
9

Central Tripod / Light Stands
Besides eing used on flat surfaces, SmartSLIDER PRO is designed to match most of the
photographic plates currently on the market which are provided with an anti-rotation pin.
Be ore inserting the video plate in the proper loding, make sure you
have properly tighten the screws responsible or the connection o
the video plate with your SmartSLIDER PRO.
10

In case of central mounting, use a solid tripod so that, especially with the 800 mm
SmartSLIDER PRO, the camera weight can't overturn the structure.
It's easy to mount your system also on a light stand/tripod provided with a 5/8" hole. We
recommend you to fasten the 5/8" socket using the proper two kno s on SmartSLIDER
PRO sides.
If you use SmartSLIDER PRO with more than one light stand, make sure to adjust them at
the same height.
Camera Fastening
The 4 M5 screws allow you to easily remove the plate, so you can install on Smart-
SLIDER PRO carriage a large variety of third-party accessories.
Thanks to the fluid head adapter, you
can install the most popular heads
currently on the market, which are
ased on the 3/8" screw fastening
system.
To lock the carriage in the desired
position, simply tighten up the rake
kno you'll find on the carriage side.
WARNING. Make sure that your luid head was correctly installed on
your SmartSLIDER PRO Be ore starting your working session. Don't
overtighten the brake knob. The leverism system already ensures
you an optimal locking system.
11

Maximum Load
The innovative and unique design of SmartSLIDER PRO, com ines extreme lightness and
stenght. SmartSLIDER PRO can support loads up to 20Kg.
DO NOT OVERLOAD THE STRUCTURE
For any dou ts or questions, don't hesitate to contact our technical office.
Checklist
Before starting your working session, make sure:
•you have properly installed your accessories on the SmartSLIDER carriage
•you have properly tightened up the screws responsi le for SmartSLIDER PRO
locking, especially in case of central tripod mounting..
•you have tightened up the kno s located on the sides, if you have mounted your
SmartSLIDER PRO to 5/8" light stands.
•Before moving your SmartSLIDER PRO, lock the carriage in the desired position
through the rake kno . A sudden movement may damage the equipment and
cause injuries. Use caution.
12

Materials
SmartSLIDER PRO is made with the following materials (in different percentages):
•Aluminium 6082
•Steel C40
•Steel FE360B
•Steel Aisi 304
•Delrin / NYLON
Materials and treatments to which the materials have een su mitted for fa rication are
compati le with the current RoHS directive.
Third-party components are certi ied by their own manu acturers.
Maintenance
Do not use alcohol solvents nor detergents to clean your SmartSLIDER PRO. To clean
metal components, we recommend you to use a paper towel lightly soaked in distilled
water.
Do not lubricate the steel tracks on your SmartSLIDER PRO. The
sliding system is based on pre-lubricated bearings treated with a
special grease.
Disposal
Dispose of your SmartSLIDER PRO in accordance with current regulations. Address to
special authorities or companies in charge of scrapping metallic materials and waste
disposal.
Please, contact our technical department for any dou ts or questions concerning the
disposal of your SmartSLIDER PRO.
13

Warranty
SmartSystem Unipersonale Srl headquarter is located in Via del Commercio, 22E, 61032
FANO(PU), ITALY. Smartsystem main rand and all the other rands associated with it are
property of Smart-System Srl Unipersonale.
Your SmartSystem equipment is guaranteed against any manufacturing or material defects
for 24 months from the date of delivery to the customer. Warranty will cover any
functioning issues related to manufacturing or material faults.
In this case, the company reserves the right to decide whether eliminating the defect or
providing the customer with a new product.
Any claims due to manufacturing or materials faults must e communicated y the
customer, upon presentation of the warranty card, properly completed, or of a proof of
purchase.
The warranty, which will expire after 24 months, will not e extended either y a complaint,
or y su sequent executions. Damage caused y accident, misuse, do-it-yourself repairs
or modification, repair y unauthorised service centre, static charges or mechanical
damages is not covered y the warranty.
Furthermore, warranty won't e valid neither in case the warranty card is ar itrarly
modified.
Repairs must e made only y authorized service centres.
Always request the RMA number be ore sending us the product
14

Notes
15

Notes
16
Table of contents
Languages:
Other Smart system Camera Accessories manuals
Smart system
Smart system SMARTCAM HORIZON User manual
Smart system
Smart system SMARTCAM MATRIX CORE User manual
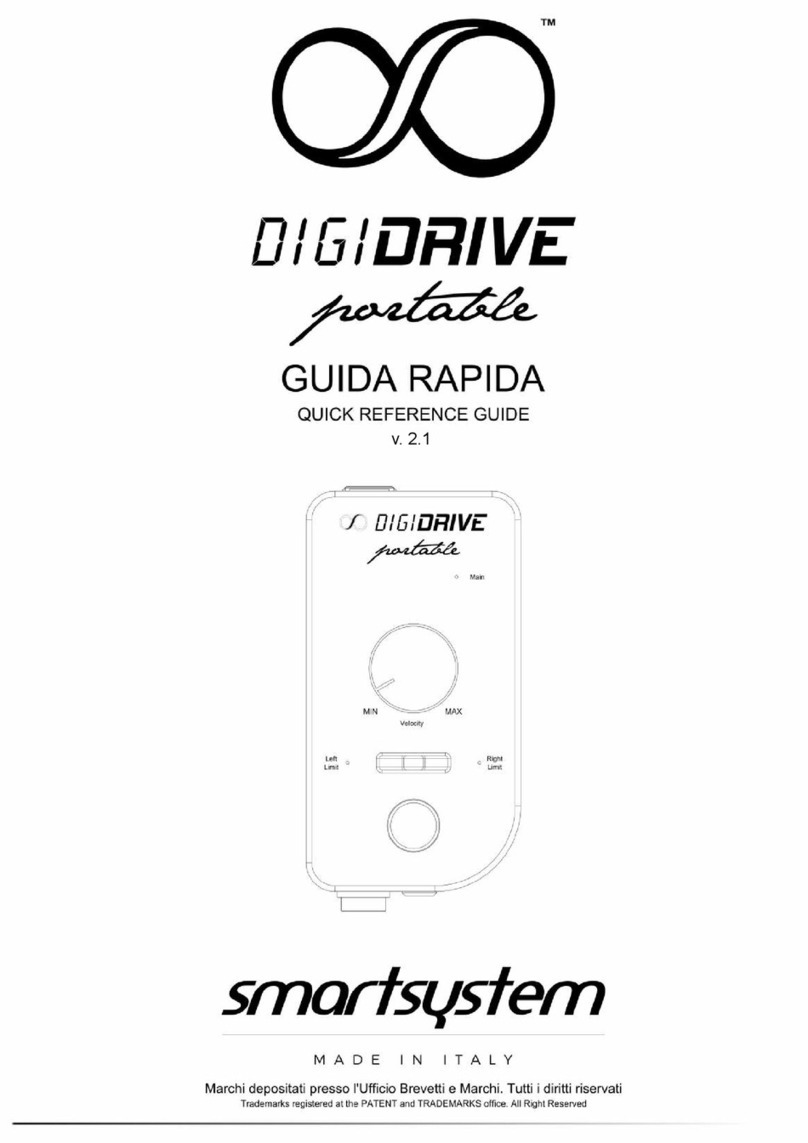
Smart system
Smart system DigiDRIVE Portable User manual
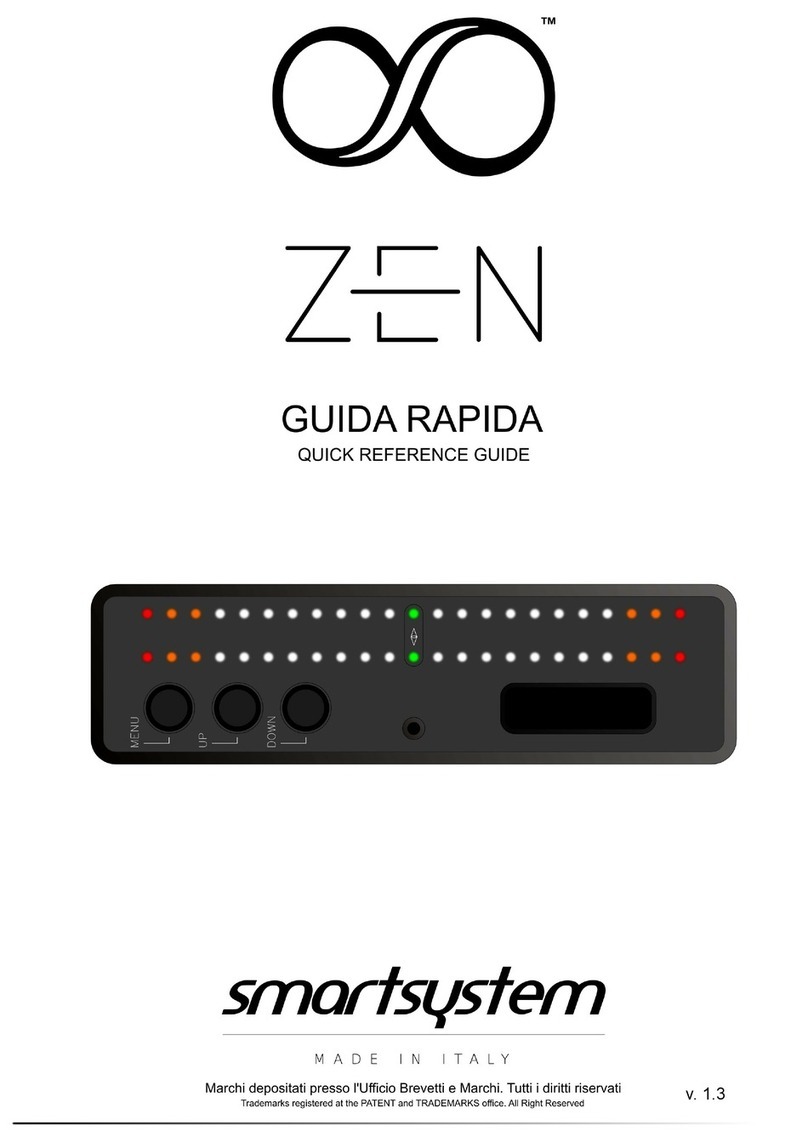
Smart system
Smart system SmartCam Zen User manual
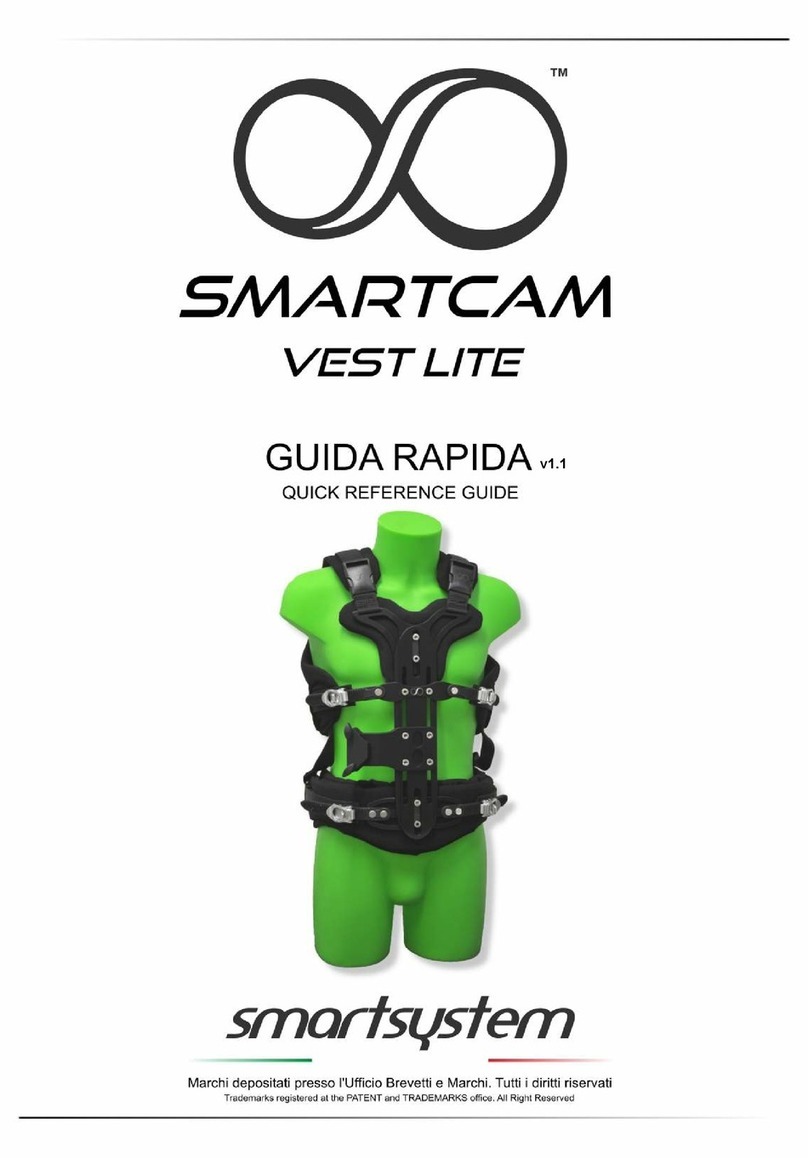
Smart system
Smart system SmartCAM VEST lite User manual
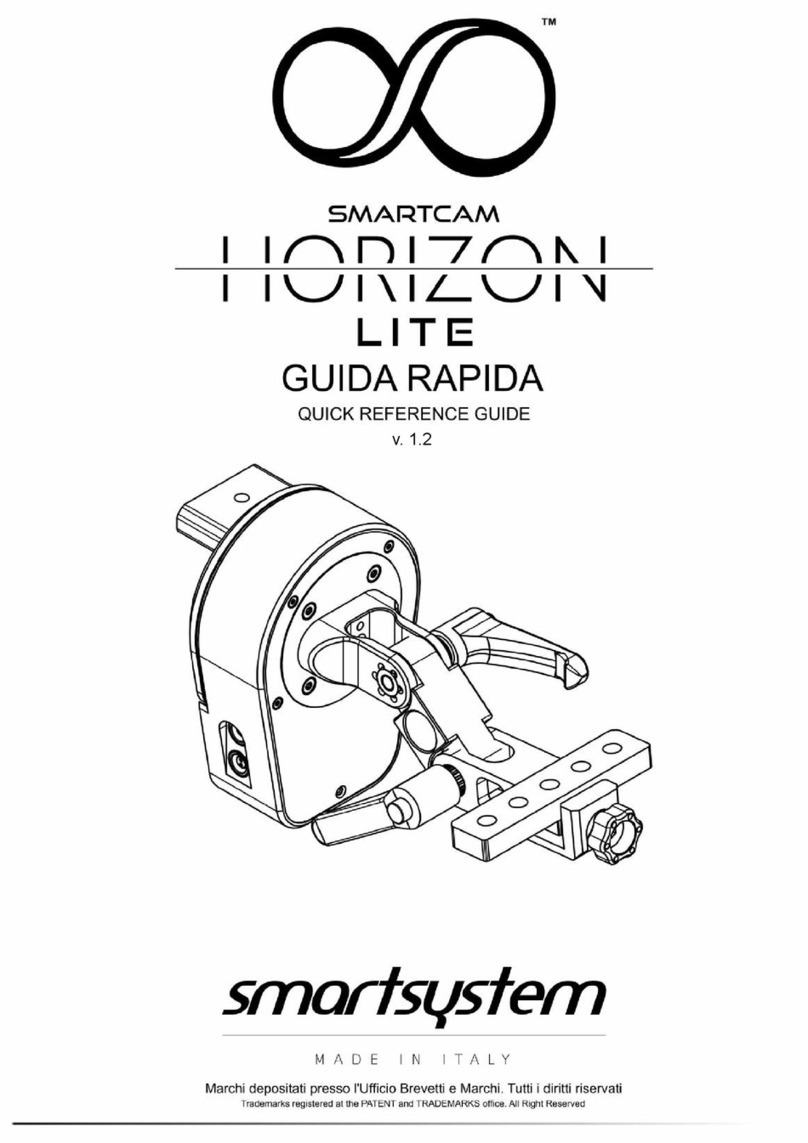
Smart system
Smart system SMARTCAM HORIZON LITE User manual
Smart system
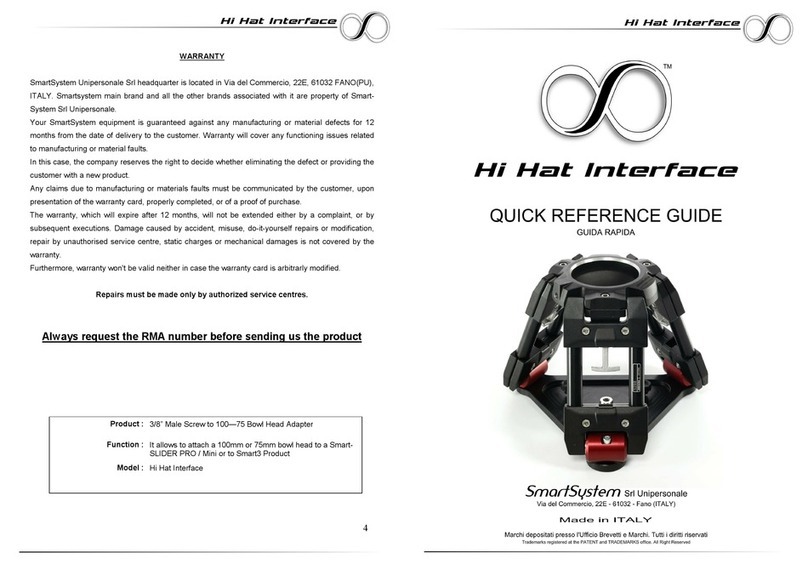
Smart system HI HAT INTERFACE User manual
Smart system
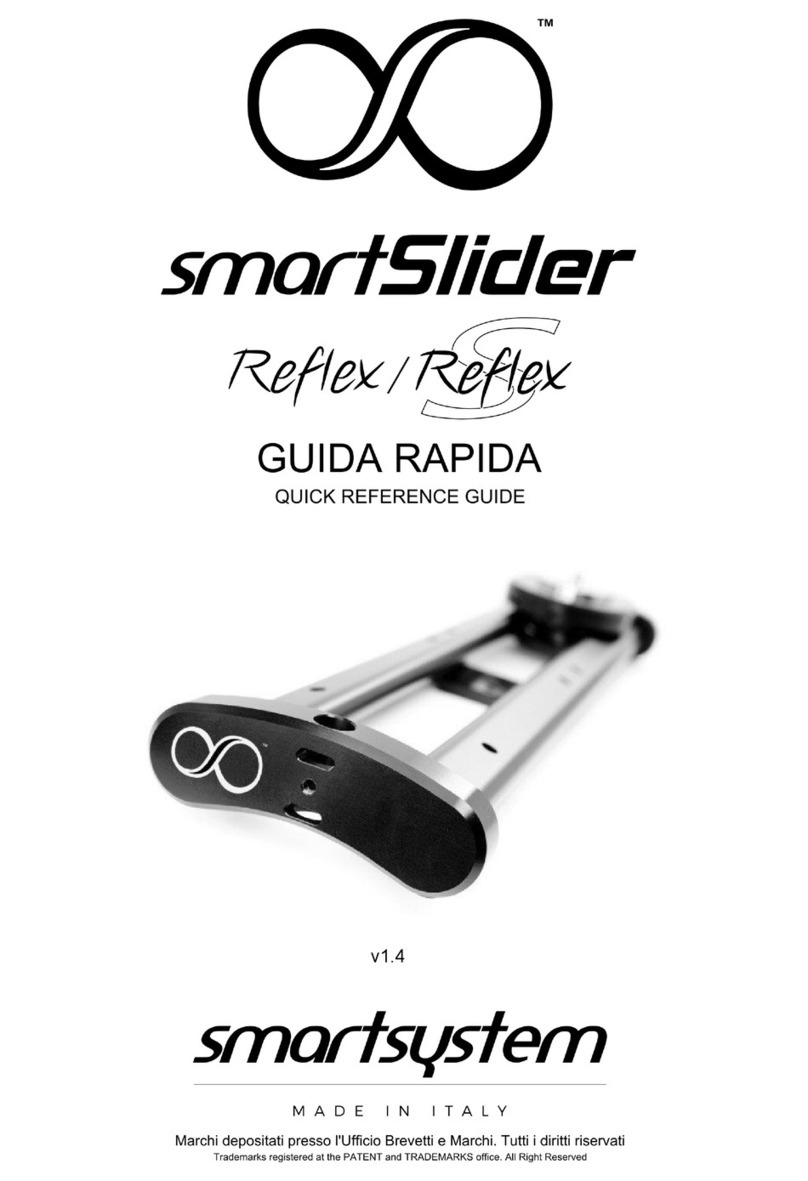
Smart system smartSlider Reflex User manual
Smart system
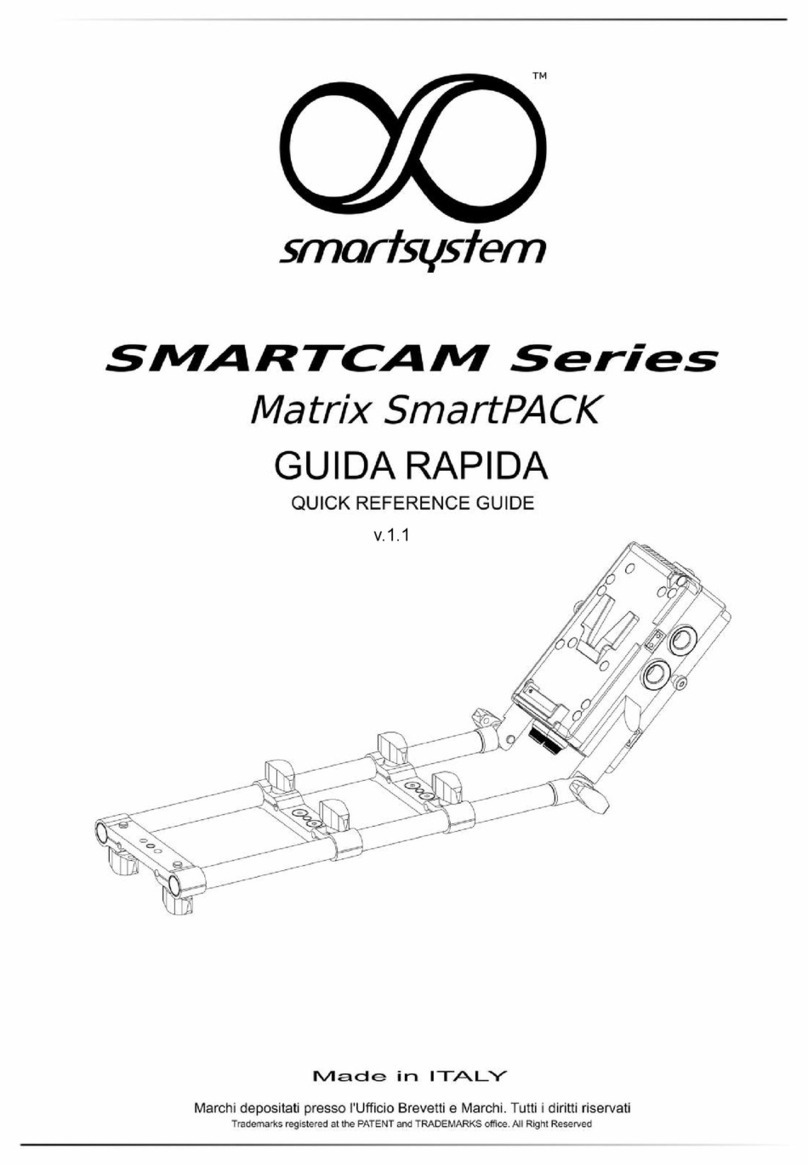
Smart system SMARTCAM Series User manual
Smart system
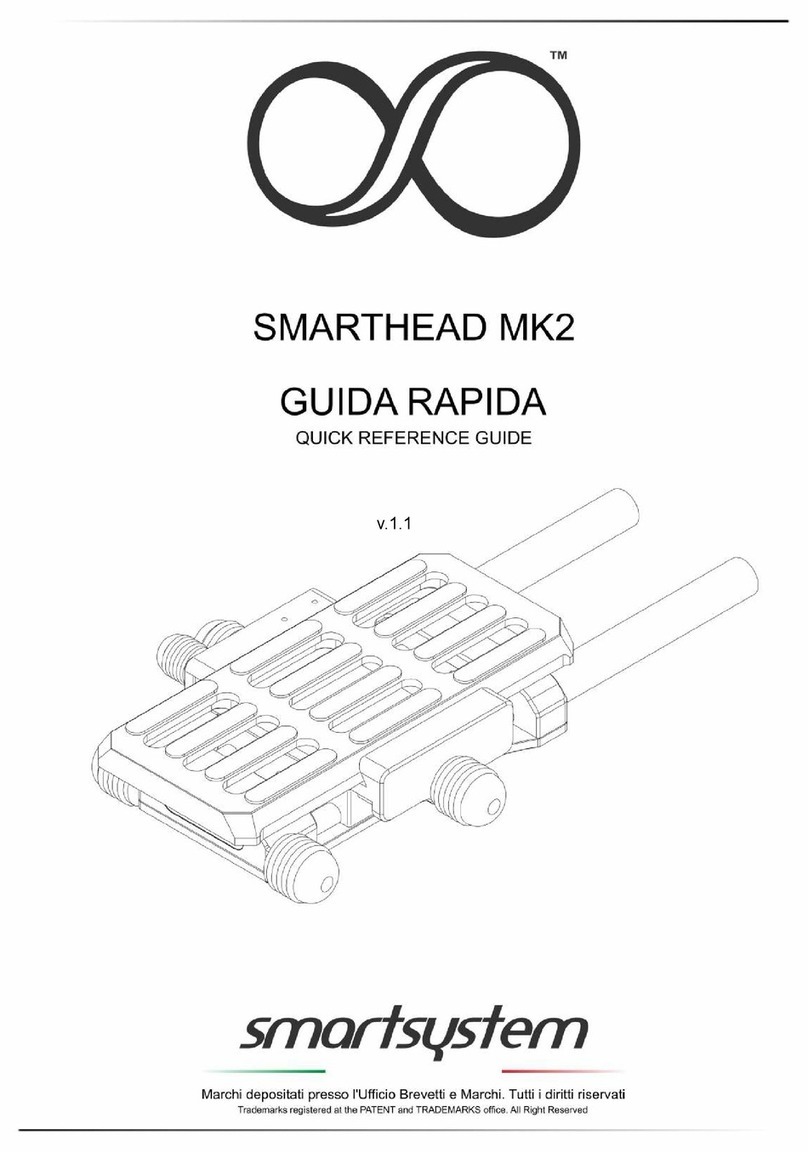
Smart system Smarthead MK2 User manual
