Smart system DigiMOTOR PRO User manual
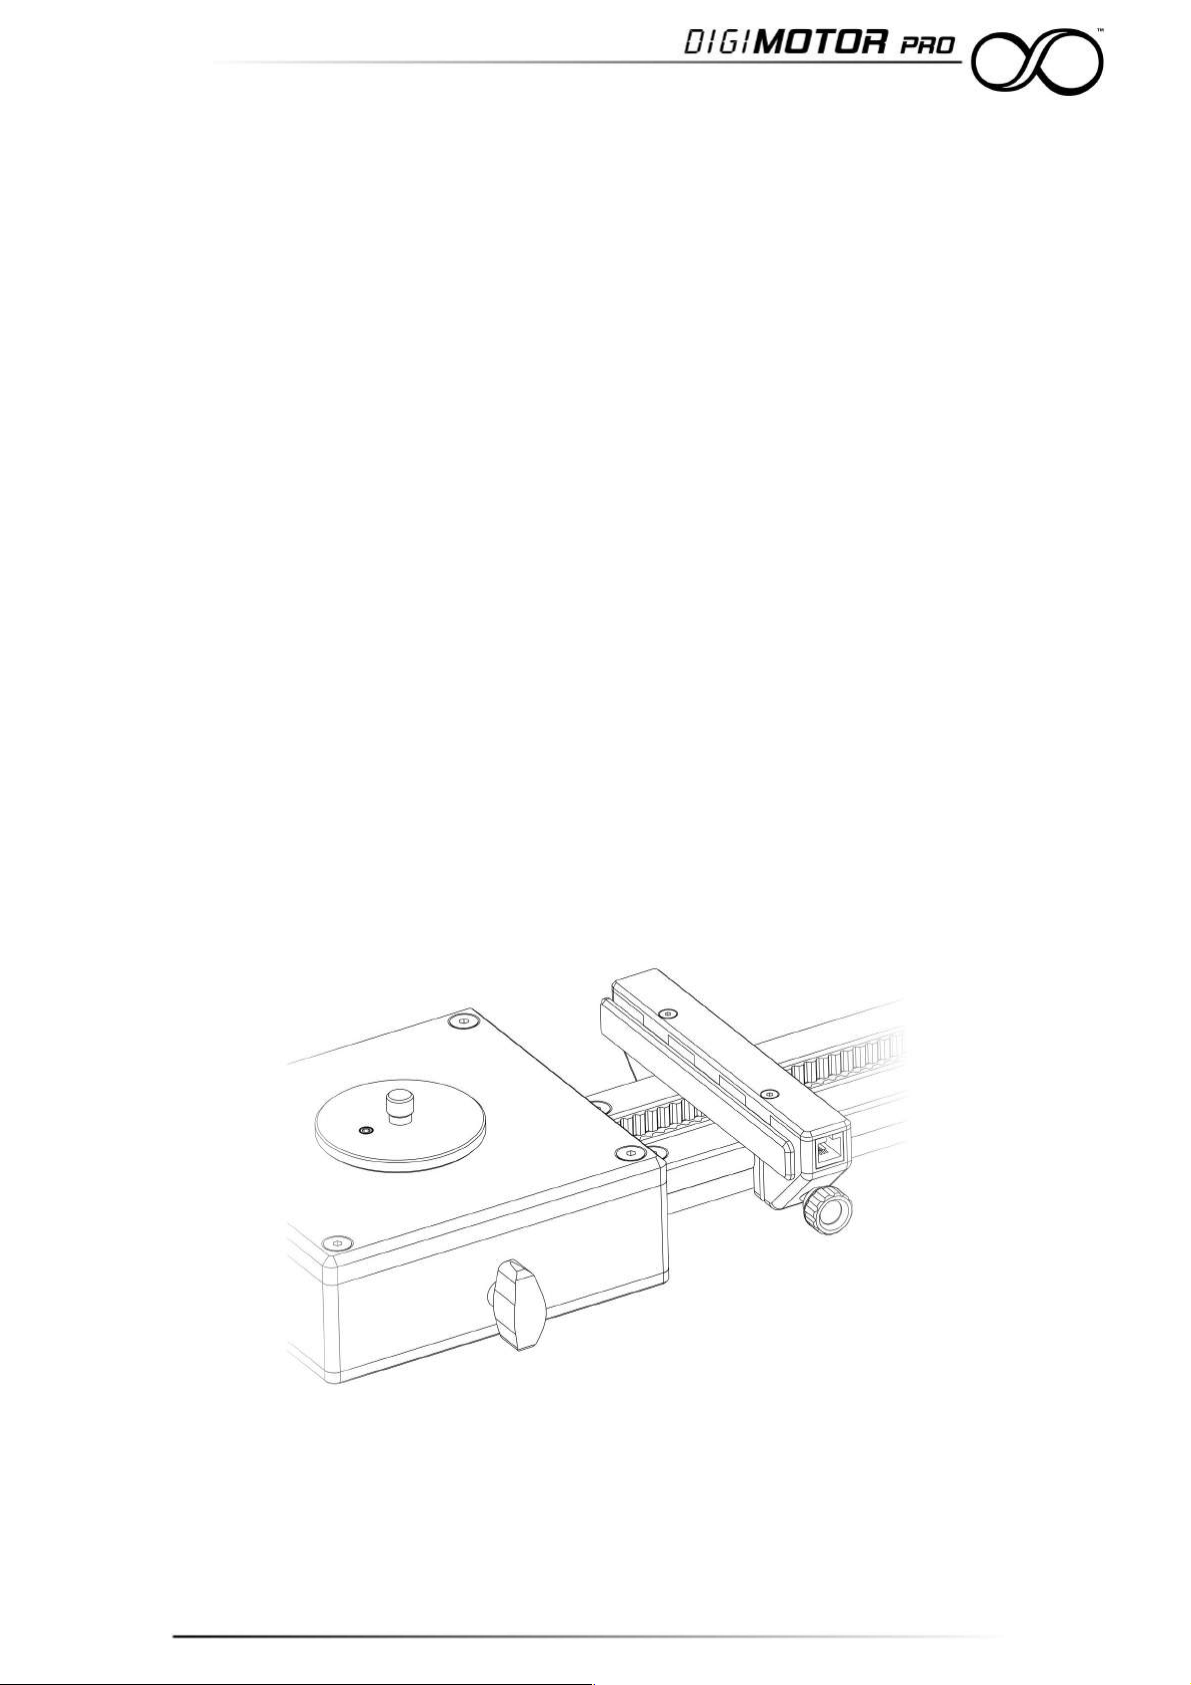
1

Indice generale
1 Sicurezza...........................................................................................................................3
2 Overview ..........................................................................................................................4
3 Contenuti...........................................................................................................................5
4 Convenzioni:.....................................................................................................................5
5 Introduzione......................................................................................................................5
6 Guida installazione del motore..........................................................................................6
7 Installazione INECORSA di sicurezza (solo con DigiDRIVE Basic)...............................8
8 Garanzia............................................................................................................................9
General Index
9 Safety..............................................................................................................................10
10 Overview .......................................................................................................................11
11 Contents........................................................................................................................12
12 Conventions..................................................................................................................12
13 Introduction...................................................................................................................12
14 Motor Installation Guide................................................................................................13
15 SA ETY limit-switches Installation Guide (only with DigiDRIVE Basic Only)..............15
16 Warranty........................................................................................................................16
2

1 Sicurezza
Il kit di motorizzazione per SmartSLIDER PRO denominato DigiMOTOR PRO è stato
progettato tenendo in considerazione tutte le normative tecniche di prodotto. Si prega,
comunque, di seguire scrupolosamente le seguenti istruzioni volte a garantire la Vostra
sicurezza e la sicurezza delle Vostre attrezzature:
•Proteggete l'attrezzatura da ambienti umidi.
•Evitare ogni contatto con acqua o altri liquidi
•Non utilizzare in caso di accidentale introduzione di liquidi all'interno di qualsiasi
parte del kit DigiMOTOR PRO. Il nostro ufficio tecnico è a vostra disposizione per
qualsiasi informazione in merito.
•Pulire esclusivamente tramite un panno asciutto
•In caso di guasto, la riparazione del prodotto deve essere eseguita solo da
personale qualificato ed autorizzato da SmartSystem Srl
•Utilizzare solo per lo scopo preposto
•Non rimuovere alcuna parte o procedere al disassemblaggio del kit DigiMOTOR
PRO. Non sono presenti parti riutilizzabile dall'utente all'interno dei componenti del
DigiMOTOR PRO
AL FINE DI PREVENIRE INCENDI, ESPLOSIONI O SHOCK
ELE RICI, NON U ILIZZARE IL PRODO O IN PRESENZA
DI AMBIEN I UMIDI O SO O LA PIOGGIA OPPURE IN
AMBIEN I MOL O POLVEROSI.
PER SCONGIURARE SHOCK ELE RICI, NON APRIRE IL PRODO O PER ALCUN
MO IVO. FARE RIFERIMEN O SEMPRE A PERSONALE QUALIFICA O ED
AU ORIZZA O DA SMAR SYS EM SRL.
L'utente è stato informato sull'importanza di aver letto quanto
riportato nel presente manuale allegato al prodotto e di aver
compreso le indicazioni di sicurezza e di funzionamento.
3

2 Overview
4

3 Contenuti
•1 motore di derivazione industriale Low Noise
•1 kit puleggia folle con sistema di tensionamento cinghia tool free
•1 Cinghia rinforzata anti-allungamento
•2 inecorsa di sicurezza
•2 cavi di connessione a spirale per fine-corsa
•1 cavo di connessione motore
4 Convenzioni:
AL INE DI POTER COMPRENDERE MEGLIO
L'INSTALLAZIONE DEL KIT DIGIMOTOR PRO, E'
ONDAMENTALE TENERE A MENTE LA SEGUENTE
CONVENZIONE SULLA DENOMINAZIONE DEI LATI DELLO
SMARTSLIDER PRO
5 Introduzione
DigiMOTOR PRO rappresenta un vero e proprio kit di motorizzazione appositamente
progettato per il Vostro SmartSLIDER PRO.
Oltre all'unità motrice rappresentata da un motore di derivazione industriale Low Noise, il
kit viene proposto assieme due finecorsa di sicurezza (uno destro ed uno sinistro), grazie
ai quali è possibile ottemperare alle vigenti normative in materia di automazione
(Normativa Macchine 2006-42 CE).
5

6 Guida installazione del motore
L'installazione del kit motore è completamente tool-free. Tutto ciò di cui avete bisogno è
una superficie piana per appoggiare il vostro Smart SLIDER PRO e i componenti inclusi
nel kit DigiMOTOR PRO.
•Appoggiare il vostro SmartSLIDER PRO su una superficie piana con il pomello del
bloccaggio del carrello indirizzato verso di Voi (vedi cap. 4)
•Inserire la cinghia all'interno della scanalatura della guida, facendo attenzione che
la parte dentellata rimanga all'interno e quella liscia aderisca alla guida stessa.
•ar passare la cinghia sotto il carrello e avvitare la staffetta al carrello stesso,
bloccando così la cinghia
•Tirare delicatamente le due estremità della cinghia verso l'esterno così da
estenderla su tutta la lunghezza della guida. Prendendo come riferimento i fori 5/8"
utilizzati per il fissaggio dello slider sugli stativi, la cinghia dovrà essere posizionata
in modo tale che avvolga virtualmente i due fori.
•Svitare il pomello di bloccaggio del perni 5/8"
presenti sulle estremità del vostro slider.
6

•Inserire ora il motore all'interno del foro sinistro dello slider, assicurandosi che la
cinghia precedentemente posizionata abbracci la puleggia del motore stesso.
•issare ora il motore riavvitando la leva di bloccaggio dei perni 5/8" che avevate
precedentemente rimosso.
•Analogamente a quanto fatto per il motore, inserire ora il supporto della puleggia
folle all'interno del foro di destra, assicurandosi che la cinghia abbracci la puleggia.
•issare ora il supporto della puleggia folle, riavvitando la leva di bloccaggio dei
perni 5/8 che avevate precedentemente rimosso.
•Tendere delicatamente la cighia tramite il cursore mobile posto sul supporto della
puleggia folle.
7

•Raggiunta una ragionevole tensione, bloccare il cursore mobile tramite le due leve
a scatto.
Eseguite queste operazioni, il motore risulta correttamente installato sul Vostro
SmartSLIDER PRO.
7 Installazione FINECORSA di sicurezza (solo con DigiDRIVE Basic)
Prima di installare i INECORSA di sicurezza, accertarsi di aver già installato il motore, la
puleggia e la cinghia sullo SmartSLIDER PRO.
L'installazione dei finecorsa è intuitiva grazie alla particolare sistema a scatto. E' infatti
sufficiente disporli sulla guida del Vostro SmartSLIDER PRO applicando una lieve
pressione fino al completo bloccaggio.
Per coerenza con il sistema di riferimento adottato, i due finecorsa andranno disposti in
modo tale che entrambi abbiano il pomello di bloccaggio sporgente dallo stesso lato in cui
è presente quello del carrello mobile dello Slider.
Disponendone rispettivamente, uno a destra ed uno a sinistra del carrello stesso, i due
finecorsa forniti permettono di limitare la corsa del carrello. Una volta individuato il giusto
posizionamento, è possibile bloccarne la posizione grazie al pomello in dotazione.
Prima della messa in servizio, è necessario collegare:
1. I due fine-corsa tramite il cavo a spirale in dotazione (si consiglia di far passare il cavo
dietro al carrello in modo tale da non intralciare il normale movimento del carrello stesso)
2. I fine-corsa al motore.
8

8 Garanzia
La ditta SmartSystem Srl Unipersonale, con sede in Via del Commercio, 22E, 61032
ANO (PU) - ITALY - Proprietaria del marchio SmartSystem e dei brand ad essa collegati,
accorda una garanzia limitata territorialmente di 12 mesi sui prodotti a partire dal giorno di
consegna al cliente finale (compratore).
Nell'ambito della garanzia verranno eliminate gratuitamente eventuali deficienze di
funzionamento imputabili a difetti di fabbricazione o di materiale.
La ditta si riserva la possibilità di decidere tra l'eventualità di eliminare il difetto oppure
consegnare un nuovo prodotto al cliente.
Eventuali reclami dovranno essere comunicati dal cliente, subito dopo l'accertamento del
difetto, dietro presentazione della scheda di garanzia, debitamente compilata, oppure a
titolo sostitutivo, del contratto di acquisto del primo compratore.
La garanzia scade dopo 12 mesi; non verrà prolungata né dalla presentazione di un
reclamo né da eventuali adempimenti a posteriori.
Dalla garanzia sono esclusi eventuali danni causati da un uso improprio e/o errato
dell'attrezzatura, da cariche statiche oppure danni meccanici.
La garanzia non ha più valore in caso di riparazioni o interventi da parte del compratore e
di terzi non autorizzati e di modifiche arbitrarie della scheda di garanzia.
Le riparazioni potranno essere effettuate solo da persone o punti espressamente
autorizzati dal costruttore stesso.
9

9 Safety
The motorized kit for SmartSLIDER PRO called DigiMOTOR PRO conforms to the
directive concerning this product. Read carefully the instructions contained in this manual
for your safety:
•Protect your equipment from wet environments.
•Avoid any contact with water or other liquids
•Never use in case of accidental introduction of liquids into any part of the
DigiMOTOR PRO kit. Our technical department is at your disposal for any
information about it.
•Clean only with a dry cloth
•In case of failure, the DigiDRIVE must be repaired only by qualified staff, authorized
by SmartSystem Srl
•Use DigiDRIVE just for its function
•Do not remove any part or disassemble the DigiMOTOR PRO kit.There are no
reusable parts in the DIGIDRIVE or DigiCONTROL.
O PREVEN FIRE, EXPLOSION OR ELEC RICAL SHOCK,
DO NO USE HE PRODUC IN HE RAIN, IN WE OR
DUS Y ENVIRONMEN S.
O AVOID ELEC RICAL SHOCK, DO NO OPEN HE
PRODUC FOR ANY REASON. ALWAYS REFER O QUALIFIED S AFF AU HORIZED
BY SMAR SYS EM SRL.
he user has been informed about the importance of
reading and understanding the safety instructions
contained in this manual.
10

10 Overview
11

11 Contents
•1 Low Noise Industrial Motor
•1 Idler Pulley kit with pre-tensioning tool-free system
•1 Reinforced anti-stretching belt
•2 Safety limit-switches
•2 Spiral connection cables for limit-switches
•1 Connection cable for motor
12 Conventions
IN ORDER O BE ER UNDERS AND HOW INS ALLING
HE DIGIMO OR PRO KI , PLEASE, KEEP IN MIND HE
FOLLOWING BASIC CONVEN IONS ABOU HE NAME
OF HE SMAR SLIDER PRO SIDES.
13 Introduction
DigiMOTOR PRO is a motorized kit specifically designed for your SmartSLIDER PRO.
Beyond the low noise industrial motor, the kit is provided with two safety limit-switches
(one for the right and one for the left side), thanks to which our system fulfills the
requirements demanded by the Machinery Directive (2006/42/EC).
12

14 Motor Installation Guide
The motor kit installation is completely tool-free. Everything you need is a flat surface to
place your SmartSLIDER PRO and the components included in the DigiMOTOR PRO kit.
•Place your SmartSLIDER PRO on a flat surface with the carriage locking knob
pointed towards you (see chapter 4 – Conventions).
•Insert the belt into the groove track, making sure that the notched part stays inside
while the smooth one sticks to the track itself.
•Run the belt under the carriage and screw the bracket to the carriage itself,blocking
in this way the belt.
•Gently pull the two ends of the belt outwards in order to widen it over the entire
length of the track.Taking as reference the 5/8" holes used for mounting the slider
on the stands, the belt must be positioned so that it wraps both the 5/8" holes.
•Unscrew the 5/8" locking knobs located on the
SmartSLIDER PRO sides.
13

•ow insert the motor into the left hole of your SmartSLIDER PRO, making sure that
the belt previously positioned now clings the pulley of the motor itself. asten the
motor by tightening up the 5/8" locking knob that had been previously removed.
•Similarly to what you've done for the motor, now insert the idler pulley support into
the right hole, making sure that the belt clings the pulley.
•asten the idler pulley support, by tightening up 5/8" locking knob that had been
previously removed.
•Stretch gently the belt through the movable cursor placed on the idler pulley
support.
•When the belt is stretched enough, lock the movable cursor with the two adjustable
levers.
14

Now the motor is properly installed on your SmartSLIDER PRO.
15 SAFE Y limit-switches Installation Guide (only with
DigiDRIVE Basic Only)
Before installing the safety limit-switches, make sure you have already installed the motor,
the pulley and the belt on your SmartSLIDER PRO.
The installation of the limit-switches is very intuitive, thanks to the special click system.
You'll have just to place them on the rail of your SmartSLIDER PRO, slightly pushing them
until they click.
The two safety limit-switches must be positioned so that they have the locking knobs
protruding on the same side in which is the carriage locking knob.
Putting one on the right and one on the left side of the carriage itself, the two safety limit-
switches allow the user to limit the stroke of the carriage. Once you find their right position,
you can lock it by using the proper locking knobs.
Before putting the system on, you must connect:
1. The two safety limit-switches through the spiral cable provided (it is recommended to
run the cable behind the carriage so that it doesn't interfere with its regular movement).
2. The two safety limit-switches to the motor.
15

16 Warranty
SmartSystem Unipersonale Srl headquarter is located in Via del Commercio, 22E, 61032
ANO(PU), ITALY. SmartSystem main brand and all the other brands associated with it are
property of SmartSystem Srl Unipersonale.
Your SmartSystem equipment is guaranteed against any manufacturing or material defects
for 12 months from the date of delivery to the customer.
Warranty will cover any functioning issues related to manufacturing or material faults. In
this case, the company reserves the right to decide whether eliminating the defect or
providing the customer with a new product.
Any claims due to manufacturing or materials faults must be communicated by the
customer, upon presentation of the warranty card, properly completed, or of a proof of
purchase. The warranty, which will expire after 12 months, will not be extended either by a
complaint, or by subsequent executions.
Damage caused by accident, misuse, do-it-yourself repairs or modification, repair by
unauthorised service centre, static charges or mechanical damages is not covered by the
warranty.
urthermore, warranty won't be valid neither in case the warranty card is arbitrarly
modified.Repairs must be made only by authorized service centres.Always request the
RMA number before sending us the product.
16
Table of contents
Languages:
Other Smart system Camera Accessories manuals

Smart system
Smart system SMARTCAM HORIZON User manual

Smart system
Smart system SMARTCAM MATRIX CORE User manual

Smart system
Smart system SMARTCAM Series User manual

Smart system
Smart system SmartCAM VEST lite User manual

Smart system
Smart system HI HAT INTERFACE User manual

Smart system
Smart system DigiDRIVE Portable User manual

Smart system
Smart system Smarthead MK2 User manual

Smart system
Smart system smartSlider PRO User manual

Smart system
Smart system SMARTCAM HORIZON LITE User manual

Smart system
Smart system smartSlider Reflex User manual