SMART Barista SB6000 User manual
Model: SB6000
SMART Worldwide (an SMA Worldwide Ltd. Company) have a policy of continuous improvement
SMART is a registered trademark of SMA Worldwide Ltd. London, England.
www.smartworldwidefun.com
© SMART Worldwide 2016
Exclusively Manufactured and Distributed by:
SMART Worldwide
(an SMA Worldwide Ltd. Company)
SMA House, Langley Waters, Home Park
Kings Langley, Hertfordshire, WD4 8LZ
SMART Worldwide Ltd. 2016 ©
www.smartworldwidefun.com

SB6000
SMART Barista
Instruction Manual
ENGLISH
3
ENGLISH
THE SMART CHOICE
Visit www.smartworldwidefun.com for more fun products.
CONTENTS
SAFETY INSTRUCTION . . . . . . . . . . . . . . . . . . . . . . . . . . . . . . . . 4
PRODUCT STRUCTURE . . . . . . . . . . . . . . . . . . . . . . . . . . . . . . . . 5
FUNCTION INTRODUCTION . . . . . . . . . . . . . . . . . . . . . . . . . . . . . 6
MAIN FUNCTION INTERFACE . . . . . . . . . . . . . . . . . . . . . . . . . . . . 7
COFFEE FUNCTIONS . . . . . . . . . . . . . . . . . . . . . . . . . . . . . . . . . 7
SET-UP MENU. . . . . . . . . . . . . . . . . . . . . . . . . . . . . . . . . . . . . . 11
WARNING ICONS . . . . . . . . . . . . . . . . . . . . . . . . . . . . . . . . . . . 19
TECHNICAL SPECIFICATIONS . . . . . . . . . . . . . . . . . . . . . . . . . . . . 22
SMART CONVERSION TABLE. . . . . . . . . . . . . . . . . . . . . . . . . . . . . 22
RETURNS & WARRANTY . . . . . . . . . . . . . . . . . . . . . . . . . . . . . . . 23
Your safety and the safety of others is very important.
We have provided many important safety messages in this manual and
on your appliance. Always read and obey all safety messages.
This is the safety alert symbol.
This symbol alerts you to potential hazards that
can kill or hurt you and others.
All safety messages will follow the safety alert symbol.
All safety messages will tell you what the potential hazard is, tell you how to reduce the
chance of injury, and tell you what can happen if the instructions are not followed.
SAFETY
220-240 Volts, 50~60 Hertz,1200-1500 W

ENGLISH
4
ENGLISH
Safety Instruction
(1) Read and keep the instruction manual for future reference.
(2) Keep the machine on a stable desktop, which should
be dry, ventilated and out of reach of children.
(3) This machine is manufactured for 220/240 V please ensure
connecting it to the correct electric outlet.
(4) Don’t use the machine if the water is
not to the recommended level.
(5) Dispose of all packaging before using the machine.
(6) Please keep the machine far from heat sources.
(7) Normal temperature scale for use and storage
of the machine is 0 Celsius to 45 Celsius. Sub-zero
temperature may damage the machine.
(8) Please only use room temperature water in the water
container, as hot water will damage the machine.
(9) Please use lint-free dry cloth to clean the machine.
(10) Don’t interfere with the inside structure of the
machine. Such action will invalidate your warranty.
(11) Emptying and cleaning the brewing unit should
only be done when the machine is powered o.
(12) This machine should be serviced only by qualied professionals.
(13) Avoid any water or liquid to go inside the machine
apart from the compartment dedicated to it.
(14) If you will not use the machine for a long period, please
power o, clean all compartments and disconnect the plug.

ENGLISH
5
ENGLISH
Read before rst use
(1) Please check and make sure brewing unit is locked,
place container and drip tray in right position.
(2) Fill the water tank with clean water.
(3) For rst use ll more than 30g coee beans into the bean container.
Note: Only coee beans are allowed to be placed in the
bean container, please don’t add water, coee power, coee
bean mixed with stones or other hard objects inside the
bean container, otherwise the grinder will be damaged.
Water tank
Left Cover
Control Panel
Power Switch
Coee Spout
Right Cover
Door Handle
Milk Tube
Drip Tray
Bean Container

ENGLISH
6
ENGLISH
Function Introduction
Turn On The SMART Barista.
(1) Please press the power switch on front panel, The SMART Barista will start
its self-test process. Please don’t operate the machine during this process.
(2) After the self-test, The SMART Barista will start the heating and
self-clean process, then it will enter the main function interface.
Ensure placing a large cup to collect the cleaning liquid.
Start Of Self-Test:
Heating:
Self -cleaning:
Right Cover
Door Handle

ENGLISH
7
ENGLISH
Main Function Interface
1. Espresso Function
Press icon to make Espresso, users can also press
icon to stop the brewing process at any time.
Caution: the brewing unit will return to original position
automatically after dispensing the espresso. Please do not operate
the machine until the brewing process is completed.
ENGLISH
8
ENGLISH
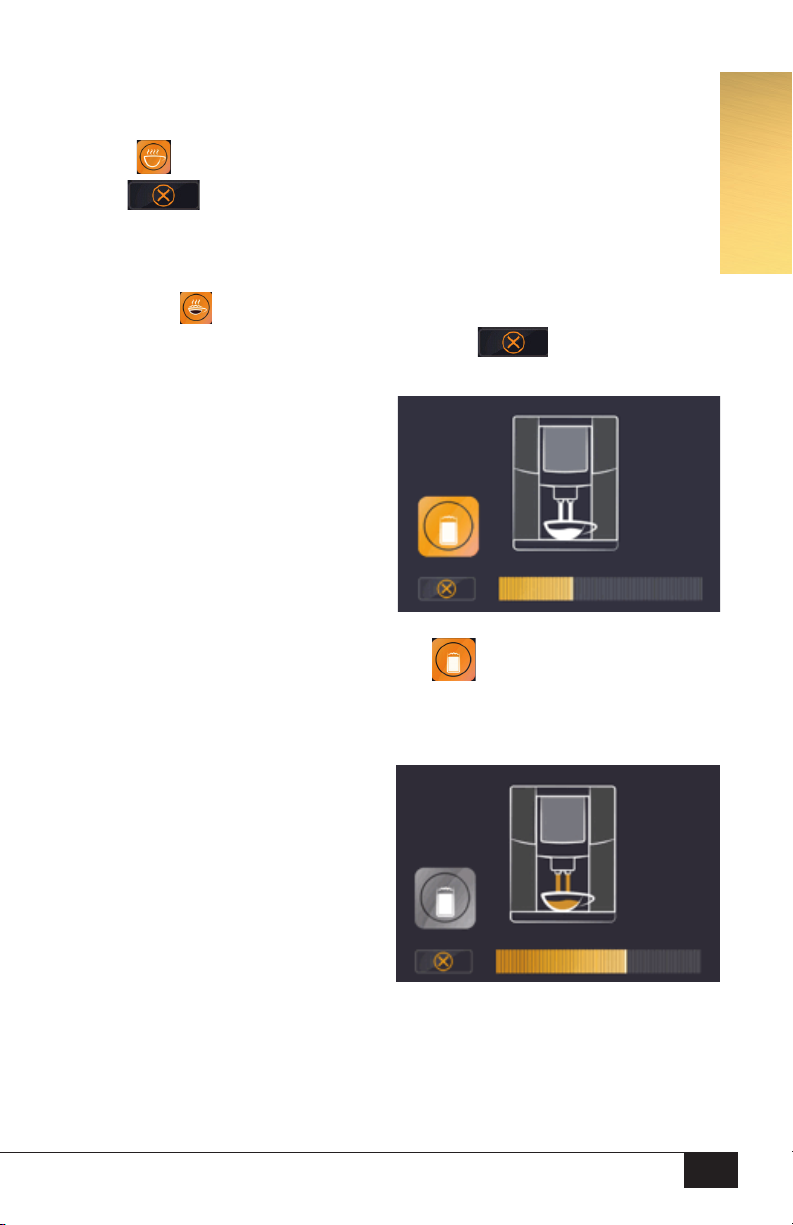
2. Coee Function
Press icon to make Coee, users can also press
icon to stop the brewing process any time.
3. Cappuccino Function
(3.1) Press icon,The SMART Barista will make you a
Cappuccino automatically, users can also press icon
to stop the brewing process at any time.
(Remarks: During milk frothing, users can press icon to stop the milk frothing at
any time. The SMART Barista will continue to brew espresso as per below image.)
(3.2) Milk Frother Process
(3.3) Espresso Process
9
ENGLISH
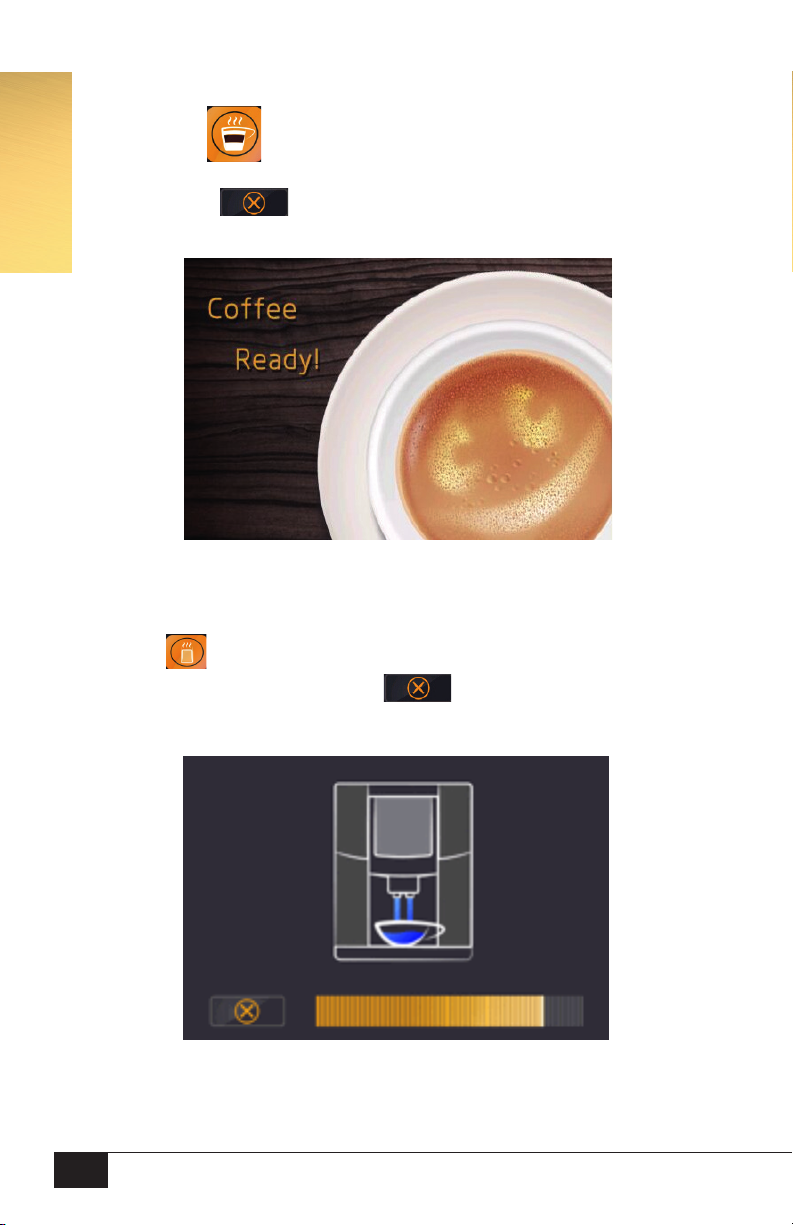
Latte Function
(1) Press icon The SMART Barista will prepare Latte for you
automatically, and display “Coee Ready” when nished users can
also press icon to stop the brewing process at any time.
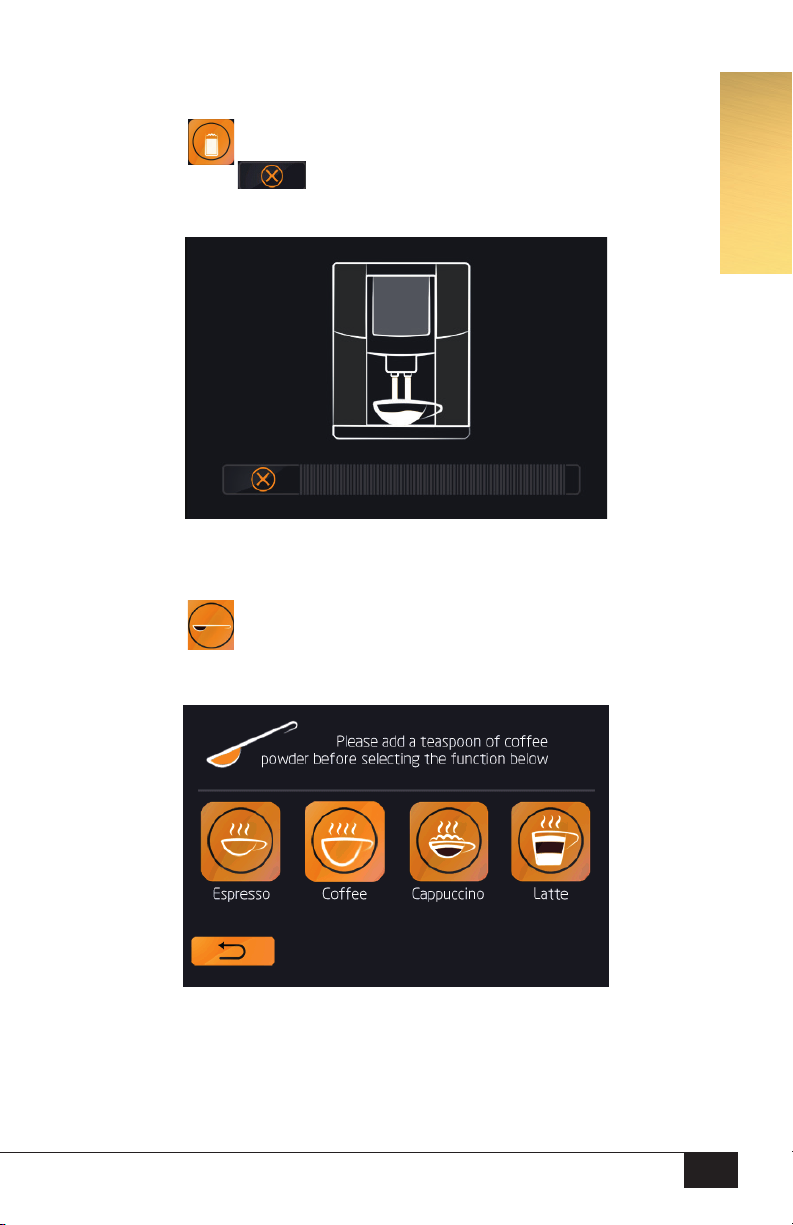
Hot Water Function
(1) Press icon and The SMART Barista will prepare hot water
automatically, users can also press icon to stop the process at
any time.
10
ENGLISH
Hot Milk Function
(1) Press icon The SMART Barista will prepare hot milk for you.
Users can also press icon to stop the process at any time.
Coee Powder Brew Function
(1) Press icon the display will show 4 function
selections for Espresso, Coee, Cappuccino and Latte.
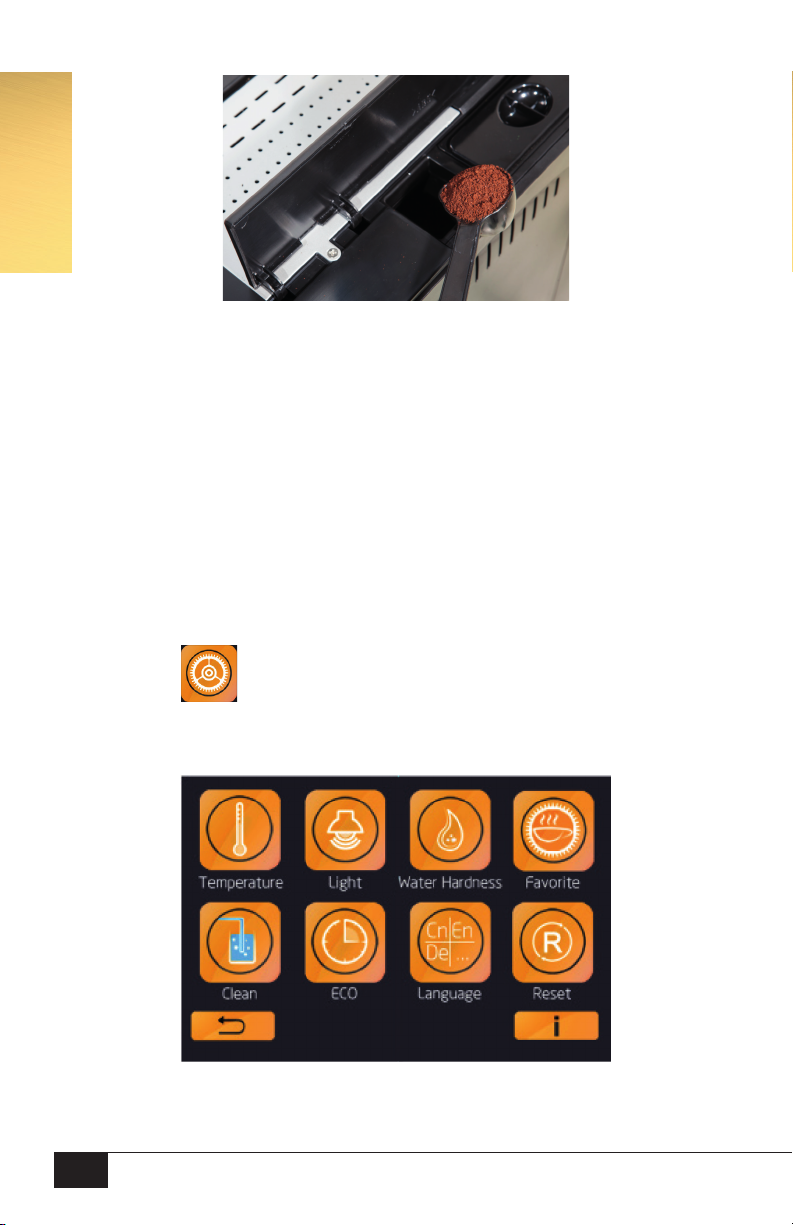
(2) Please use the coee powder spoon accessory with The SMART Barista,
and add only one spoon coee powder, in the correct compartment for every
cup of coee.
11
ENGLISH
(3) Choose your coee type from the display, use the dial to
control your coee concentration and enjoy your coee.
Tip: If you don’t add coee powder during the above process, the
coee machine will only deliver hot water from the coee spout.
This can be a simple cleaning process for the brewing unit and the
inner coee tube. This is in addition to the self-cleaning process that
will automatically commence when you power on the machine.
Setup Menu
Please press icon in the main function interface. Now you are in the
Setup Menu.

12
ENGLISH
Coee Temperature
Press icon, the display will give you the available temperature
selection: Low, Middle and High. Please choose your required
temperature, and press to conrm your selection.
Led Light ON/OFF
Press icon, the display will show LED Light ON/OFF selection:
Please choose your required option, and press to conrm your selection.

13
ENGLISH
Water Hardness
Press icon, the display will show the spectrum of water
hardness for your selection, The SMART Barista will remind
you to descale according to your selection as follows:
(1)Level 1: Remind you to descale after using 170L water
(2)Level 2: Remind you to descale after using 150L water
(3)Level 3: Remind you to descale after using 80L water
(4)Level 4: Remind you to descale after using 50L water
NOTE: When The SMART Barista reminds you to descale, please make sure
the water container is full before you conrm to progress descaling.
The descaling process will last 30 minutes, please don’t operate or power o
the machine until the descaling process nishes automatically; If you don’t
need the descaling process, you can also decline
the process by pressing icon.

14
ENGLISH
Favourite setting
Press icon, the display will show 6 function selections for
Espresso, Coee, Cappuccino, Latte, Hot Water and Hot Milk.
(1) Press icon the display will show the espresso volume
adjustment function, please press “+” or “-” icon to set your required
espresso volume, then press icon to conrm setting.

15
ENGLISH
(2) Press icon the display will show the coee volume
adjustment function, please press “+” or “-” icon to set required
coee volume, then press icon to conrm setting.
(3) Press icon the display show the cappuccino strength adjustment
function, please press “+”or “- ” button to adjust the espresso volume
and milk frother time, then press icon to conrm setting.
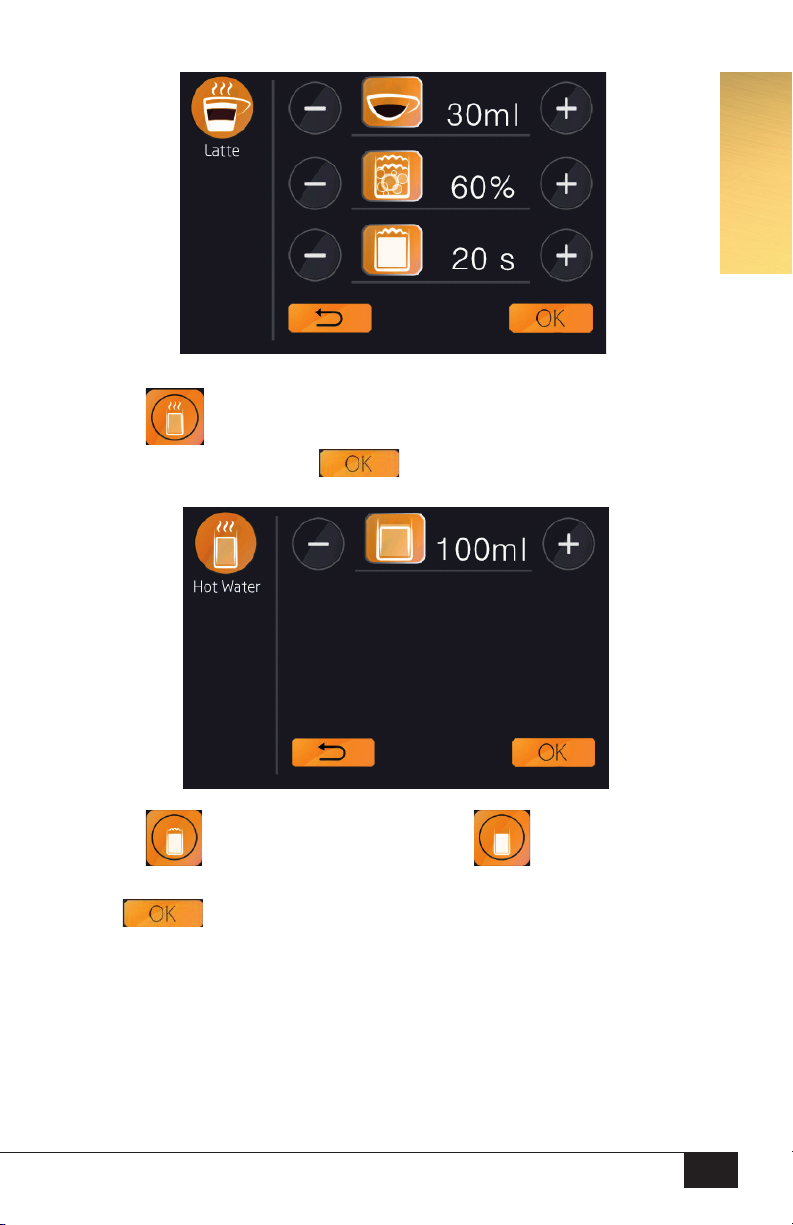
(4) Press icon the display will show the latte strength adjustment
function. Please press “+”or “- ” button to set desired espresso volume,
frother ratio against milk, and milk frother time,
then press icon to conrm setting.
16
ENGLISH
(4) Press icon the display will show the latte strength adjustment
function. Please press “+”or “- ” button to set desired espresso volume,
frother ratio against milk, and milk frother time,
then press icon to conrm setting.
(5) Press icon, and press “+”or “- ” button to select required
hot water volume, then press icon to conrm setting.
(6) Press icon , for hot milk with froth, or for hot milk only.
Please press “+” or “-” icon to set required volume,
press icon to conrm setting

17
ENGLISH
Milk Frother System Cleaning
Press icon, the display will prompt you to put the milk
tube into clean water, please press , the machine
will clean the milk frother system in 16 seconds.
Eco Time
Press icon, the display will show the auto-o time,
once selected, press to conrm your selection.
(Note: In order to save energy, The SMART Barista will power o
automatically if users don’t operate the machine for the selected
time; Users can also select “OFF”to cancel the auto-o function.)

18
ENGLISH
Language Selection
The SMART Barista comes with four languages to choose
from ( English, German, French and Chinese).
Please press icon, the display will show language
selection screen, please select the language you desire,
and press to conrm your selection.
Factory Reset (Caution: Please avoid using this menu unless you need
to reset everything to factory setting)
Press icon, the display will ask your conrmation for the factory reset,
press , the setting of The SMART Barista will be set to the default
factory setting. Users can also press to cancel the factory reset.

19
ENGLISH
Cup Number Counter
Press icon, the display will show the total number of Espresso,
Coee, Cappuccino and Latte made by The SMART Barista.
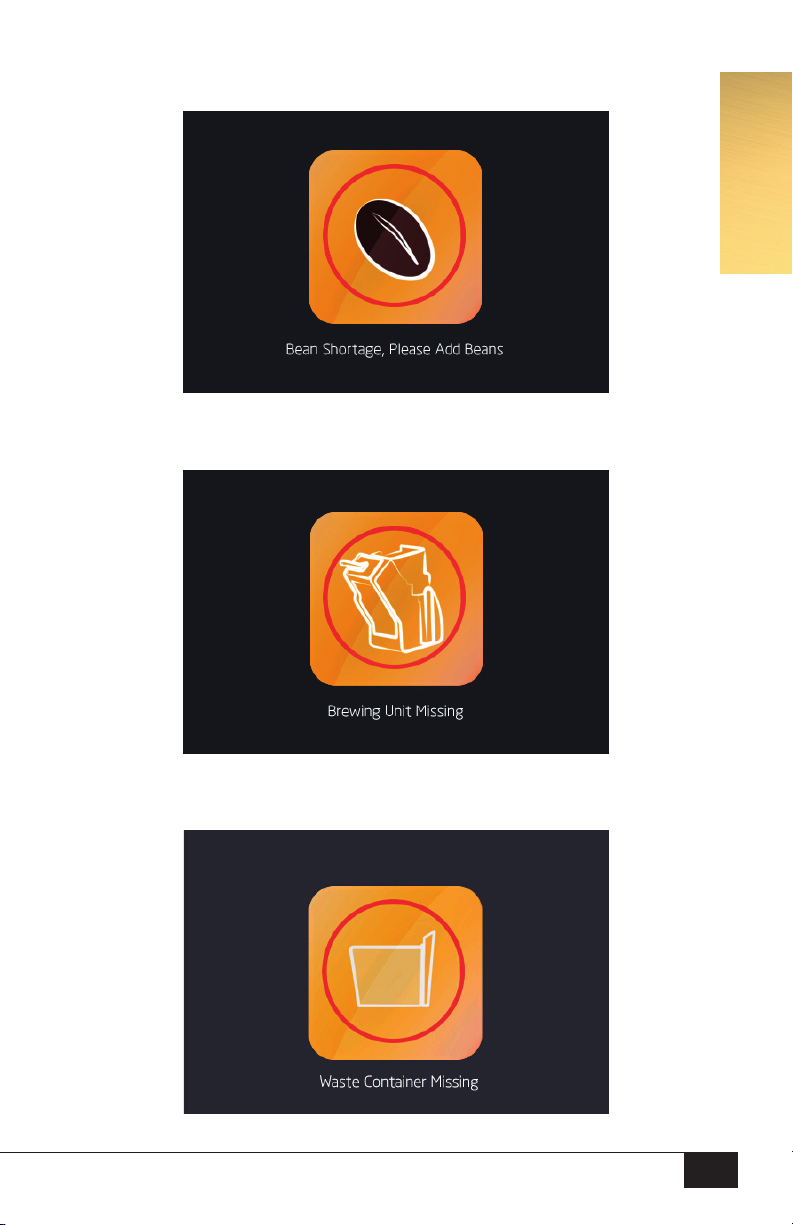
Warning Icons
(1) Water Shortage, please add water in water container.
20
ENGLISH
(2) Bean Shortage, please add coee beans in bean container.
(3) Brewing unit Missing, please make sure the brewing
unit is placed correctly and locked well.
(4) Waste Coee Cake Container or Waste Water Container missing,
please check if these two waste containers are placed correctly.
Table of contents
Popular Coffee Maker manuals by other brands

AEG Electrolux
AEG Electrolux PE 8038-m Operating and installation instructions

Cuisinart
Cuisinart Grind & Brew DGB-625 Series Instruction booklet

Bosch
Bosch TES50159DE/08 instruction manual

Black & Decker
Black & Decker TCM830 Use & care book

Philips
Philips Essence HD7634 manual

Rex-royal
Rex-royal S530 MCST operating instructions


