SMART FSE-420 User manual

smarttech.com/kb/171845 2
Learn more
This guide and other resources for your SMARTelectric height-adjustable mobile
stand are available in the Support section of the SMARTwebsite
(smarttech.com/support). Scan this QRcode to view these resources on your
mobile device.
Trademark notice
SMARTBoard, smarttech, the SMART logo and all SMART taglines are trademarks or registered trademarks of SMARTTechnologiesULC in the U.S. and/or other countries. All
third-party product and company names may be trademarks of their respective owners.
Copyright notice
© 2019–2023SMARTTechnologiesULC. All rights reserved. No part of this publication may be reproduced, transmitted, transcribed, stored in a retrieval system or translated
into any language in any form by any means without the prior written consent of SMARTTechnologiesULC. Information in this manual is subject to change without notice and
does not represent a commitment on the part of SMART.
This product and/or use thereof is covered by one or more of the following U.S. patents:
www.smarttech.com/patents
March 29, 2023

smarttech.com/kb/171845 3
Important information
IMPORTANT SAFETY INSTRUCTIONS: SAVE THESE INSTRUCTIONS
Note
Refer to the illustrated installation instructions for important information about installing and setting up
the stand.
Warning
lRead the following warnings carefully. Failure to read the warnings below or to follow the
installation instructions included with the stand could result in personal injury or product damage.
lDANGER: to reduce the risk of shock, always unplug the stand from the electrical outlet before
cleaning or servicing the stand.
lClosely supervise the operation of the stand when it’s used near children under the age of 8 or
people with cognitive disabilities.
lUse the stand only for it’s intended use as described in these instructions. Do not use attachments
not recommended bySMARTTechnologies.
lDo not operate the stand if it has a damaged cord or plug, if it is not working properly, if it has
been dropped or damaged, or if it has been dropped into water. Return the stand to a service
center for examination and repair.
lKeep the power cord away from heated surfaces.
lDo not drop or insert any object into any opening.
lDo not use the stand outdoors.
lConnect the stand only to a properly grounded outlet.
lOnly use the stand with a nominal 120-volt circuit that has a grounding plug that looks like the
plug in the illustration below.
lOnly connect the stand to an outlet that has the same configuration as the plug.

Important information
smarttech.com/kb/171845 4
lDo not defeat the safety purpose of the grounding-type plug. A grounding plug has two blades
or pins and a third grounding prong. The third prong is provided for your safety. If the provided
plug does not fit into the outlet, consult an electrician for replacement of the obsolete outlet.
lDo not alter or remove the grounding prong from the power cord.
lImproper use of the grounding plug can result in electric shock.
lDo not use a mains power adapter plug.
lThe stand must be grounded to reduce the risk of electric shock in the event of an electrical short
circuit.
lThe assembly and installation of the stand is intended for a trained professional.
lThe installer must follow the installation instructions. Not doing so can result in injury or damage
to equipment.
lUse only SMART-supplied mounting hardware or hardware that is designed to properly support
the weight of the mounted display and accessories.
lCAUTION—Use the FSE-420 stand only with displays that measure between 55" (139 cm) and 86"
(219 cm) diagonally and that weigh between 77 lb. (35 kg) and 200 lb. (91 kg). Using the stand with
other displays might be unstable and could result in injury.
lUse the stand only for lifting a display that meets the size and weight limitations indicated in the
product specifications. Do not use the stand to lift people or objects.
lDo not overload the stand with too much weight, as this can cause injury or damage to the stand.
lLock the casters before raising or lowering the stand.
lOperating the stand can create a hand-crushing or hand-pinching hazard. To prevent injury,
keep hands and people away from crush and pinch locations on the stand.
lAllow adequate clearance above and below the stand to ensure safe raising and lowering.
lDo not operate the stand if it is damaged.
lDo not use the stand near water.
lAllow only adults who are trained and able to use the stand safely to operate it.
lDo not allow children or people who are not able to safely operate the stand to use it.
lDo not allow children to operate or play with the stand.
lDo not climb (or allow children to climb) on a wall- or stand-supported display. Climbing on the
display could result in injury or product damage.

Important information
smarttech.com/kb/171845 5
lDo not stand (or allow children to stand) on a chair to touch the surface of the stand. Rather,
mount the product at the appropriate height.
lEnsure that any cables extending across the floor to the stand are properly bundled and marked
to avoid a trip hazard.
lDo not use the handles to lift the stand.
lDo not move the stand while external cables are connected or when the power is on.
lMove the display to its lowest position before you move the stand.
lSecure all cords and cabling before you move the stand.
lTwo or more people are required to move the stand.
lMove a floor stand-mounted display with care. Quick stops, excessive force, and uneven surfaces
may cause the stand to overturn.
lUnplug the power cord before cleaning the stand. Use only a dry or slightly dampened cloth to
clean the stand.
lDo not allow children to clean or maintain the stand without supervision.
lOnly use attachments/accessories specified by the manufacturer.
lUnplug the power cord before connecting and disconnecting the control panel.
lUnplug the power cord if the stand malfunctions.
lTo reduce the risk of fire or electric shock, do not expose the stand to rain or moisture.
lDo not use the stand if the power cord is damaged. Replace a damaged power cord only with a
new cord and power bar provided by SMART Technologies or a qualified service technician.
lDo not modify or make changes to the control unit or hand switches.
lDo not open the control box. There is danger of electric shock.
lAllow only qualified service technicians to service the stand. Allowing anyone else to service the
stand will void the warranty/guarantee.
lRefer all servicing to qualified service personnel. Servicing is required when the stand has been
damaged in any way, such as power-supply cord or plug is damaged, liquid has been spilled or
objects have fallen into the stand, the stand has been exposed to rain or moisture, does not
operate normally, or has been dropped.
lUse only original accessories and replacement parts. Using other accessories or parts will void
the warranty/guarantee.
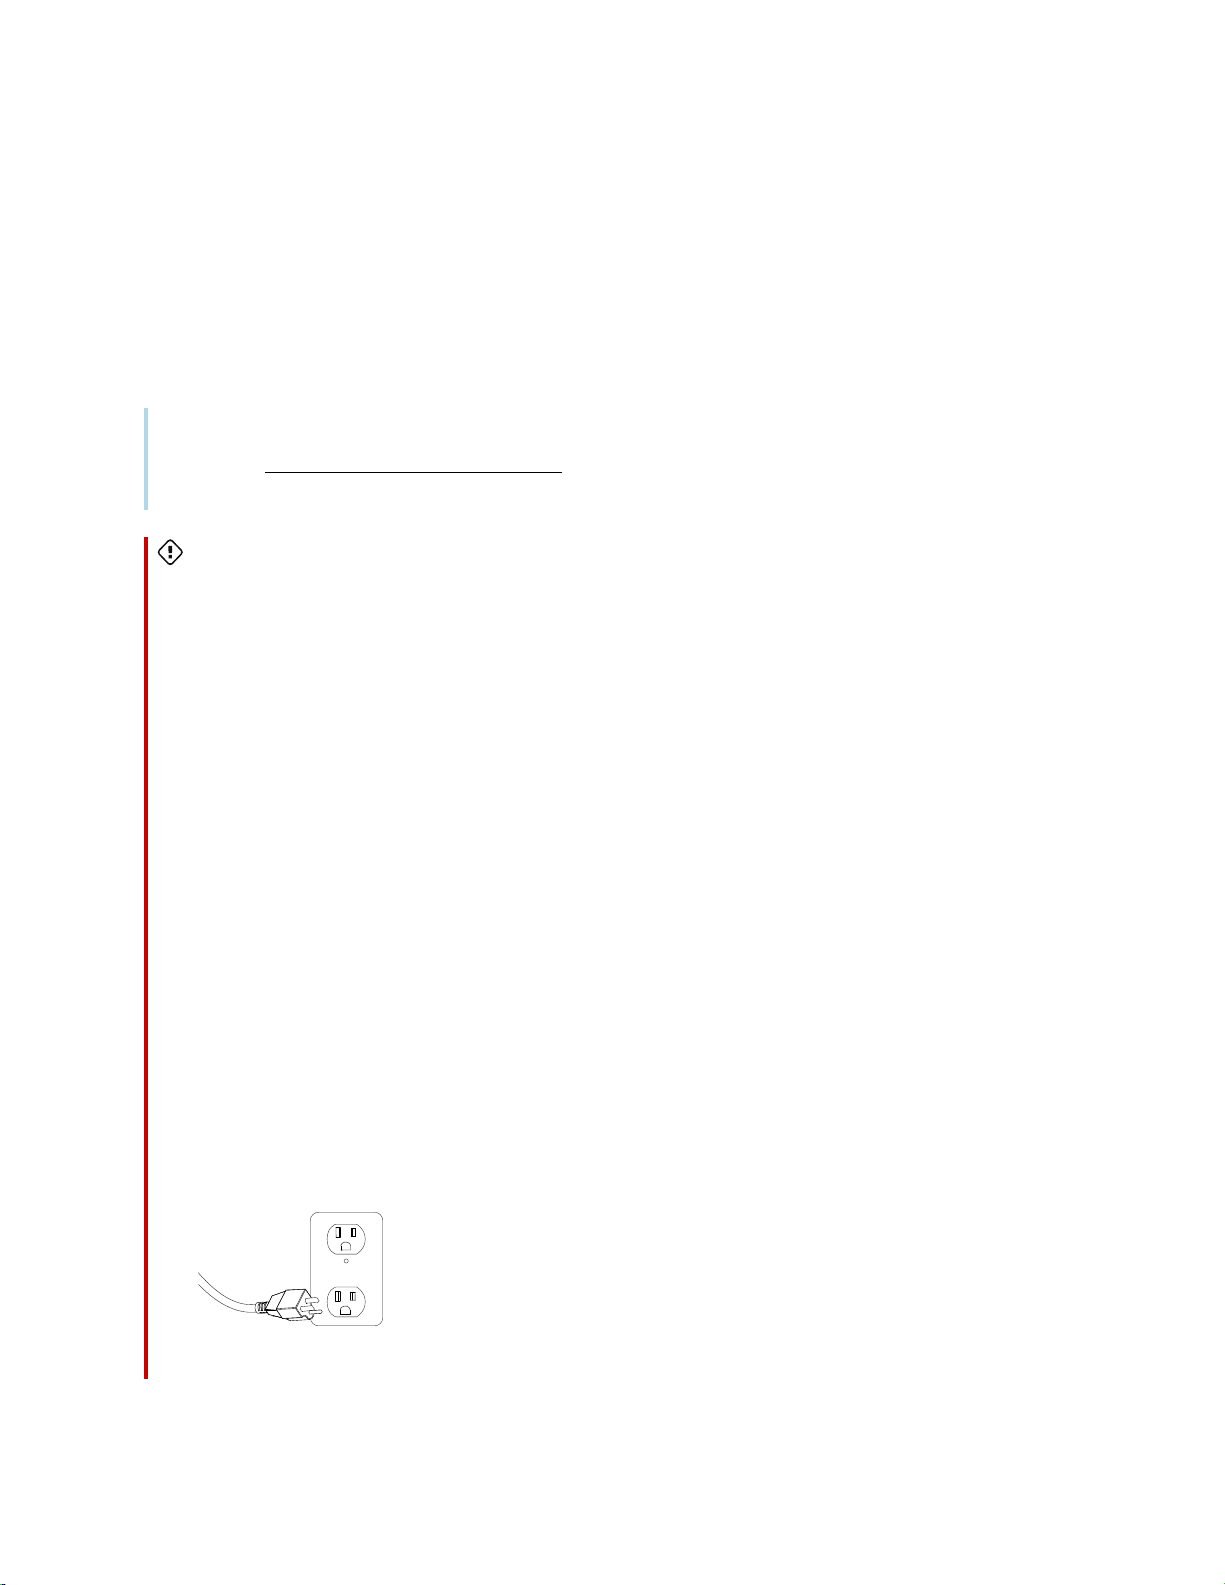
lMake sure the stand’s power cord is easily accessible at all times.

Important information
smarttech.com/kb/171845 6
Caution
lOperate the stand only indoors.
lProtect the power cord from being walked on or pinched, particularly at plugs, convenience
receptacles, and the point where they exit from the stand.
lUse only a power extension cord that is rated for the stand’s electrical load.
lDo not exceed the duty cycle written on the product label.
Important
lKeep these instructions.
lMake sure an electrical socket is near the stand and remains easily accessible during use.
lPlug the stand into its own electrical outlet for best operation.
lThe stand is intended to be used by a trained operator in a commercial setting. It is not intended
to be used in an area where children or people with disabilities are not supervised.
lWhen operating the stand, you must be familiar with the entrapment hazard of the stand, the
mounted display, and of mounted accessories. In some cases, there can be less than 12" (30.5 cm)
of clearance between the bottom of the display and the stand’s base. This can cause a person to
be pinned and injured. Installed accessories, such as the laptop shelf, can also cause people to be
pinned between the stand and fixed objects or furniture. Those who operate the stand must
ensure that they and others stay clear of entrapment locations when raising and lowering the
stand.
lThis product may contain substances that are candidate SVHCs under the EU REACH Regulation
(EC) 1907/2006. Check https://echa.europa.eu/scip-database for the latest information.

smarttech.com/kb/171845 7
Contents
Important information 3
Chapter 1 About the stand 8
Features 8
Components 9
Accessories 10
More information 11
Chapter 2 Assembling the stand 12
Environmental requirements 12
Considerations when assembling the stand 13
Chapter 3 Using the stand 14
Moving the stand 14
Raising, lowering, calibrating, and resetting the stand 15
Chapter 4 Troubleshooting the stand 17
Resolving general issues 17
Product labels 18

smarttech.com/kb/171845 8
Chapter 1 About the stand
Features 8
Components 9
Control panel 10
Accessories 10
More information 11
Features
The SMART electric height-adjustable mobile stand has the following features:
Feature Description
Powered height
adjustment
With its 26" (66 cm) of electric-powered height adjustment, you can easily
adjust the height of a mounted display with the press of a button.
Locking casters The stand’s plate-mounted casters allow you to easily roll the stand across
smooth surfaces and lock the casters to secure the stand.
Safety bounce-back
mechanism
The stand features a safety mechanism to prevent injury and damage when
raising and lowering a display. If an obstruction is encountered while the
stand is being raised or lowered, the stand will stop and reverse direction
briefly.
Power bar The power bar, mounted inside the cabinet, has surge protection and can be
used for connecting a display and accessories to power.
Sturdy steel frame The sturdy steel frame and wide footprint allows the stand to support
displays that range from 55" (139 cm) to 86" (219 cm) and that weigh
between 77 lb. (35 kg) and 200 lb. (91 kg).
It supports a maximum weight of 228 lb. (103 kg) with a display and
accessories.
Locking cabinet The locking cabinet securely stores a computer, accessories, and cables.
Americans with
Disabilities Act (ADA)
compliance
The stand’s design meets Americans with Disabilities Act (ADA) accessibility
standards.

Chapter 1 About the stand
smarttech.com/kb/171845 9
Components
The stand consists of the following components:
No. Description
1 Mounting holes
2 Control panel
3 Locking casters
[Not shown] Storage cabinet (rear surface)
[Not shown] Surge-protected power bar (mounted inside the cabinet)

Chapter 1 About the stand
smarttech.com/kb/171845 10
Control panel
You can raise and lower the stand with the control panel. It’s located on the right side of the stand, but
you can remove and attached it to a mounted display. See the illustrated installation instructions for
information on how to move the control panel.
No. Name Procedure
1 Up Press to raise the stand.
2 Down Press to lower the stand
Accessories
The following accessories are available for the mobile stand:
Accessory Description
Laptop shelf The laptop shelf is a convenient place for a laptop or keyboard when you’re using
a stand-mounted display.
Caution
The maximum allowable load is 13 lb. 3 oz. (6 kg).
Handles The handles are a sturdy place to push and pull when you’re moving the stand.
Warning
Do not use the handles to lift the stand.
Cable hook The cable hook safely secures cables when you move the stand.
Power bar The power bar is a convenient place to connect the mounted display and
accessories to power.
Caution
Use only the included six outlet power bar (model TPL615B) with the stand.

Chapter 1 About the stand
smarttech.com/kb/171845 11
More information
See the following resources for more information:
lFSE-420 specifications: smarttech.com/kb/171846
lFSE-420 illustrated installation instructions: smarttech.com/kb/171843
These documents are available in the Support section of the SMARTwebsite: smarttech.com/support.

smarttech.com/kb/171845 12
Chapter 2 Assembling the stand
Environmental requirements 12
Considerations when assembling the stand 13
The stand requires assembly. Consult the
SMARTelectric height-adjustable mobile stand illustrated
installation instructions
(smarttech.com/kb/171843) included with the stand for assembly instructions.
Warning
Failure to follow the installation instructions included with the stand could result in personal injury or
product damage.
Caution
Ensure any display you install on the stand weighs between 77 lb. (35 kg) and 200 lb. (91 kg).
Environmental requirements
Before installing the stand, refer to the following environmental requirements.
Caution
lDo not operate the stand immediately after moving it from a cold location to a warm location.
Allow the stand to reach room temperature before operation to prevent possible product
damage.
lDo not place the stand in hot locations, such as near heating equipment.

Chapter 2 Assembling the stand
smarttech.com/kb/171845 13
Considerations when assembling the stand
Warning
lTwo people are required to safely assemble the stand and to mount or remove the display.
lLock the casters before installing or working with the display on the stand or adjusting its height.
Notes
lYou require ample work space to assemble the stand.
lDo not set up or use the stand in an area with excessive levels of dust, dirt, humidity, or smoke.
Review the following recommendations when using the WM-SBID-200 wall mount that is supplied with
some SMART display models:
Model(s) Recommendation
SMARTBoard GX Series
SMARTBoard MXSeries
SMARTBoard 6000 Series
SMARTBoard 7000 Series
The wall mount isn’t required.
SMARTBoard 6000S Series
SMARTBoard 7000RSeries
SMART Board MX (V4) 86" models
SMART Board GX (V2) 86" models
The wall mount is required.
Note
Please contact SMART Support (smarttech.com/contactsupport) if you need a WM-SBID-200 wall
mount.

smarttech.com/kb/171845 14
Chapter 3 Using the stand
Moving the stand 14
Raising, lowering, calibrating, and resetting the stand 15
Calibrating the stand 15
Raising and lowering the stand 15
Resetting the stand 16
Moving the stand
Warning
lDo not use the handles to lift the stand.
lDo not move the stand while external cables are connected or when the power is on.
lMove the display to its lowest position before you move the stand.
lSecure all cords and cabling before you move the stand.
lTwo or more people are required to move the stand.
lMove a floor stand-mounted display with care. Quick stops, excessive force, and uneven surfaces
may cause the stand to overturn.
To move the stand
1. Shut down the mounted display and accessories.
2. Press and hold the Down button on the control panel until the display reaches its lowest position.
3. Flick the power switch to the off position.
4. Remove all loose items from the stand and the storage cabinet.
5. Unplug the stand from the power outlet and secure all cables.
6. Flip the caster brakes up to unlock them.
7. Carefully push the center point of the legs to move the stand. Do not push on the upper part of the
stand, as this might cause it to tip over.

Chapter 3 Using the stand
smarttech.com/kb/171845 15
8. After the stand is moved, flip the caster brakes down to lock them and secure the stand in place.
9. Connect the power cable to the outlet and secure any cables that run along the floor.
Raising, lowering, calibrating, and resetting the
stand
Warnings
lEnsure the locking bolts are securely tightened before operating the stand.
lDo not allow children or people who are not able to safely operate the stand to use it.
lLock the casters before raising or lowering the stand.
lOperating the stand can create a hand-crushing or hand-pinching hazard. To prevent injury,
keep hands and people away from crush and pinch locations on the stand.
lAllow adequate clearance above and below the stand to ensure safe raising and lowering.
lUse the stand only on a flat surface.
Caution
Do not raise and lower the stand for more than two minutes at a time.
Calibrating the stand
After assembling the stand, you must calibrate it before you start to use it.
To calibrate the stand
1. Connect the stand to a power outlet.
2. Press the Down button and lower the stand to the lowest position.
3. Press the Down button for five seconds. The stand moves up and down 1 cm.
4. Release the Down button
Raising and lowering the stand
To raise the stand
1. Press and hold the Up button on the control panel.
2. Release the Up button to stop raising the display.

Chapter 3 Using the stand
smarttech.com/kb/171845 16
To lower the stand
1. Press and hold the Down button on the control panel.
2. Release the Down button to stop lowering the display.
Resetting the stand
If the stand lowers but does not move when you try raising it or if you replace the controller, perform a
factory reset by following the steps below.
To factory reset the stand
1. Connect the stand to a power outlet.
2. Press the Down button and lower the stand to the lowest position.
3. Press the Down button for five seconds. The stand moves up and down 1 cm.
4. Release the Down button.

smarttech.com/kb/171845 17
Chapter 4 Troubleshooting the stand
Resolving general issues 17
This chapter describes how to troubleshoot the mobile stand.
Resolving general issues
Issue Possible solution
The stand does not
raise or lower
lEnsure the power cable is connected to the stand.
lCheck all cables and ensure that they are not damaged.
lEnsure the switch on the power bar is turned on.
lEnsure the actuators and the control panel are connected to the control
box.
lUnplug the power cable for the stand. Wait 15 minutes and then reset
the stand.
The display doesn’t fit
on the stand.
lEnsure you’re using the mounting plate supplied with the SMART
display.
lIf you’re using the stand with a third-party display, ensure the stand
supports the display’s dimensions and mounting patterns see (see
smarttech.com/kb/171846).
Tip
If the display is outside of the stand’s supported dimensions, use a
SMART wall mount (see smarttech.com/kb/171405).

smarttech.com/kb/171845 18
Product labels
FSE-420 Subassemblies
Laptop shelf – FSE-420-LS
6 outlet power bar (Model TPL615B)

Product labels
smarttech.com/kb/171845 19
Wall mount bracket – WM-SBID-200 (ModelW200-1)
Other manuals for FSE-420
1
This manual suits for next models
1
Table of contents
Other SMART Indoor Furnishing manuals
Popular Indoor Furnishing manuals by other brands

Motris
Motris Lift Vega VEGAL4052 Assembly instructions

Vivo
Vivo DESK-V201G-CH instruction manual

Damiano Latini
Damiano Latini Giostra-L H208 Assembly instructions

Alvin
Alvin Comfort CH777 Assembly instructions

Dorel Living
Dorel Living DA6580-SIL manual

Seconique
Seconique CORONA SEC/SH/10/20/DS1 Assembly instructions

mopio
mopio Jacob Assembly instructions

Seville Classics
Seville Classics AirLift S3 OFF65803 manual

Universal Furniture
Universal Furniture 311-755 instruction sheet

LG OUTDOOR
LG OUTDOOR CAS26 manual

Triarch
Triarch 31553 Assembly instructions

fantastic furniture
fantastic furniture Ashford Dresser 7 Drawer manual