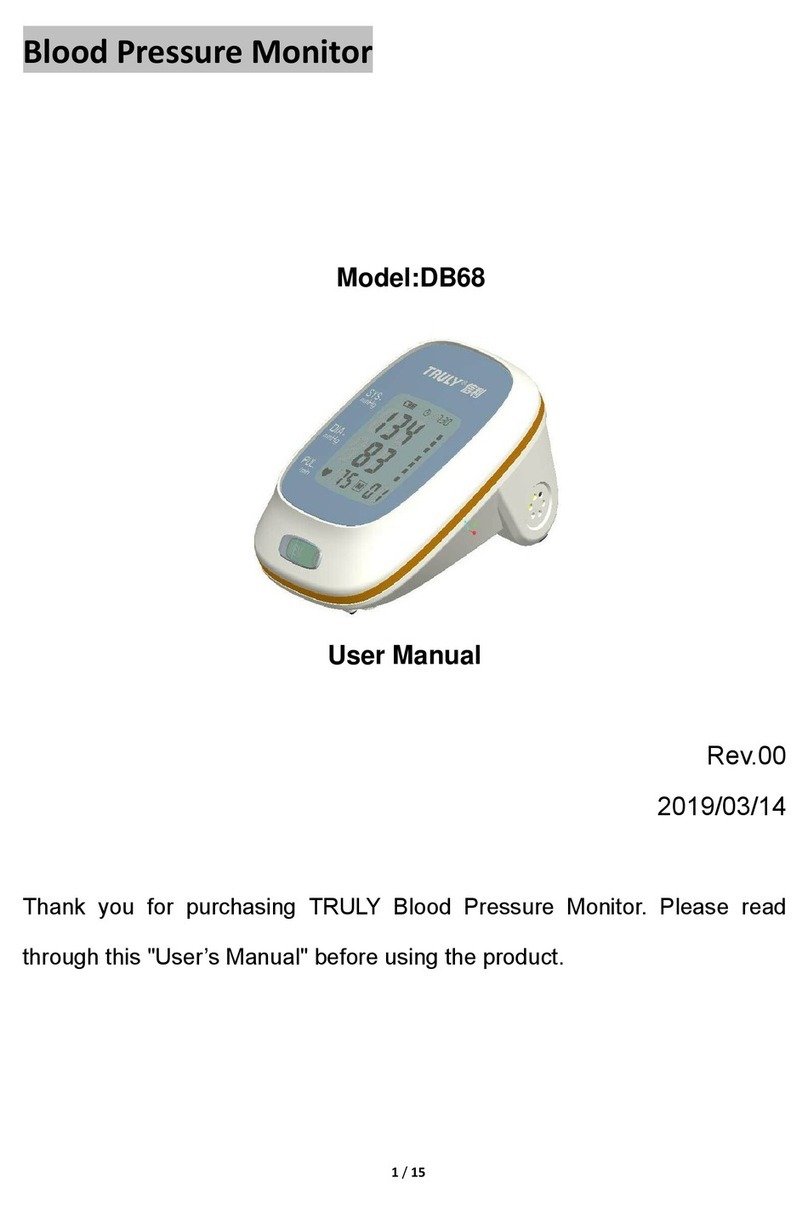
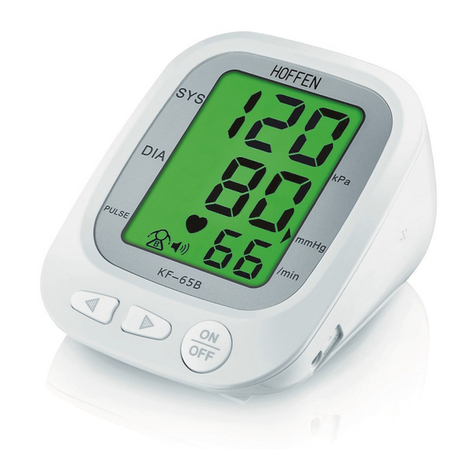
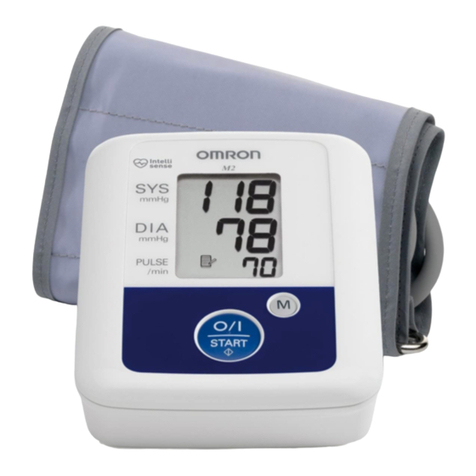
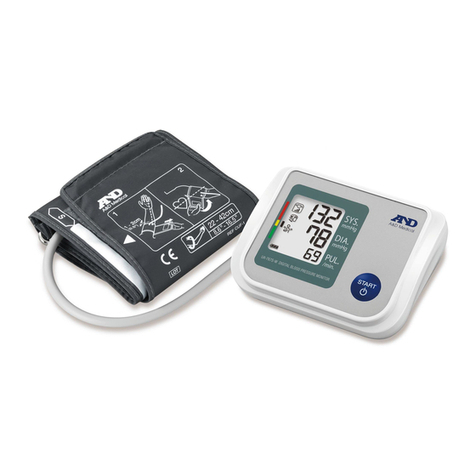
Smartro U80H User manual

Automatic Upper Arm Blood Pressure Monitor
Instruction Manual
Model: U80H
mmHg
/min
PUL
mmHg
DIA
mmHg
SYS
MD


Content
Introduction...............................................................................2
Classification...............................................................................2
Important Safety Information...........................................................3
1. Know Your Device............................................................................7
1.1 Display Symbols....................................................................8
1.2 Before Taking a Measurement..........................................8
2. Preparation..........................................................................................8
2.1 Battery Installation...............................................................8
2.2 Setting Mode...............................................................................9
3. Using the Device.............................................................................10
3.1 Applying the Arm Cuff...........................................................10
3.2 How to Sit Correctly...............................................................12
3.3 Taking a Measurement........................................................13
3.4 Using the Memory Function..............................................14
4. Error Messages and Troubleshooting.................................15
4.1 Error Messages.......................................................................15
4.2 Troubleshooting......................................................................16
5. Maintenance and Storage.........................................................17
5.1 Maintenance.............................................................................17
5.2 Storage........................................................................................18
6. Specications...................................................................................18
7. After-sales Support....................................................................... 27
8. Some Useful Information about Blood Pressure........... 28
9. Manufacturer Information.......................................................... 31
1

Introduction
Classication
Thank you for purchasing the SMARTRO Automatic
Upper Arm Blood pressure monitor.
The SMARTRO U80H is a compact, fully automatic
upper arm blood pressure monitor, operating on the
oscillometric principle. It measures your blood pressure
and pulse rate simply and quickly. For comfortable
controlled inflation without the need of pressure pre-
setting or re-inflation the device uses its advanced
technology.
This device is a digital monitor intended for use in
measuring blood pressure and pulse rate in adult patient
population who can understand this instruction manual
with the arm circumference range printed on the arm
cuff. It is mainly designed for general household use.
Please follow this instruction manual thoroughly for your
safety.
Please keep for future reference. For specic information
about your own blood pressure, CONSULT YOUR
PHYSICIAN.
1. Internally powered equipment;
2. Type BF applied part;
3. Protection against ingress of water or Particulate
matter: IP22;
4. Not category AP/ APG equipment;
5. Mode of operation: Continuous operation;
Intended Use
2

Important Safety Information
Warning: Indicates a potentially hazardous
situation which, if not avoided, could result in death
or serious injury.
(General Usage)
DO NOT adjust medication based on measurement
results from this blood pressure monitor. Take medication
as prescribed by your physician. Only a physician is
qualied to diagnose and treat High Blood Pressure.
Consult your physician before using the device for
any of the following conditions: common arrhythmias
such as atrial or ventricular premature beats or atrial
fibrillation, arterial sclerosis, poor perfusion, diabetes,
age, pregnancy, pre-eclampsia, renal diseases. Note
that PATIENT motion, trembling, shivering may affect the
measurement reading.
Do not use the device on the injured arm or the arm
under medical treatment.
Stop using the device and consult your physician if you
experience skin irritation or other troubles.
Do not apply the arm cuff on the arm while being on an
intravenous drip or blood transfusion.
Consult your physician before using the device on the
arm with an arterio-venous (A-V) shunt.
Do not use the device with other medical electrical (ME)
equipment simultaneously.
Do not use the device in the area the HF surgical
equipment, MRI, or CT scanner exists, or in the oxygen
rich environment.
3

Always consult your physician. Self-diagnosis of
measurement results and self-treatment are dangerous.
People with severe blood flow problems, or blood
disorders, should consult a physician before using the
device, as the arm cuff ination can cause bruising.
Remove the arm cuff if it does not start deating during
the measurement.
Do not use this device on infants or person who cannot
express their intentions.
Do not use the device for any purpose other than
measuring blood pressure.
Use only the approved arm cuff for this device. Use
of other arm cuffs may result in incorrect measurement
results.
Do not use in a location with moisture, or a location
where water may splash on the device. This may
damage the device.
Do not use the device in a moving vehicle (car,
airplane).
Do not take measurements more than necessary. It
may cause bruising due to blood ow interference.
Consult your physician before using the device if you
had a mastectomy.
Read “If your systolic pressure is more than 210
(General Usage)
4
The air tube or the AC adapter cable may cause
accidental strangulation in infants.
Contained small parts that may cause a choking
hazard if swallowed by infants.

mmHg” of this instruction manual, if your systolic
pressure is known to be more than 210 mmHg. Inating
to a higher pressure than necessary may result in
bruising where the cuff is applied.
(Battery Usage)
Do not insert the batteries with their polarities
incorrectly aligned.
Use only 4 “AAA” alkaline or manganese batteries with
this device. Do not use other types of batteries. Do not
use new and used batteries together.
Remove the batteries if the device will not be used for
three months or more.
Use the battery within recommended period mentioned
to it.
General Precautions
Do not forcibly crease the arm cuff or the air tube
excessively.
Do not fold or kink the air tube while taking a
measurement. This may cause harmful injury by
interrupting blood ow.
To unplug the air plug, pull on the air plug at the
connection with the monitor, not the tube itself.
Do not drop the monitor or subject device to strong
shocks or vibrations.
Do not inflate the arm cuff when it is not wrapped
around your arm.
Do not use the device outside the specified
environment. It may cause an inaccurate reading.
5

WARNING:
Do not dispose of electrical appliances as unsorted
municipal waste, use separate collection facilities.
Contact your local government for information regarding
the collection system available. If electrical appliances
are disposed of in landfills or dumps, hazardous
substances can leak into the groundwater and get into
the food chain, damaging your health and well-being.
Read and follow the “Important information regarding
Electro Magnetic Compatibility (EMC)” in the “6.
Specications”.
Read and follow the “WARNING” in “Important Safety
Information” when disposing of the device and any used
accessories or optional parts.
Please check (for example, by observation of the
limb concerned) if the device is not causing a prolonged
impairment of PATIENT blood circulation.
6

Arm cuff:
H
I
J
Air tube
Arm cuff (Arm circumference 22-42 cm)
Air plug
Display:
1. Know Your Device
Contents:
Monitor, arm cuff, instruction manual, storage case
Monitor:
F
G
A
B ECD
Display
START/STOP button AC adapter jack
Setting button Air jack
Memory button Battery compartment
A
B E
F
G
C
D
7

Average Value Symbol
The average value symbol is displayed when you press
the MEM button when power off. The latest 3 times
average value will be shown.
Pulse Rate Symbol
When the device detects the signal, the pulse rate
symbol on the display starts to ash.
8
2. Preparation
2.1 Battery Installation
1. Remove the battery cover as picture showed.
2. Insert 4 “AAA” batteries into the compartment and
To help ensure an accurate reading, follow these
directions:
Avoid eating, drinking alcohol or caffeine, smoking,
exercising and bathing for 30 minutes before taking a
measurement.
Rest for at least ve to ten minutes before taking the
measurement.
Stress raises blood pressure. Avoid taking measurements
during stressful times.
Measurements should be taken in a quiet place.
Remove tight-tting clothing from your arm.
Always measure on the same arm (normally left).
Take measurement regularly at the same time of every
day, as blood pressure changes even during the day.
1.2 Before Taking a Measurement
1.1 Display symbols

ensure each battery is in the proper
direction.
3. Replace the battery cover.
2.2 Setting Mode
1. User setting
Press SET button when power off, the screen will display
or .
Press MEM button, it will be changed between and
.
Press SET button to confirm the user, then the year
ashes.
9
Notes:
When the depleted battery symbol appears on the
display, turn the monitor off and remove all the batteries.
Replace with 4 new batteries at the same time. Long life
alkaline batteries are recommended.
The measurement values continue to be stored in
memory even after the batteries are replaced.
The supplied batteries may have a shorter life.
Do not use the batteries beyond their expiry date.
Please remove the batteries if you do not need to use for
long time.
Dispose of the battery in accordance with all federal,
state and local laws. To avoid re and explosion hazard,
do not burn or incinerate the battery.

2. Setting the Date and Time
Set the monitor to the correct date and time before taking
a measurement for the rst time.
When the year ashes, press MEM button each time and
the year will increase 1, you could choose from 2018 to
2099. Press SET button to conrm the year. Repeat the
same steps to change the month, day, hour and minute.
When you conrm the minute, the total setting mode will
be compeleted.
3. Using the Device
3.1 Applying the Arm Cuff
Remove tight-tting clothing or tight rolled up sleeve from
your left upper arm.
Do not place the arm cuff over thick clothes.
1. Insert the air plug into the air jack securely.
10

2. Apply the arm cuff to your left upper arm.
The bottom edge of the arm cuff should be 2 to 3 cm
above the elbow. Cuff should be positioned on the upper
arm with the air tube pointing towards your hand.
3. Closer with the fabric fastener.
The cuff should be snug on your upper arm so that you
can t 2 ngers between the cuff and your upper arm.
Note:
When you take a measurement on the right arm, the
air tube will be at the side of your elbow. Be careful not
to rest your arm on the air tube.
11

The blood pressure can differ between the right arm
and the left arm, and the measured blood pressure
values can be different. SMARTRO recommends to
always use the same arm for measurement. If the values
between both arms differ substantially, please check with
your physician which arm to use for your measurement.
3.2 How to Sit Correctly
To take a measurement, you need to be relaxed and
comfortably seated, at a comfortable room temperature.
Sit in a chair with your legs uncrossed and your feet
at on the oor.
Sit upright with your back straight.
Sit with your back and arm being supported.
The arm cuff should be placed on your arm at the
same level as your heart.
12

3.3 Taking a Measurement
The monitor is designed to take measurements and store
the measurement values in the memory for 2 people
using USER ID 1 and USER ID 2.
1. Press the START/STOP button.
The arm cuff will start to inate automatically.
When the device detects the signal, the heart
symbol ♥ on the display starts to ash.
When the measurement has been completed, the
systolic, diastolic and pulse rate will appear on the
display.
2. Remove the arm cuff.
3. Press the START/STOP button to turn the monitor
off.
The monitor automatically stores the measurement result
in its memory. It will automatically turn off after 3 minutes.
Note:
Press the SET button to change the user, and then
press the START/STOP button to turn off the monitor.
When re-start measuring, the user will be changed.
Wait 2-3 minutes before taking another measurement.
Waiting between measurements allows the arteries to
return the condition prior to taking a measurement.
13

3.4 Using the Memory Function
To View the Average Value and the Measurement
Values Stored in Memory
Press the MEM button when power off, the latest 3 times
average value will be shown, press the button MEM
again, the last measurement value will be shown, as well
as subsequent measurement can be displayed one after
the other by pressing the button MEM each time.
Press the SET button for 7 times
until CL appears when power off,
press the START/STOP button,
CL will ash for 3 times to clear all
the memories. After this press the
button MEM, and “no” will be
shown on the display which means
that no memory in store.
To Delete All the Values Stored in Memory
Note:
You cannot partially delete the values stored in the
memory. All values for the user you select will be deleted.
To stop a measurement, press the START/STOP
button once to release the air in the arm cuff.
Remain still and do not talk while taking a
measurement.
14

4. Error Messages and Troubleshooting
4.1 Error Messages
Error
Display Cause Solution
E-1
Weak signal
or pressure
change
suddenly
a. Wrap the cuff properly.
b. Repeat the measurement
with correct operation.
E-2 External strong
disturbance
a. When near cell phone or
other high radiant device, the
measurement will be failed.
b. Remain still and do not talk
during measurement.
E-3
It appears
error during
the process of
inating
a. Wrap the cuff properly.
b. Make sure that the air plug
is properly inserted in the
monitor.
c. Repeat measurement.
E-5 Abnormal
blood pressure
Repeat the measurement after
relax for 30mins, if this error
continues to appear, contact
your physician.
Low battery Replace 4 batteries with new
ones at once.
15

4.2 Troubleshooting
Problem Cause Solution
The
measurement
result is
extremely high
(or low).
Arm cuff is
applied too
loosely.
Apply the arm cuff tighter.
Refer to section 3.1.
Movement or
talking during
measurement.
Remain still and do not
talk during measurement.
Refer to section 3.3.
Clothing is
interfering with
the arm cuff.
Remove any clothing
interfering with the arm
cuff.
Refer to section 3.1.
Arm cuff
pressure does
not rise.
The air
connector is
not securely
connected into
the air jack.
Make sure that the
air tube is connected
securely.
Refer to section 3.1.
Air is leaking
from the arm
cuff.
Replace the arm cuff with
a new on.
Refer to section 5.3.
Arm cuff
deates too
soon.
The arm cuff
is loose.
Apply the cuff correctly so
that it is rmly wrapped
around the arm.
Refer to section 3.1.
Cannot
measure or
the results are
too low or too
high.
The arm
cuff has not
been inated
sufciently.
Inate the cuff so that
it is 30 to 40 mmHg
above your previous
measurement result.
Refer to section 3.3.
16

Nothing
happens when
you press the
buttons.
The batteries
are depleted.
Replace 4 batteries with
new ones.
Refer to section 2.1.
The batteries
have been
inserted
incorrectly.
Insert the batteries with
the correct (+/-) polarity.
Refer to section 2.1.
Other
problems.
Press the START/STOP button and
repeat measurement.
Replace the batteries with new
ones. If the problem continues, contact
SMARTRO customer service team.
5. Maintenance and Storage
5.1 Maintenance
To protect your device from damage, please observe the
following:
Do not use petrol, thinners or similar solvents to clean
the device.
Do not wash the device and any components or
immerse them in water.
Store the device and the components in a clean, safe
location.
Do not use any abrasive or volatile cleaners.
Remove the batteries if the unit will not be used in 3
months or longer.
We won’t be responsible for any quality problem if you
don’t care and maintain the product as instructed.
17

5.2 Storage
1. Unplug the air plug from the
air jack.
2. Gently fold the air tube into
the arm cuff.
Note: Do not bend or crease he
air tube excessively.
3. Place the monitor and the arm
cuff in the storage case.
Do not store the device in the following situations:
When the device is wet.
Locations exposed to extreme temperatures, humidity,
direct sunlight, dust or corrosive vapours such as bleach.
Locations exposed to vibrations, shocks or where it will
be at an angle.
6. Specications
Description Automatic upper arm blood pressure
monitor
Display LCD digital display
Measuring
principle Oscillometric method
18
Table of contents
