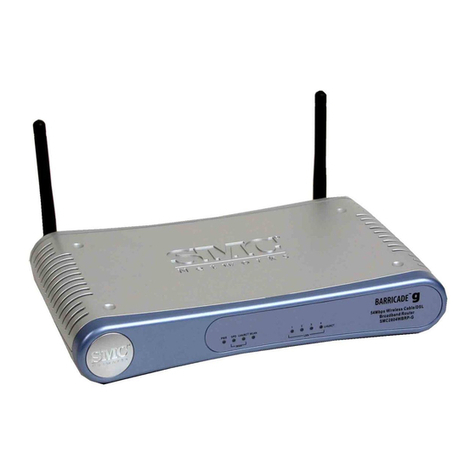
manuals.online logo
Brands
  1. Home
  2. •
  3. Brands
  4. •
  5. SMC Networks
  6. •
  7. Wireless Router
  8. •
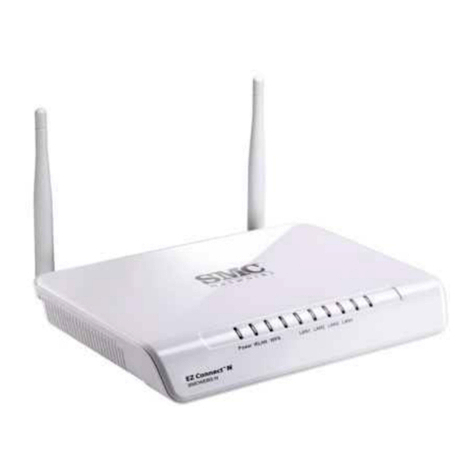
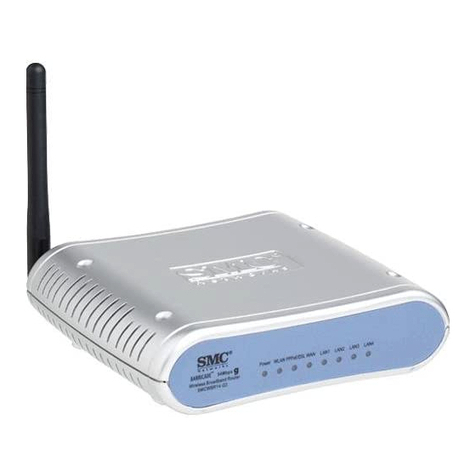
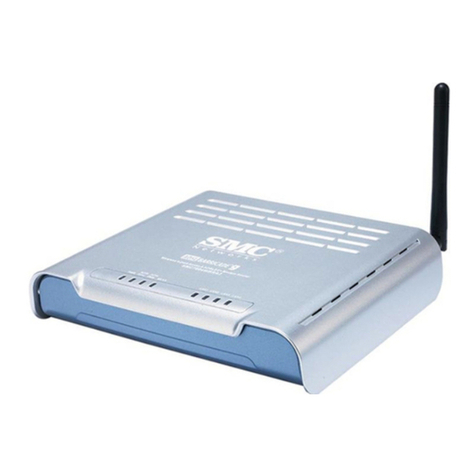
  9. SMC Networks SMC7004WFW User manual

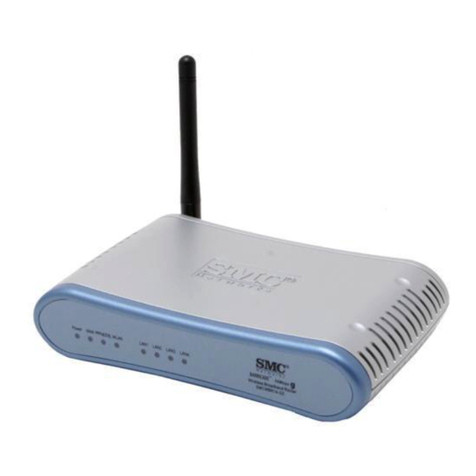
SMC Networks SMC7004WFW User manual

Other manuals for SMC7004WFW

2

This manual suits for next models

1

Other SMC Networks Wireless Router manuals

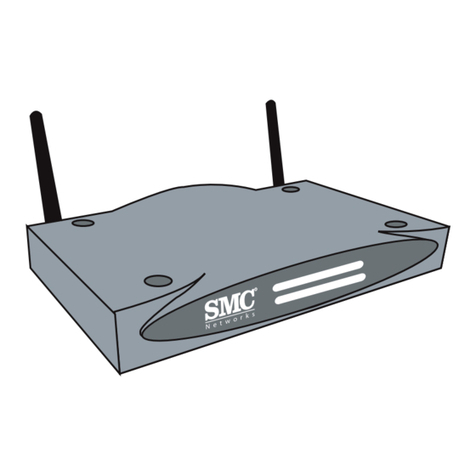
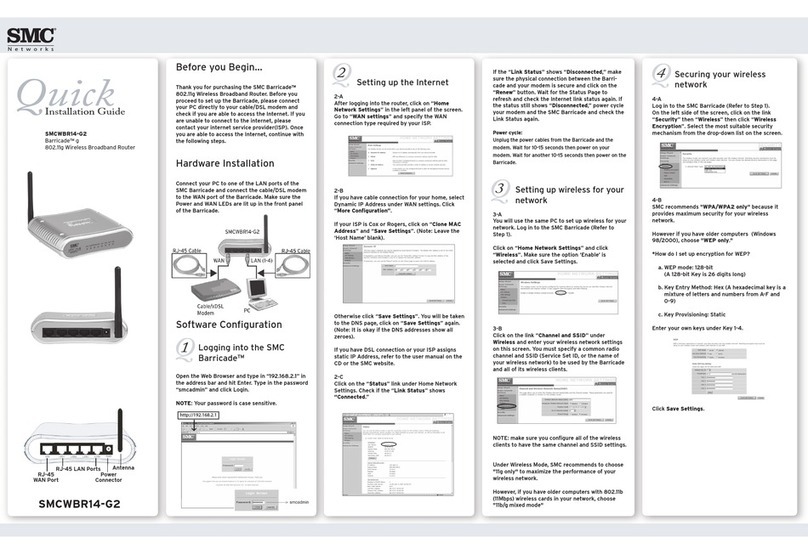
SMC Networks Barricade SMC7004AWBR User manual

SMC Networks

SMC Networks Barricade SMC7004AWBR User manual

SMC Networks 7904WBRA-N FICHE User manual

SMC Networks

SMC Networks 7904WBRA-N FICHE User manual

SMC Networks Barricade SMC7904BRB2 User manual

SMC Networks

SMC Networks Barricade SMC7904BRB2 User manual

SMC Networks Barricade Plus User manual

SMC Networks

SMC Networks Barricade Plus User manual

SMC Networks SMC7904WBRAS-N2 V2 - QUICK User manual

SMC Networks

SMC Networks SMC7904WBRAS-N2 V2 - QUICK User manual

SMC Networks Barricade SMCWBR14T-G User manual

SMC Networks

SMC Networks Barricade SMCWBR14T-G User manual

SMC Networks Barricade SMC7908VoWBRA User manual

SMC Networks

SMC Networks Barricade SMC7908VoWBRA User manual

SMC Networks 7004BR User manual

SMC Networks

SMC Networks 7004BR User manual

SMC Networks Barricade g SMC2804WBR V.2 User manual

SMC Networks

SMC Networks Barricade g SMC2804WBR V.2 User manual

SMC Networks 7004AWBR User manual

SMC Networks

SMC Networks 7004AWBR User manual

SMC Networks Barricade SMCWBR14S-3GN User manual

SMC Networks

SMC Networks Barricade SMCWBR14S-3GN User manual

SMC Networks SMCWBR14-3GN User manual

SMC Networks

SMC Networks SMCWBR14-3GN User manual

SMC Networks Barricade SMC7004AWBR User manual

SMC Networks

SMC Networks Barricade SMC7004AWBR User manual

SMC Networks Barricade SMCWGBR14-N User manual

SMC Networks

SMC Networks Barricade SMCWGBR14-N User manual

SMC Networks Barricade SMC7904BRA User manual

SMC Networks

SMC Networks Barricade SMC7904BRA User manual

SMC Networks SMC7904WBRA4 Operating and safety instructions

SMC Networks

SMC Networks SMC7904WBRA4 Operating and safety instructions

SMC Networks Barricade SMCWGBR14-N User manual

SMC Networks

SMC Networks Barricade SMCWGBR14-N User manual

SMC Networks Barricade SMCWBR14-G User manual

SMC Networks

SMC Networks Barricade SMCWBR14-G User manual

SMC Networks 7004ABR User manual

SMC Networks

SMC Networks 7004ABR User manual

SMC Networks Barricade SMC7004VBR User manual

SMC Networks

SMC Networks Barricade SMC7004VBR User manual

SMC Networks 7904BRA FICHE User manual

SMC Networks

SMC Networks 7904BRA FICHE User manual

SMC Networks EZ-Stream SMC2304WBR-AG User manual

SMC Networks

SMC Networks EZ-Stream SMC2304WBR-AG User manual

SMC Networks 7908VOWBRB - annexe 2 User manual

SMC Networks

SMC Networks 7908VOWBRB - annexe 2 User manual

SMC Networks SMCWBR11S-N User manual

SMC Networks

SMC Networks SMCWBR11S-N User manual

Popular Wireless Router manuals by other brands

NETGEAR Zing user guide

NETGEAR

NETGEAR Zing user guide

Proroute GEM420 user manual

Proroute

Proroute GEM420 user manual

ICP DAS USA WF-2000 Series Faq

ICP DAS USA

ICP DAS USA WF-2000 Series Faq

Hamlet HRDSL300N user manual

Hamlet

Hamlet HRDSL300N user manual

Icidu NI-707517 Quick installation guide

Icidu

Icidu NI-707517 Quick installation guide

Hawking HWRGM1A user manual

Hawking

Hawking HWRGM1A user manual

Airlogic AirSync Class 1 Features

Airlogic

Airlogic AirSync Class 1 Features

Samsung WCH730B user manual

Samsung

Samsung WCH730B user manual

NETGEAR PowerLINE WiFi 1000 Series quick start

NETGEAR

NETGEAR PowerLINE WiFi 1000 Series quick start

TRENDnet TEW-211BRP user manual

TRENDnet

TRENDnet TEW-211BRP user manual

Cisco Valet M10 user guide

Cisco

Cisco Valet M10 user guide

Alloy WLF2454AP-S user guide

Alloy

Alloy WLF2454AP-S user guide

TELEFONICA USB Adapter quick start guide

TELEFONICA

TELEFONICA USB Adapter quick start guide

TP-Link TL-WR542G user guide

TP-Link

TP-Link TL-WR542G user guide

Hama 53120 Operating	 instruction

Hama

Hama 53120 Operating instruction

Asus RT-N10P user guide

Asus

Asus RT-N10P user guide

D-Link DIR-506L Quick installation guide

D-Link

D-Link DIR-506L Quick installation guide

Crypto WF250 user manual

Crypto

Crypto WF250 user manual

manuals.online logo
manuals.online logoBrands
  • About & Mission
  • Contact us
  • Privacy Policy
  • Terms and Conditions

Copyright 2025 Manuals.Online. All Rights Reserved.

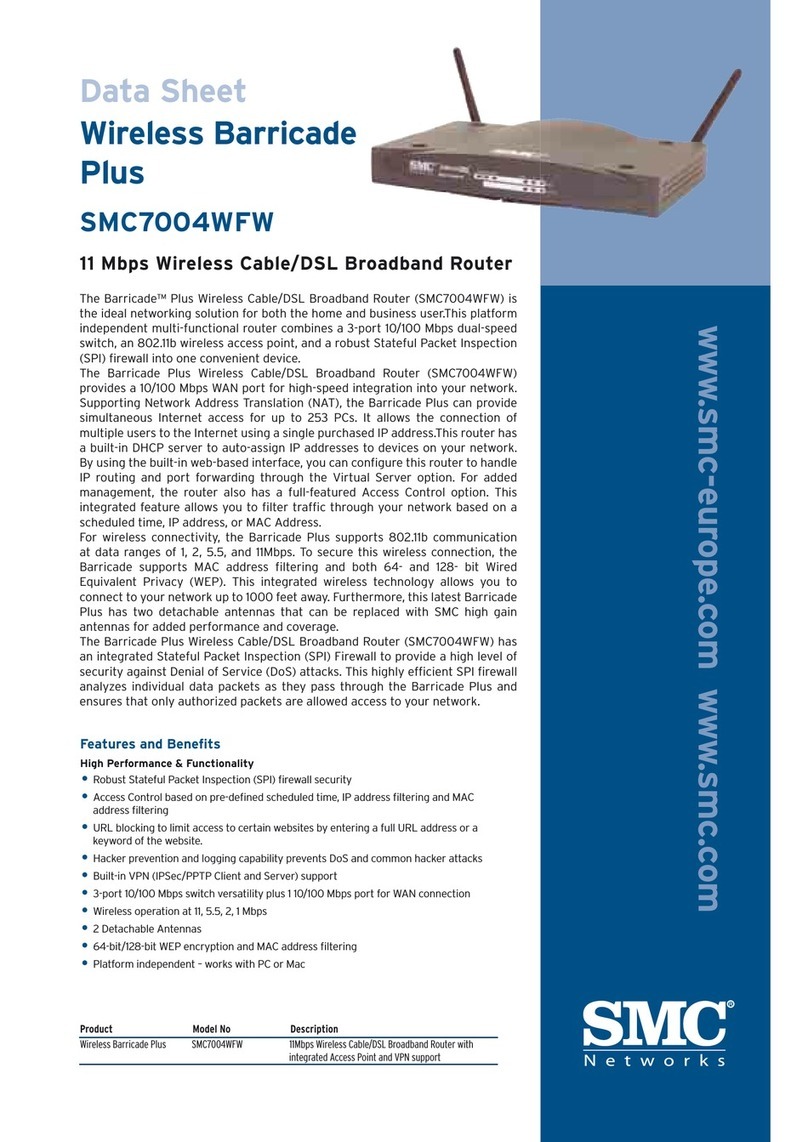
Wireless Barricade
Plus
Quick Start Guide
SMC7004WFW
V1.0
Table of Contents
Chapter 1 Introduction
Chapter 2 Indicator LEDs
Chapter 3 Configuring your Computer
Chapter 4 Configuring your Barricade
Chapter 5 About SMC
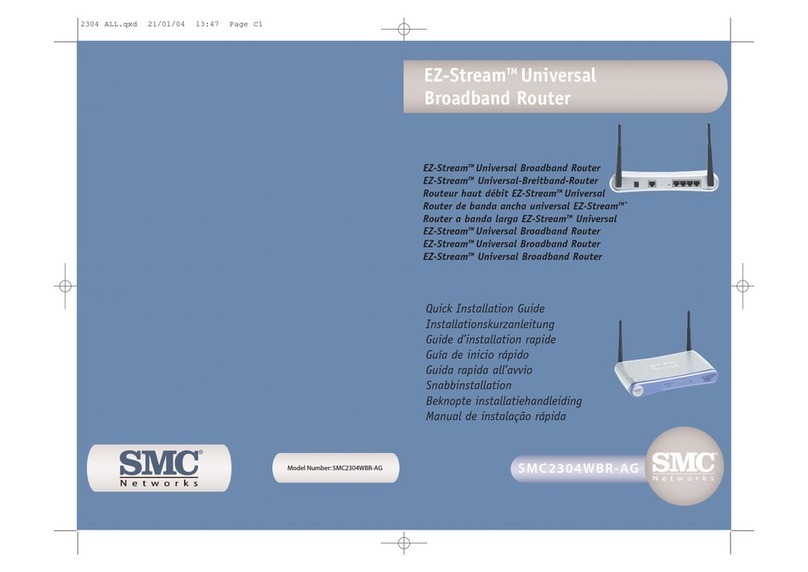
For wireless operation of the SMC7004WFW please refer to the Full Manual
found on CD-rom (included in this package) or on www.smc-europe.com. Also
refer to the documentation provided with your wireless PCI or PCMCIA cards.
For VPN configuration please refer to the Full Manual found on CD-rom
(included in this package). For additional information visit www.smc-
europe.com.
For Full Manuals in other languages please refer either to the included CD-rom
or to www.smc-europe.com.
Chapter 1. Introduction
The SMC Barricade is a Broadband Router designed to share Internet
Access, provide security, and to network multiple devices for a variety
of users. The Barricade’s simple installation and setup can be carried
out by the least experienced of users, while providing networking
professionals with easy to configure advanced features. Please read
the User Guide for advanced features of this product.
This Package Contains
•One SMC Barricade
•One Power Adapter
•This Quick Installation Guide
•One CD with Complete Documentation
•One Category 5 Fast Ethernet Cable
Confirm That You Meet Installation Requirements
Before proceeding with the installation of your Barricade, please be
sure you have the following:
•A computer with an Ethernet network card installed
•Your Windows CD, if your computer is running Win 95, 98, or ME
•An Internet connection through a cable or xDSL modem
•An additional Ethernet network cable
•A Web browser such as Internet Explorer or Netscape
Chapter 2. Indicator LEDs
Front Panel
Rear Panel
The front panel of the Barricade provides indicator LEDs (Light
Emitting Diodes) for easy monitoring. The following table defines
the function of each LED.
Item Description
LEDs Power, WLAN, WAN and LAN port status indicators.
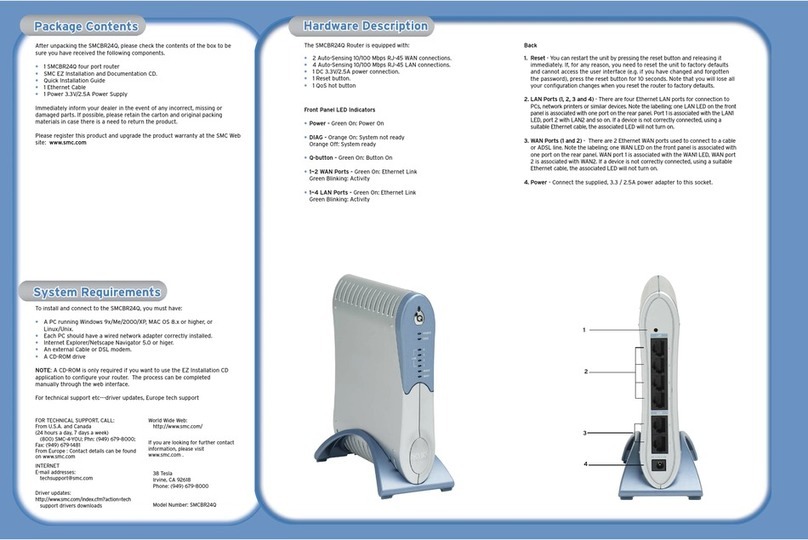
Wireless Dual antennas provide optimal reception by dynamically
Antennas choosing the best antenna for each client.
Reset Use this button to reset the power and restore the default
Button factory settings.
WAN Port WAN port (RJ-45). Connect your Cable modem, xDSL modem,
or an Ethernet router to this port.
LAN Ports Fast Ethernet ports (RJ-45). Connect devices on your
local area network to these ports (such as a PC, hub
or switch).
Power Inlet Connect the included power adapter to this inlet.
Warning: Using the wrong type of power adapter may
cause damage.
LED Condition Status
Power (Green) On Wireless Barricade Plus is receiving power.
WLAN (Green) On The Wireless Barricade Plus has
established a valid wireless connection.
WAN (Green) On The WAN port has established a valid
network connection.
LAN Link (Green) On The indicated LAN port has established a
valid network connection.
Activity (Amber) Flashing The indicated LAN port is transmitting
or receiving traffic.
English
English
!
RESET 9V
2A MAX
WAN 123
RESET
RESET
9V
2A MAX
9V
2A MAX
WA
WA
N12 3
known as a static IP address. How your ISP assigns your IP address
determines how you will configure your computer.
Here is what to do:
1. From the Windows desktop, click the "Start" button. Choose
"Settings," then click "Control Panel."
2. From "Control Panel," double-click the "Network" icon.
English
English
1. Connecting Computers: Connect computers directly to the
Barricade on ports 1-3 on the rear panel. If you have more than 3
computers to plug in, connect a hub or a switch (using its uplink
port) and connect additional computers to that device.
2. Connecting a Cable Modem or DSL Modem: Connect your Cable or
DSL modem to the WAN port on the rear panel.
3. Power: Plug the power cord into the power jack.
Chapter 3. Configuring Your Computer
This Quick Installation Guide provides configuration instructions for
Windows 95, 98, ME, NT 4.0, 2000 and XP, and for Macintosh OS 7.x
and above. Please be sure that you are following the proper
instruction set for your operating system.
•Configuring Your Computer with Windows 95/98/Me.
•Configuring Your Computer with Windows 2000.
•Configuring Your Computer with Windows XP.
•Configuring Your Computer with Windows NT 4.0.
•Configuring Your Macintosh Computer.
Configuring Your Computer in Windows 95/98/Millennium Edition
You may find that the instructions here do not exactly match your
version of Windows. This is because these steps and screenshots were
created from Windows 98. Windows 95 and Windows Me are very
similar, but not identical, to Windows 98.
Step 1. Configure TCP/IP Settings
After you have completed the hardware setup by connecting your
devices, you need to configure your computer to connect to your
Barricade. You need to determine how your ISP issues your IP
address. Many ISPs issue these numbers automatically using a
networking technology known as Dynamic Host Configuration
Protocol, or DHCP. Other ISPs will specify your IP address and
associated numbers, which you must enter manually. This is also
3. In the "Network" window, under the "Configuration" tab, double-
click the "TCP/IP" entry that is listed with your network card.
4. Select the "IP Address" tab.
If "Obtain an IP address automatically" is already selected, your
computer is already configured for DHCP. Click "Cancel" to close each
window, and skip to Step 2. Disable HTTP Proxy.
5. Locate your IP address and Subnet Mask. Record them in the
spaces provided after step 9 in this section.
6. Click the "Gateway" tab and record the numbers listed under
"Installed gateways."
7. Click the "DNS Configuration" tab. Locate the DNS servers listed
under "DNS Server Search Order." Record the listed addresses.
English
English
8. After writing down your settings, check to make sure you have
recorded them correctly. Click the "IP Address" tab and then
click "Obtain an IP address automatically." Click OK.
9. Windows may need your Windows 95/98/ME CD to copy some files.
After it finishes copying, it will then prompt you to restart your
system. Click "Yes" and your computer will shut down and restart.
TCP/IP Configuration Setting
IP Address ____.____.____.____
Subnet Mask ____.____.____.____
Primary DNS Server ____.____.____.____
Secondary DNS Server ____.____.____.____
Default Gateway ____.____.____.____
Step 2. Disable HTTP Proxy
You will need to verify that the "HTTP Proxy" feature of your Web
browser is disabled. This is so that your Web browser will be able
to view the configuration pages inside your Barricade. The
following steps are for Internet Explorer and for Netscape.
Determine which browser you use and follow the appropriate steps.
Internet Explorer
1. Open Internet Explorer and click the stop button. Click
"Tools," then "Internet Options."
English
English
2. In the "Internet Options" window click the "Connections" tab.
Next, click the "LAN Settings…" button.
3. Clear all the checkboxes.
4. Click "OK," and then click "OK" again to close the "Internet
Options" window.
Netscape
1. Open Netscape and click the stop button. Click "Edit," then
click "Preferences…"
2. In the "Preferences" window, under "Category" double-click
"Advanced," then click "Proxies." Select "Direct connection to
the Internet." Click "OK."
3. Repeat these steps for each Windows 95/98/Me computer
connected to your Barricade.
Step 3. Obtain IP Settings from Your Barricade
Now that you have configured your computer to connect to your
Barricade, it needs to obtain new network settings. By releasing
any old IP settings and renewing them with settings from your
Barricade, you will also verify that you have configured your
computer correctly.
1. Click "Start," then "Run…"
2. Type "WINIPCFG" and click "OK." It may take a minute or two
for the "IP Configuration" window to appear.
3. From the drop-down menu, select your network card. Click
"Release" and then "Renew." Verify that your IP address is now
192.168.2.xxx, your Subnet Mask is 255.255.255.0 and your
Default Gateway is 192.168. 2.1. These values confirm that your
Barricade is functioning. Click "OK" to close the "IP
Configuration" window.
Now that your computer is configured to connect to your
Barricade, please skip to "Configuring Your Barricade".
English
English
Configuring Your Computer with Windows 2000
Step 1. Configure TCP/IP Settings
After you have completed the hardware setup, you need to
configure your computer to connect to your Barricade. You also need
to determine how your ISP issues your IP address. Many ISPs issue
these numbers automatically, using a networking technology known
as Dynamic Host Control Protocol, or DHCP. Other ISPs will specify
your IP address and associated numbers, which you must enter
manually. This is also known as a static IP address. How your ISP
assigns your IP address determines how you will configure your
computer.
Here is what to do:
1. From the Windows desktop, click the "Start" button. Choose
"Settings," then click "Network and Dial-Up Connections" icon.
2. Double-click the icon that corresponds to the connection to
your Barricade.
3. Click "Properties."
4. Double-click "Internet Protocol (TCP/IP).
"
5. All the information that you need to record is on the "Internet
Protocol (TCP/IP) Properties" dialog box. Use the spaces below
to record the information.
If "Obtain an IP address automatically" and "Obtain DNS server
address automatically" are already selected, your computer is
already configured for DHCP. Click "Cancel" to close each window,
and skip to to Step 2. Disable HTTP Proxy.
English
English
6. Select "Obtain an IP address automatically" and then select
"Obtain DNS server address automatically." Click "OK" or "Close"
to close each window
TCP/IP Configuration Setting
IP Address ____.____.____.____
Subnet Mask ____.____.____.____
Primary DNS Server ____.____.____.____
Secondary DNS Server ____.____.____.____
Default Gateway ____.____.____.____
Step 2. Disable HTTP Proxy
You will need to verify that the "HTTP Proxy" feature of your Web
browser is disabled. This is so that your Web browser will be able
to view the configuration pages inside your Barricade. The
following steps are for Internet Explorer and for Netscape.
Determine which browser you use and follow the appropriate steps.
Internet Explorer
1. Open Internet Explorer and click the stop button. Click "Tools,"
then "Internet Options."
2. In the "Internet Options" window click the "Connections" tab.
Next, click the "LAN Settings…" button.
3. Clear all the checkboxes.
English
English
4. Click "OK," and then click "OK" again to close the "Internet
Options" window.
Netscape
1. Open Netscape and click the stop button. Click "Edit," then
click "Preferences…"
2. In the "Preferences" window, under "Category" double-click
"Advanced," then click "Proxies." Select "Direct connection to
the Internet." Click "OK."
Step 3. Obtain IP Settings From Your Barricade
Now that you have configured your computer to connect to your
Barricade, it needs to obtain new network settings. By releasing
any old IP settings and renewing them with settings from your
Barricade, you will also verify that you have configured your
computer correctly.
1. From the Windows desktop, click the "Start" button, then
"Programs," then "Accessories," and then click "Command Prompt."
2. In the "Command Prompt" window, type "IPCONFIG /RELEASE"
and press the <ENTER> key.
English
English
3. Type "IPCONFIG /RENEW" and press the <ENTER> key. Verify that
your IP address is now 192.168.2.xxx (2-254), your Subnet Mask
is 255.255.255.0 and your Default Gateway is 192.168.2.1.
These values confirm that your Barricade is functioning.
4. Type "EXIT" and press <ENTER> to close the "Command Prompt"
window.
Now that your computer is configured to connect to your
Barricade, please skip "Configuring Your Barricade".
Configuring Your Computer with Windows XP
Step 1. Configure TCP/IP Settings
After you have completed the hardware setup, you need to configure
your computer to connect to your Barricade. You also need to
determine how your ISP issues your IP address. Many ISPs issue these
numbers automatically, using a networking technology known as
Dynamic Host Configuration Protocol, or DHCP. Other ISPs will specify
your IP address and associated numbers, which you must enter
manually. This is also known as a static IP address. How your ISP
assigns your IP address determines how you will configure your
computer.
Here is what to do:
1. From the Windows desktop, click the "start" button. Choose
"Control Panel."
2. Select the "Network and Internet Connections" icon ,then
click the "Network Connections" icon ,and and double-click
on the adapter you will use for this connection.
English
English