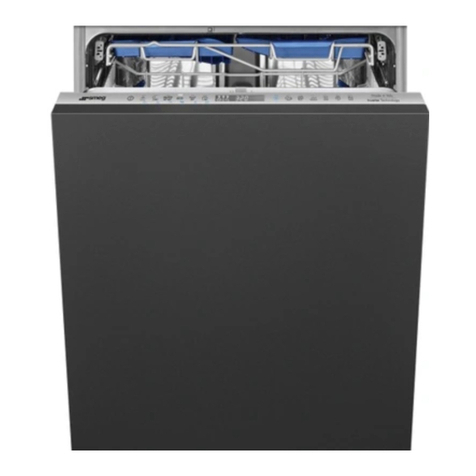
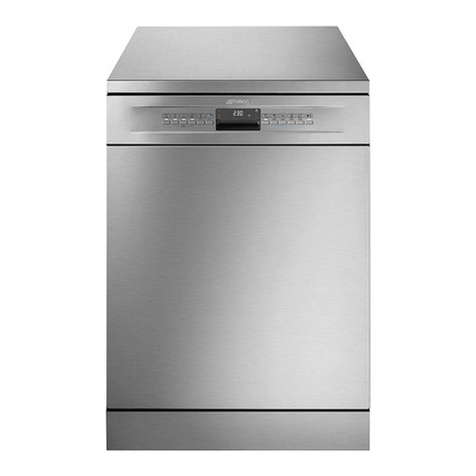
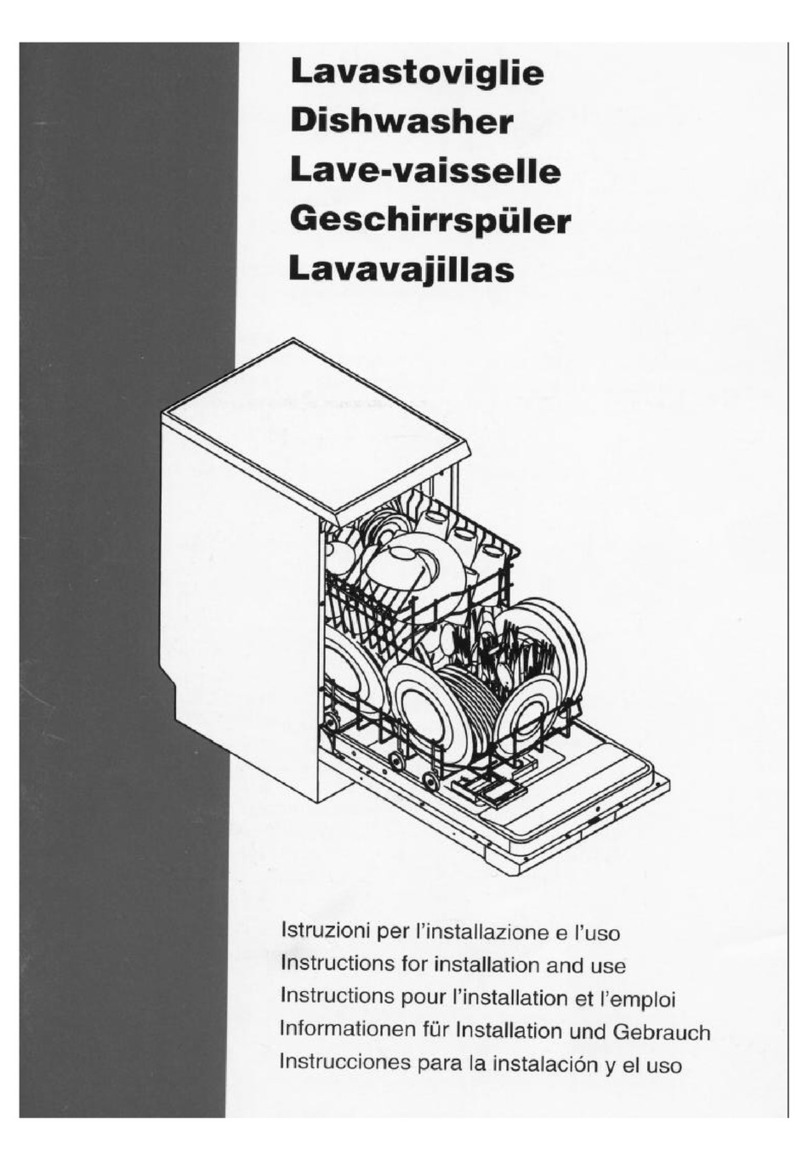
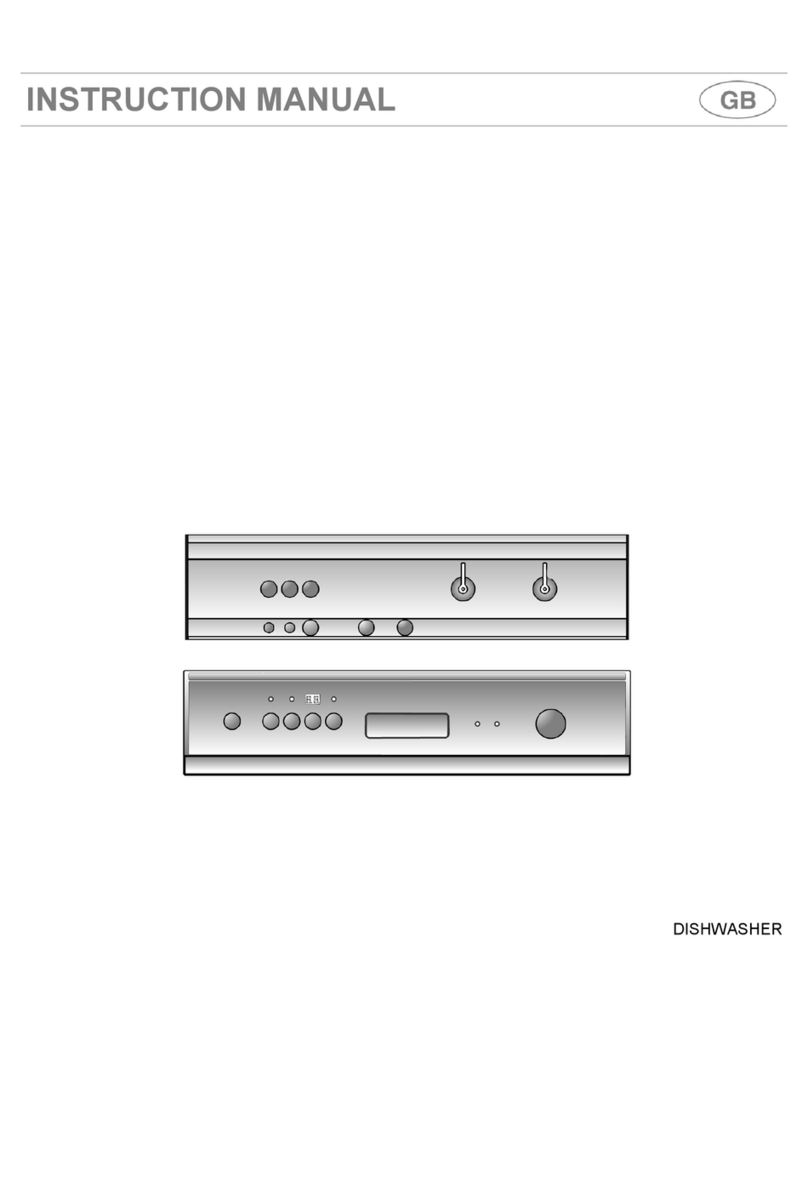
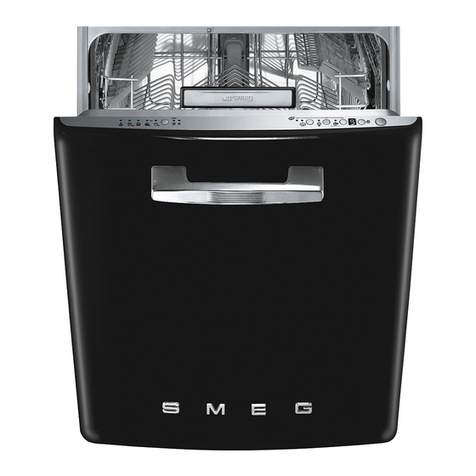
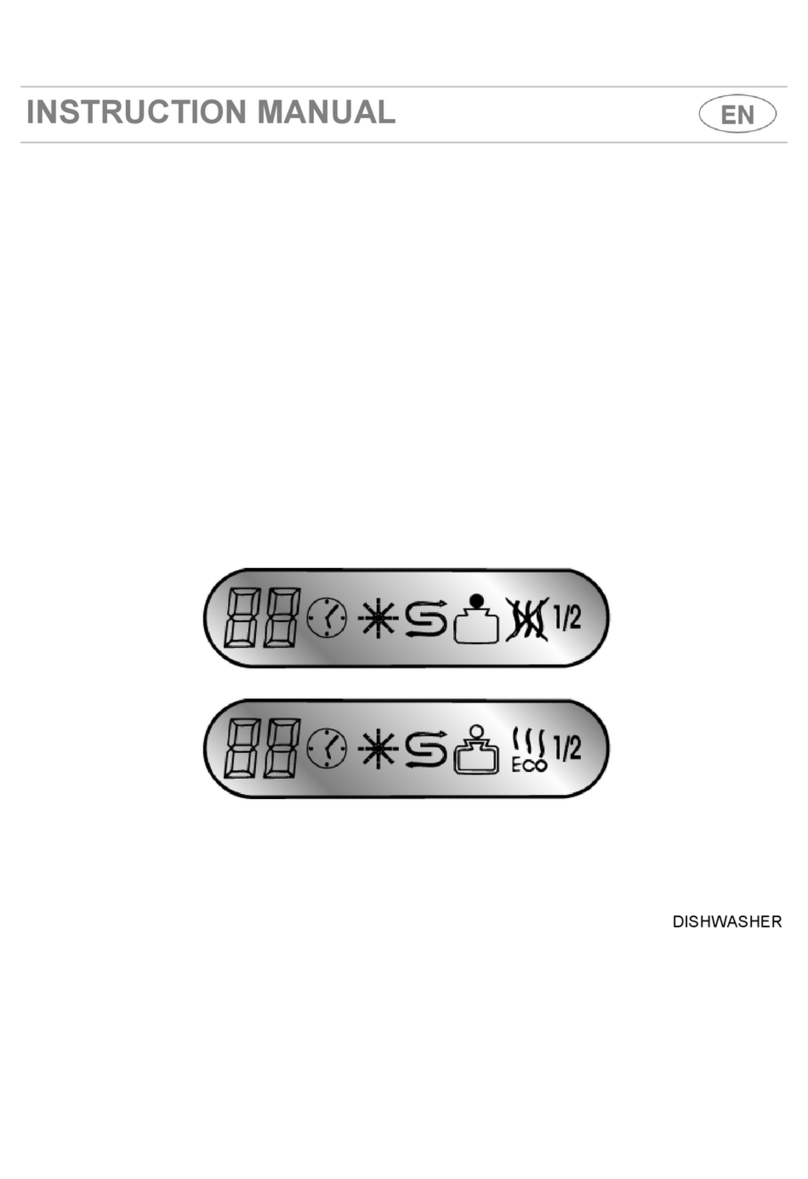
Smeg Dishwasher DWI710 User manual

DISHWASHER
instructions
for
installation
and

CONTENTS
General
precautions
pag.
3
Installation
pag.
5
Description
of
the
appliance
pag.
7
Detergent
and
rinse-aid
dispenser
pag.
8
Lading
the
dishes
pag.
9
How
to
save
energy
pag.
10
First
wash
pag.
11
Table
of
programs
pag.
12
Cleaning
and
maintenance
pag.
13
How
to
deal
with
small
problems
pag.
14
After-sales
service
pag.
15
Recommendations
.
\
pag.
15
Technical
data
pag.
16
o

PROTECTING
THE
ENVIRONMENT
Disposing
of
the
packaging
Ensure
that
the
recyclable
material
from
the
packaging
is
consigned
to
your
nearest
recycling
centre.
CAUTION
Before
using
your
appliance,
read
the
instructions
in
this
manual
carefully.
i
p
this
manual
in
a
safe
place;
if
you
sell
your
dishwasher,
pass
the
manual
on
to
the
new
owner.
The
manufacturer
declines
all
responsibility
if
the
following
precautions
are
not
complied
with.
1)
Do
not
use
appliances
damaged
in
transit;
if
in
doubt,
contact
your
dealer.
2)
The
materials
used
for
packaging
(plastic
bags,
polystyrene,
etc.)
must
not
be
left
within
reach
of
children,
since
they
are
a
potential
source
of
danger.
3)
The
appliance
must
be
installed
and
connected
in
accordance
with
the
/
^structions
provided
by
the
manufacturer
\
.Jr
by
qualified
personnel.
4)
The
appliance
must
only
be
used
for
household
purposes
and
for
the
functions
for
wich
it
was
designed.
5)
Never
touch
or
operate
the
appliance
with
wet
hands
or
bare
feet.
6)
Do
not
leave
the
dishwasher
exposed
to
the
weather
(rain,
direct
sunlight,
etc.).
7)
Only
skilled
staff
are
authorized
to
carry
out
repair
work
on
the
appliance.
8)
In
case
of
malfunctions
or
maintenance
work,
disconnect
the
appliance
from
the
electrical
mains.
Remove
the
plug
or
cut
off
the
supply
of
current
by
disconnecting
the
master
circuit-breaker
for
your
home.
9)
Once
taken
out
of
use,
appliances
must
be
rendered
unusable.
It
is
important
to
cut
the
mains
power
lead
after
disconnecting
the
plug
from
the
socket.
Take
measures
on
parts
of
the
appliance
such
as
locks,
doors,
etc.
which
might
be
dangerous
for
children
if
used
during
play,
to
eliminate
any
such
risks.
Consign
the
obsolete
appliance
to
an
authorized
scrapping
centre.
10)
Keep
children
away
from
detergents
and
from
the
open
dishwasher.
The
appliance
might
contain
residues
of
detergent.
11)
Never
drink
the
water
left
in
the
appliance
or
on
dishes
after
washing
programs.
12)
Do
not
place
solvents
such
as
alcohol
or
turpentine
inside
the
dishwasher
tank;
they
might
cause
an
explosion.

13)
MODELS
WITH
AQUASTOP
This
device
prevents
the
room
from
flooding
in
case
of
water
leaks.
If
it
is
tripped,
a
qualified
technician
will
have
to
be
called
in
to
evaluate
and
repair
the
failure.
In
these
models,
the
filler
pipe,
equipped
with
a
resin
container
connected
to
the
water
supply
point,
contains
a
solenoid
valve.
Never
cut
the
pipe
or
allow
the
box
to
fall
into
water.
•
If
the
filler
pipe
is
damaged,
disconnect
the
appliance
from
the
water
supply.
14)
Leaning
or
sitting
on
the
open
door
of
the
dishwasher
may
cause
it
to
tip
over.
15)
Never
place
plastic
dishes
above
the
heating
element;
they
might
melt.
16)
Never
touch
the
heating
element
during
a
washing
cycle
or
just
after
is
hasfinished.
17)
Children
are
forbidden
to
use
or
play
with
the
dishwasher.
18)
Only
wash
dishes
and
cutlery
suitable
for
washing
in
a
dishwasher.
19)
Knives
and
cutlery
receive
a
better
wash
if
placed
in
the
basket
with
their
handles
pointing
down;
however,
handles
mpy
be
left
pointing
upward
to
avoid
injury
by
tips
or
blades.
INSTALLATION
Unpacking
Remove
the
outer
cardboard
casing,
the
top,
the
reinforcing
corner
peces
end
the
polystyrene
base.
Open
the
door
of
the
dishwasher
and
remove
the
polystyrene
basket
retainer
elements.
Positioning
Pl^e
the
appliance
in
the
chosen
position.
,
TV
side
or
back
of
the
appliance
may
be
'
placed
in
direct
contact
with
adjoining
units
or
walls.
‘
The
water
filler
and
drain
pipes
may
be
turned
to
the
right
or
left
to
allow
appropriate
installation.
Levelling
After
positioning
the
appliance,
screw
the
feet
in
or
out
to
adjust
its
height
if
necessary,
and
to
level
it
until
horizontal.
Proper
levelling
ensures
that
the
dishwasher
gives
the
best
service.
N.B.:
some
models
only
have
one
foot
at
the
rear,,
which
can
be
adjusted
using
a
screw
low
down
on
the
front
of
the
appliance.
This
allows
the
appliance's
position
to
be
adjusted
even
after
it
has
been
mounted
ii?
le
the
kitchen
units.
(s^J
sheet
with
illustrations
of
installations
phases).
If
the
appliance
Is
installed
on
a
carpeted
floor,
take
care
that
the
openings
in
its
base
are
not
abstructed.
Connection
to
the
cold
water
supply
Connect
the
filler
pipe
to
a
cold
water
connection
having
3/4
gas
threaded
attachment,
fitting
the
filter
supplied
with
the
dishwasher
and
taking
care
to
screw
it
tightly
onto
the
cock
(Fif.
1).
If
the
water
piping
is
new
or
has
been
out
of
use
for
a
long
time,
before
making
the
connection
run
the
water
until
it
is
clear
and
free
from
dirt.
Without
this
precaution,
the
water
inlet
may
be
fouled,
causing
damage
to
the
appliance.
,
Connection
to
the
hot
water
supply
The
appliance
may
be
supplied
with
mains
hot
water
(central
heating
system)
at
a
temperature
of
no
more
than
60
°C.
In
this
case,
the
washing
time
will
be
about
20
minutes
shorter
and
the
wash
will
be
slightly
less
effective.
The
connection
must
be
made
to
the
hot
water
supply
exactly
as
described
for
connection
to
the
cold
water
supply.
Connecting
to
the
drain
line
Fit
the
drain
pipe
into
a
drain
line
with
diameter
of
at
least
4
cm,
or
place
it
over
a
sink,
avoiding
restrictions
or
over-tight
bends.
The
free
end
must
be
between
32
and
80
cm
above
the
ground,
and
must
not
be
immersed
in
water
(Fig.
2).

Electrical
connection
Connect
the
plug
to
a
power
socket
which
has
an
earth
connection
in
good
working
order
(earthing
of
the
system
is
a
safety
precaution
required
by
law)
after
checking
that
the
mains
voltage
and
frequency
values
are
as
stated
on
the
nameplate
on
the
inside
edge
of
the
door
and
that
the
electrical
system
to
which
the
appliance
is
connected
is
rated
for
the
maximum
current
stated
on
the
same
nameplate.
If
the
power
socket
to
which
the
appliances
is
to
be
connected
is
not
compatible
with
the
plug,
replace
the
plug
with
another
of
suitable
type
rather
than
using
adptors
or
multiple
plugs,
which
might
cause
heating
or
burning.
If
the
appliance
is
not
connected
by
means
of
a
plug,
in
order
to
comply
with
the
relative
safety
inspections
an
omnipolar
breaking
device
with
contact
opening
gap
of
at
least
3
mm
must
be
installed
on
the
installation
side.
The
manufacturer
declines
all
responsibility
for
any
injury
or
damage
deriving
from
failure
to
connect
the
line
to
earth
or
a
faulty
earth
connection.
N.B.
This
appliance
complies
with
the
requirements
of
EEC
Directive
89/336
dated
3.6.89
(including
the
amending
directive
92/31)
on
the
prevention
and
elimination
of
radio
frequency
disturbance.
-
The
plug
must
be
accessible
after
installation.
-
if
the
power
supply
lead
is
damaged
,
it
must
only
be
replaced
by
the
After-
Sales
Service
or
by
a
similarly
qualified
person.
-
CAUTION!
If
the
power
supply
lead
is
replaced,
the
hatch
must
be
returned
to
the
correct
position.
O
o
6
DESCRIPTION
OF
THE
APPLIANCE
Before
reading
this
description,
open
out
the
pages
with
the
illustrations
at
the
end
of
the
manual.
Control
panel
description
O
ON/OFF
button
2
START
button
3
'
SOAK
program
button
4
ECO
(55
°C)
program
button
5
NORMAL
(65
°C)
program
button
6
STRONG
program
button
7
END
OFF
CYCLE
indicator
light.
8
ON/OFF
indicator
light
Inside
the
tank
9
Top
basket
10
Top
spray
arm
(
)
Bottom
basket
T£
Bottom
spray
arm
13
Salt
container
14
Washing
filter
*
15
Detergent
and
rinse-aid
container
16
Cutlery
basket

DETERGENT
AND
RINSE
AID
DISPENSER
The
detergent
and
rinse
aid
dispensers
are
on
the
inside
of
the
door.
The
detergent
dispenser
is
on
the
left
and
the
rinse
aid
dispenser
on
the
right.
Fill
the
dispenser
with
detergent
before
each
wash.
Filling
with
detergent
To
open
the
detergent
dispenser
press
the
relative
button
gently.
The
lid
will
spring
out.
Pour
in
the
detergent
and
close
the
lid
(Fig.
3).
The
dispenser
is
opened
automatically
during
washing.
If
the
"strong"
program
is
selected,
as
well
as
the
usual
dose
of
detergent,
an
extra
amount
will
have
to
be
added
to
cavity
"G"
or"H"
(Fig.
4A-4B).
Important:
use
only
detergents
specifically
intended
for
dishwashers.
The
use
of
good
detergents
is
important
in
obtaining
the
best
washing
results.
If
insufficient
detergent
is
added,
the
dirt
will
not
be
completely
eliminated,
while
excessive
detergent
does
not
increase
the
effectiveness
of
the
wash,
but
is
wasteful
and
may
cause
foam
and
pollution.
Adding
rinse-aid
Open
the
cap
of
the
dipenser
and
pour
in
the
rinse-aid,
watching
the
optical
level
indicator
(Fig.
5A
-
5B).
The
rinse-aid
dispenser
is
able
take
about
140c.c.
of
liquid.
Before
closing
the
cap,
wipe
away
any^^ps
of
rinse-aid
with
a
soft
cloth.
The
rinse-aid
is
added
to
the
water
automatically
during
the
last
rinse;
it
speeds
up
the
drying
process
and
prevents
the
formation
of
stains
and
scale
deposits
on
the
dishes.
To
adjust
the
dosage,
turn
the
selector
on
the
dispenser
to
the
desired
position;
the
doses
are
proportional
to
the
numbers
indicated
(Fig.
5A
-
5B).
Increase
the
dose
if
the
washed
dishes
are
dull
or
show
round
marks.
If
dishes
are
sticky
or
have
whitish
streaks,
reduce
the
dose.
The
appliance
leaves
the
factory
with
a
medium
setting.
LOADING
THE
DISHWASHER
The
dishwasher
has
a
capacity
of
12
place-
settings
including
serving
dishes.
Before
loading
the
dishes,
remove
the
largest
scraps
of
food
to
avoid
blocking
the
filter.
Very
dirty
pans
or
frying-pans
must
be
soaked
in
water
before
they
are
placed
in
the
dishwasher,
to
allow
food
waste
to
be
removed
more
easily.
Put
pans
in
the
bottom
basket.
0
Loading
the
bottom
basket
Thanks
to
the
particularly
vigorous
washing
•
action
of
the
bottom
spray
arm,
the
bottom
basket
is
the
right
place
for
the
dishes
with
the
toughest
dirt.
It
has
tip-up
supports
(Fig.
6)
for
plates
and
two
baskets
for
cutlery
of
all
kinds
(if
you
have
to
wash
only
a
little
cutlery,
just
one
basket
can
be
used).
The
bottom
basket
will
be
filled
with
plates,
soup
dishes,
dessert
and
serving
dishes,
pans
and
lids.
Place
the
main
course
and
dessert
plates
on
the
that
are
provided,
taking
care
that
there
is
always
a
gap
between
one
plate
and
the
next.
They
must
always
be
vertical
to
allow
the
water
to
pass
freely.
f^"ns
must
always
be
upside
down.
iV
.lading
combinations
and
variations
are
possible,
provided
dishes
and
pans
are
placed
so
that
all
dirty
surfaces
are
exposed
to
the
jets
of
water
from
below,
and
the
water
is
able
to
flow
freely
(Fig.
7A-7B).
Rinse-aid
level
indicator
•
Dispenser
full
o
Dispenser
empty
8
Loading
the
top
basket
The
top
basket
is
intended
to
take
only
small
and
medium
items
such
as
glasses,
small
plates,
coffee
and
tea
cups,
shallow
bowls
and
light
heat-resistant
plastic
objects.
When
the
top
basket
is
used
in
the
lower
position,
plates
with
light
dirt
can
also
be
placed.in
it.
Load
plates
with
the
top
facing
forward,
and
cups
and
other
recipients
with
the
opening
facingdown.
A
few
washes
will
give
you
experience
of
the
best
way
to
arrange
cups
and
glasses
in
two
layers.
Large
and
small
plates
can
be
placed
in
the
centre,
in
the
supports
provided.
The
diagrams
show
some
possible
options
for
arranging
dishes
in
the
top
basket
(Fig.8A-8B).
■
Adjusting
the
top
basket
The
top
basket
can
be
set
in
two
different
positions
depending
on
requirements
and
the
height
of
the
dishes.
Pull
the
basket
out
to
the
limit
position
and
pull
its
right-hand
side
up
(Fig.
9)
to
allow
larger
plates
to
be
placed
in
the
bottom
basket.
To
return
to
the
original
position,
pull
the
basket
out
again
and
press
the
release
lever
(Fig.
10).

HOW
TO
SAVE
ENERGY
A
number
of
basic
rules
can
be
followed
to
save
water
and
electricity:
-
Use
the
dishwasher
when
fully
loaded;
-
Do
not
wash
dishes
in
running
water
-
Use
the
washing
program
best
suited
to
the
type
of
load;
-
Do
not
carry
out
the
preliminary
rinse
-
If
available,
connect
the
appliance
to
the
hot
water
supply
system
up
to
60°C.
10
FIRST
WASH
Switching
on
The
dishwasher
must
not
be
turned
on
until
the
dishes
have
been
loaded,
the
dispenser
has
been
filled
with
detergent,
a
check
has
been
made
that
the
spray
arms
turn
freely,
and
the
door
has
been
shut.
The
water
tap
must
also
be
turned
on
and
salt
placed
in
the
container.
To.
select
the
program
best
suited
to
the
Jss
to
be
washed,
particularly
when
you
are
getting
to
know
your
dishwasher,
comply
closely
with
the
table
provided
in
this
manual,
which
list
the
programs
available
in
relation
to
the
type
of
dishes
and
the
level
of
dirt.
How
to
set
program
When
choosing
the
washing
programme
with
this
particular
model
of
diswasher,
which
is
fully
integrable,
the
door
must
be
opened.
Once
the
most
suitable
wash
program
has
been
selected,
set
the
program
by
turning
the
dial
until
the
program
number
reaches
the
arrow.
Having
chosen
the
suitable
programme,
press
the
appropriate
button
which
is
on
the
left
hand
side
of
the
front
panel.
O
tart
the
dishwasher
having
followed
all
the
operations
indicated
previously,
press
the
ON/OFF
button.
At
this
point,
the
machine
is
on
and
the
ON/OFF
led
and
the
END
OF
CYCLE
led
are
on.
Now
press
the
START
button
right
down
and
keep
it
pressed
for
about
three
seconds,
until
after
the
CYCLE
ENDE
lamp
goes
out.
Close
the
door
to
start
the
program.
Switching
Off
By
pressing
the
"ON/OFF"
push-button,
the
machine
is
switched
OFF.
CAUTION!
if
you
open
the
door
during
the
wash
cycle,
you
must
be
wait
at
least
1
min.
with
the
door
ajar
before
starting
the
dishwasheragain.
Removing
the
dishes
It
is
better
to
wait
at
least
20
minutes
after
the
end
of
the
program
before
removing
the
dishes,
so
that
they
will
be
dry
and
not
too
hot.
Empty
the
bottom
basket
first,
so
that
any
drops
of
water
left
in
the
top
basket
will
not
fall
onto
dishes
still
in
the
botton
one.

0
=
YES;
-
=
NO.
N.B.
Only
soak
with
partial
load.
(*)
Reference
cycle
according
to
EN
50242.
CAUTION
!
The
soak
program
c^not
be
carried
out
more
that
device
in
succession
'.^-n
CLEANING
AND
MAINTENANCE
Cleaning
the
appliance
The
outside
surfaces
and
the
inside
of
the
door
of
the
dishwasher
must
be
cleaned
regularly
with
a
soft,
damp
cloth.
Never
use
abrasive
or
acid
detergents
The
door
seals
must
be
cleaned
with
a
damp
sponge.
The
outside
of
the
appliance
may
be
cleaned
with
a
normal
detergent
for
enamelled
suttees.
Miv
)sure
that
the
appliance
is
disconnected
from
the
electrical
mains.
♦
Cleaning
the
water
intake
filter
Clean
the
water
intake
filer
"A"
(see
Fig.
1
)
at
the
stop-cock
outlet
periodically.
Turn
off
the
tap,
unscrew
the
end
of
the
water
filler
hose,
remove
the
filter
and
clean
it
gently
under
a
jet
of
running
water,
then
replace
the
filter
and
screw
the
hose
back
in
Cleaning
the
spray
arms
The
spray
arms
can
easily
be
removed
to
allow
periodic
cleaning
of
the
nozzles
and
prevent
any
clogging.
To
remove
the
top
arm,
push
it
upwards
and
unscrew
anticlockwise
(Fig.
,11);
the
bottom
arm
simply
lifts
off
(Fig.
15).
Wash
them
thr^ghly
under
a
jet
of
water
and
put
back
inv.place.
v
"ORBITAL"!
spray
arm
This
dishwasher
is
equipped
with
an
"ORBITAL"
bottom
spray
arm,
which
rotates
in
a
special
way
to
ensure
that
the
jets
of
water
reach
the
most
difficult
corners
of
the
dishwasher,
guaranteeing
a
better
wash.
To
remove
the
"ORBITAL"
unit,
take
hold
of
the
longer
arm
"E"
and
pull
it
upward,
then
detach
the
two
rotating
arms"E"
and
"F"
(see
Fig.
15).
Wash
them
carefully
under
a
jet
of
water
and
put
back
in
place.
Cleaning
the
filter
unit
The
central
filter
"C"
(Fig.
12)
should
be
removed
for
inspection
periodically,
and
cleaned
if
necessary.
To
remove
it,
take
hold
of
the
tangs,
turn
anti-clockwise
(1)
and
then
pull
it
(2)
upwards
(Fig.
12).
\
Then
take
hold
of
the
central
filter
"D",
and
remove
it
from
the
microfilter
(Fig.
13).
Finally,
separate
the
two
parts
which
make
up
the
plastic
filter
by
gently
pressing
in
the
points
shown
in
fig.
14,
pulling
the
top
to
extract
it.
To
remove
the
rectangular
stainless
steel
filter,
turn
the
sprinkler
support
ainti-
clockwise
after
detaching
it
(Fig.
15).
Clean
filters
in
running
water
using
a
stiff
brush.
It
is
essential
to
clean
filters
carefully
as
instructed
above,
as
the
dishwasher
cannot
operate
with
a
fouled
filter.
Users
must
aiso
take
care
to
replace
the
cleaned
filters
correctly,
to
avoid
damage
to
the
washing
pump.
13

If
the
dishwasher
is
to
be
out
of
use
for
a
long
period
The
following
precautions
must
be
taken:
-
perform
two
consecutive
pre-rinses
-
disconnect
the
plug
from
the
mains
-
leave
the
door
slightly
open
so
that
no
unpleasant
smells
can
form
-
fill
the
rinse-aid
dispenser
-turn
off
the
water
tap
Before
re-using
the
dishwasher
after
a
lay¬
off:
-
re-connect
the
plug
to
the
power
socket
-
check
that
no
sludge
or
rust
has
been
deposited
in
the
water
supply
pipeline;
allow
water
to
flow
freely
from
the
supply
tap
for
a
few
minutes
-
re-connect
the
filler
hose
and
turn
the
water
tap
back
on.
HOW
TO
DEAL
WITH
SMALL
PROBLEMS
If
the
dishes
are
not
clean
at
the
end
of
a
program
Check
whether:
-
the
rigt
washing
program
has
been
used
-
the
detergent
dispenser
has
opened
-
the
dishes
have
been
arranged
correctly
-
the
right
amount
of
detergent
has
beeCL
placed
in
the
dispenser
-
the
spray-arms
turn
freely
-
the
water
tap
has
been
turned
on
-
the
spray-arm
nozzles
are
blocked
-
the
filler
hose
filter
is
fouled
-
the
mains
water
pressure
is
correct
-
there
is
salt
in
the
water
softener
If
the
dishwasher
does
not
work
Check
that:
-
the
plug
is
correctly
inserted
in
the
power
supply
socket
and
the
fuses
are
in
the
right
place
-
there
is
not
a
power
supply
blackout
-
the
water
tap
is
turned
on
-
the
door
is
closed
correctly
v...
j
-
the
filler
hose
filter
is
not
fouled
-
the
filler
and
drain
hoses
are
not
crused
AFTER-SALES
SERVICE
If
the
checks
described
in
the
"If
the
dishwasher
does
not
work"
section
fail
to
eliminate
any
faults
on
the
appliance,
the
After-Sales
Service
will
have
to
be
called
in.
Calls
made
where
no
defects
arefound
are
not
covered
by
the
warranty
and
will
therefore
be
charged
to
the
customer.
T
v
Jtppliance
you
have
purchased
complies
with
current
safety
regulations
relating
to
electrical
equipment.
Any
technical
checks
must
only
be
carried
out
by
specialized
staff,
since
repairs
by
unskilled
workers
may
create
dangers
for
the
end
user.
O
USEFUL
ADVICE
Before
you
use
your
dishwasher,
some
advice
about
dishes.
All
household
dishes
can
be
washed
in
this
dishwasher.
However,
in
some
cases
their
characteristics
have
to
be
borne
in
mind.
When
buying
new
dishes,
check
that
they
can
be
washed
in
a
dishwasher.
Cups,
bowls
and
plates
with
concave
bases.
These
do
not
dry
completely
since
water
collects
in
the
cavities,
from
where
it
cannot
evaporate
quickly
enough.
Decorate
dishes
Glazed
colours
withstand
washing
Not
glazed
colours
Colours
applied
above
the
glaze
may
be
of
a
quality
which
offers
good
resistance
to
mechanical
washing
for
a
normal
lifetime.
It
is
difficult
to
prevent
more
delicate
colours
from
fading
with
frequent
use.
If
in
doubt
about
the
resistance
of
a
particular
service,
wash
one
or
two
pieces
in
the
dishwasher
each
time
for
about
four
weeks
(use
an
item
already
damaged
if
possible).
Aluminium
items
Anodized
aluminium
items
may
become
discoloured
Silver
cutlery
Silver
items
may
stain
if
they
come
into
contact
with
foods
containing
sulphur
(eggs,
legumes,
etc.).
These
stains
can
be
removed
using
products
for
silverware.

Handmade
items
Handmade
items
are
rarely
suitable
for
washing
in
the
dishwasher.
The
relatively
high
water
temperatures
and
the
detergents
used
may
damage
them.
Wooden
items
Wooden
items
such
as
chopping-boards
do
not
withstand
mechanical
washing,
and
may
warp
or
crack.
Old
knives
Knives
with
the
blade
glued
into
the
handle
must
not
be
washed
in
the
dishwasher,
since
the
adhesives
used
do
not
withstand
heat.
Plastic
dishes
Plastic
dishes
do
not
withstand
heat
and
may
become
misshapen.
Heat-proof
plastic
dishes
must
only
be
washed
in
the
top
basket.
Glass
and
crystal
Generally
speaking
glass
items
can
be
washed
in
the
dishwasher.
There
are,
however,
certain
types
of
glass
that
tend
to
become
opaque
after
numerous
wash
cycles;
wash
delicate
glass
items
using
a
"delicate"
washing
program,
if
availabK'Tv,
in
any
event,
the
least
intensive
of
the
J
available
programs.
TECHNICAL
DATA
Width
cm.
60
Depth
cm.
60
Height
cm.
85
Dimension
with
door
open
cm.
116
Capacity
12
standard
place-settings
Intake
water
pressure
min.
100
Kpa
-
max.
900
Kpa
Power
supply
voltage
220-230
V
Heating
element
power
2100
W
Total
power
absorption
2,25
kW
Fuse
10
A
16


Other manuals for Dishwasher DWI710
1
Other Smeg Dishwasher manuals