Manuale GW3060- User
Versione 09/11/2009
4
TABLE OF CONTENTS
1. KEY TO THE SYMBOLS USED IN THE MANUAL AND ON THE MACHINE 6
2. INTRODUCTION 7
3. GENERAL RECOMMENDATIONS 8
4. GENERAL OPERATING INSTRUCTIONS 9
4.1
POWERING 9
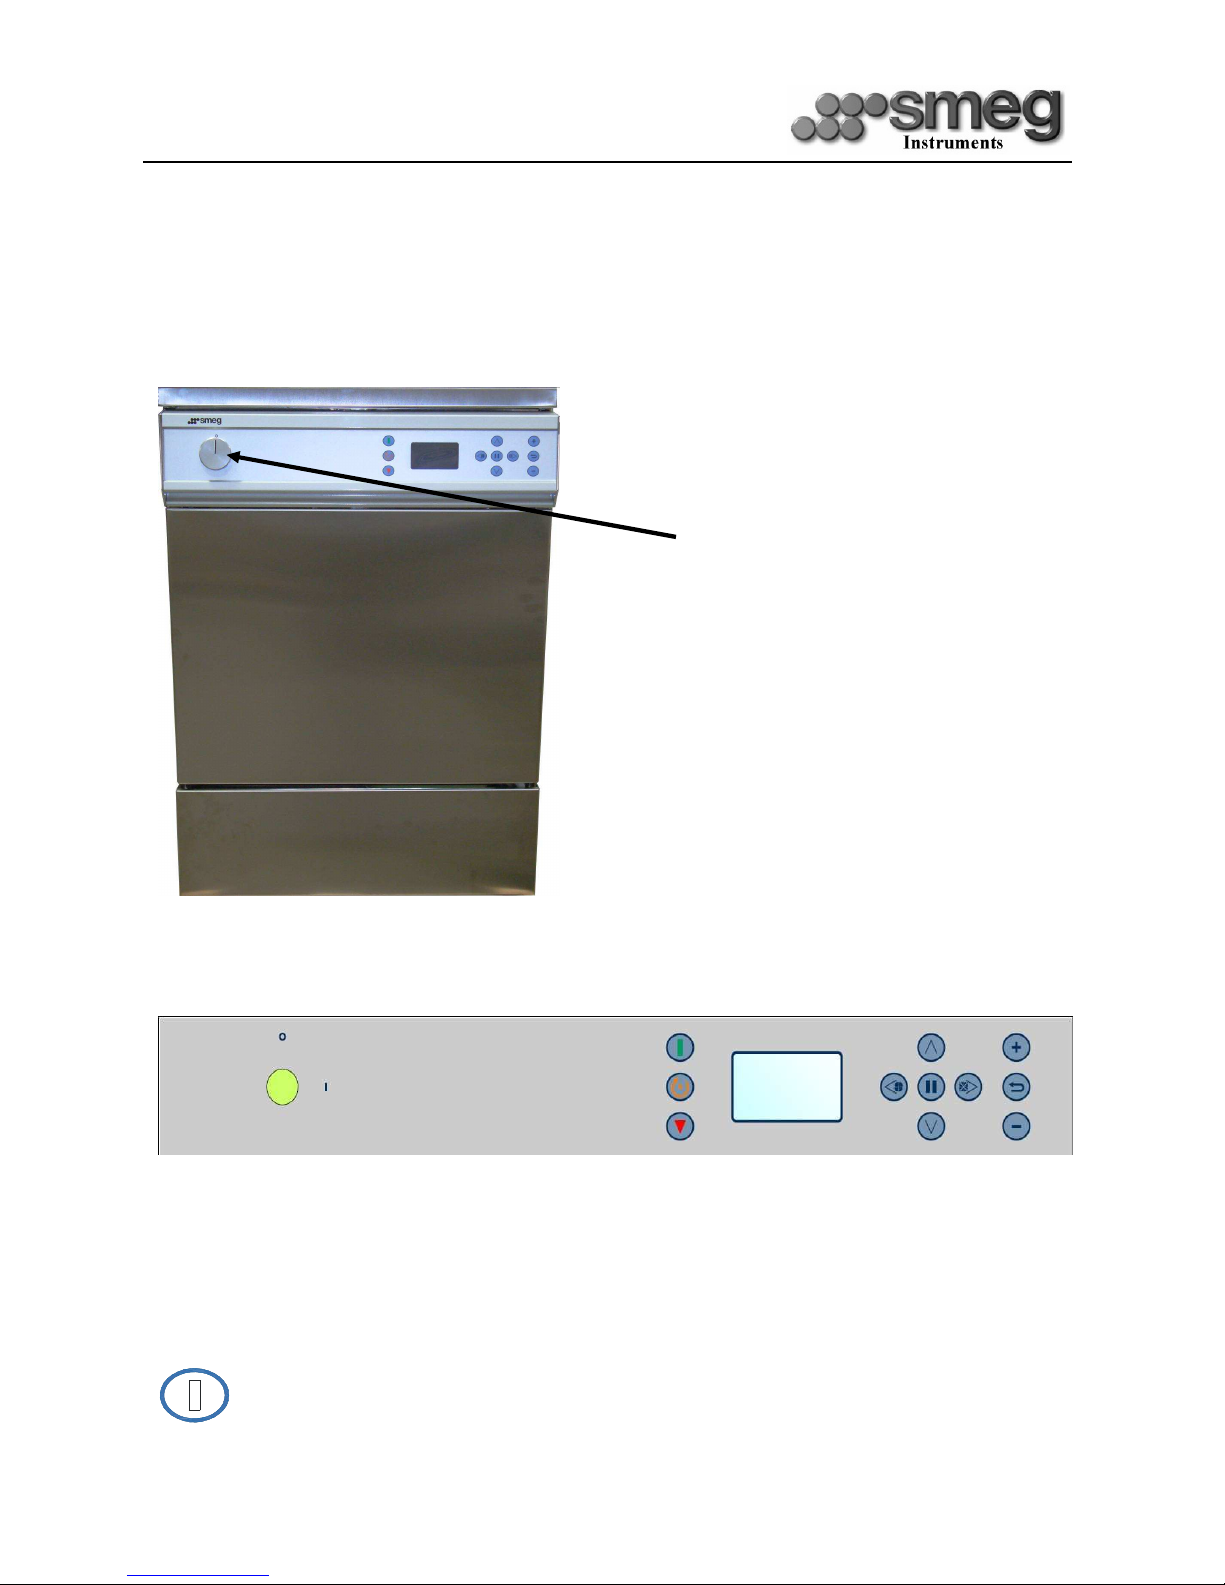
4.2
CONTROLS 9
5. BRIEF DESCRIPTION OF THE OPERATING CYCLE 12
5.1
HOW TO CARRY OUT A WASHING/DISINFECTING CYCLE 12
5.2
HOW TO CARRY OUT A SEPARATE DRYING CYCLE 14
5.3
PRINTING THE LAST CYCLE E ECUTED 15
5.4
HOW TO SELECT A WASHING/DISINFECTING CYCLE 16
5.5
DEFERRED CYCLE START 16
5.6
HOW TO OPEN THE WASHING CHAMBER DOOR AND SIDE CABINET DOOR 17
5.7
SECURITY POLICY, USER PASSWORD AND SUPER USER 18
5.8
BUILT-IN SOFTENER 20
5.8.1
How to add salt
20
5.8.2
Use of the appliance with softened mains water
21
5.8.3
Forced resin regeneration
22
5.9
HOW TO REGULATE THE WASHING PRESSURE IN THE SPRAYING ARMS 23
5.10
HOW TO FILL THE WASHING TROLLEYS 23
5.11
DETERGENT DISPENSING SYSTEM 24
6. WASHING PROGRAMS - DESCRIPTION 26
6.1
WASHING AND DISINFECTING PROGRAMS 27
6.2
EFFICACY OF THE WASHING ACTION AND DETERGENTS 28
6.2.1
Arrangement of the instruments in the washing trolley
28
6.2.2
uality and quantity of water
28
6.2.3
Water pressure
28
6.2.4
Washing temperature
28
6.2.5
Detergents used
29
6.2.6
First-aid measures for use of detergents
30