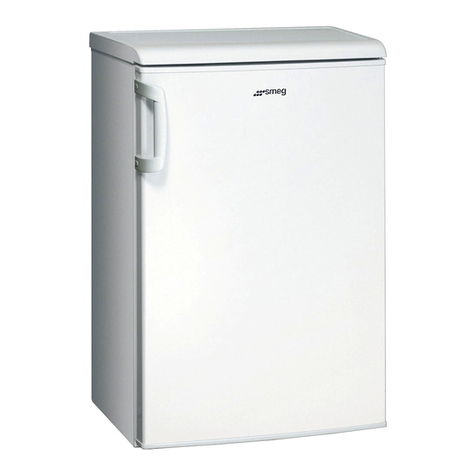
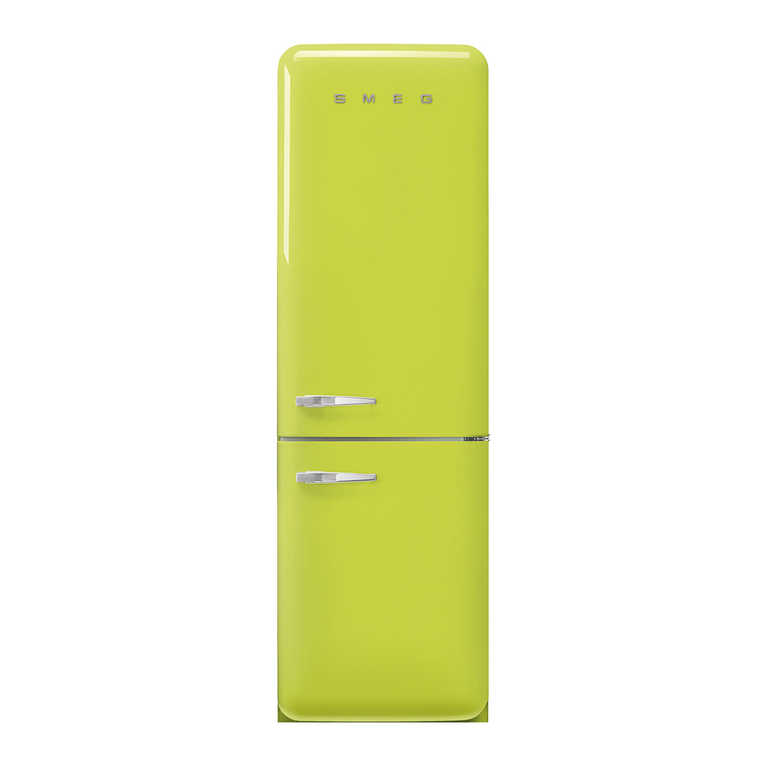
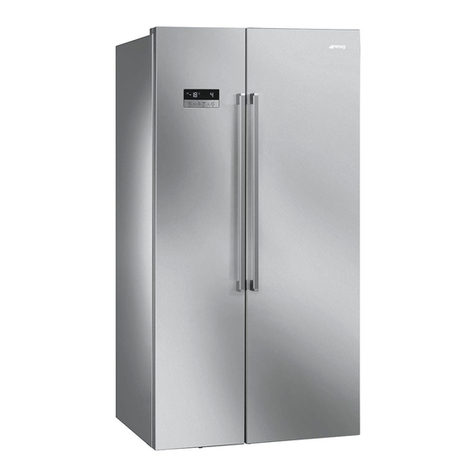
Smeg FR310P User manual


3
DEUTSCH Gebrauchsa weisu g Seite 4
ENGLISH I structio s for use Page 12
FRANÇAIS Mode d’emploi Page 21
NEDERLANDS Gebruiksaa wijzi g Pagi a 29
ESPAÑOL I struccio es para el uso Pági a 37
PORTUGUÊS Ma ual de utilização Pági a 45
ITALIANO Istruzio i per l’uso Pagi a 53
ΕΛΛΑΣ Οδηγίες χρήοης Σελίδα 61
SVENSKA Bruksa vis i g Sida 69
NORSK Bruksa vis i g Side 77
DANSK Brugsa vis i g Side 85
SUOMI Käyttöohje Sivu 93


ITGB FIDKNOSEGRPTESNLFRDE
PRODUCT SHEET EN
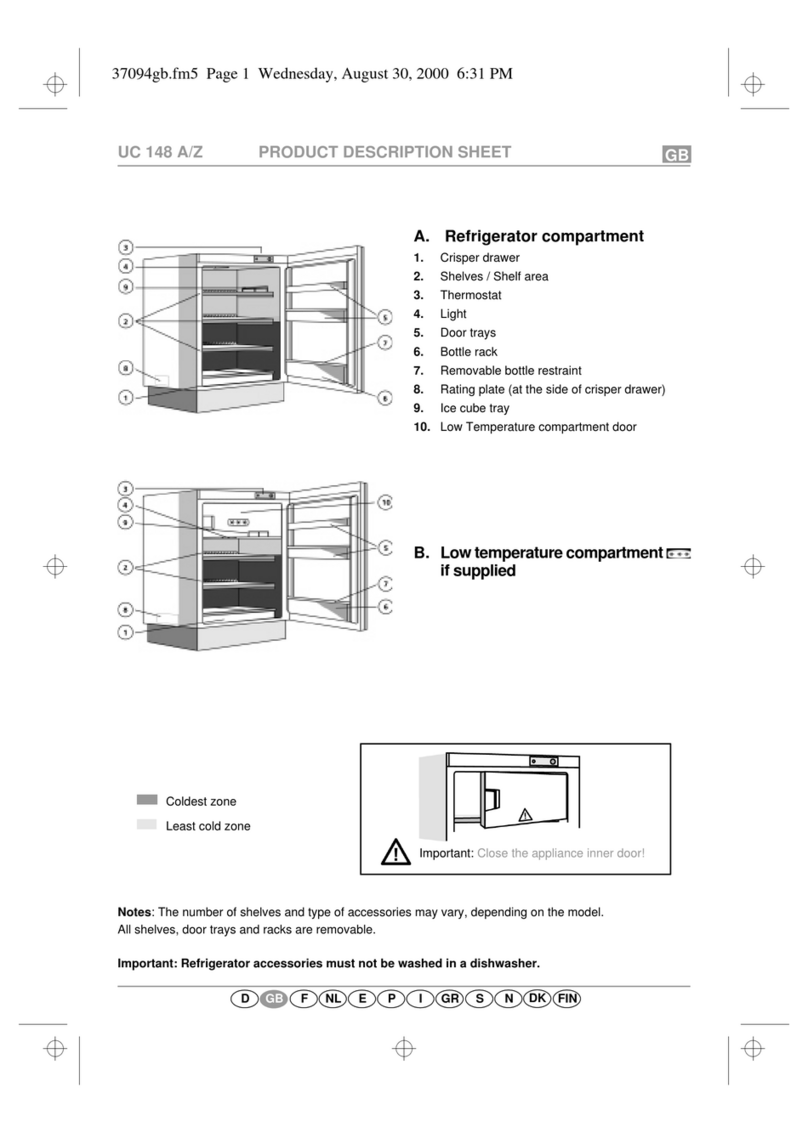
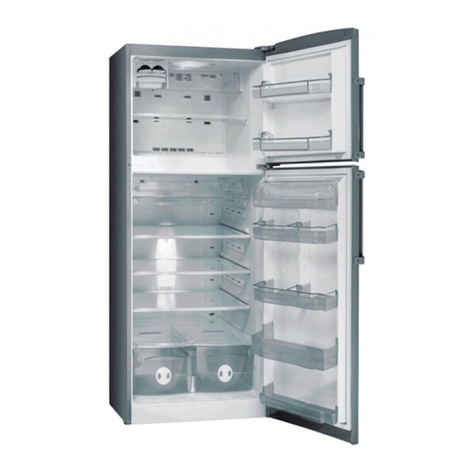
A. Refrigerator Compartment
1. Crisper drawer
2. Shelves / Shelf area
3. Control panel with LED light
4. Upper door tray
5. Door trays
6. Bottle rack
7. Bottle restrainer (if present)
8. Rating plate (at the side of crisper drawer)
9. Fan with filter (if present), see specific
instructions for filter.
B. Freezer compartment (if present)
1. Ice cube tray (inside the compartment)
2. Freezer compartment inner door
3. Grille (inside compartment)
Note: The number of shelves and type of accessories may vary, depending on the model.
All shelves, door trays and racks are removable.
Important: Refrigerator accessories must not be washed in a dishwasher.

FIDKNOSEGRITPTESNLFRGBDE
LED Light
LEDs last longer
than traditional
light bulbs, improve
internal visibility and
are environmentally-
friendly.
Contact the Service
Centre if replacement is necessary.
Fan (if available)
The fan is preset as ACTIVE.
The fan can be deactivated
by pressing the button on the
base (as shown in the figure).
If the room temperature
exceeds 27°C, the fan must
be on in order to guarantee
the correct preservation of food.
Deactivation of the fan enables energy
consumption to be optimised.
Stand-by
Press the “Temp.” button (1) for 3 seconds to
deactivate the appliance (the control panel and
lights remain off).
Press the button again briefly to reactivate the
appliance.
Note: This does not disconnect the appliance
from the power supply.
Refrigerator compartment temperature
The three LED indicators (2) indicate the
refrigerator compartment set temperature.
A different temperature can be set using the
“Temp.” button
The following adjustments are possible:
Leds lit Set temperature
High (less cold)
Medium-high
Intermediate
Medium-low
Low (colder)
QUICK GUIDE
1
2

FIDKNOSEGRITPTESNLFRGBDE
5019 600 00385 Printed in Italy 01/13
What to do if... Possible causes: Cures:
The control panel is
switched off, the appliance
does not work.
There may be an appliance
power supply problem.
The appliance could be in
On/Standby mode.
Make sure:
- there is not a power outage
- the plug is properly inserted in
the power socket and the mains
double-pole switch (if present) is
in the correct position (i.e. allows
the appliance to be powered)
- the household electrical system
protection devices are efficient
- the power cable is not broken.
Activate the appliance with the
Temp. button.
The inside light does not
work.
The light may need replacing.
Malfunction of a technical
component.
Contact an authorized Service
Centre.
The inside light flashes. Door alarm active
It is activated when the
refrigerator compartment door
remains open for a prolonged
period of time.
To stop the alarm, close the
refrigerator door.
On reopening the door, check the
light works.
The temperature inside the
compartments is not low
enough.
There could be various causes
(see “Solutions”).
Make sure:
- the doors close properly
- the appliance is not installed near
a heat source
- the set temperature is adequate
- the circulation of air through
the vents at the bottom of the
appliance is not obstructed.
There is water on the
bottom of the refrigerator
compartment.
The defrost water drain is
blocked.
Clean the defrost water drain
hole (see the section “Appliance
Maintenance and Cleaning”).
The front edge of the
appliance, at the door
striker seal, is hot.
This is not a defect. It prevents
condensation from forming.
No solutioin is necessary.
One or more green lights
flash continuously.
Malfunction alarm
The alarm indicates a fault in a
technical component.
Call the authorised Service Centre.

12
Switching on the appliance
1. Plug in the appliance
2. When the appliance is plugged in, it is
normally factory set to a temperature of 5°C.
Adjusting the temperature
For temperature adjustment, see the enclosed
product sheet.
Note:
Ambient air temperature, the frequency of
door opening, the introduction of hot food and
unsuitable appliance positioning can all affect
the internal temperature of the refrigerator,
which may differ from that shown on the
display.
Storing food the refrigerator compartment:
• Coverfoodtopreventitdryingout
• Thedistancebetweentheshelvesandthe
rear wall inside the refrigerator ensures the
free circulation of air
• Donotplacefoodindirectcontactwiththe
rear wall of the refrigerator compartment
• Donotplacehotfoodintherefrigerator
• Storeliquidsinclosedcontainers
Important:
Storing vegetables with a high water
content can cause condensation to form
on the glass shelves; this will not affect the
correct operation of the appliance.
HOW TO OPERATE THE REFRIGERATOR
COMPARTMENT

13
TheMeat&Fishboxwasdesignedspeciallytokeepfoodsfresher
forlonger,withoutalteringnutritionalvaluesororiginalfreshness.
Donotstorefruitorvegetablesinthisbox,asthetemperaturemay
drop below 0°C, causing water contained in the food to freeze.
Temperature Adjustment
ThetemperatureinsidetheMeat&Fishboxisindicatedbythe
positionofthearmonthedoorofthebox,anddependsonthe
general temperature of the refrigerator compartment.
We recommend setting the temperature of the refrigerator compartment between +2° and +6°.
ToworkoutifthetemperatureinsidetheMeat&Fishboxiscorrect,refertothepicturesbelow:
Important:whenthefunctionisactivatedandfoodswithahighwatercontentarepresent,
condensationmayformontheshelves.Inthiscase,disablethefunctiontemporarily.
Removing the Meat & Fish compartment:
Toensurecorrectoperationoftheproduct,adequatepreservation
offoodandtooptimiseenergyconsumption,itisadvisablenotto
removetheMeat&Fishcompartmentifthesymbol (seeQuick
Guide)isnotpresentonthecontrolpanel.Inallothercases,the
Meat&Fishcompartmentcanberemovedtoobtainmorespace
inside the refrigerator.
Proceedasfollows:
1.Removethecompartmentdrawer(Figure1).
2.Removethedrawercoverbyreleasingthebottomsideclips
(Figure 2).
ToreinstatetheMeat&Fishcompartment,makesuretorefitthe
drawercoverbeforeinsertingthedrawerandreactivatingoperation.
3. Press the “Meat & Fish compartment function” button on the
control panel for 3 seconds, until the yellow indicator goes off.
Tooptimiseenergyconsumption,itisadvisabletodeactivatethe
Meat&Fishcompartmentandremoveitscomponents(exceptthe
shelfabovethecrisperdrawers).
MEAT & FISH BOX (depending on model)
When the arm points to the left, you need
to raise the temperature in the refrigerator
compartment.
When the arm is in the middle, the
temperatureisok.
When the arm points to the right, you
need to lower the temperature in the
refrigerator compartment.
Fig. 1
Fig. 2

14
The“Zero Degrees”boxisspecificallydesignedtomaintain
alowtemperatureandasuitablehumiditylevel,inorderto
keepfoodsfresherforlonger(e.g.meat,fish,fruitandwinter
vegetables).
Activating and deactivating the box
Thetemperatureinsidethebox,whenactive,isapproximately0°.
Toactivatethecompartment,pressthe
button shown in the figure for more than
1 second, until the symbol lights up
Thesymbollitindicatesthatthecompartment
is functioning. Press the button again for
morethan1secondtodeactivatethecompartment
Thefollowingfactorsarevitalforthe“Zero Degrees”boxtoworkproperly:
- the refrigerator compartment must be switched on
- the temperature of the refrigerator compartment must be between +2°C and +6°C
-theboxmustbeinsertedtoenableactivation
-nospecialfunctionsmusthavebeenselected(Standby,Cooling-Off,Vacation–where
applicable).
Ifoneofthesespecialfunctionshasbeenselected,the“Zero Degrees”boxmustbedeactivated
manually,andanyfreshfoodinsideitremoved.Ifmanualdeactivationdoesnottakeplace,the
boxwillbedeactivatedautomaticallyafter8hours.
Note:
-ifthesymboldoesnotlightupwhentheboxisactivated,checkthattheboxisproperlyinserted;
iftheproblempersists,contactyournearestauthorizedAfter-salesService
-iftheboxisactiveandthedraweropen,thesymbolonthecontrolpanelmaybedeactivated
automatically.Ifthedrawerisinserted,thesymbolwillbecomeactiveagain
-irrespectiveofthestateofthebox,aslightnoisemaybeheard:thisisnormalandisnotacause
for concern.
-whentheboxisnotactive,thetemperatureinsideitdependsonthegeneraltemperatureinside
therefrigeratorcompartment.Inthiscase,werecommenditisusedtostorefruitandvegetables
whicharenotsensitivetocoldtemperatures(fruitsoftheforest,apples,apricots,carrots,
spinach, lettuce, etc.).
Important:Ifthefunctionisactivatedandfoodwithhighwatercontentispresent,condensate
mayformontheshelves.Inthiscase,temporarilydeactivatethefunction.
When placing small containers and food products on the top shelf of the “zero degrees”
compartment,makesuretheydonotaccidentallyfallbetweenthedrawerandthebackofthe
refrigerator compartment.
“ZERO DEGREES” BOX (depending on the model)
15
Removing the “Zero Degrees” box:
The“Zero Degrees”boxcanberemovedtocreatemorespaceinsidetherefrigerator.Inthis
caseproceedasfollows:
-tofacilitateremoval,werecommendemptying(andifnecessary,removing)thetwolowerdoor
trays
-switchoffthebox
-pulloutthedrawerandthewhiteplasticshelfunderneaththebox.
Note:theuppershelfandthesidesupportscannotberemoved.
Torestore“Zero Degrees”boxoperation,makesureyoureplacethewhiteplasticshelf
underneaththeboxbeforeinsertingthedrawerandreactivatingthefunction.Tooptimiseenergy
consumption,werecommendyoudeactivatethe“Zero Degrees”boxandremoveit.
Cleantheboxandallitspartsregularly,usingaclothandasolutionofwarmwaterandneutral
detergentspecificallyformulatedforrefrigeratorinteriors(takecarenottoimmersethewhite
plasticshelfunderneaththeboxinwater).
Before cleaning the box (including the outside), remove the drawer so as to disconnect
the box from the electricity supply.
Neveruseabrasivedetergents.

16
The freezer compartment can
also be used for freezing fresh food. The
quantity of fresh food that can be frozen in
24 hours is shown on the rating plate.
Freezing fresh food
• Therecommendedpositionforfreshfood
is that indicated in Fig. 1, if a wire shelf is
present, or that in Fig. 2 for models with no
wire shelf.
• Placefoodinthemiddleofthe
compartment, makingsureitdoes
not touch already frozen food, but is placed
atadistanceofapprox.20mm(fig. 1
and 2).
The table alongside shows the
recommended maximum storage time for
frozen fresh foods.
When purchasing frozen food products:
• Makesurethepackagingisnotdamaged,
sincetheproductqualitymayhave
deteriorated.Ifthepackageisswollenorhas
damppatches,itmaynothavebeenstored
under optimal conditions and defrosting may
havealreadybegun.
• Whenshopping,leavefrozenfood
purchases until last and transport the
products in a thermally insulated cool bag.
• Placetheitemsinthecompartmentassoon
as you get home.
• Iffoodhasdefrostedevenpartially,donot
re-freeze it. Consume within 24 hours.
• Avoid,orreducetemperaturevariationsto
the minimum. Respect the best-before date
onthepackage.
• Alwaysfollowthestorageinstructionsonthe
frozenfoodpackages.
Making ice cubes
• Filltheicecubetray2/3fullandplaceitin
the compartment .
• Donotusesharporpointedinstrumentsto
detachthetrayifitisstucktothebottomof
the compartment.
• Bendtheicetrayslightlytoremovethe
cubes.
HOW TO USE THE FREEZER
COMPARTMENT (if present)
Fig. 2
Fig. 1

17
Before defrosting the appliance, unplug it
or switch off the power at the mains.
Defrosting of the refrigerator compartment
is completely automatic. Droplets of
water on the rear wall of the refrigerator
compartment indicate that the periodic
automatic defrost cycle is in progress.
The defrost water is automatically routed
to a drain outlet and into a container from
which it evaporates.
Clean the defrost water drain outlet regularly
using the tool supplied with the appliance
inordertoensuredefrostwaterisremoved
correctly. (Fig. 1)
Defrosting the compartment
(if present)
Defrostthe compartment once or twice
ayearorwheniceformationisexcessive.
Itisperfectlynormalforicetoform.The
amount of ice which forms and the rate at
whichitaccumulateswillvarydependingon
ambient conditions and the frequency with
whichthefreezerdoorisopened.Iceformation
is concentrated at the top of the compartment
and does not affect the efficiency of the
appliance.
Ifpossible,defrostthefreezerwhenitisnearly
empty.
• Removethefoodfromthefreezer
compartment and group together in a cool
place or in a cool bag.
• Leavethedooropentoallowthefrostto
melt.
• Cleantheinteriorofthefreezerwitha
spongeandwarmwaterand/orneutral
detergent.Donotuseabrasivesubstances.
• Rinsetheinterioranddrythoroughly.
• Putthefoodbackintothefreezer.
• Closethedoor.
Plugtheappliancebackinandswitchon,
following the instructions in chapter “How to
operatetherefrigeratorcompartment”.The
settings and selections made prior to switching
off will be restored.
HOW TO DEFROST THE APPLIANCE
Fig. 1

18
Before any cleaning or maintenance
operation, unplug the appliance from the
mains or disconnect the electrical power
supply.
• Cleantheinsideoftherefrigerator
compartment periodically with a sponge
dampenedinwarmwaterand/orneutral
detergent. Rinse and dry with a soft cloth.
Donotuseabrasiveproducts.
• Theseparatorsmustnotbewashedinwater
but simply cleaned with a damp sponge.
• Cleantheinsideofthefreezercompartment
when defrosting.
• Cleantheairventsandcondenseratthe
rearoftheapplianceregularlywithavacuum
cleaner or brush.
• Cleantheoutsidewithadampcloth.Do
notuseabrasiveproducts,scourers,stain-
removers(e.g.thrichlorethyleneacetone)or
vinegar.
Prolonged disuse
1. Empty the refrigerator.
2. Disconnecttheappliancefromthemains
power supply.
3. Defrostandcleantheinterior.
4. Intheeventofprolongeddisuse,leave
theappliancedooropentopreventmould,
odoursandoxidationfromforming.
5. Clean the appliance.
•Cleantheinsideofthelowtemperature
compartment (where present) when
defrosting.
•Cleantheinsideoftherefrigerator
compartment periodically with a sponge
dampenedinwarmwaterand/orneutral
detergent. Rinse and dry with a soft cloth.
Donotuseabrasiveproducts.
CLEANING AND MAINTENANCE

19
Before contacting the After-Sales Service:
1.Seeifyoucansolvetheproblemyourself
withthehelpoftheTrouble-shootingguide.
2. Switchtheapplianceoffandthenonagain
tocheckiftheproblemhasbeeneliminated.
Ifithasnot,switchofftheapplianceagain
and repeat the operation after one hour.
3. Iftheproblempersistsafterthiscourseof
action,contactAfter-salesService.
Specify:
• thetypeoffault
• theappliancemodel
• TheServicenumber(thenumberafterthe
wordSERVICEontheratingplateinsidethe
appliance)
• Yourfulladdress
• Yourtelephonenumberandareacode
Note:
The direction of door opening can be
changed. If this operation is performed by
After-sales Service it is not covered by the
warranty.
• Installtheapplianceawayfromheat
sources.Installationinahotenvironment,
directexposuretothesunorinstallationnear
heatsources(heaters,radiators,cookers)
will increase power consumption and should
thereforebeavoided.
• Ifthisisnotpossible,thefollowingminimum
distancesmustberespected:
•30cmfromcoalorparaffinstoves;
•3cmfromelectricand/orgasstoves.
• Fitthespacers(ifsupplied)ontherearof
thecondenserpositionedatthebackofthe
appliance.
• Installtheapplianceinadry,well-ventilated
place,andensureitislevel,usingthefront
adjustment feet if necessary.
• Cleantheinterior.
• Fittheaccessories.
Electrical connection
accordance with local regulations.
Voltageandpowerconsumptionare
indicated on the rating plate inside the
appliance.
be earthed. The manufacturer declines
all liability for injury to persons or
animals and for damage to property
resulting from failure to observe the
above procedures and reminders.
Iftheplugandsocketarenotofthesame
type,havethesocketreplacedbyaqualified
electrician.
• Donotuseextensionleadsoradapters.
Disconnecting the appliance
Itmustbepossibletodisconnecttheappliance
by unplugging it or by means of a two-pole
switchfitteduplineofthesocket.
INSTALLATION

20
Warning - this appliance must be earthed
Fuse replacement
IfthemainsleadofthisapplianceisfittedwithaBS
1363A 13amp fused plug, to change a fuse in this type of
pluguseanA.S.T.A.approvedfusetoBS1362typeand
proceedasfollows:
1. Removethefusecover(A) and fuse (B).
2. Fitreplacement13Afuseintofusecover.
3. Refit both into plug.
Important:
Thefusecovermustberefittedwhenchangingafuseand
ifthefusecoverislosttheplugmustnotbeuseduntila
correct replacement is fitted.
Correct replacement are identified by the colour insert or
the colour embossed in words on the base of the plug.
Replacementfusecoversareavailablefromyourlocal
electrical store.
For the Republic of Ireland only
TheinformationgiveninrespectofGreatBritainwill
frequentlyapply,butathirdtypeofplugandsocketisalso
used, the 2-pin, side earth type.
Socket outlet / plug (valid for both countries)
Ifthefittedplugisnotsuitableforyoursocketoutlet,
pleasecontactAfter-salesServiceforfurtherinstruction.
Pleasedonotattempttochangeplugyourself.This
procedure needs to be carried out by a qualified technician
in compliance with the manufactures instructions and
current standard safety regulations.
ELECTRICAL CONNECTION FOR GREAT
BRITAIN AND IRELAND ONLY

REFRIGERATORS AND FREEZERS PRODUCT FICHE
BRAND NAME SMEG
COMMERCIAL CODE FR310P
CATEGORY Refrigerator
ENERGY EFFICIENCY CLASS A+
Energy consumpon 296 kWh per year, based on standard test results for 24 hours. Actual energy
consumpon will depend on how the appliance is used and where it is located.
FREEZER CAPACITY 32 l
STAR RATING 4
REFRIGERATOR CAPACITY 264 l
TEMPERATURE OF SPECIAL COMPARTMENT -°C
FROST FREE SYSTEM No
TEMPERATURE RISE TIME (h) 14
FREEZING CAPACITY (kg/24h) 3
CLIMATE CLASS SN-T
This appliance is intended to be used at an ambient temperature between 10°C and 43°C.
NOISE LEVEL dB(A) re 1 pW 35
TYPE OF INSTALLATION Half-integrated

12/12
5019 600 00387
DE PTESNLFRGB
IT FIDK
NO
SEGR
Table of contents
Other Smeg Refrigerator manuals
Popular Refrigerator manuals by other brands

Electrolux
Electrolux E23CS78DSS Use & care guide

GE
GE GTH21KBXBB - 21 cu. Ft. Top Freezer... Energy guide

Viking
Viking Undercounter/Freestanding Refrigerated... Use & installation guide

Cylinda
Cylinda KI1082UF user manual

AVG
AVG ARBM104S Use and care guide

KitchenAid
KitchenAid KBRS22ETSS - 21.9 Bottom-Freezer... parts list