Smith & Noble SNRG20B User manual
3.2 Litre Digital Air Fryer
Model: SNRG20B
This appliance is intended for household use only.
Please read and retain these instructions for future reference.

Important Safeguards:
When using electrical air fryers, basic safety precautions should always be followed,
including the following:
1. Read the instructions carefully before use.
2. Remove and safely disregard any packaging material and labels before using this
product for the first time. Ensure children and babies do not play with plastic bags or any
packaging materials.
3. Before use, check that your local voltage corresponds with the specifications shown on
the appliance nameplate located under the appliance.
4. Always operate the appliance on a horizontal surface which is level, stable and non-
combustible. Do not operate the appliance on or near combustible materials such as
tablecloths or curtains.
5. Do not place the appliance on or near a hot gas or electric burner, or in a heated oven.
6. Never connect this appliance to an external timer or separate remote-control system.
7. Never use this appliance with an extension cord or power board. Ensure it is plugged
into a dedicated power point and without any other appliances on the same outlet.
8. Do not turn on the power until the appliance and parts are in place as required. Make
sure the door is closed before plugging in and switching on the power.
9. To protect against electric shock, do not immerse the cord, plug, or appliance in water
or any other liquid. Do not expose the appliance to dripping or splashing and ensure that
no objects filled with liquids such as vases are placed on the appliance. Do not put any
water or other liquid into the main housing of the appliance through the vents. Do not
rinse it under the tap.
10. Do not touch the appliance, power cord or power plug with wet hands.
11. Unplug from the outlet when not in use and before cleaning. Allow the appliance to
cool down (if relevant) before putting on or taking off the parts, and before cleaning.
12. The appliance does not contain any serviceable parts inside. Do not attempt to open
and repair the appliance yourself. All components should only be serviced by a qualified
technician.
13. Do not use the appliance if the plug, power cable or unit itself are damaged. If the
power cord is damaged, you must have it replaced at a service centre with qualified
persons in order to avoid a hazard.
14. Do not use the appliance for anything other than the intended use. It is for household
use only. It is not to be used outdoors or for commercial purposes.

15. Close supervision is necessary when any appliance is used near children. Keep the
appliance and power cord out of reach of children when it is in operation or during the
cooling process.
16. This appliance is intended to be used in household and similar applications such as:
- staff kitchen areas in shops, offices and other working environments;
- farm houses;
- by clients in hotels, motels and other residential type environments;
- bed and breakfast type environments.
17. This appliance should be operated on a separate electrical power point from other
operating appliances. If the power point is overloaded with other appliances, this
appliance may not work properly.
18. Extreme caution must be used when moving an air fryer containing hot food.
19. Leave enough open space from other objects while in use. Do not block air intakes or
exhausts.
20. Do not place the appliance against a wall or against other appliances. Leave at least
10 centimetres of free space on the back and sides and above the appliance. Do not
place anything on top of the appliance.
21. When the appliance is in operation, air is released through the air outlet vent. Keep
your hands and face at a safe distance from the air outlet vent.
22. Do not touch the hot surfaces. The appliance’s outer surfaces may become hot
during use.
23. Do not cover the appliance while in use.
24. Do not let the cord hang over the edge of the table or counter.
25. Do not unplug the appliance by pulling on the cord.
26. This appliance is not designed to be used by people (including children) with a
physical, sensory or mental impairment, or people without knowledge or experience,
unless they are supervised or given prior instructions concerning the use of the appliance
by someone responsible for their safety. Children must be supervised to ensure that they
do not play with the appliance.
27. Do not leave the appliance operating while unattended.
28. The appliance may emit light smoke during its first use. It is not defective, and the
smoke will burn off within a few minutes.

29. Should the appliance emit black smoke, un-plug it immediately. Wait for the smoke
to stop before removing the contents inside.
Short cord instructions:
Do not use with an extension cord. A short power supply cord is provided to reduce the
risks resulting from being entangled in or tripping over a long cord.
Overheating protection:
Should the inner temperature control system fail, the overheating protection system will
be activated, and the appliance will not operate. Should this happen, unplug the power
cord. Allow time for the appliance to cool completely before restarting or storing.
Electrical power:
If the electrical circuit is overloaded with other appliances, this appliance may not
operate properly. It should be operated on a dedicated electrical circuit.
Automatic shut-off:
The appliance has a built-in shut-off device that will automatically shut down the
appliance when the timer reaches zero.
You can manually switch off the appliance by turning the timer down to zero.
Preparation for use:
Before using the air fryer for the first time:
Warning: when using for the first time, the air fryer may emit slight odour which is not
harmful and will disappear after a few minutes. This is because a protective oil was
applied to protect parts from possible friction in transport.
Carefully unpack the air fryer and remove all the packing materials.
Place the air fryer on a flat, heat-resistant non-flammable surface.

Use a soft sponge and soapy water to remove any dust on the surface that may happen
during packing and transport. Allow the air fryer to dry before use.
Parts:
A. Grill pan
B. Cooking basket
C. Basket handle
D. Digital display screen
E. Power cord
Using the basket:
1. Using the handle on the basket, pull the basket out of the air fryer.
2. To remove the grill pan, reach into the basket and pull the grill pan upwards and out of
the basket.
3. If the food has just been cooked inside the air fryer, allow it to cool down before
touching the grill pan with your hands.
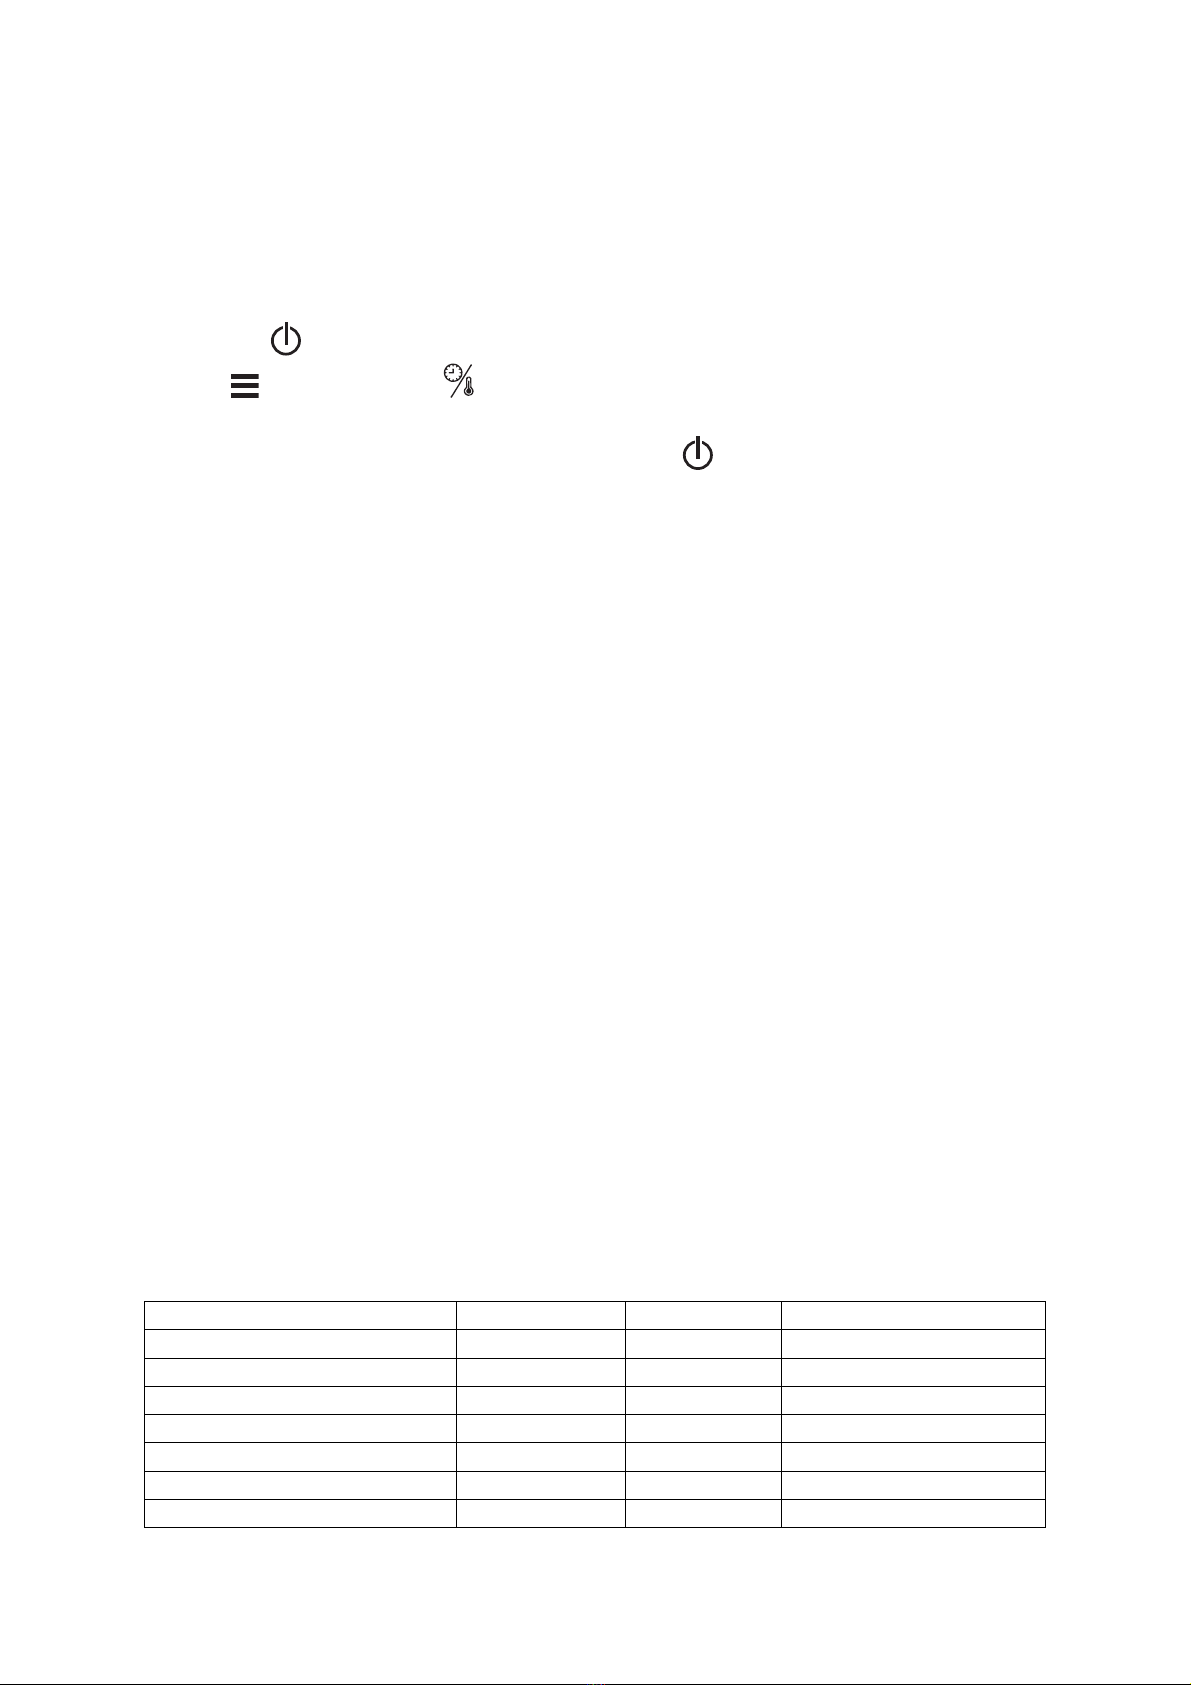
Control panel:
Time and temperature display
8 in-built cooking programs display
Increase (+) or decrease (-) time and temperature buttons
Toggle between time and temperature button
Cooking program selection button
On / off button
A
B
C
E
D

Cooking programs:
Using the air fryer:
1. When the air fryer is connected to the power source, the button will illuminate.
2. Press the button and the digital display will illuminate. Select a cooking program
with the button.
3. Press the button to manually adjust the cooking time and temperature. Press + to
increase the cooking time or temperature and press – to decrease the cooking time or
temperature. Press the button to begin cooking.
4. When the cooking time has ended, there will be 3 consecutive beeps and the fan will
continue to operate for close to 60 seconds until the internal central temperature
drops.
5. The air fryer will then enter standby mode. The button will remain illuminated.
Operation:
1. Plug the mains plug into an earthed wall socket.
2. Carefully pull the cooking basket out of the air fryer.
3. Ensure the grill pan is inside the cooking basket and put the food into the cooking
basket. Never use the cooking basket without the grill pan in it.
Cooking program
Default time
Time range
Default temperature
Temperature range
Chips
15 minutes
1-90 minutes
200°C
65-200°C
Chicken wings
20 minutes
1-90 minutes
185°C
65-200°C
Chicken pieces
30 minutes
1-90 minutes
200°C
65-200°C
Fish
15 minutes
1-90 minutes
165°C
65-200°C
Steak
15 minutes
1-90 minutes
200°C
65-200°C
Bake
25 minutes
1-90 minutes
160°C
65-200°C
Pizza
15 minutes
1-90 minutes
180°C
65-200°C
Defrost
20 minutes
1-90 minutes
60°C
30-80°C
4. Slide the cooking basket securely into the air fryer.
Caution:
Do not touch the inside of the cooking basket or grill pan during and about 30
minutes after each use, as it gets very hot. Only hold the cooking basket by the handle.
5. Press the button and the digital display will illuminate. Select a cooking program
with the button. Press the button to manually adjust the cooking time and
temperature. Press + to increase the cooking time or temperature and press – to
decrease the cooking time or temperature. Press the button to begin cooking. The
timer starts counting down from the set preparation time.
6. Some foods require shaking halfway through the cooking process. To shake the food,
pull the cooking basket out of the appliance by the handle and shake it for a couple of
seconds. Slide the cooking basket back into the air fryer immediately after shaking it.
7. When you hear 3 consecutive beeps, the set cooking time has come to an end. Pull
the cooking basket out of the air fryer and place it on a heat resistant surface. Only
hold the cooking basket by the handle and do not touch inside of it for about 30
minutes after use.
8. Check if the food is ready. If it is not ready, slide the cooking basket back into the air
fryer and add an extra few minutes on the timer dial.
9. When the food is done cooking, empty the cooking basket’s contents into a bowl or
onto a serving plate. The air fryer will be instantly ready for preparing the next batch
of food.
Tip: To remove large or fragile foods, use a pair of tongs (not included) to lift the food out
of the cooking basket. Do not turn the cooking basket upside down. Turning the cooking
basket upside down will cause the excess oil that has collected on the bottom of the
cooking basket to spill out and leak onto the served food.
Cooking guide chart:
These cooking times are a guide only. They could vary depending on quantity, initial
temperature, and weight.
Food
Time
Temperature
Additional information
Thin frozen chips
15 – 20 mins
200°C
Thick frozen chips
20 – 25 mins
200°C
Homemade chips
15 – 20 mins
200°C
Add ½tablespoon oil
Homemade potato wedges
18 – 22 mins
180°C
Add ½tablespoon oil
Hash browns
15 – 18 mins
180°C
Steak
10 – 15 mins
180°C
Hamburger
10 – 15 mins
180°C
Food
Time
Temperature
Additional information
Pork chops
10 – 15 mins
180°C
Sausage roll
13 – 15 mins
200°C
Chicken drumsticks
25 – 30 mins
180°C
Chicken breast
15 – 20 mins
180°C
Spring rolls
8 – 10 mins
200°C
Use oven-ready
Frozen chicken nuggets
10 – 15 mins
200°C
Use oven-ready
Fish fingers
6 – 10 mins
200°C
Use oven-ready
Mozzarella sticks
8 – 10 mins
180°C
Use oven-ready
Stuffed vegetables
10 mins
160°C
Cake
20 – 25 mins
160°C
Use a small baking dish
Quiche
20 – 22 mins
180°C
Use a small baking dish
Muffins
15 – 18 mins
200°C
Use a small baking dish
Frozen onion rings
15 mins
200°C
Making homemade chips:
For the best results, we advise to use pre-baked chips. If you want to make home-made
chips, follow the steps below:
1. Peel the potatoes and cut them into sticks.
2. Soak the potato sticks in a bowl of water for at least 30 minutes, take them out and
dry them with kitchen paper.
3. Pour ½tablespoon of olive oil in a bowl, put the sticks on top and mix until the sticks
are coated with the olive oil.
4. Remove the sticks from the bowl and put the sticks into the air fryer.
5. Cook the chips for 18 – 25 minutes at 180°C. Remember to shake the basket to flip
the chips halfway through cooking.
Helpful cooking tips:
• Foods that are smaller in size usually require a slightly shorter cooking time than
larger foods.
• Large quantities of food only require a slightly longer cooking time than smaller
quantities.

• Flipping or turning smaller sized foods halfway through the cooking process ensures
that all the pieces are evenly fried.
• Misting a bit of vegetable or olive oil on fresh potatoes is suggested for a crispier
result. When adding a little oil, do so just before cooking.
• Snacks normally cooked in an oven can also be cooked in the air fryer.
• Use premade dough to prepare filled snacks quickly and easily. Premade dough also
requires a shorter cooking time than homemade dough.
Frequently asked questions:
1. Can I prepare foods other than fried dishes with my air fryer?
– You can prepare a variety of dishes including steaks, chops, burgers, and baked goods.
2. Is the air fryer oven good for making or reheating soups and sauces?
– Never cook or reheat liquids in the air fryer.
3. Does the air fryer need time to heat up?
– Preheating is needed when you are cooking from a cold start, add 3 minutes to the
cooking time to compensate for this.
4. Is it possible to shut off the air fryer oven at any time?
– Press the on / off button to stop the air fryer.
5. Is the air fryer dishwasher safe?
– Only the cooking basket and grill pan are dishwasher safe. The appliance itself
containing the heating coil and electronics should never be submersed in liquid of any
kind or cleaned with anything more than a hot, moist cloth or nonabrasive sponge, with a
small amount of mild detergent.
6. What happens if the air fryer still does not work after I have tried all the
troubleshooting suggestions?
– Please contact our customer service team.
Troubleshooting:
Please use the following table as a guide to help troubleshoot and resolve any common
issues you may come across while using this appliance.
Problem
Possible cause
Solution
The air fryer
does not work.
The appliance is not
plugged into the
mains power.
Put the mains plug in an earthed wall
socket.
The food is not
done.
There is too much food
inside the air fryer.
Use smaller batches for more even
cooking.
The set temperature is
too low.
Increase the cooking temperature.
The preparation time is
too short.
Increase the cooking time.
The food is
unevenly fried in
the air fryer.
Certain types of food
need to be flipped over
during the cooking
process.
Flip the ingredients during cooking.
Fried snacks are
not crispy when
they come out of
the air fryer.
You used a type of food
that is meant to be
prepared in a traditional
deep fryer.
Use oven snacks or lightly brush some
oil onto the snacks for a crispier
result.
Chips are not
cooked evenly.
You did not soak the
potato sticks properly
before cooking.
Soak the potato sticks in a bowl of
water for at least 30 minutes; take
them out and dry them with kitchen
paper.
You did not use the right
potato type.
Use fresh potatoes and make sure
they stay firm during frying.
Fresh potato chips
arenot crispy when
they come out of
the air fryer.
The crispiness of the
chips depends on the
amount of oil and water
in the potato sticks.
Make sure you dry the potato sticks
properly before you coat them with oil.
Cut the potato into thinner sticks for a
crispier result.
Add slightly more oil for a crispier
result.
White smoke
comes out of
the appliance.
You are preparing greasy
ingredients.
Pay attention that the temperature
is under 180°C when you cook greasy
food in the air fryer.
There is excess oil inside
the air fryer.
Wipe down the inside of the air fryer to
remove excessive oil and check the grill
pan.
The grill pan has excess
grease residue from
previous cooking.
Clean the grill pan after use.

Cleaning and maintenance:
Note: Unplug the appliance and allow it to cool down completely before handling,
cleaning or storing.
• Wash the cooking basket and grill pan in warm soapy water after use.
• The cooking basket and grill pan are also dishwasher safe.
• The inside of the air fryer can be cleaned with hot water, a mild detergent and a non-
abrasive sponge.
• Wipe the outer housing body with a soft, damp cloth. Do not use detergents or
cleaners on the outside of the appliance.
• Do not immerse the power cord, plug or the housing body in water or any other liquids
as it may result in damage, fire, electric shock or injury.
Storing:
Allow the appliance to cool down completely before storing. Store the appliance in an
upright position in a dry location. Do not place any heavy items on top of the appliance
during storage as this may result in possible damage to the appliance.

Table of contents
Other Smith & Noble Fryer manuals


