User Manual | 9
Safety Guidelines - Labels on Your Snapmaker
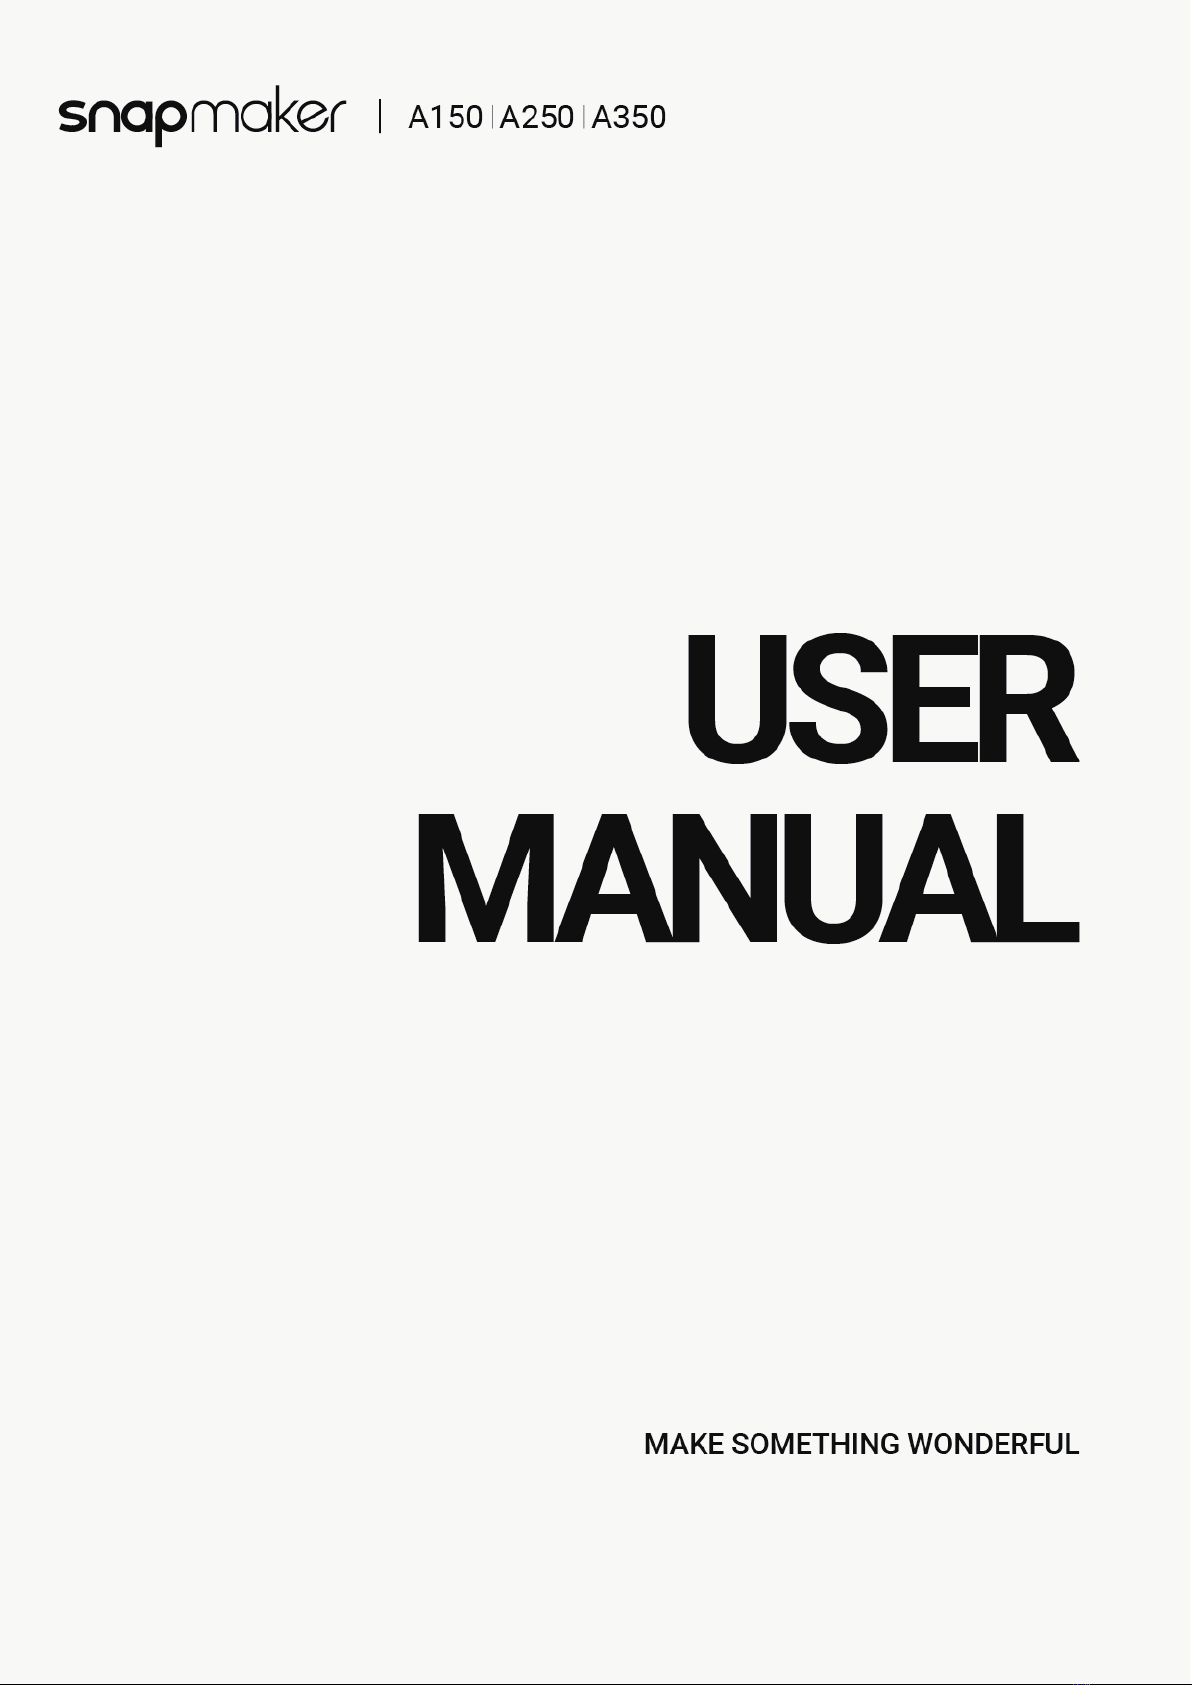
CNC Safety
Always operate the machine wearing the CNC Safety Goggles.
Operate the CNC carver in a well-ventilated place and take safety precautions like wearing protective masks.
Do not touch the bit or collet immediately after use, as doing so can cause burn hazards.
Always have the material securely clamped. Do not hold the workpiece with your hands throughout carving.
Turn off the CNC carver immediately if any of the following occurs:
- The CNC carver is on re which persists after it is turned off.
- The CNC carver stops unexpectedly.
- Any damage is incurred to the interior components of the CNC carver.
- Any unusual light or sound comes from the CNC carver which has never occurred previously.
- The bit or workpiece gets jammed or bogged down. Wait for all moving parts to stop and unplug the cable, and
then free the jammed material.
Emergency Response
3D Printing Emergencies
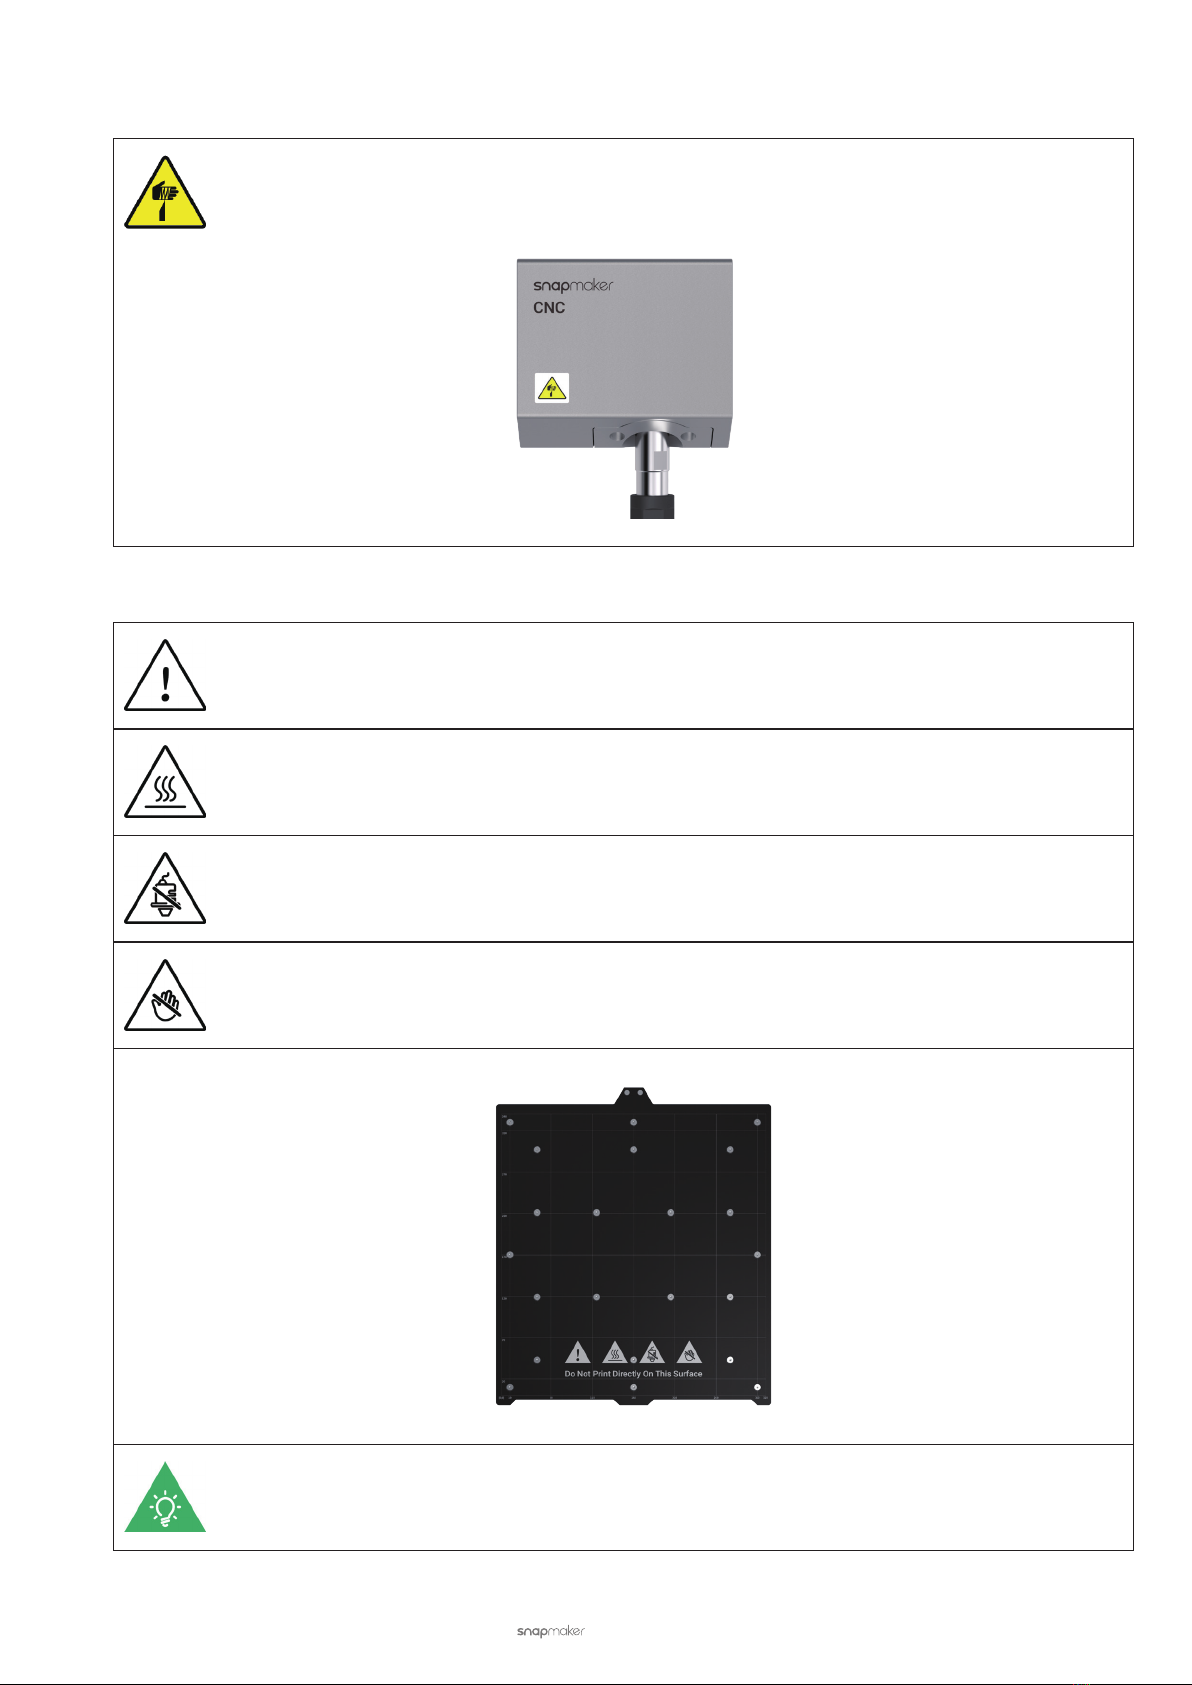
Burns from Hot Surface
Touching the hot surface, including the hot nozzle, hot end, Heated Bed, Print Sheet, and uncured filament, will burn
your skin. Should you be burnt:
(1) Get yourself away from the heat source.
(2) Immediately rinse your burnt area with cool running water.
(3) Remove any clothing or jewelry near your burnt area.
(4) Use painkillers if necessary.
(5) Cover the burn with a clean, dry bandage.
(6) Should you suffer from severe burn, seek medical help immediately.
Inhalation of Fumes and Granules
Printing with certain filaments will emit fumes or produce granules, which may irritate your respiratory system.
Generally, we recommend you use safety addons and wear protective masks when printing.
Should respiratory irritation occur, immediately expose the victim to fresh air and seek medical help immediately.
Laser Emergencies
Eye Injury from Laser
Should your eyes be exposed to direct or scattered laser beams, take the following steps as an emergency response:
(1) Grab a nearby thick and opaque object to block the laser beam to prevent further exposure to laser.
(2) Shut down the laser engraving and cutting machine immediately.
(3) If an eye injury is suspected, medical examination by a qualied specialist needs to be carried out as soon as
possible.
(4) If an eye injury is apparent, call the local hospital for emergency help.
If a medical emergency occurs in which the extent or nature of the injury precludes you from further
actions, sit down on the floor and yell for help. Warn any respondent of laser danger and ask them to
turn off the laser engraving and cutting machine before sending you to the hospital.
Safety Guidelines - Safety MeasuresSafety Guidelines - Emergency Response