manuals.online logo
Brands
  1. Home
  2. •
  3. Brands
  4. •
  5. Snapper
  6. •
  7. Tiller
  8. •
  9. Snapper Rear Tine Tiller Manual

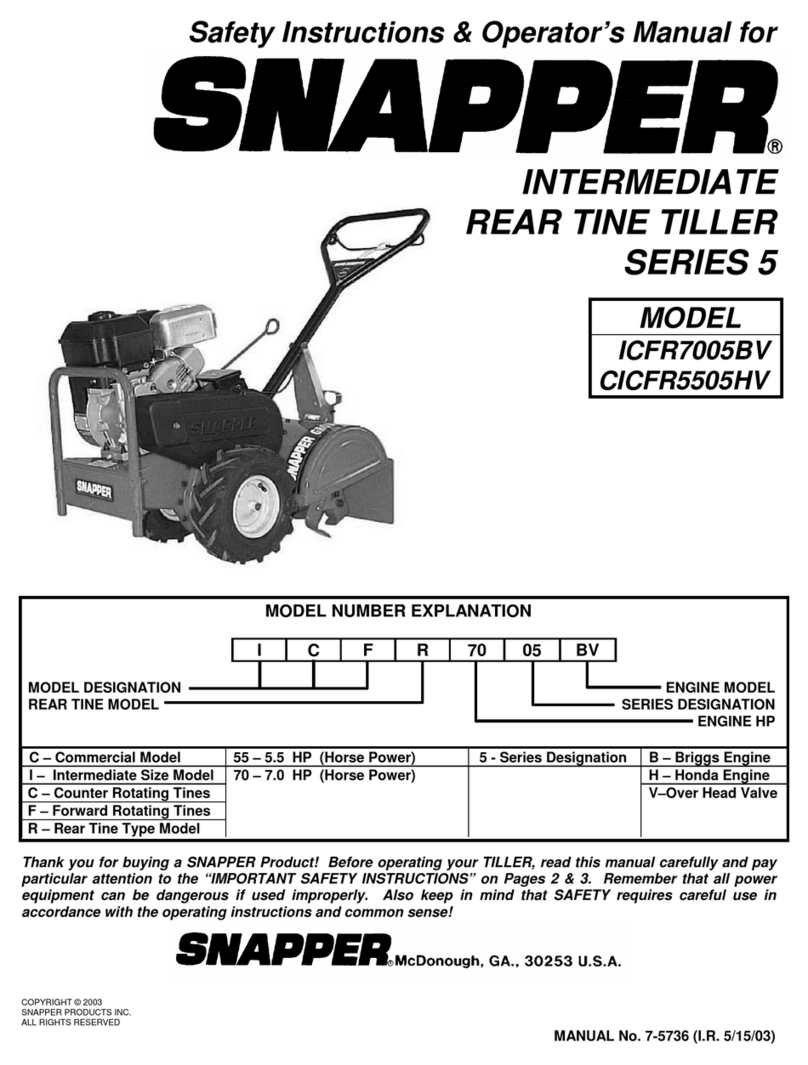
Snapper Rear Tine Tiller Manual

1
3/4” TO 1”
BELT
GUIDE
IDLER
PULLEY
IDLER
PULLEY
SPRING
SET-UP INSTRUCTIONS & PRE-OPERATIONAL CHECKLIST for SNAPPER
INTERMEDIATE REAR TINE TILLER
INTRODUCTION: Uncrate unit and check for any damage and report immediately. Make repairs as necessary. The
handle is shipped reversed and attached to the handle bracket to allow overall lower profile for shipment. The two #2-
8725 Hex Cap Screw and two #9-1606 Lock Nut in #6-1794 Hardware Bag are spare pieces for securing tines in case of
shear bolt failure during operation. Keep these pieces for future use.
STEP 1: Remove handle from “L” bracket. Remove “L”
bracket from handle bracket and discard. Rotate handle
around and prepare to secure to machine and handle bracket.
STEP 2: Wheel and Tine Control Bail is attached to the
handle. Install handle bar onto rear of main case using Part
Number 9-1681, Hex Flange Lock Bolt and Part Number 9-
1070, Hex Flange Lock Nut being careful not to kink cable.
See Figure 1. Route clutch cable between handle bar and
handle bracket. See Figure 1. Secure handle bar to handle
bracket. Insert Part Number 9-0831, Hex Cap Screw into
middle hole of handle bar and secure with Part Number 9-
1067, Hex Lock Nut. See Figure 1. If handle bar needs more
adjustment then go to Step 2. If position of handle bar is
satisfactory tighten all nuts and bolts securely.
FIGURE 1
STEP 3: Handle bar adjustment can made by removing
Part Number 9-0831, Hex Cap Screw and Part Number
9-1067, Hex Lock Nut from handle bar bracket and
handle bar and moving into another hole position. Adjust
handle bar “UP” or “DOWN” as required in the
corresponding “Low”, “Medium”, or “High” holes located
in the handle bar. See Figure 2.
FIGURE 2
STEP 4: Belt Tension adjustment will have to be
checked after set-up is complete. From the right side
under the fuel tank, measure the length of the idler pulley
spring at the end of the control cable in a relaxed
position. Then move wheel and tine control bail up to the
handle bar and measure the extended length of the
spring. When properly adjusted, the spring will extend
3/4” to 1”. See Figure 3. To adjust, loosen and reposition
the two jam nuts on the threaded end of cable located on
the dash panel. Move jam nuts toward the end of
threaded end of cable for more tension. Move jam nuts
in a direction away from the end of threaded end of cable
for less tension. See Figure 4. After adjustment, retighten
both jam nuts against dash panel. On some older
models the left wheel and belt guard may need to be
removed for spring access.
FIGURE 3
FIGURE 4
INSTRUCTION No. 2-2308 (REV. 6, 3/08/02)
MOUNT HANDLE AS SHOWN
CLUTCH CABLE
HANDLE
9-1067
9-1681
9-0831
HANDLE
BRACKET
ROUTE CABLE BETWEEN
HANDLE & HANDLE BRACKET
ADJUST HANDLEBAR
“UP” OR “DOWN”
HANDLE
BRACKET
LOW
HANDLEBAR
HIGH
MEDIUM
CLUTCH
CABLE
DASH PANEL
LOOSEN
JAM NUTS
HANDLEBA
R
CLUTCH
CABLE
MOVE NUTS
TOWARD END
FOR MORE
TENSION
2
PRE-OPERATIONAL CHECKLIST for SNAPPER
INTERMEDIATE REAR TINE TILLER
Snapper has completed initial adjustments and performed operational tests prior to shipping the machine. Due to
the possible effects of shipping, handling and storage, Snapper intends for all of the following items to be
verified and necessary final adjustments made at time of setup. It remains good practice and is strongly
recommended that all the items also be checked prior to placing the machine into service. It is very important that
setup is verified and all operational tests completed and results are acceptable. After completing this form, sign
and retain for future reference.
LUBRICATION
_____ENGINE OIL checked and/or added to FULL mark (Refer to engine manual).
_____CHAIN CASE OIL checked and/or added to bring up to edge of check hole.
OPERATIONAL TESTS
_____ENGINE STARTED and throttle and choke controls checked and adjusted as needed.
_____CLUTCH CONTROL checked and adjusted as needed for proper operation.
_____BELT TENSION checked and adjusted as needed. TENSION TEST: Start the engine with tiller in neutral. Shift
transmission into FWD & TILL and pull the wheel and tine control bail up against the handle bar. Tines and wheels
will start to rotate. Release control bail. Tines and wheels should stop rotating immediately. If rotation continues after
release of control bail then clutch spring tension is to great and will have to be readjusted as described in
Step 4.
CONSUMER INFORMATION
Sale Date____________________ Model__________________________ Serial No._______________________
Retailer’s Name_______________________________ Signature________________________________________
Address___________________________________ City_____________________ State_______ Zip__________
TILLER WILL BE USED COMMERCIALLY? _____YES _____NO
Purchaser’s Name_____________________________ Signature_______________________________________
Address___________________________________ City_____________________ State_______ Zip__________
IMPORTANT: This form is to be signed and retained for future reference regarding Warranty, proof of purchase,
traceability for product recall or service, etc. Complete the Product Registration Card and Mail to Customer
Service Department at SNAPPER, PO Box 1379, McDonough, Georgia, 30253.
INSTRUCTION No. 2-2308 (REV. 6, 3/08/02) Printed in U.S.A.

Other Snapper Tiller manuals

Snapper 300T User manual

Snapper

Snapper 300T User manual

Snapper 2-9966 Installation instructions

Snapper

Snapper 2-9966 Installation instructions

Snapper EICFR5004B Operation and maintenance manual

Snapper

Snapper EICFR5004B Operation and maintenance manual

Snapper 5 Series User manual

Snapper

Snapper 5 Series User manual

Snapper R5000 Operator's manual

Snapper

Snapper R5000 Operator's manual

Snapper R8000 User manual

Snapper

Snapper R8000 User manual

Snapper RT8 sries Operation and maintenance manual

Snapper

Snapper RT8 sries Operation and maintenance manual

Snapper 300 Series User manual

Snapper

Snapper 300 Series User manual
Snapper EICFR5505BV Operation and maintenance manual

Snapper

Snapper EICFR5505BV Operation and maintenance manual

Snapper ICFR5004B Operation and maintenance manual

Snapper

Snapper ICFR5004B Operation and maintenance manual

Snapper 1694151 User manual

Snapper

Snapper 1694151 User manual

Snapper R5000 Operator's manual

Snapper

Snapper R5000 Operator's manual

Snapper CICFR5505HV User manual

Snapper

Snapper CICFR5505HV User manual

Snapper R5002B User manual

Snapper

Snapper R5002B User manual

Snapper R8000 Operator's manual

Snapper

Snapper R8000 Operator's manual

Snapper IR5003B Operation and maintenance manual
Snapper

Snapper IR5003B Operation and maintenance manual

Snapper IR5002B Operation and maintenance manual

Snapper

Snapper IR5002B Operation and maintenance manual

Snapper 2151 User manual

Snapper

Snapper 2151 User manual

Snapper ICFR7005BV SERIES 5 Operation and maintenance manual

Snapper

Snapper ICFR7005BV SERIES 5 Operation and maintenance manual

Snapper 8-0899 User manual

Snapper

Snapper 8-0899 User manual

Snapper 6-0373 User manual

Snapper

Snapper 6-0373 User manual

Snapper 4 Series Operation and maintenance manual

Snapper

Snapper 4 Series Operation and maintenance manual

Snapper SMT3.5 User manual

Snapper

Snapper SMT3.5 User manual
Snapper 6HP User manual

Snapper

Snapper 6HP User manual

Popular Tiller manuals by other brands

Husqvarna 960910033 instruction manual

Husqvarna

Husqvarna 960910033 instruction manual

SIXTOL GRASS AIR Instructions for use

SIXTOL

SIXTOL GRASS AIR Instructions for use

Landoll 9800 Series Operator's manual

Landoll

Landoll 9800 Series Operator's manual

Toro 23515 Operator's manual

Toro

Toro 23515 Operator's manual

IKH XTP4 instruction manual

IKH

IKH XTP4 instruction manual

Maruyama T300 Owner's/operator's manual

Maruyama

Maruyama T300 Owner's/operator's manual

Stiga GGP Silex 360-G Instructions for use

Stiga

Stiga GGP Silex 360-G Instructions for use

Simplicity 1694161 Operator's manual

Simplicity

Simplicity 1694161 Operator's manual

MTD YM120 parts list

MTD

MTD YM120 parts list

KUHN EL32 Operator's manual

KUHN

KUHN EL32 Operator's manual

MTD 510r parts list

MTD

MTD 510r parts list

Craftsman 29002 instruction manual

Craftsman

Craftsman 29002 instruction manual

Billy Goat AE400H, AE450 owner's manual

Billy Goat

Billy Goat AE400H, AE450 owner's manual

Craftsman Sears 900 Series owner's manual

Craftsman

Craftsman Sears 900 Series owner's manual

Poulan Pro HDF900 Operator's manual

Poulan Pro

Poulan Pro HDF900 Operator's manual

Craftsman 293410 Repair parts manual

Craftsman

Craftsman 293410 Repair parts manual

Nakayama MB2100 manual

Nakayama

Nakayama MB2100 manual

Husqvarna TR317D Operator's manual

Husqvarna

Husqvarna TR317D Operator's manual

manuals.online logo
manuals.online logoBrands
  • About & Mission
  • Contact us
  • Privacy Policy
  • Terms and Conditions

Copyright 2025 Manuals.Online. All Rights Reserved.