SoftBank 103P User manual

User Guide
103P

Introduction
Thank you for purchasing SoftBank 103P.
Read this guide thoroughly beforehand for proper usage.
Accessible services may vary by service area, subscription, etc.
SoftBank 103P is compatible with both 3G and GSM network technologies.
Note
Unauthorized copying of any part of this guide is prohibited.
Guide content is subject to change without prior notice.
Efforts have been made to ensure the accuracy and clarity of this guide. Please contact SoftBank Customer
Support, General Information (ZP.9-22) about unclear or missing information.

1-1
Contents
Getting Started
Getting Started
Contents ..........................................................1-1
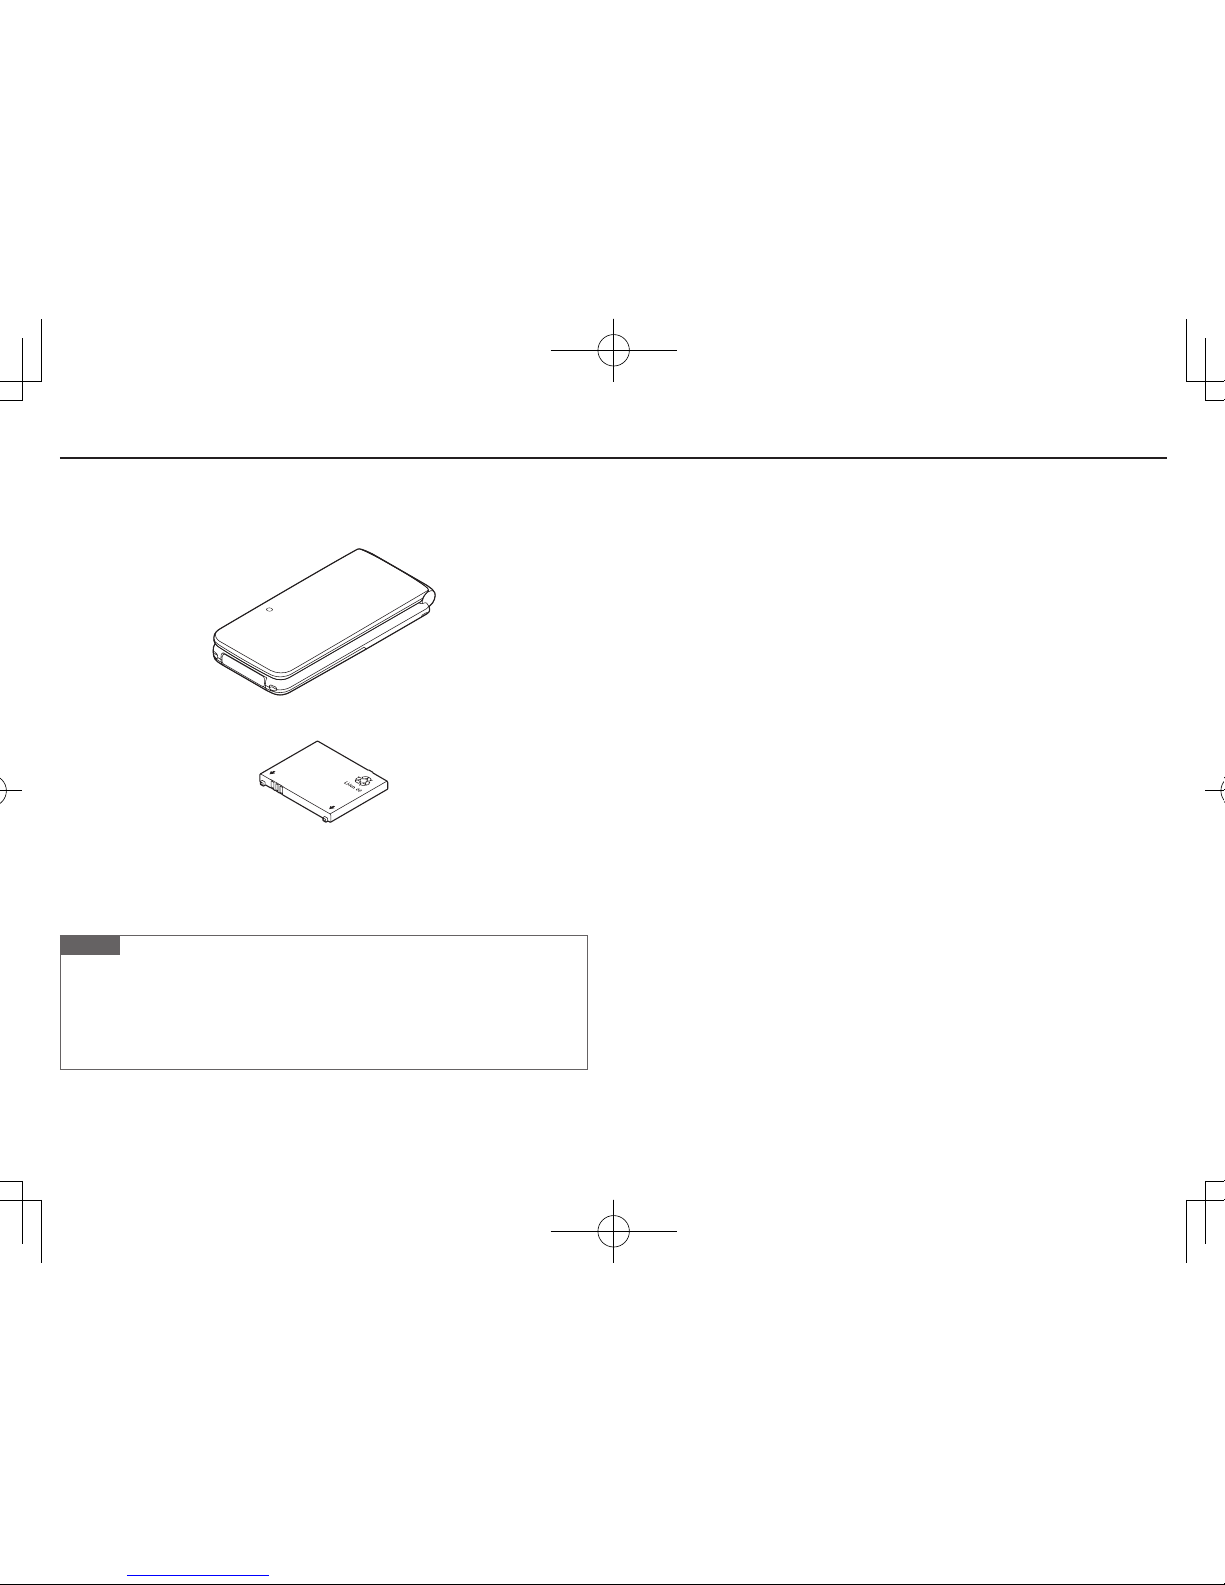
Package Contents ............................................1-2
Using This Guide ..............................................1-2
USIM Card Installation ....................................1-4
Charging Battery .............................................1-5
microSD Card Installation................................1-6
Parts & Functions .............................................1-7
Basic Operations ..............................................1-9
Display ...........................................................1-11
Handset Menus ..............................................1-12
Handset Security ...........................................1-14
Mobile Manners.............................................1-15
Text Entry
Entering Text ....................................................2-1
Editing Text ......................................................2-4
Calling
Emergency Calls ..............................................3-1
Voice Calls .......................................................3-1
Video Calls .......................................................3-2
International Calls ...........................................3-3
Answer Phone..................................................3-5
Optional Services ............................................3-6
Phone Book .....................................................3-9
Messaging
Basics ...............................................................4-1
Customizing Handset Address .........................4-2
Sending S! Mail & SMS ....................................4-3
Receiving Messages ........................................4-4
PC Mail ............................................................4-6
Internet
Getting Started ...............................................5-1
Accessing Internet ...........................................5-2
Bookmarks & Saved Pages ..............................5-3
Internet Settings .............................................5-4
Connectivity
Infrared ............................................................6-1
Bluetooth® .......................................................6-3
External Devices ..............................................6-5
Camera & Imaging
Before Using Camera .......................................7-1
Capturing phots ...............................................7-4
Recording Videos .............................................7-5
Other Camera Functions ..................................7-6
Others
Digital TV .........................................................8-1
Picture Album ..................................................8-4
Appendix
Handset Data Backup ......................................9-1
Software Update .............................................9-2
Troubleshooting ...............................................9-3
Safety Precautions ...........................................9-5
Handling Precautions ....................................9-12
Copyrights .....................................................9-16
Specific Absorption Rate (SAR) .....................9-18
Specifications ................................................9-19
Support ..........................................................9-19

1-2
Getting Started
Package Contents
Handset (103P)
Battery (PMBAS1)
(Japanese)
(Japanese)
(Japanese)
Note
Use SoftBank Mobile specified AC Charger (sold separately) to charge Battery.
For more information about AC Charger and accessories, please contact
SoftBank Customer Support, General Information (ZP.9-22).
103P accepts microSD or microSDHC Card (not included). Purchase one to use
related functions (ZP.1-6, P.9-1).
Using This Guide
Before reading on, please make note of the following:
SoftBank 103P is referred to as "handset" or "103P."
"microSD Card" and "microSDHC Card" are referred to as "microSD Card."
Screenshots, etc. are for reference. Actual handset windows, menus, etc. may
differ
.
Key icons are simplified.
Most operation descriptions begin in Standby.
Pressing a key for more than one second is described as "Press and hold."

1-3
Getting Started
Guide Symbols
Softkeys
Press the corresponding key to execute the function or operation
indicated at the bottom of Display.
Example:
Multi Selector
Use Multi Selector to select items, navigate menus, etc. In this
guide, Multi Selector operations are indicated as shown below.
>zUp ?zUp/Down Xz
Up/Down/
Left/Right
Cz
Down
VzLeft <zLeft/Right *zCenter
NzRight
Left Right
Up
Down Center
Japanese Functions & Services
When "(Japanese)" appears in a title, Japanese ability is required
to use full range of the function or service.

1-4
Getting Started
USIM Card Installation
Always turn off handset power before removing Battery (ZP.1-5).
USIM PINs: ZP.1-17
Inserting
1 With IC chip down, insert USIM Card
Removing
1 Slide out USIM Card gently
Notch
Important
USIM Card is the property of SoftBank Mobile.
Return USIM Card to SoftBank Mobile upon service cancellation.
USIM Card will be reissued for a fee if lost or damaged.
If USIM Card/handset with USIM Card installed is lost or stolen, contact
SoftBank Customer Support or SoftBank Mobile Global Call Center
(ZP.9-22).
Back up USIM Card files. SoftBank Mobile is not liable for lost files.
USIM Card specifications/performance may change without prior notice.
Pre-installed S! Appli may be unusable while a different or replacement
USIM Card is installed.
Some downloaded files may be inaccessible after upgrades/repairs, USIM
Card/handset replacement.
Returned USIM Cards are recycled.
Note
Do not forcefully insert/remove USIM Card; may damage handset/USIM Card.
Avoid touching USIM Card terminals or IC chip; doing so may hinder
performance/USIM Card recognition.

1-5
Getting Started
Charging Battery
Battery Installation
Always turn off handset power before removing Battery.
1 Press and slide to remove Battery Cover
2 Insert Battery
Align Battery contacts with handset pins
Remove Battery
Lift Battery out as shown
3 Replace Battery Cover
Battery Cover should click into place.
Note
Lithium-ion batteries are valuable and recyclable resources.
・ Recycle used lithium-ion battery at shops displaying this symbol:
・ To avoid fire or electric shock, do not:
- Short-circuit Battery
- Disassemble Battery

1-6
Getting Started
Charging Battery
Use only specified AC Charger (sold separately).
1 Connect AC Charger to handset
2 Extend Charger Blades, and plug AC Charger into AC Outlet
Charging Indicator illuminates and charging starts.
When charging is complete, Charging Indicator goes out.
3 When charging is complete, unplug AC Charger, then
disconnect handset
Squeeze Release Tabs to remove Charger Connector, and replace Port Cover.
Port Cover
Charging Indicator
External Device Port
Arrows up
Release Tabs
Charger Connector
AC Charger
Charger Blades
AC Outlet
3
2
1
microSD Card Installation
Power off handset before inserting/removing microSD Card.
Handset Data Backup: ZP.9-1
Inserting
1 Insert microSD Card until it clicks
■Format microSD Card
>Main Menu 4 Tools 4 microSD Backup 4 Refer Data 4 S[Menu]
4 microSD format 4 Enter Phone Password 4 YES
Formatting microSD Card deletes all saved files/data.
Do not power off handset or remove microSD Card while formatting; may
damage handset or microSD Card.
Removing
1 Push microSD Card in
microSD Card pops out with a light push.

Getting Started
1-7
Parts & Functions
5.1M

Getting Started
1-8
Earpiece
Display
A Mail Key
・ Open Messaging menu
・ Execute Upper Left Softkey function
1 TV Key
・ Activate TV
・ Open TASK MENU
・ Execute Lower Left Softkey function
K Clear/Memo Key
・ Delete characters
・ Cancel menus
・ Use Answer Phone
J Send Key
・ Initiate or answer calls
・ Toggle upper/lower case in text entry windows
・ Use Voice Dial
G /Pictograph/Symbol/Driving Mode Key
・ Enter " "
・ Access pictographs in text entry windows
・ Toggle Driving Mode on/off
z Multi Selector
・ Move cursor or select menus (ZP.1-3)
・ >z
Select icons/S! Quick News
・ Cz
Open Phone Book
・ Vz
Open Incoming Call Logs
・ Nz
Open Redial logs
S Yahoo! Keitai Key
・ Open Yahoo! Keitai top menu
・
Execute Upper Right Softkey function
F Camera Key
・ Activate Camera
・ Execute Lower Right Softkey function
L End/Escape & Power Key
・ Power on/off (ZP.1-9)
・ End calls
・ Return to Standby
P-O Keypad
・ Enter phone number/text
H #/Manner Mode Key
・ Enter "r"
・ Toggle Manner Mode on/off
Mic
External Device Port
・ Connect AC Charger, earphone or other
accessories here
Notification Light/Charging Indicator
・ Flashes for incoming transmissions
・ Lights for charging
Strap Eyelet
Infrared Port
・ Transfer data via Infrared
Internal Antenna Area
Camera
Speaker
Battery Cover
Charging Terminals
Note
Do not press microphone button when connecting
Earphone with Mic. Doing so may cause
malfunction. If pressed accidentally, unplug then
reconnect it.

1-9
Getting Started
Camera
Speaker
Battery Cover
Charging Terminals
Note
Do not press microphone button when connecting
Earphone with Mic. Doing so may cause
malfunction. If pressed accidentally, unplug then
reconnect it.
Basic Operations
Power On/Off
1 Power On
Press and hold L
Start-up window appears and handset enters Standby.
Power Off
Press L for 2+ seconds
Handset shuts down.
■Initial Setup
The first time handset powers on and Initial setting window appears, select
YES
and set the following: (Each item can be set separately.)
Date & Time*(ZP.1-10) Set date and time
Phone Password (ZP.1-17) Enter 9999, and enter new Phone Password
Key Tone Select
ON
or
OFF
Font Size
Set Display font size all at once
* May set/adjust automatically upon network connection
Retrieving Network Information
Pressing *z, A, S or >z for the first time in Standby may
initiate Network Information retrieval; press *z to retrieve it.
Update Network Information to use messaging, Internet, etc.
Update Network Information manually: Main Menu 4 Settings
4 Connectivity 4 Retrieve NW Info 4 YES
Keyguard
Lock handset keys to prevent accidental operation. Opening
handset temporarily cancels Keyguard.
1 Press and hold *z
To cancel Keyguard, press and hold *z with handset open.
While set, appears in Standby. (Indicator is grayed out while Keyguard
is temporarily canceled.)
If handset is closed while Keyguard is active, or Keyguard activated in
closed position, Display enters Power Saver Mode and Display Lock
activates. (ZP.1-15)

1-10
Getting Started
English Interface
Main Menu 4 4 4 Language 4 English
Date & Time
Main Menu 4Settings 4 Date & Time 4 Date & Time
1 Enter year 7 Enter date 7 Enter time
■World Clock
>After Step 1, Highlight time zone 7 A[Edit] 7 Xz to select a time zone
7 *z[Select]
Alternatively, in Step 1,
World Clock
7
ON
or
OFF
(7 For
ON
, Xz to select
an area).
My Number
1 *z 7 P
■Edit Account Details
Save phone number, mail address, street address, etc. in Account Details.
Handset phone number cannot be edited or deleted.
>After Step 1, A[Edit] 7 Enter Phone Password 7 Edit 7 A[Finish]
■Send Account Details via Infrared
>After Step 1, F[Ir]

Getting Started
1-11
Display
Icons & Indicators
Data Transmission
3G/GSM Packet Transmitting
Network Service
/
3G/GSM Packet Transmission Available*
/
3G/GSM Packet Transmission
Unavailable*
* Appears only while abroad
Secure Content
PC Site Browser Active
Infrared Active
USB Cable Connected
Keyguard Active
Voicemail
(Blue) Bluetooth® Device Connected
microSD Card installed
Unread Message
Unread Urgent News
Manner Mode Active
Software Update
(Notification/Updating/Result)
Digital TV Active
During Timer Recording
/ Recording TV Program/Paused
Vibration Active (Incoming Call/Message)
Incoming Call/Message Ringtone Disabled
Driving Mode Active
~
Answer Phone Active (Number of Recorded
Messages (Voice Call))
~
Answer Phone Active (Number of Recorded
Messages (Video Call))
Information Window (ZP.1-12)
Display Indicators
Signal Strength
Strong Moderate Weak Low
Offline Mode Active
Out-of-Range
Battery Level
7 7 7
(Red)
TBD

1-12
Getting Started
Information Window
In Standby, Information Window opens for missed events.
Select a notification to view/access information.
1 Highlight an item 7 *z
Follow onscreen instructions.
Handset Menus
1 In Standby, *z
Main Menu appears.
2 Xz to highlight an icon 7 *z[Select]
Selected function menu appears.
To return to Standby: L
Main MenuStandby
L
*z
TBD
TBD TBD

Getting Started
1-13
Function List
S! Appli
S! Appli List
S! Appli Settings
S! Appli History
Information
Entertainment
S! Info Ch./Weather
S! Quick News
Free Contents
S! Contents Store
Post Blog
Camera
Camera
Video Camera
Media
Music
Videos
Tools
Alarms
Calendar
Calculator
Notepad
Tasks
Dictionary
Sound Recorders
Barcode Reader
Location Settings
Bluetooth
Receive via Infrared
Music Player
microSD Backup
Templates/User Dic.
Data Folder
Pictures
Ring Songs&Tones
S! Appli
Widget
Music
Videos
TV
Books
Customized Screen
Templates
Font
Other Documents
Widget
Widget Store
Widget Contents
Settings
TV
Watch TV
Program List
Timer Watching
Timer Recording
Recording Result
TV Link
Channel List
Channel Setting
User Settings
Messaging
Incoming Mail
Create New
Retrieve New
Drafts
Templates
Sent/Unsent
Server Mail
Create New PC Mail
Create New SMS
Settings
Memory Status
Yahoo!
Yahoo! Keitai
Menu List
Bookmarks
Saved Pages
Web Search
Enter URL
History
PC Site Browser
Set Yahoo! Keitai
Reset
Phone
Phone Book
Create New Entry
Call Log
Account Details
S! Addressbook BkUp
Group
Memory Manager
Restrictions
Settings
Memory Status
Settings
Sound Settings
Display Settings
Customized Screen
Incoming Settings
Phone Settings
Date & Time
Security
Call Settings
Video Call
International Call
Connectivity
Notification Light

1-14
Getting Started
Handset Security
USIM PINs
PIN
4 to 8-digit code used to prevent unauthorized handset use.
When PIN Authentication is
ON
, PIN entry is required each time
handset is turned on (with USIM Card installed).
PIN2 Required for call cost setting.
PIN and PIN2 are set to 9999 by default.
PIN Authentication
Main Menu 4 Settings 4 Security 4 PIN Authentication
1 Enter Phone Password 7
PIN Authentication
7
ON
or
OFF
7 Enter PIN
PIN/PIN2 Lock & Cancellation (PUK/PUK2)
PIN Lock or PIN2 Lock is activated if PIN or PIN2 is incorrectly
entered three times. Cancel PIN Lock or PIN2 Lock by entering PIN
Unblocking Key (PUK/PUK2).
For information about PUK/PUK2, contact SoftBank Customer Support, General
Information (ZP.9-22).
Note
If PUK/PUK2 is incorrectly entered ten times, USIM Card is locked and
handset is disabled. Write down PUK/PUK2.
For procedures required to unlock USIM Card, contact SoftBank Customer
Support, General Information (ZP.9-22).
Passwords
Phone Password
<Default> 9999
4 to 8-digit number required to use/change some handset
functions.
■Change Phone Password
>Main Menu 4 Settings 4 Security 4 Change Phone Password
4 Enter current Phone Password 4 Enter new Phone Password
4
YES
Center Access Code (Security Code)
4-digit number specified at initial subscription; required to access
Voicemail via landlines, subscribe to paid content or restrict
handset services.
For procedures required to change Center Access Code, contact SoftBank
Customer Support, General Information (ZP.9-22).
If entered incorrectly three times, Call Barring settings lock; Center Access Code
must be changed.
If Security Code has been changed on handset, enter the number to activate/
deactivate Call Barring.
Note
Write down Phone Password and Center Access Code. Do not reveal Phone
Password and Center Access Code. SoftBank Mobile is not liable for misuse
or damages.

1-15
Getting Started
Mobile Manners
Minding Mobile Manners
Please use your handset responsibly. Use these basic tips as a
guide. Inappropriate handset use can be both dangerous and
bothersome. Please take care not to disturb others when using
your handset. Adjust handset use according to your surroundings.
Turn it off in theaters, museums and other places where silence is the norm.
Refrain from use in restaurants, lobbies, elevators, etc.
Observe signs and instructions regarding handset use aboard trains, etc.
Refrain from use that interrupts the flow of pedestrian or vehicle traffic.
■Manner-related Features
Manner Mode Mute handset tones and activate vibration for incoming
transmissions.
Vibration Activate in public places, meetings, etc. for silent call/
message alerts.
Ringer Volume Adjust call/message tones, etc.
Offline Mode
Suspend all handset transmissions.
Answer Phone Use to handle incoming calls when inappropriate/unsafe
to answer.
Driving Mode While driving, send a voice message informing the caller
that you cannot answer the call. (Handset does not ring.)
Manner Mode
1 In Standby, press and hold H
appears.
To cancel: Press and hold H again
Offline Mode
Main Menu 4Settings 4 Call Settings 4 Offline Mode
1
YES
appears.
To cancel: Follow the same steps
Driving Mode
1 In Standby, press and hold G
appears.
To cancel: Press and hold G again

2-1
Entering Text
Enter alphanumerics, hiragana, kanji, katakana, symbols and
pictographs.
There are two character input methods: 5-touch and 2-touch
In this guide, examples are described for 5-touch.
2-touch
Press two numeric keys to enter a character.
Touch Keypad
Touch Keypad is available when text entry window is opened via Touch Menu or
handset is closed during Keypad operation.
Using Touch Keypad: ZP.2-5
■Text Entry Window
Character Input Methods Operations
5-touch/2-touch Press and hold A[Mode]
Input Modes (Double-byte/Single-byte) Operations
5-touch
1
/
1: Kanji (hiragana) (double-byte)
1
/
11
/
2: Katakana
abc1
/
1abc1
/
2:
Uppercase alphanumerics
abc1
/
1Smabc1
/
2Sm:
Lowercase
alphanumerics
1
/
11
/
2: Numbers
A[Mode] 7 Select a
character type
2-touch
1
/
1 1
/
2:
Uppercase alphanumerics/
Regular kana
1
/
1Sm 1
/
2Sm: Lowercase
alphanumerics/
Small kana
To toggle double-/
single-byte: A[Mode]
To toggle Small kana/
Regular kana: IP
Remaining Bytes
Text Entry
TBD

2-2
Text Entry
Entering Characters
Example: Enter
1 In alphanumerics mode, A[Mode] 7
す: E three times
ず: Nz* 7 E three times 7 G
き: W twice
* When the next character is on the same key, press Nz first to move cursor.
2 Cz to enter Suggestion List
To exit list: K
3 Xz to select 鈴木
■Other Input Functions
Enter katakana/
alphanumerics
A[Mode] 7 Select input mode (character
type) 7 Enter characters
Enter small kana
(っ, ッ, etc.)
Enter a character 7 J
Alternatively, press a key repeatedly for
assigned small kana.
Enter uppercase letters
Enter a character 7 J
Alternatively, press a key repeatedly for
assigned uppercase letter.
Add ゛
or ゜
Enter a character to add ゛
or ゜
7 G for ゛
or
G twice for ゜
In single-byte katakana mode, enter ゛
or ゜
as
a single-byte character.
Insert line feed F[Line FD] to insert line feeds in text
Add space at end of text Nz
Insert space within text
H repeatedly until single-byte space
appears*, or S[Menu] 7
Input Space
(Double-byte (single-byte) space is entered in 2
bytes (1 byte) input mode.)
Reverse toggle
F[Rev.]
Example: From c, press to toggle as follows:
c 7 b 7 a 7 2…
Move cursor to beginning/
end of sentence
S[Menu] 7
Jump
7
To beginning
or
To end
Undo 1[Undo]
* Space cannot be entered in number mode. Use symbol list.
TBD
TBD

2-3
Text Entry
Pictographs/Symbols/Smileys/URLs
Pictographs do not appear in messages sent to incompatible SoftBank handsets
or most e-mail addresses.
1 In text entry window, G
List Log may appear first.
1 Only in S! Mail text entry window
2 Only for S! Mail
2 To toggle tabs, A[] or S[]
3 Xz to select a pictograph/symbol/smiley/URL
To close list: K
Templates
Insert templates (greetings, URLs, emoticons, etc.).
1 In text entry window, press and hold G
Not available in number mode.
2 Select a category 7 Select a template
Additional Features
1 In text entry window, S[Menu] 7
Templates/Quote
2 Select an item
Item Operation/Description
Kuten code Enter a character code
>Enter a character code (4 digits)
Quote phone
book
Quote Phone Book entry details
>Select an entry 7 Check items 7 A[Finish]
Quote accnt
detls
Quote Account Details
>Enter Phone Password 7 Check items 7 A[Finish]
Bar code reader Activate Bar Code Reader to insert scanned result
My Pict.1: My Pictograms
Univrsl.2: Universal (cross-carrier) pictographs
Full: All pictographs
Symbol: Symbols
Smiley: Smileys
URL: URLs
TBD
Table of contents
Other SoftBank Cell Phone manuals

SoftBank
SoftBank 101K User manual

SoftBank
SoftBank 102SH User manual

SoftBank
SoftBank 841SH User manual

SoftBank
SoftBank 832P User manual

SoftBank
SoftBank X02T User manual

SoftBank
SoftBank 706N User manual

SoftBank
SoftBank 941SC User manual

SoftBank
SoftBank 004SH Assembly instructions

SoftBank
SoftBank 823SH User manual

SoftBank
SoftBank 911T User manual

SoftBank
SoftBank 810P User manual

SoftBank
SoftBank 830P User manual

SoftBank
SoftBank 832SH User manual

SoftBank
SoftBank 920P User manual

SoftBank
SoftBank 942SH User manual

SoftBank
SoftBank 921P User manual

SoftBank
SoftBank 740SC Safety guide

SoftBank
SoftBank 932SH User manual

SoftBank
SoftBank 707SC User manual

SoftBank
SoftBank Aquos shot 002 SH User manual