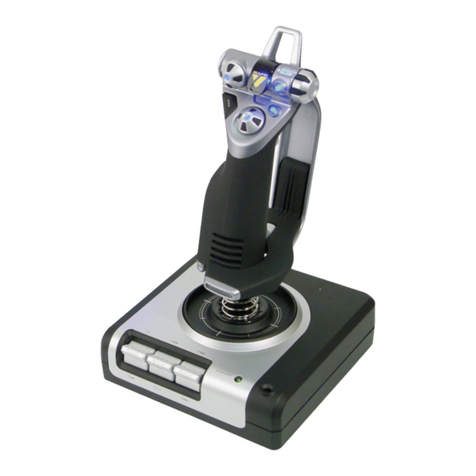
Solar Loyal SL-4108 User manual

SL-4108 manual
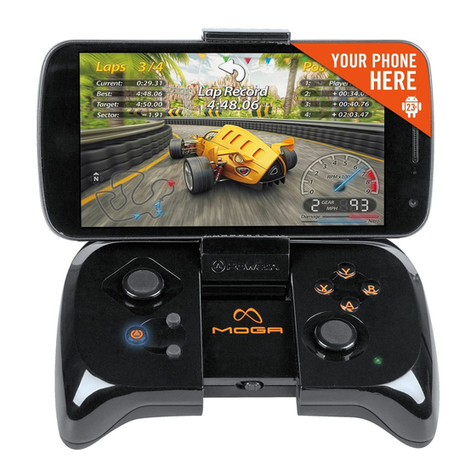
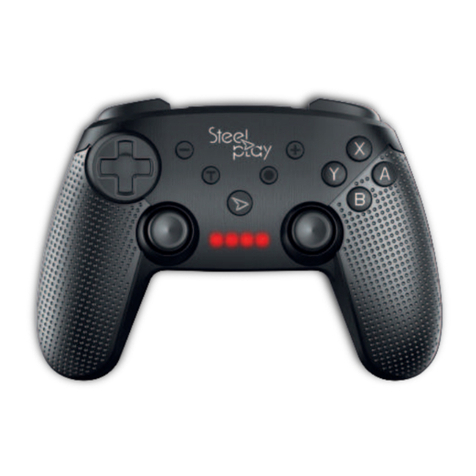
Thank you very much for purchasing this controller which is a
new design , compatible PC, SWITCH. Please read the manual
carefully before using it and save it for later use.
Content
1. Bluetooth controller *1
2. 1M USB-C charging cable *1
3. Instruction manual *1
SOLAR LOYAL LIMITED
1
2
3
4
-1- V:0.1 june 26,2019

FEATURE
1. CompatiblewithNintendoSwitchhost,PC
2. Bluetoothtechnology
3. Operationrangeupto10M
4. BuiltinLI-polymerbattery600mA
5. Chargingtime:2.5hours
6. Playingtime:morethan8hours
7. SensitiveLBRBbutton,joystickandTriggerdesign,coregamer
lovedD-paddesign
8. 2vibrationmotors
9. Laserengravedmouldtextureonhandle,ergonomicdesignfor
comfortableuse
10. WithLEDunderfacebuttonsandrightjoystick
11. Concavedjoystickdesignwithmattfinishforbettergamecontrol
USBCable
-2-V:0.1june26,2019

Left joystick:
It is set in the different game according
to the customer favorite.
Hold down left joystick is
button L3.
Directional pad:
8-way point of view control
button
Channel LED
1
2
3
4
PC XBOX 360 mode key layout:
Turbo button setting:
1. Hold the key which you
want to set it into turbo
function, then press
Capture key one time.
Backlight red flashing,is set
successfully.
2. Hold the key which you
have set turbo function,
then press Capture key it
can clear turbo setting. And
the backlit return to blue.
3. Can be set the TURBO
button:A,B,X,Y,L,R,ZL,ZR.
-3- V:0.1 june 26,2019
Corresponds
Back button
Corresponds
Start button

USB C :
1. USB data
2. INPUT:5V,500mA
Hold down right joystick is
button R3.
Right joystick:
It is set in the different game
according to the customer
favorite.
Home button
The function keys:A,B,X,Y
Trigger Button ZL
L button
Trigger Button ZR
R button
Charging indicator LED
When charging, LED is on,
LED off when full.
Hold the "home" button for 5
seconds to turn handle power off.
Annular backlight
1. When starting up normally, blue
backlight is on.
2. When TURBO function is activated,
the red light is on.
1
2
3
4
A, B, X, Y backlight LED is ON
when Power on the handle .
Hold down L + R, 5 seconds
backlight LED to turn off.Hold
down L+R again, 5 seconds
backlight LED to turn on.
-4- V:0.1 june 26,2019

Reset switch
The motor adjusts a total of 5 gears, 100% of the
vibration of the first gear, 75% of the vibration of the
second gear, 50% of the vibration of the third gear,
25% of the vibration of the fourth gear, and 0% of the
vibration of the fifth gear.
The methods of operation are as follows:
1. Hold down the turbo key first and then hold down the
direction key up to strengthen the vibration of the
motor. If in 2 gears, press the key up to become 1 gear
,each shift, the motor should also vibrate for 1 second,
if adjusted to 2 gears, then the motor is 75% vibration
intensity vibration for 1 second.
Motor vibration intensity adjustment
(Note: when you change to gear 1, you can't adjust it up
any more.)
-5- V:0.1 june 26,2019

Backlight led brightness adjustment
ZL+ZR+R3 and direction key up and down to adjust the light
intensity of the handle, a total of 5 gear, 1 gear 100%, 2 gear
75%, 3 gear 50%, 4 gear 25%, 5 gear off backlight.
The methods of operation are as follows:
1. Hold down the ZL+ ZR+ R3 key and then hold down the
direction key up to strengthe the brightness of LED. If in 2
gear, press the key up, then become 1 gear. (Note: when
you change to gear 1, you can't turn it up any more.)
2. Hold down the ZL+ZR+R3 key and then hold down the
direction key down, then the brightness of led decreases.
If you press the key down when you are in the second
gear, it becomes the third gear. (Note: annular and abxy
led are brightened and weakened at the same time. And
in turbo mode, the annular red led is weakened and
strengthened at the same time. )
(Note: When programmed, the motor and led are the
strongest by default, and both the motor and backlight
have memory function.)
2. Hold down the turbo key first and then hold down the
direction key down to weaken the vibration of the motor.
If in the second gear, press the key down, it will become
3 gears ,each shift, the motor should also vibrate for 1
second,if adjusted to 3 gears, then the motor is 50%
vibration intensity vibration for 1 second.
-6- V:0.1 june 26,2019

1. Insert USB cable directly to the
computer USB port .
2. When channel LED1 and LED4 is
normally on ,connection
is successful .
3. Enjoy your game on your devices.
PC wired mode connection Settings:
1
2
3
4
-7- V:0.1 june 26,2019

Channel LED:
If controller is paired,When the battery voltage is lower
than 3.5 V, connected channel LED(s) flashing warning
lower power, and close the vibration function.
The switch connection/pair Settings:
1. On your Nintendo switch ,select the menu
item "Controller"------"Change Grip and
Order".
2. When the handle is off, hold down the Y button and
then hold down the home button. The channel lights
flicker and start pairing.
3. When channel LED stay on ,connection
is successful .
4. Enjoy your game on your devices.
SWITCH mode key layout:
1
2
3
4
Capture buttom
1. Default screenshot
btton on the switch
host.
2. Long press video
function on switch
host.
-8- V:0.1 june 26,2019
backlight is always on when the switch is
successful,Flicker when "turbo" function is
activated,Press the "R3+ Capture" button
again ,the key "Capture" can be switched
return to the "Capture" function key.
Note:Press the R3 key first and then the
capture key.
3. The "R3" button
and the "capture"
button can be
pressed once at
the same time to
switch "Capture" to
the "turbo" button
function,
Red annular

Use the cable connection Settings:
1. On your Nintendo Switch,select the menu
item"System Settings"----"Controllers and
sensors"----"Pro Controller wired
Communication"is on.
2. Insert USB cable directly to the nintendo
switch charging dock.
3. When channel LED stay on ,connection
is successful .
4. Enjoy your game on your devices.
HDMI CABLE
Power Plug
The original adapter
TV
Switch charging dock
Switch host
Note:Nintendo switch host usb
2.0 supports wired handles, usb 3.0
does not support wired handles,
and can only use two wired handles
at the same time.
HDMI
HDMI
1
2
3
4
-9- V:0.1 june 26,2019

Channel indicate :
The switch can connect 8 controller:
The first controller:LED1 is normally on.
The second controller:LED1+LED2 is normally on.
The third controller:LED1+LED2+LED3 is normally on.
The fourth controller:LED1+LED2+LED3+LED4 is normally on.
The fifth controller:LED1+LED4 is normally on.
The sixth controller:LED1+LED3 is normally on.
The seventh controller:LED1+LED3+LED4 is normally on.
The eighth controller:LED2+LED3 is normally on .
Player number Glowing LEDs
1
2
3
4
5
6
7
8
-10- V:0.1 june 26,2019

-11- V:0.1 june 26,2019
Switch handle upgrade operation instructions:
Upgrade Preparation:
1. PC *1
2. Upgrade tool package
3. Upgrade program File
Upgrade operation:
Step 1:
Hold down the handle "+ and -" key ,then connect the USB
cable to the computer usb port.
1
2
3
4

-12- V:0.1 june 26,2019
Step 2:
1. Open the "GH800 upgrade tools" folder, Double-click to
run the"testTool" program.
2. Select the only drive option that appears in the Device
drop-down option box .
3. Click on the "..." in the Firmware option, Select the
upgrade program file for the handle.
4. Click "Download" to upgrade, Indicate "update success"
after completion .

Table of contents

