Solarstone Classic Single User manual
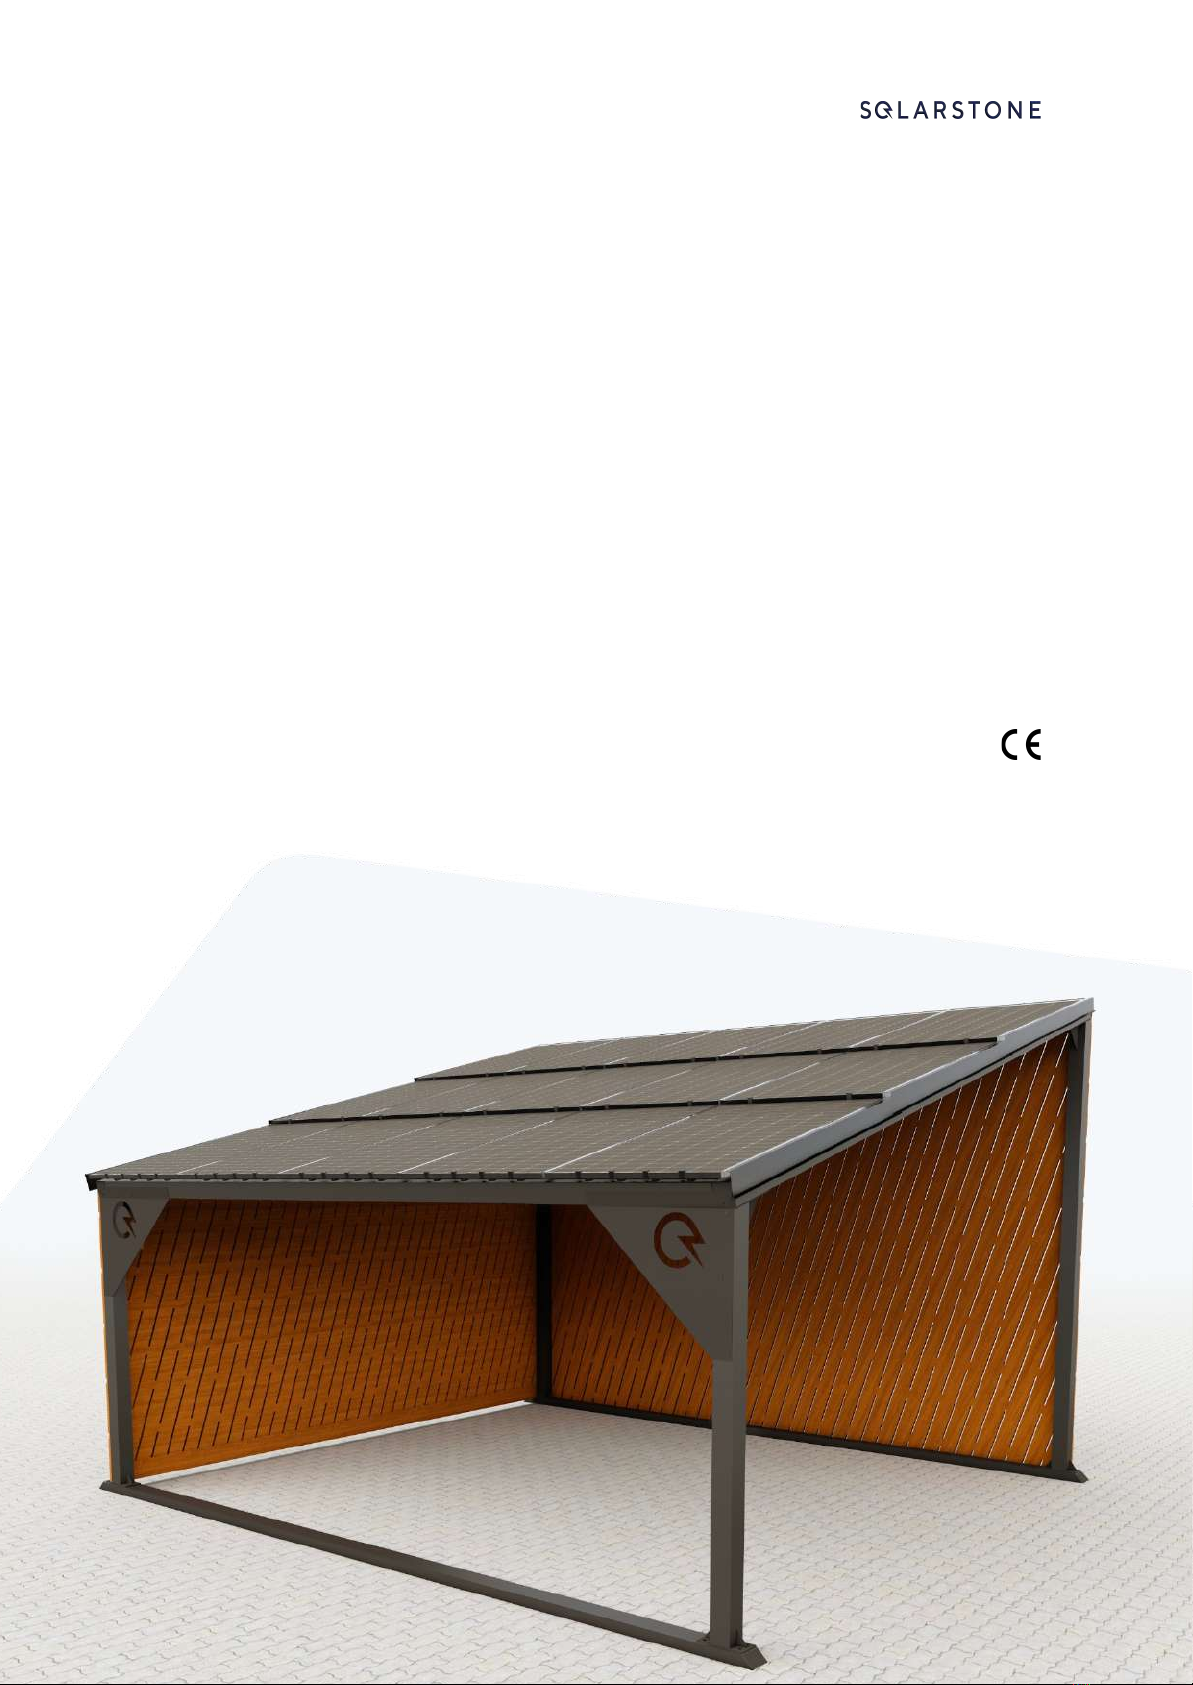
Solar Carport Classic Single
and Classic Duo
Technical Specifications &
Installation Manual
Version: 1.0 | 28-Mar-2023

Solar Carport Classic Installation Manual
Version 1.0
Table of Contents
Description 3
Specifications 4
Metal frame component list 6
Step 1 | Earth anchor and cable assembly 7
Steps 2-12 | Metal frame assembly 9
Step 2 - Place one side of carport frame next to ground screws 9
Step 3 - Power cable installation 10
Step 4 - Place connection bolts into base rails 11
Step 5 - Connect corner posts and roof beams 11
Step 6 - Connect corner posts and base rails 12
Step 7 - Connect corner posts and roof beams 12
Step 8 - Lift up both sides of carport and connect eave strut 13
Step 9 - Connect eave struts and gusset plates 13
Step 10 - Connect purlins 15
Step 11 - Connect Base Rails with earth anchors 16
Step 12 - Connect Base Rails with earth anchors 17
Steps 13-19 | Solar Full Roof™ Installation 18
Step 13 - Install first row PV clamps 18
Step 14 - Install first row brackets, ventilation lath and first row PV panels 19
Step 15 - Install second row PV panels 21
Step 16 - Install third row PV panels 22
Step 17 - Install side flashing 23
Step 18 - Install upper flashing 24
Step 19 - Connect screws 24
Steps 20-23 | Timber cladding installation 25
Step 20 - Install first row CLT timber cladding 25
Step 21 - Connect mortise and tenon joints and install the next row of CLT panels 25
Step 22 - Connect all CLT panels 26
Step 23 - Connect timber board behind CLT timber cladding’s lower edge 26
Step 24 | Microinverter 31
Step 25 | String inverter 33
Steps 26-28 | Ceiling installation 34
Step 26 - Connect timber board into plywood 34
Step 27 - Connect plywood ceiling onto purlins 34
Step 28 - Install screw caps 36
2 solarstone.com

Solar Carport Classic Installation Manual
Version 1.0
Description
Solarston e® Solar Carport produces electricity for self-consumption and can charge an
electric car. Surplus energy can be sold back to the grid – that way the carport pays for
itself. Solarstone®’s building-integrated solar panels ensure resource eciency, a
pleasing appearance and water-tightness. The most modern components of the PV
industry are used in the carports, which have passed safety tests.
With Solarstone®’s awarded and patented Click-on® technology, we can use 390 W
solar panels and achieve high productivity even on a small roof surface. The Solar
Carport will generate electricity for at least 25 years. The carport is incredibly durable
and was designed, developed and tested for the Nordic market!
Solarstone®’s Solar Carport comes with an integrated 22 kW EV charger (optional). For
optimal gains the carport should be connected to the power grid. This will allow you to
use surplus energy for self-consumption or charge your electric car at any time of day.
If desired, you can make a simple modification on your phone to charge your car with
solar energy only, and no additional electricity will be purchased from the grid.
Solar power for self-consumption
Earn credit by selling surplus energy
Charge electric vehicles
Less dependence on electricity prices
Solar Carport Classic Single can park one car and has a 3.9 kWp solar roof which will
produce approximately 3000 kWh per year. Solar Carport Classic Duo can accommodate
two cars and has a 5.85 kW solar roof which will produce approximately 5000 kWh per
year. The carport’s sides can be cladded with timber boards or plexiglass to provide
even more protection against dierent weather conditions.
Protects cars from direct sunlight
Provides protection from the weather
Oers functionality similar to that of a garage
Electric car charging option – do so economically and using renewable energy
Less dependence on fluctuations in electricity prices
3 solarstone.com

Solar Carport Classic Installation Manual
Version 1.0
Specifications
Solar Carport Classic Single and Duo
TOTAL OUTPUT
3900 W (Single) or 5850 W (Duo)
PROFILE MATERIAL
Galvanized steel
FRAME THICKNESS (mm)
120
120
4
EXTERNAL MEASUREMENTS (mm)
Single: 3481x5897x2458-3381 (WxLxH)
Duo: 5181x5897x2458-3835 (WxLxH)
AVAILABLE COLORS
Black (BLK)
MANUFACTURER
Solarstone OÜ (Estonia)
PV-MODULE
Risen-390W
ROOF DIMENSIONS
Single: 3564x5607 (WxL)
Duo: 5321x5607 (WxL)
INVERTER
HUAWEI/HOYMILES
SUPPLY CABLE
5G10 Cu (for up to 22kW charger)
CHARGER
SOLARSTONE
PV PANEL DIMENSIONS
Length: 1096mm x Width: 1754mm
PLYWOOD CEILING PANEL
DIMENSIONS
1340mm x 1733mm
ROOF SLOPE
15°
TOTAL AMOUNT OF PANELS
15
CLICK-ON® A PROFILE KIT
15
CLICK-ON® STARTER CLAMP (30/50)
20
CLICK-ON® REGULAR CLAMP (30/50)
20
CLICK-ON® VENTILATION FLASHING
5
CLICK-ON® VERGE FLASHING
(1,8mm)
7
PEST GUARD
5
FRAME CONNECTOR BOLTS
88
4 solarstone.com

Solar Carport Classic Installation Manual
Version 1.0
Metal Structure specification
Components
Item
Quantity
Base Rails
A1
2
Right Rear Corner Post
P1
1
Right Front Corner Post
P2
1
Left Rear Corner Post
P3
1
Left Front Corner Post
P2
1
Eave Strut
R1
2
Purlin
R2
2
Left Roof Beam
T1
1
Right Roof Beam
T2
1
Right Rear Corner Gusset Plate
pl15
1
Left Rear Corner Gusset Plate
pl16
1
Right Front Corner Gusset Plate
pl17
1
Left Front Corner Gusset Plate
pl18
1
5 solarstone.com
Solar Carport Classic Installation Manual
Version 1.0
Metal frame component list
6 solarstone.com

Solar Carport Classic Installation Manual
Version 1.0
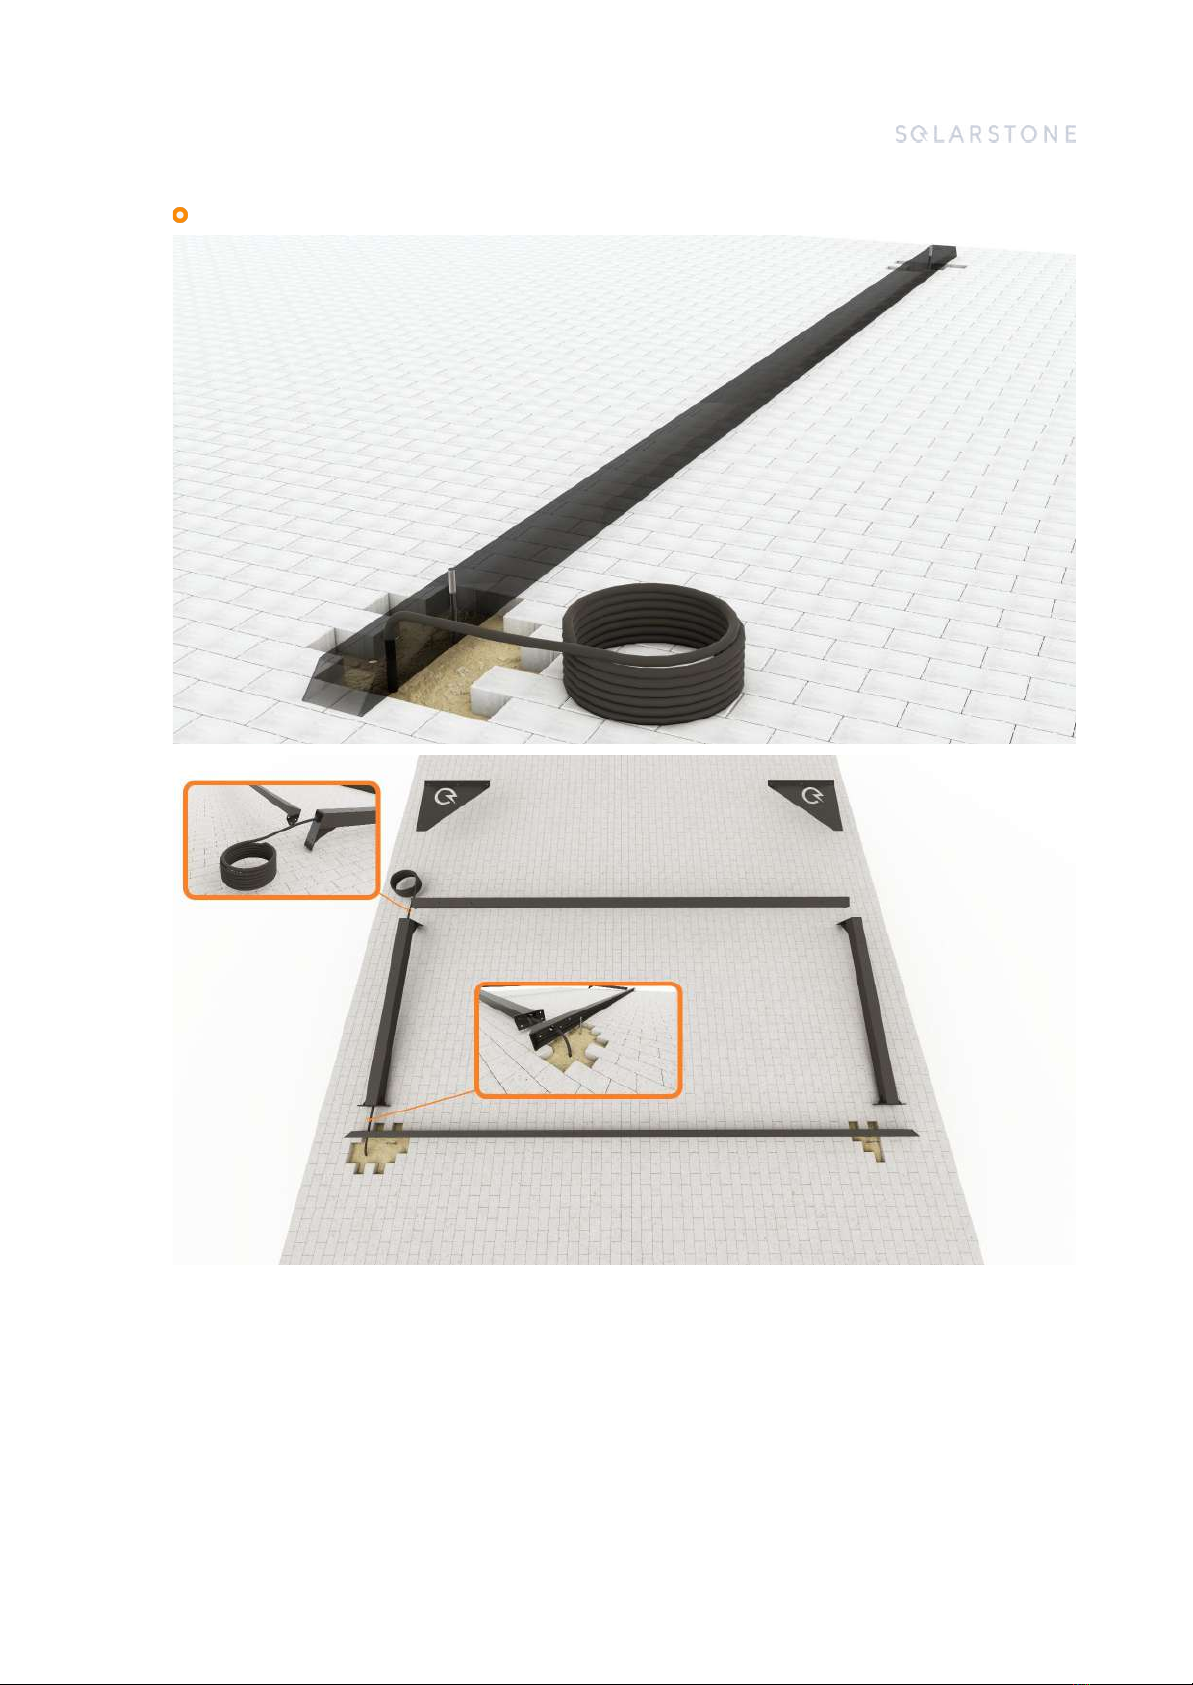
Step 1 | Earth anchor and cable
assembly
Step 1A - Install earth anchors under Solar Carport Classic Duo
Step 1B - Install earth anchors under Solar Carport Classic Single
7 solarstone.com

Solar Carport Classic Installation Manual
Version 1.0
8 solarstone.com
Solar Carport Classic Installation Manual
Version 1.0
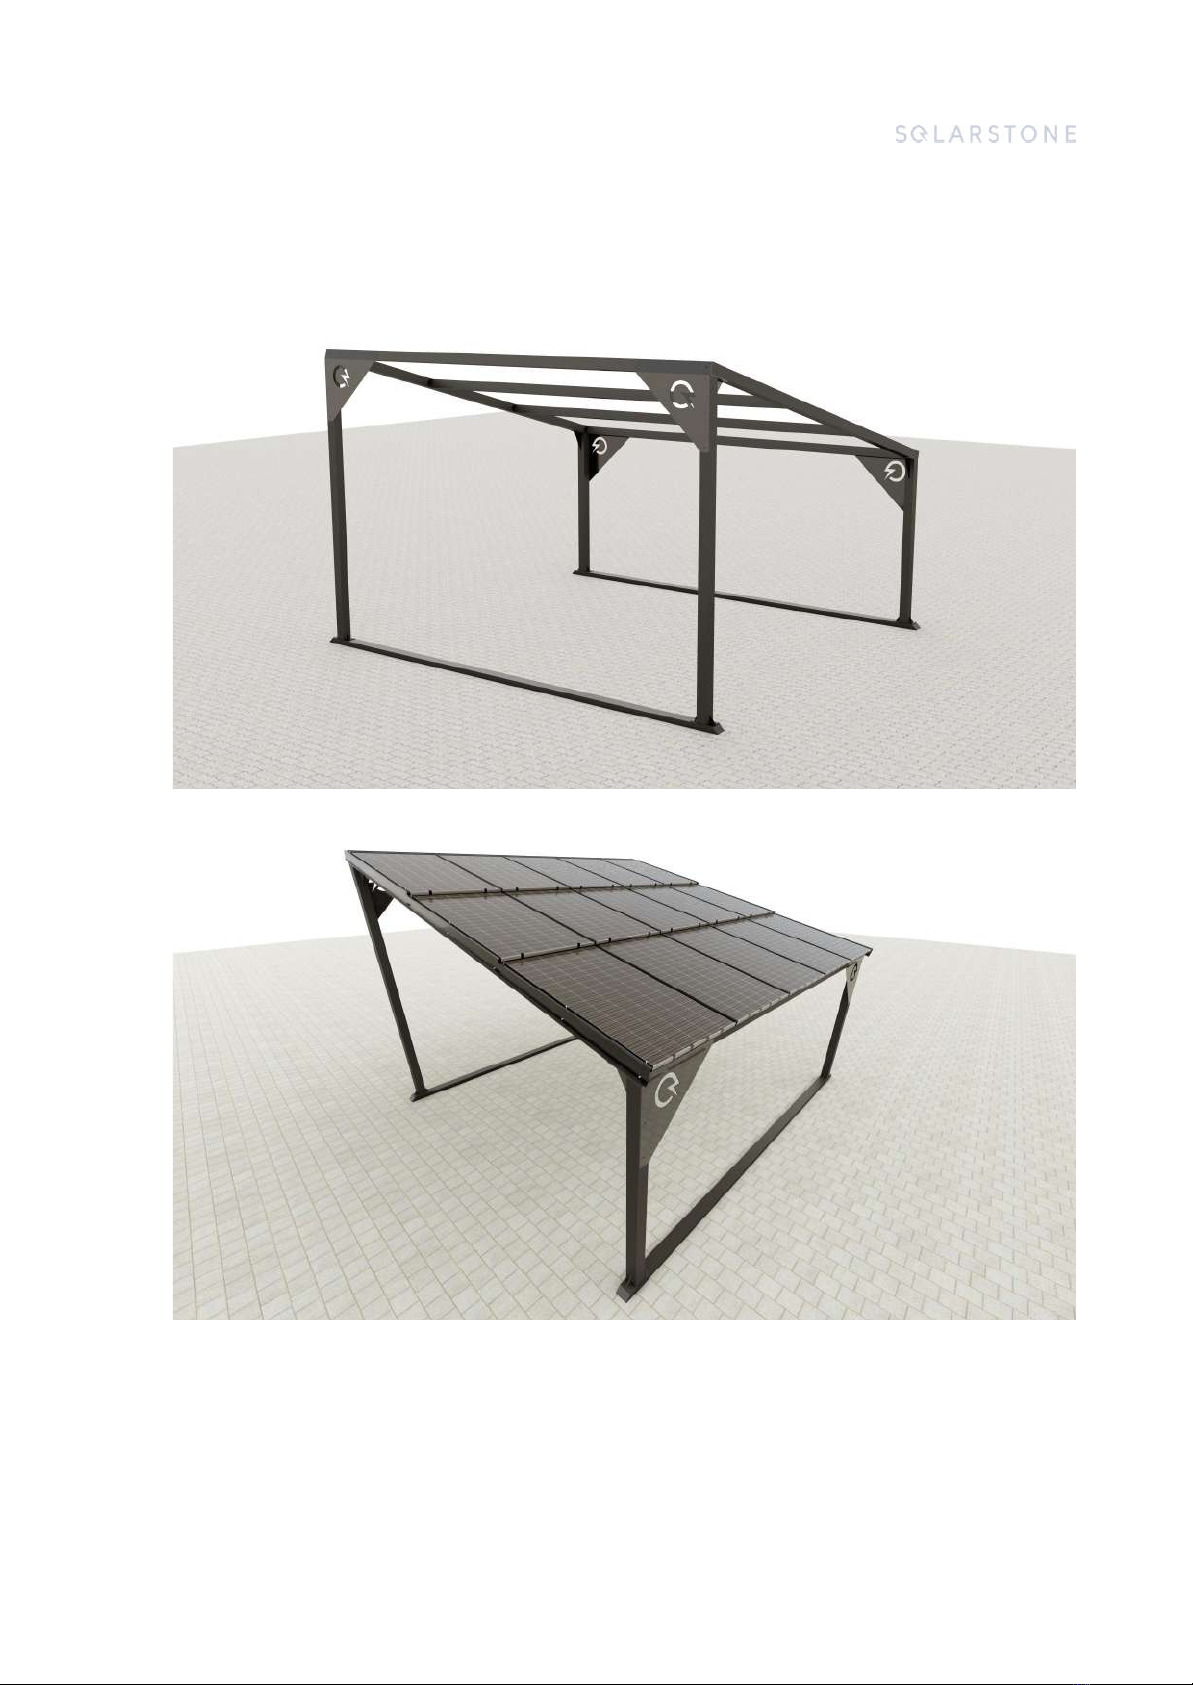
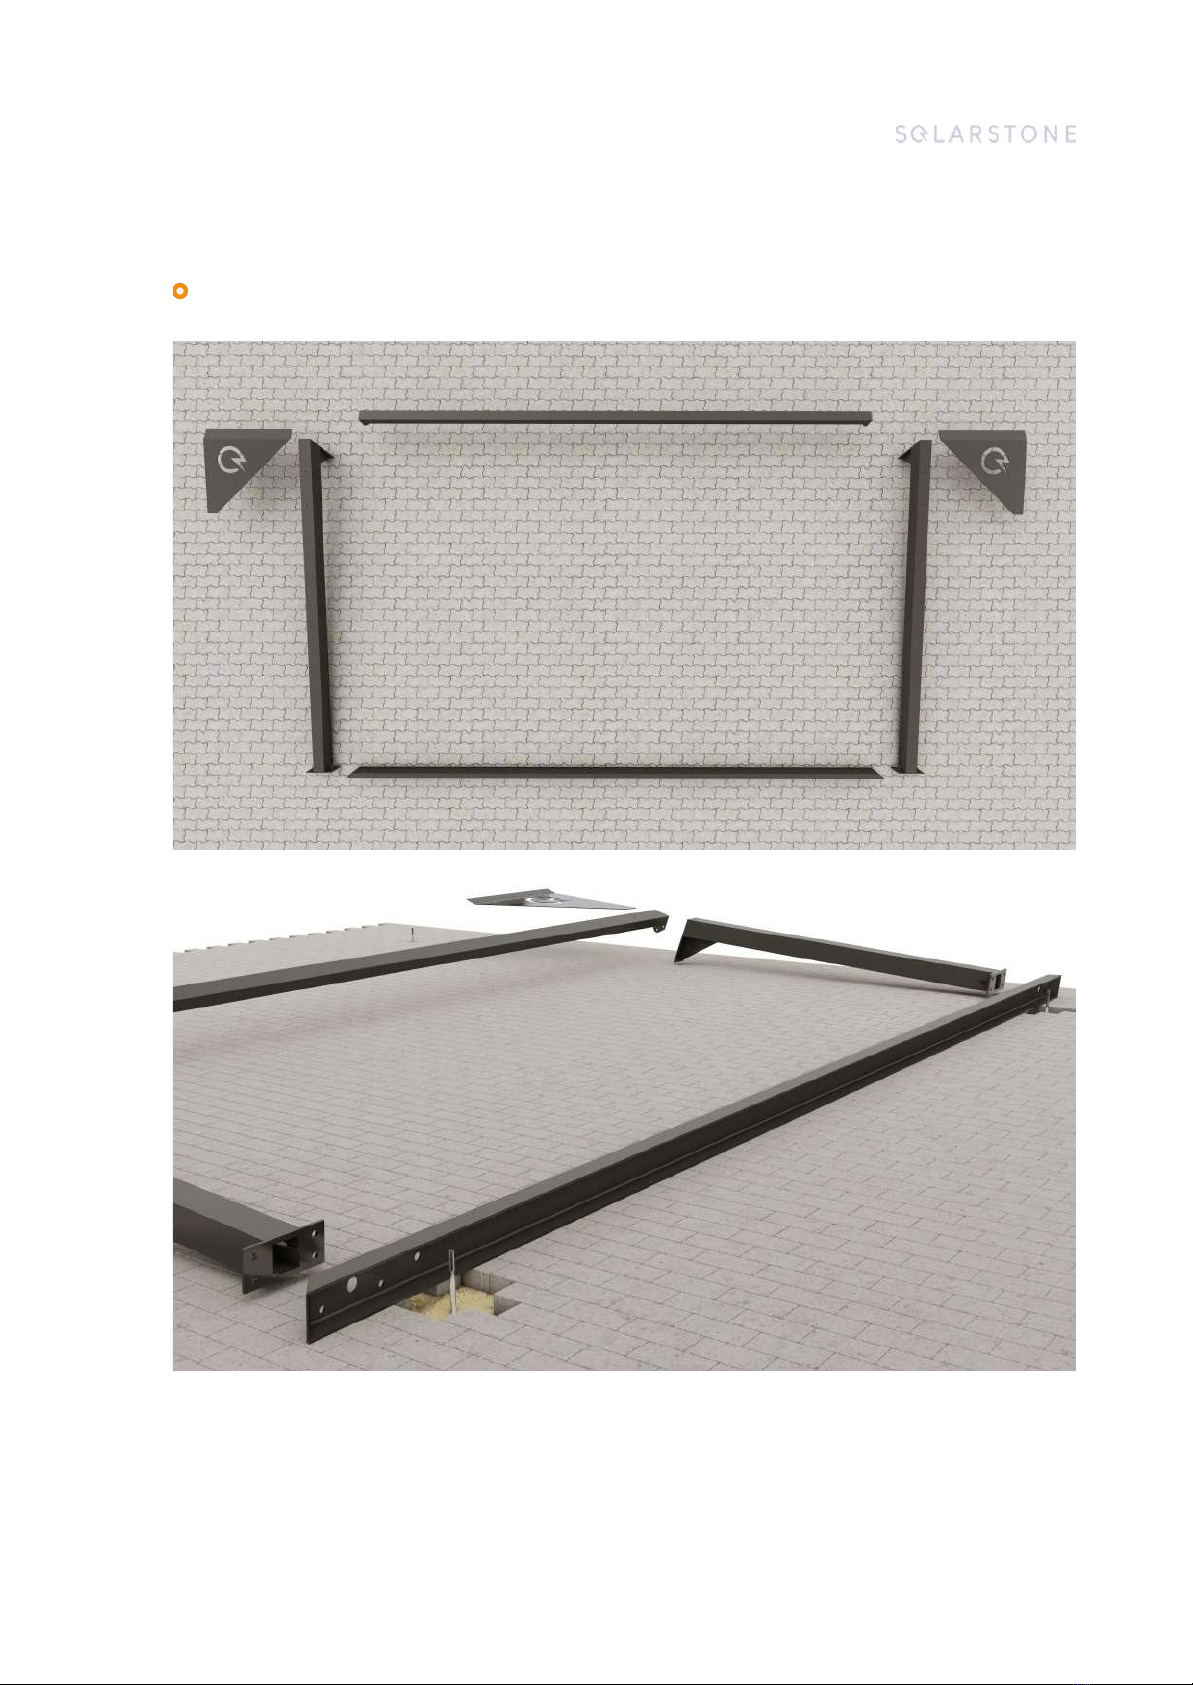
Steps 2-12 | Metal frame assembly
Step 2 - Place one side of carport frame next to ground screws
9 solarstone.com
Solar Carport Classic Installation Manual
Version 1.0
Step 3 - Power cable installation
10 solarstone.com
Solar Carport Classic Installation Manual
Version 1.0
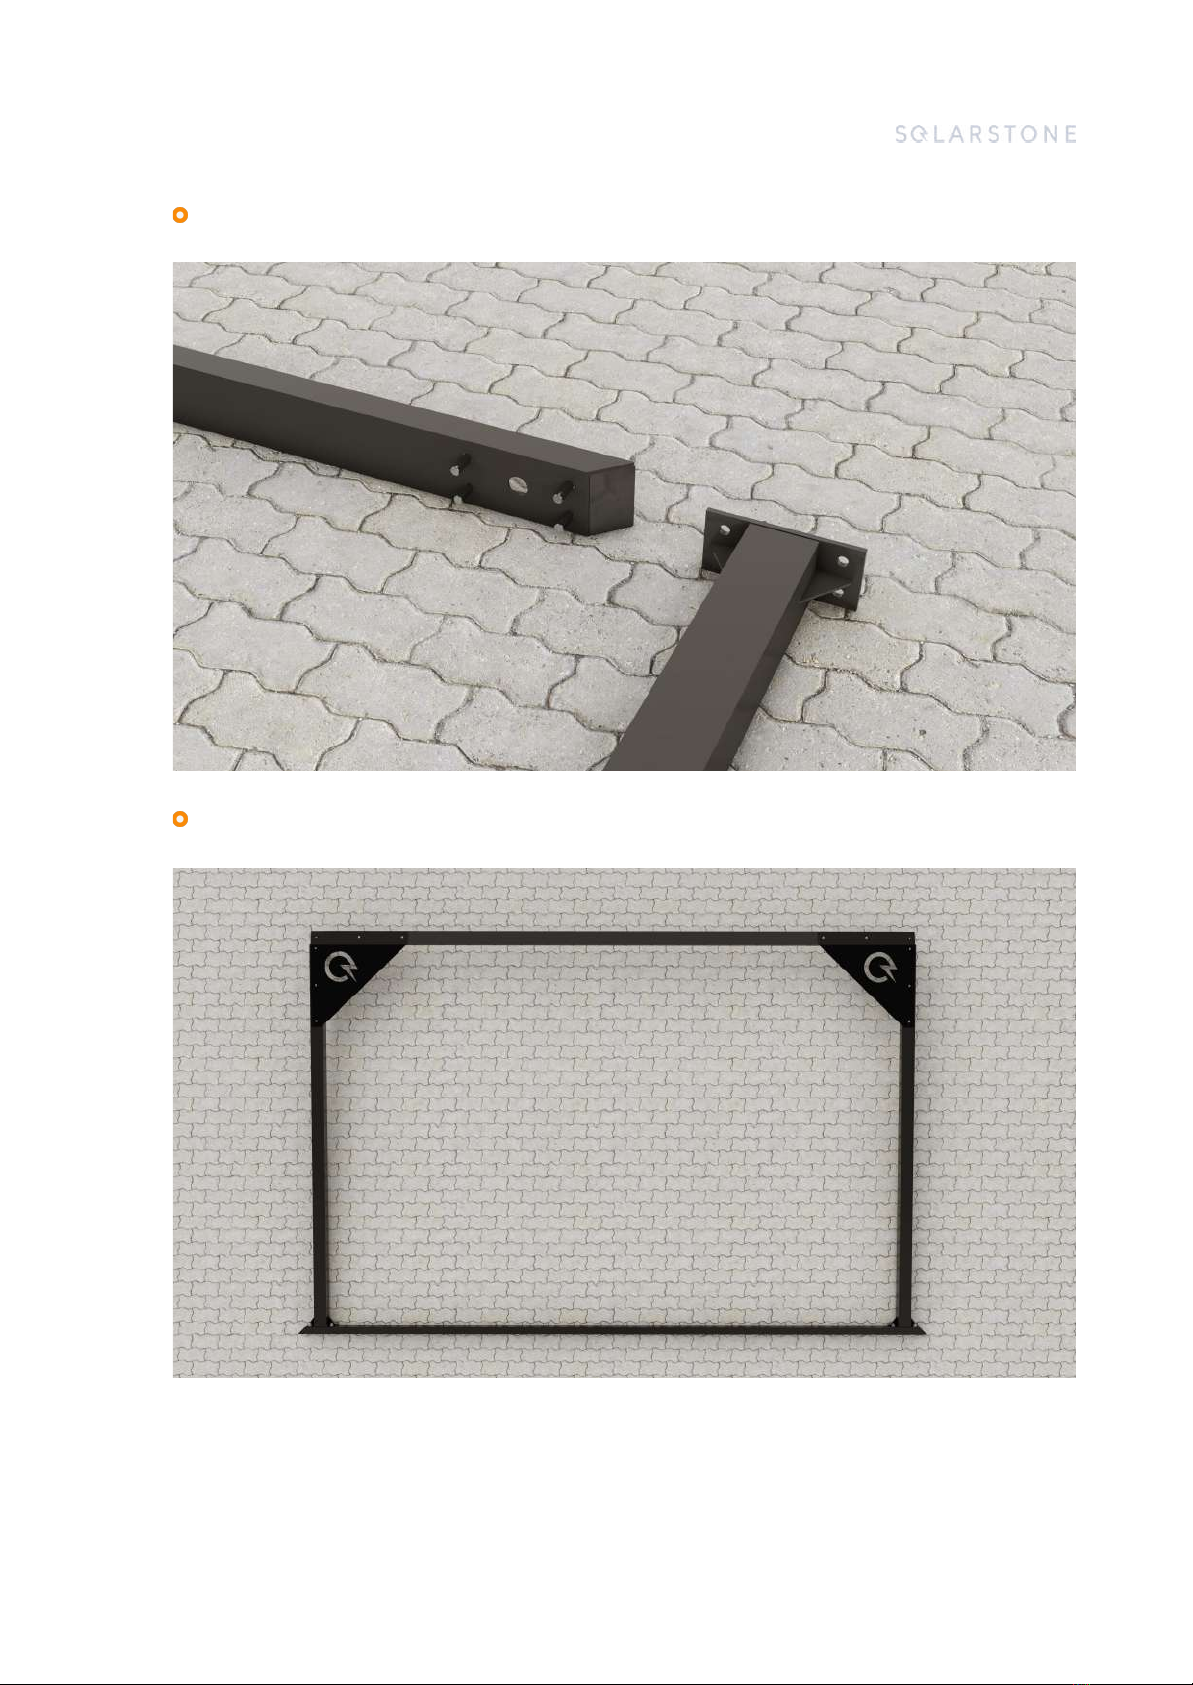
Step 4 - Place connection bolts into base rails
Step 5 - Connect corner posts and roof beams
11 solarstone.com

Solar Carport Classic Installation Manual
Version 1.0
Step 6 - Connect corner posts and base rails
Step 7 - Connect corner posts and roof beams
12 solarstone.com

Solar Carport Classic Installation Manual
Version 1.0
Step 8 - Lift up both sides of carport and connect eave strut
Step 9 - Connect eave struts and gusset plates
13 solarstone.com

Solar Carport Classic Installation Manual
Version 1.0
14 solarstone.com

Solar Carport Classic Installation Manual
Version 1.0
Step 10 - Connect purlins
15 solarstone.com

Solar Carport Classic Installation Manual
Version 1.0
Step 11 - Connect Base Rails with earth anchors (avoid supporting post connections)
16 solarstone.com

Solar Carport Classic Installation Manual
Version 1.0
Step 12 - Connect Base Rails with earth anchors (avoid supporting post connections)
17 solarstone.com
Solar Carport Classic Installation Manual
Version 1.0
Steps 13-19 | Solar Full Roof™
Installation
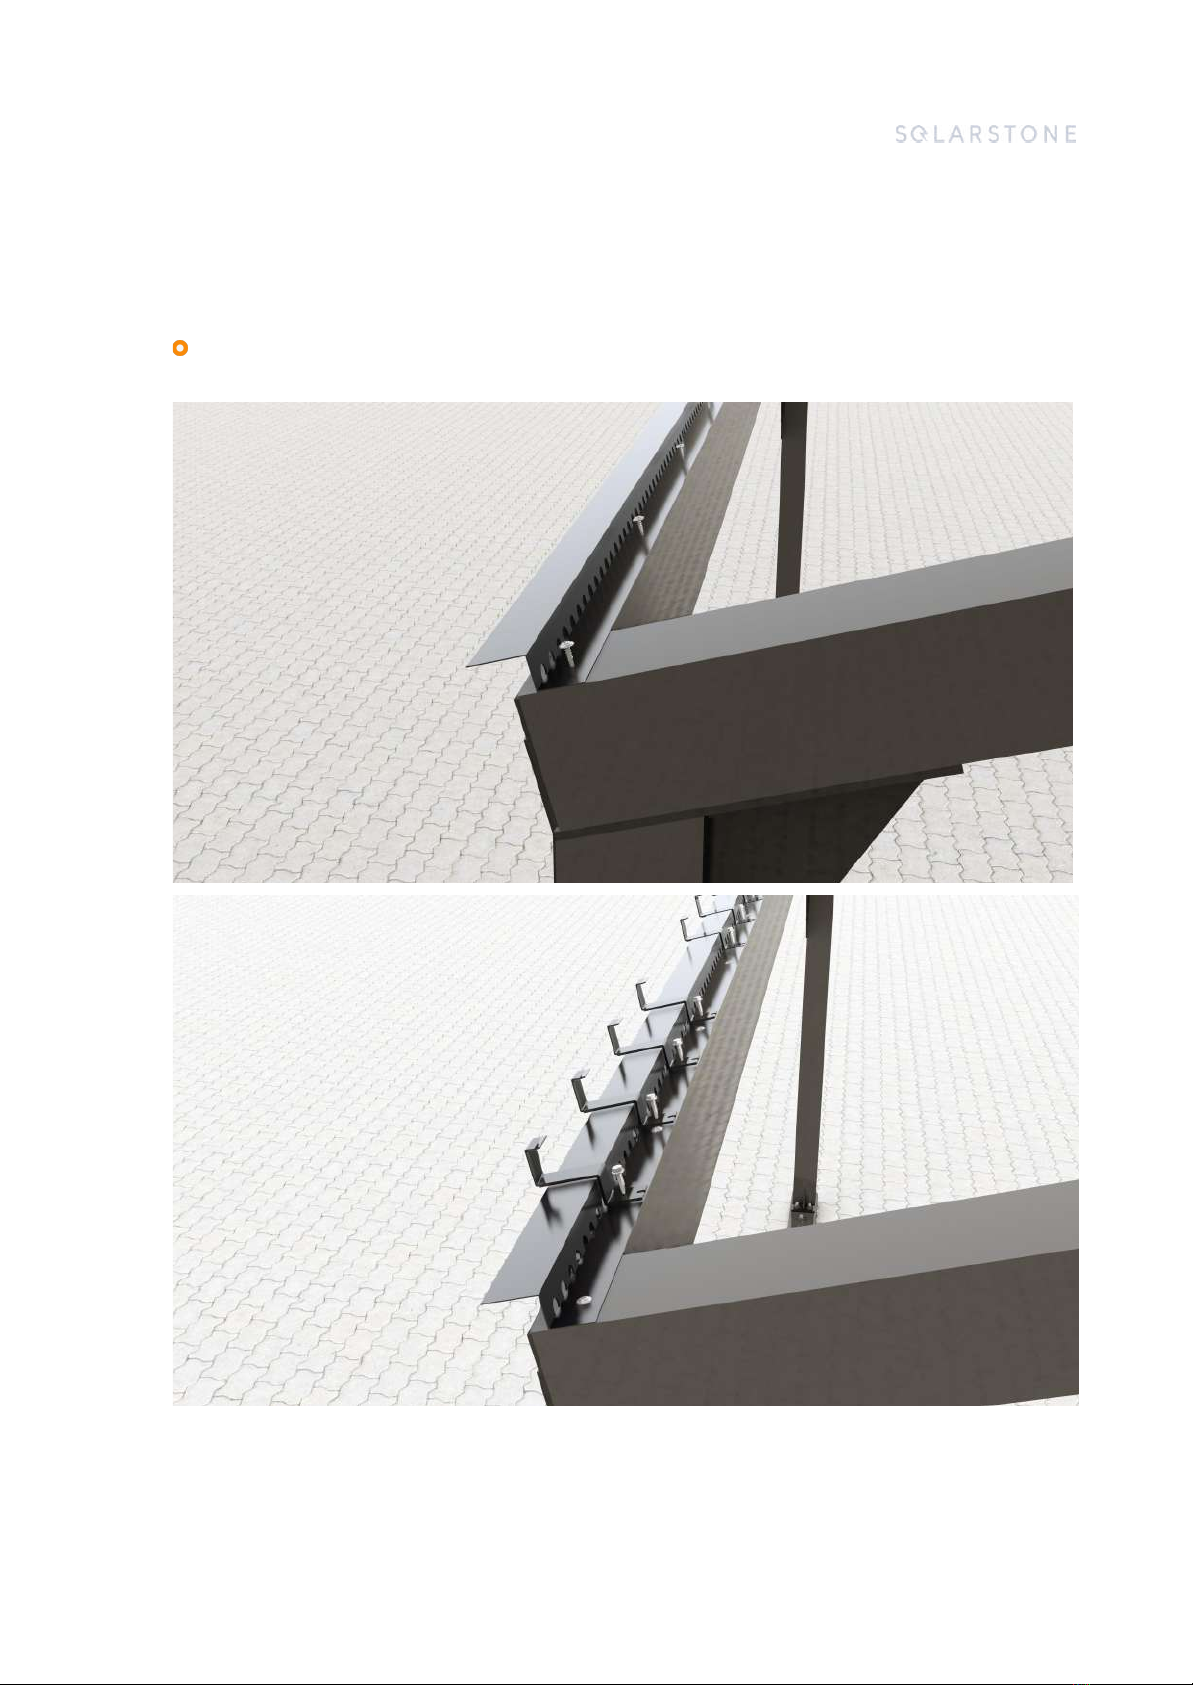
Step 13 - Install first row PV clamps
18 solarstone.com
Solar Carport Classic Installation Manual
Version 1.0
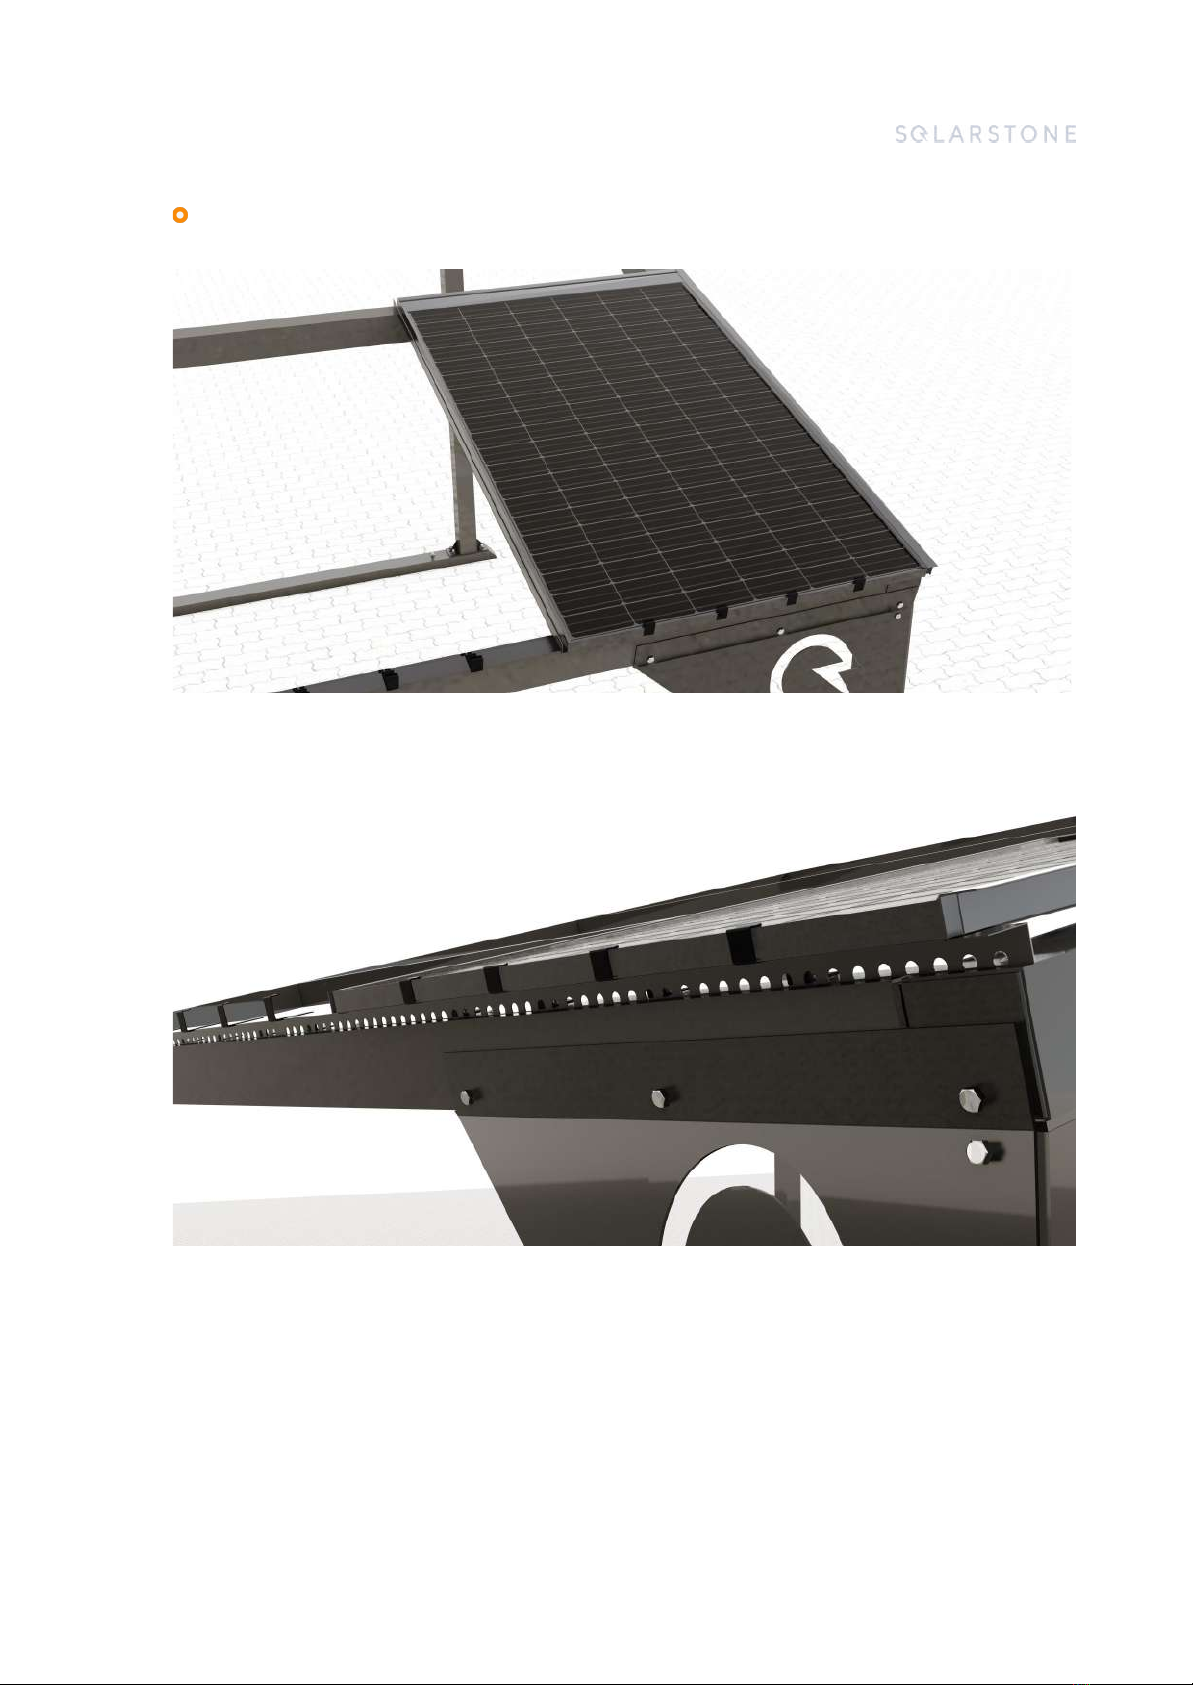
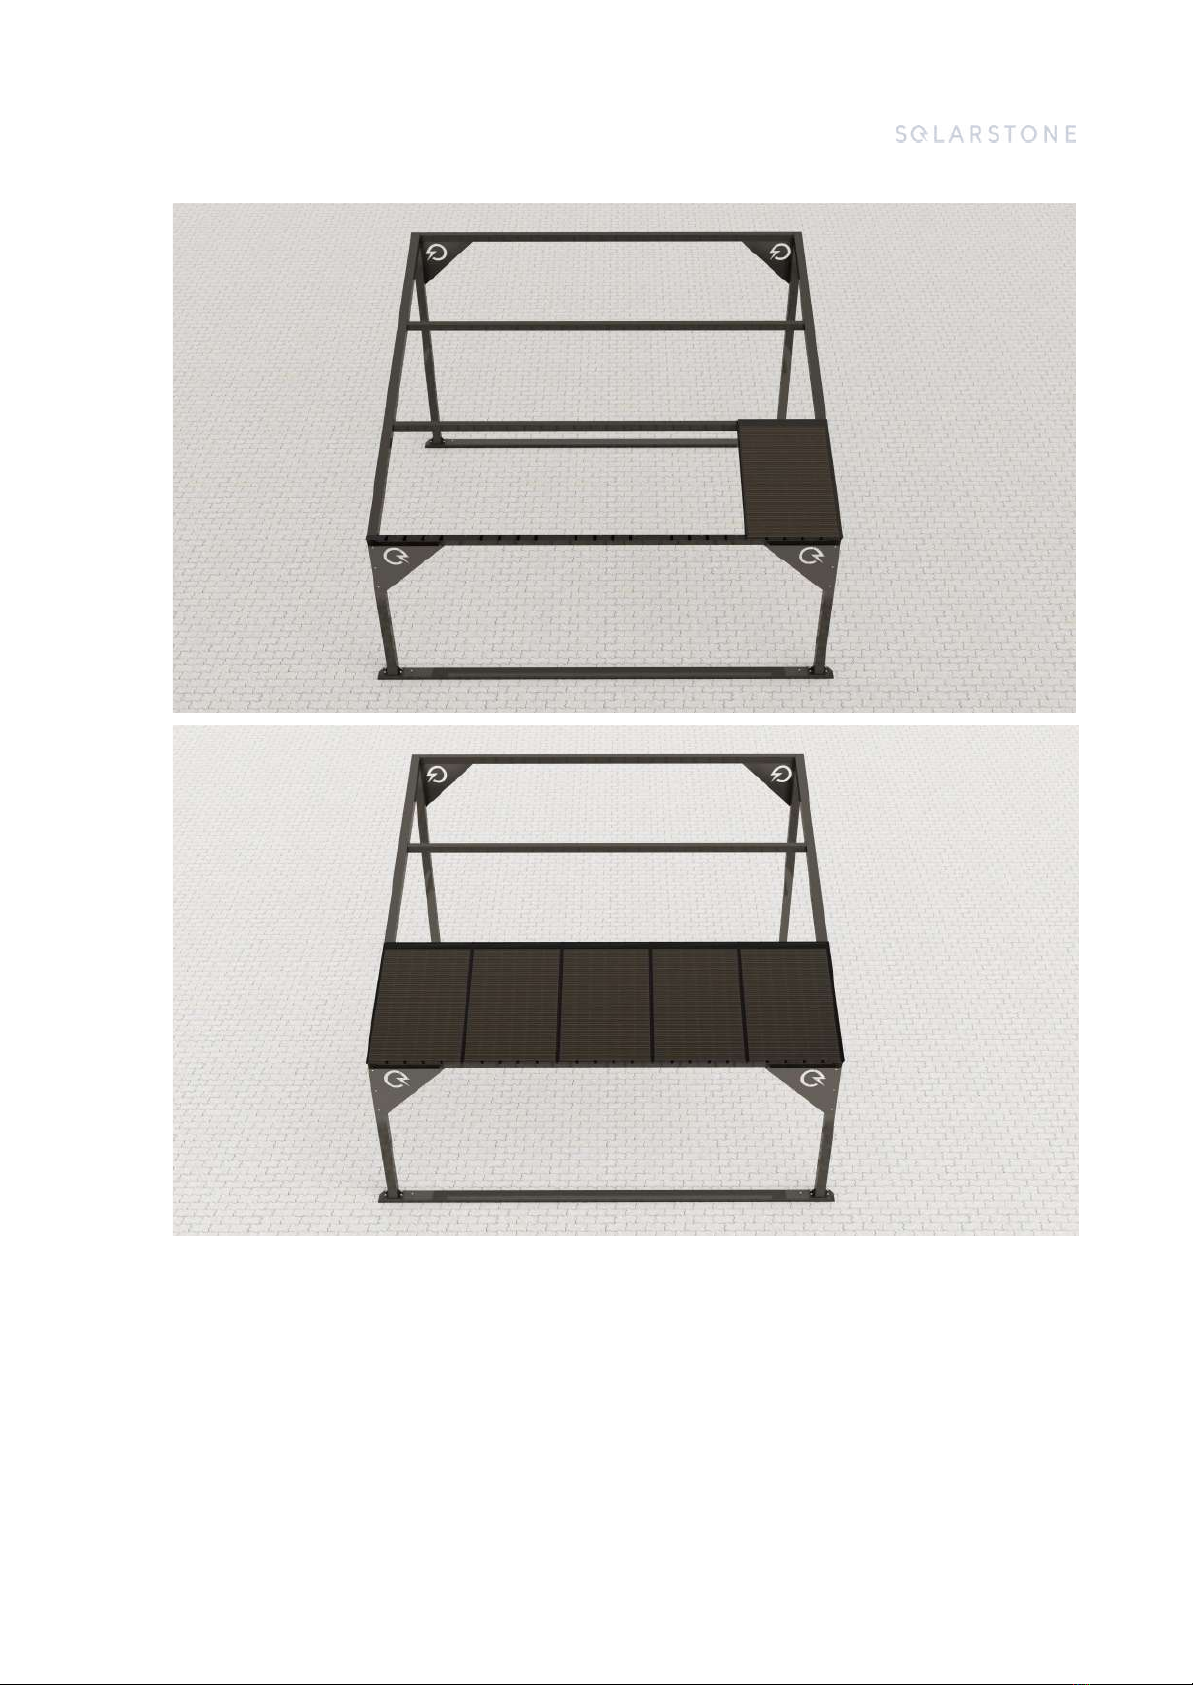
Step 14 - Install first row brackets, ventilation lath and first row PV panels
19 solarstone.com
Solar Carport Classic Installation Manual
Version 1.0
20 solarstone.com
This manual suits for next models
1
Table of contents
Other Solarstone Outdoor Furnishing manuals

Popular Outdoor Furnishing manuals by other brands


Outsunny
Outsunny 84G-012V00 Assembly instruction

Pacific Casual
Pacific Casual 176-204-3SS-V4 Assembly and use instructions

buschbeck
buschbeck Outdoor kitchen Cambridge user manual

leco
leco Sydney 47 36402 214 manual

sweeek.
sweeek. BAYONNE RECWD180SET manual

Dunster House
Dunster House H3-GS3X4 installation manual


