manuals.online logo
Brands
  1. Home
  2. •
  3. Brands
  4. •
  5. Solid Apollo
  6. •
  7. Lighting Equipment
  8. •
  9. Solid Apollo SA-PROF-CROWN-78 User manual

Solid Apollo SA-PROF-CROWN-78 User manual

PRODUCT MANUAL
78” Crown Molding LED Strip Channel
Installation Guide
Contact Us: 425.582.7533
www.SolidApollo.com
Andrew@SolidApollo.com
page 1
™
Install the Crown Molding LED Strip Channel Raceway Base with 2-3 screws per section.
Please Note: The Channel Raceway can be cut to length.We strongly advise that you leave 1/4 inches of gap between Channel Raceway
Base sections at the start of each lighting placement (see illustration below).
The 1/4 inch gap provides space for extra/future connections and as you interconnect LED strips together, the excess wires can be set discreetly
onto the Channel Raceway base see Step 2 illustration for more details.
Step 1: Install Crown Molding LED Strip Channel Raceway Base
Installation Guide
Channel Raceway Base
Crown Molding
LED Strip
LED Strip
Channel Raceway Base
Install Screws
1/4 in Gap
Carefully install the LED strip in the Crown Molding LED Strip Channel.
Please Note: If you are interconnecting another strip or channel (please follow instruction on Step 1),
excess wires can be set discreetly onto the Channel Raceway base see illustration below.
Step 2: Install the LED strip into the Crown Molding LED Strip Channel
Place excess LED strip
wires in the Channel
Raceway Base.
PRODUCT MANUAL
78” Crown Molding LED Strip Channel
Installation Guide
Contact Us: 425.582.7533
www.SolidApollo.com
Andrew@SolidApollo.com
page 2
™
The channel diuser can easily be installed in one of two ways (see illustration below) :
A: Slide the diuser onto to the nothes of the channel.
B: Align the diuser to the starting edge of the channel and slightly push down on it until you hear or feel it snap in to place. Once it is
snapped into place, continue to press down onto to the rest of the diuser until you reach the end of the channel.
Step 3: Install Channel Diusers
A B
Slide the Diuser
onto the channel.
Align the diuser onto the starting
edge of the channel and carefully
push down on the diuser until you
feel it snap into place.
The Decorative cover can easily be installed in the same fashion as
the Diuser:
Simply align the Decorative cover into the top and botom nothes of
the crown molding and then slide it until you reach the end.
Another method is by placing the Decorative cover at the top notch
rst then slightly push down on the bottom until you hear or feel it
snap in to place.
Apply the same method to the rest of the Decorative cover until you
reach the end of the crown molding.
Step 4: Install Decorative Cover
Decorative Cover
Crown Molding
PRODUCT MANUAL
78” Crown Molding LED Strip Channel
Installation Guide
Contact Us: 425.582.7533
www.SolidApollo.com
Andrew@SolidApollo.com
page 3
™
Installing the Channel Raceway Base to the corner wall.
Installation Guide - When Encountering a Corner
The installation for corners involves a miter cut to the Decorative Cover. Please do not cut the channel. Follow the instructions step by step to
properly install the product.
A. Before installing the Channel Raceway Base to the corner wall, please keep in mind that it is very important that you leave 1.5 inches of
gap between the corner wall and the Channel.The 1.5 inches of gap will ensure the LED strip lights to go around corners without tension
on the LED strip or cables (see illustration Cbelow). Apply the same rule onto the other corner.
B. Once the Channel Raceway is installed, in order for the corners to have a seamless look, the Decorative cover is going to require a miter
cut (45 degree angles).This is done by an angled saw or a miter box. See illustration Dbelow for a miter cut example. When you have
done it correctly, the nished product should look like the illustration shown in letter E.
1.5in
LED Strip LED Strip
1.5in
Leave 1.5in gap on either side of
corner base sections.
C D
E
Decorative Cover - Top view
Decorative Cover
Crown Molding Crown Molding

Other Solid Apollo Lighting Equipment manuals

Solid Apollo Neon LED User manual

Solid Apollo

Solid Apollo Neon LED User manual

Solid Apollo RGB NeonMini User manual

Solid Apollo

Solid Apollo RGB NeonMini User manual

Solid Apollo NeonMax 24V 85W User manual

Solid Apollo

Solid Apollo NeonMax 24V 85W User manual

Solid Apollo NeonArch 24V 90W User manual

Solid Apollo

Solid Apollo NeonArch 24V 90W User manual

Popular Lighting Equipment manuals by other brands
Vision & Control LDLF30x480-B470/UDC Instructions for use

Vision & Control

Vision & Control LDLF30x480-B470/UDC Instructions for use

STERNO HOME GL29949 quick start guide

STERNO HOME

STERNO HOME GL29949 quick start guide

Frontier FRN-Z1102U manual

Frontier

Frontier FRN-Z1102U manual

North Light WX-4.5VLED20-36W-1-1 quick start guide
North Light

North Light WX-4.5VLED20-36W-1-1 quick start guide

LumenTruss Luxline 1450 Series Installation sheet
LumenTruss

LumenTruss Luxline 1450 Series Installation sheet

ADJ PinPoint Go WW Plus user manual

ADJ

ADJ PinPoint Go WW Plus user manual
Newfeellight F2 Series user manual

Newfeellight

Newfeellight F2 Series user manual

ACME Xperior XP-380 BEAM IP F user manual

ACME

ACME Xperior XP-380 BEAM IP F user manual

Godox Lux Junior instruction manual

Godox

Godox Lux Junior instruction manual
LIGMAN VANCOUVER 33 installation manual
LIGMAN

LIGMAN VANCOUVER 33 installation manual

Chalmit Curie Elite ATEX Installation, operation and maintenance instructions
Chalmit

Chalmit Curie Elite ATEX Installation, operation and maintenance instructions

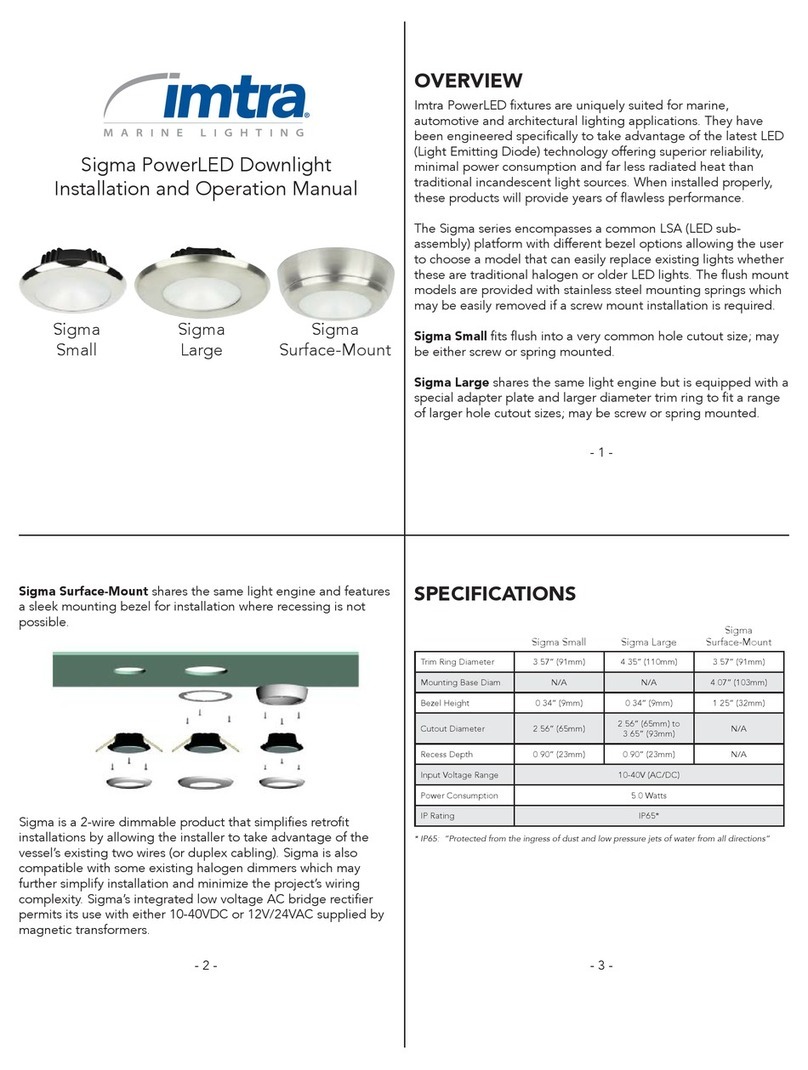
Imtra Sigma Small Installation and operation manual
Imtra

Imtra Sigma Small Installation and operation manual

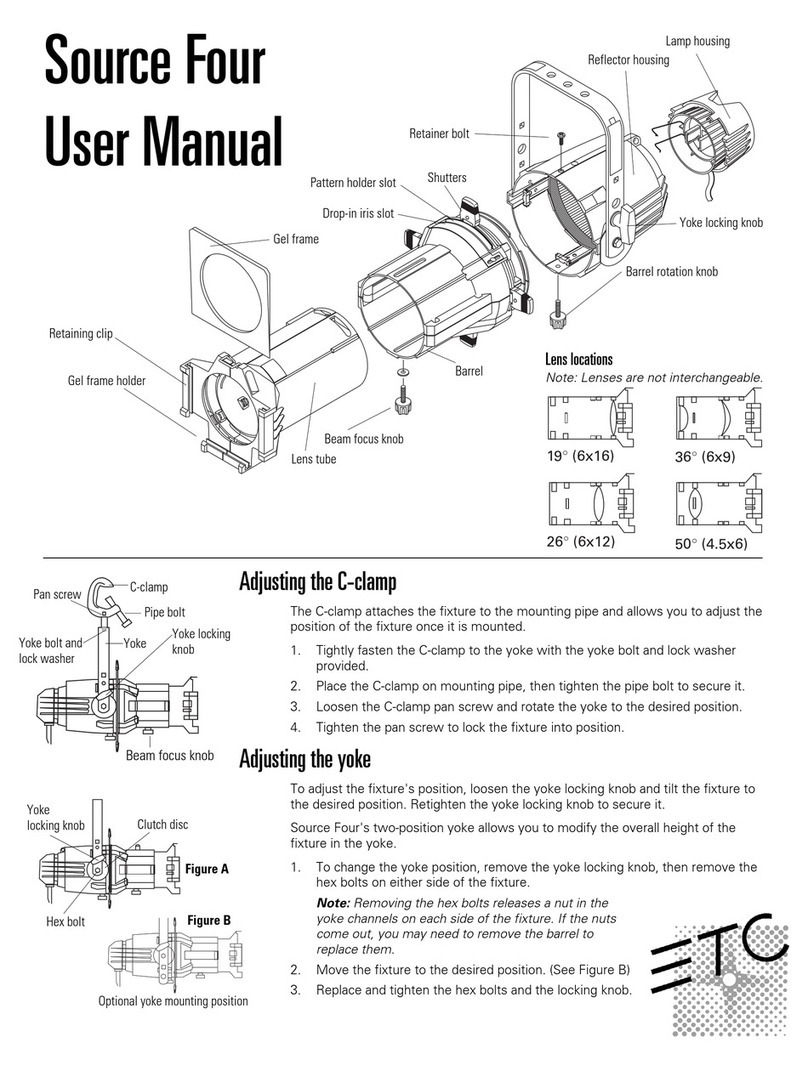
ETC Source Four LED Series user manual
ETC

ETC Source Four LED Series user manual

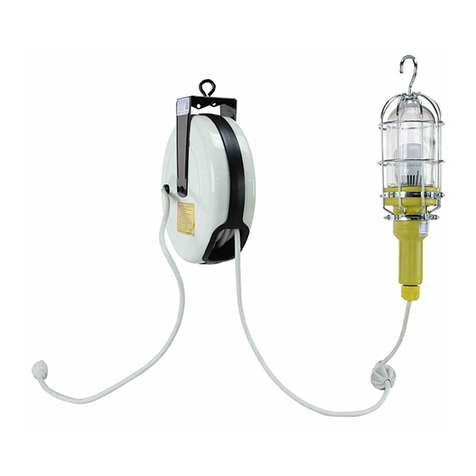
Larson Electronics VPLHL-15WLED-PC-GR30 instruction manual

Larson Electronics

Larson Electronics VPLHL-15WLED-PC-GR30 instruction manual

FHF BLK-Super-LED manual

FHF

FHF BLK-Super-LED manual

NEXTLED 3-IN-1 Quick Connect Light Kit Owner's instructions
NEXTLED

NEXTLED 3-IN-1 Quick Connect Light Kit Owner's instructions

Catellani & Smith Giulietta BE F Assembly instructions
Catellani & Smith

Catellani & Smith Giulietta BE F Assembly instructions

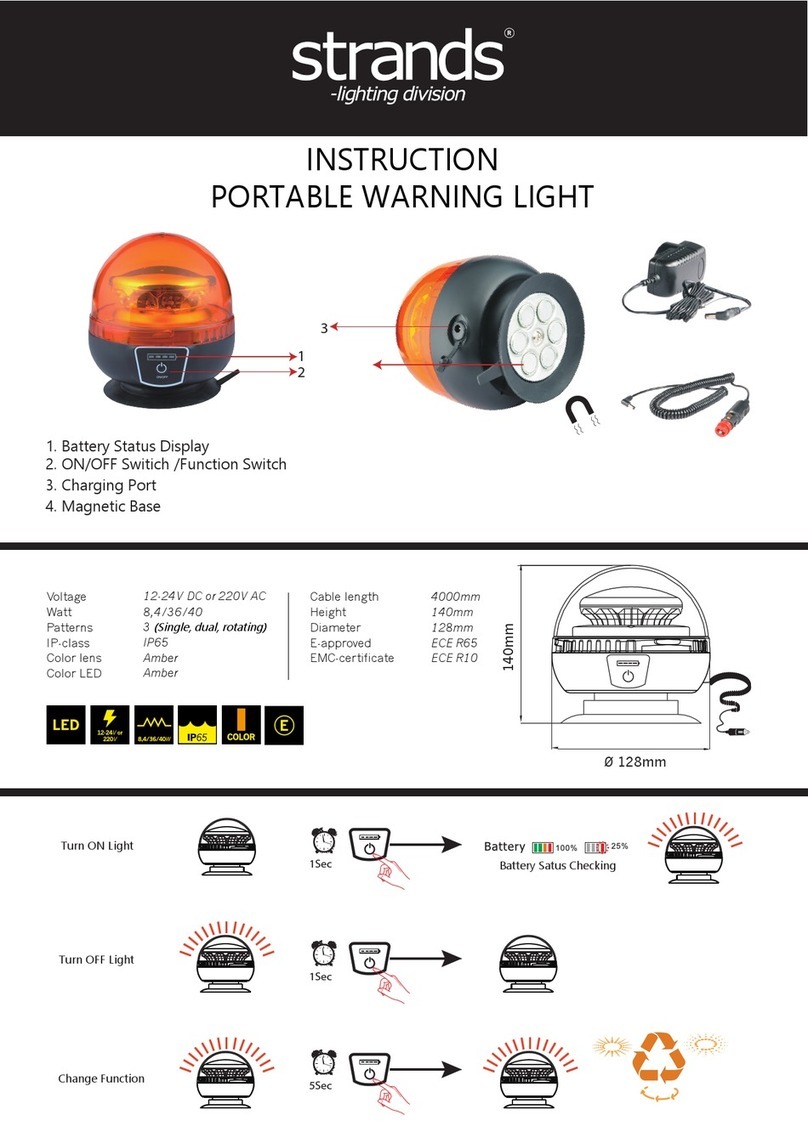
STRANDS 809084 instructions

STRANDS

STRANDS 809084 instructions

manuals.online logo
manuals.online logoBrands
  • About & Mission
  • Contact us
  • Privacy Policy
  • Terms and Conditions

Copyright 2025 Manuals.Online. All Rights Reserved.