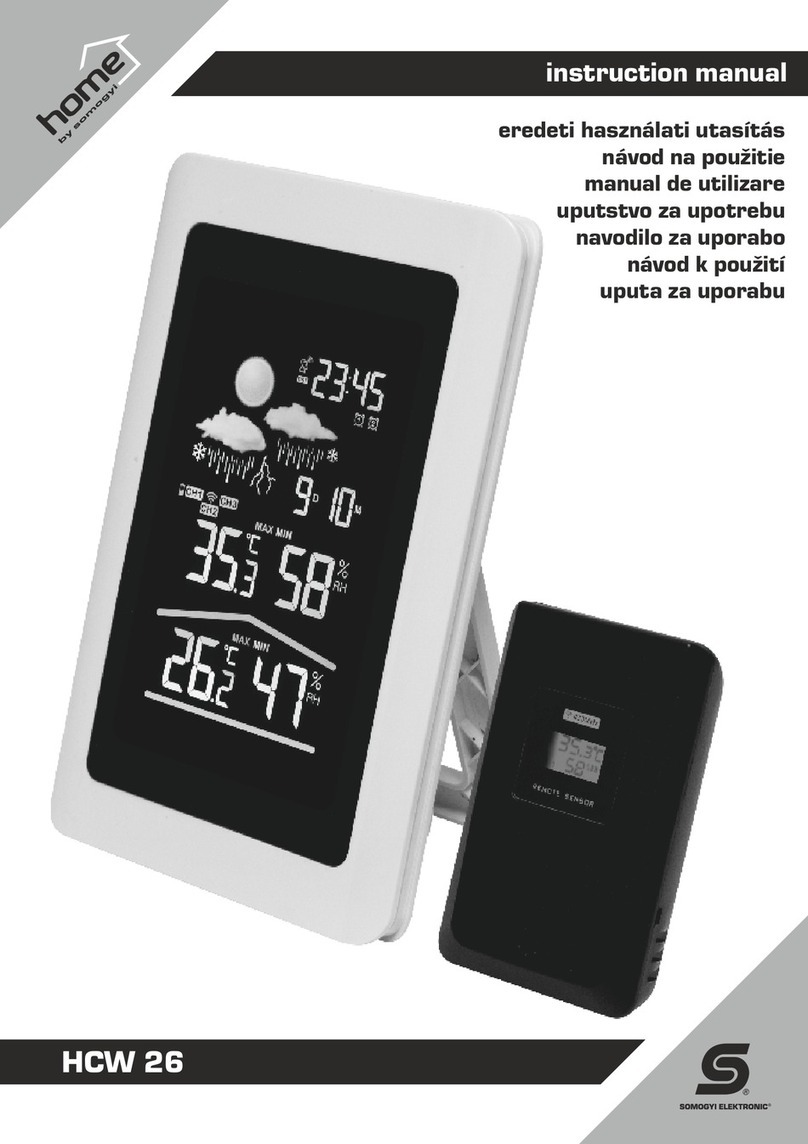
stație meteo cu emițător extern
Acest aparat nu este destinat utilizării de către persoane
cu capacităţi zice, senzoriale sau mentale diminuate, ori de
către persoane care nu au experienţă sau cunoştinţe suciente
(inclusiv copii), copiii peste 8 ani pot utiliza aparatul în cazul în care
sunt supravegheaţi de către o persoană care răspunde de siguranţa
lor, sau sunt informate cu privire la funcţionarea aparatului şi au înţeles
ce pericole pot rezulta din utilizarea necorespunzătoare. În cazul copiilor
supravegherea este recomandabilă pentru a evita situaţiile în care copiii
se joacă cu aparatul. Curăţarea sau utilizarea produsului de către copii este
posibilă numai cu supravegherea unui adult.
•
simboluri prognoză meteo
•
faza Lunii
•
ceas DCF 77 pe unde radio, cu fus orar reglabil (-12 - +12
ore)
•
format de timp 12/24 ore
•
deșteptare cu funcție Snooze
•
așare presiune atmosferică (hPa/mb,
mmHg)
•
emițător 433,92MHz pentru temperatura și umiditatea exterioară, cu raza de acțiune 60 m
•
po-
ate recepționa de la max. 3 buc emițătoare externe (1 buc inclusă; HCKK 09)
•
așare valoare și tendință
umiditate și temperatură interior/exterior
•
așare valori minime și maxime
•
setare alarmă temperatură
pe canalele emițătorului extern
•
agățare pe perete sau așezare pe masă
•
ușor de pus în funcțiune
•
alimentare stație meteo: adaptor de rețea inclus sau 3x baterii 1,5V (AAA), nu sunt incluse
•
alimentare
emițător extern: 2x baterii 1,5 V (AAA), nu sunt incluse
Aparatul este potrivit pentru utilizare în statele Uniunii Europene.
Caracteristici
- simboluri animate pentru prognoză meteo
- ora exactă, format de timp 12/24 ore
- ceas DCF 77 pe unde radio, cu fus orar reglabil (-12 - +12)
- faza Lunii
- așare data și ziua săptămânii
- posibilitate de calibrare presiune atmosferică
- așare presiune atmosferică (hPa/mb sau mmHg)
- așare umiditate și temperatură interior-exterior
- indicare tendință presiune atmosferică și temperatură
- setare alarmă pentru temperatura exterioară
- unități de măsură temperatură °C / F
- indicator descărcare baterie la stație și la emițătoarele externe
- emițător 433,92MHz pentru temperatura și umiditatea exterioară, cu raza de acțiune 60 m
- poate recepționa de la max. 3 buc emițătoare externe (1 buc inclusă; HCKK 09)
- deșteptare cu funcție de Snooze
- ușor de pus în funcțiune
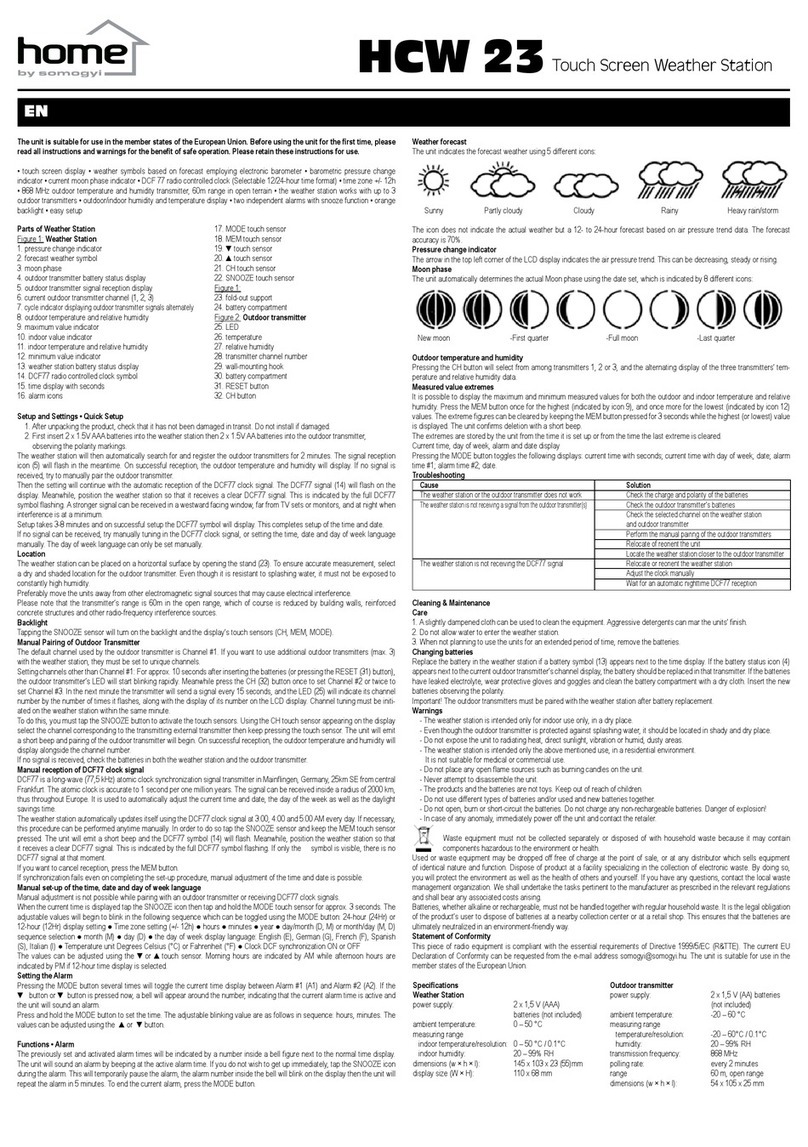
Părțile stației meteo
g. 1 Stația meteorologică
1. luna, ziua
2. setare zilele săptămânii/fus orar/presiune atmosferică
3. faza Lunii
4. ora exactă
5. așare DST (ora de vară)
6. iconiță deșteptător
7. zile cu deșteptare activă
8. iconiță recepție DCF
9. săgeți indicare tendință (în creștere, neschimbat, în scădere)
10. număr canal radio pentru emițătorul extern
11. scădere tensiune baterie din emițător extern
12. temperatură, umiditate relativă emițător extern
13. putere semnal emițător extern
14. temperatură interioară, umiditate relativă
15. presiune atmosferică (hPa/mb sau mmHg)
16. simbol prognoză meteo
17. temperatură interioară
18. valori temperatură și umiditate max/min
19. umiditate relativă interior
20. buton snooze / iluminat [tetején]
21. buton setări (SET)
22. sus / memorie
23. jos / °C, F
24. setare deșteptare (ALARM)
25. selecție canal (CHANNEL)
26. setare alarmă temperatură (ALERT)
27. oriciu pentru agățare
28. picioare de sprijin
29. suport baterii
30. conector adaptor de rețea
g. 2. Emițător extern
31. ecran LCD
32. oriciu pentru agățare
33. sprijin rabatabil
34. suport baterii
35. buton culisant selecție canal
36. buton TEST
37. buton selecție °C/°F
Punerea în funcțiune, setări
Start rapid
1. După despachetare asigurați-vă că aparatul nu a fost deteriorat în timpul transportului. Nu puneți în
funcțiune un produs deteriorat!
2. Sub suportul de baterii veți găsi cele două picioare metalice. Scoateți-le și înșurubați-le la locul lor.
3. Introduceți 3 buc baterii 1,5 V (AAA) în stația meteo, având în vedere polaritatea corectă.
3.1. Schimbarea valorilor la presiunea atmosferică (se poate sări peste acest pas): Imediat ce ați pus
aparatul sub tensiune, apăsați simultan și țineți apăsat butoanele sus/memorie (3) și jos/°C, F (4).
3.2. În locul unde se va așa ziua apare textul CAL și valoarea presiunii atmosferice clipește.
3.3. Schimbați valoarea presiunii atmosferice cu butoanele sus și jos.
3.4. Ulterior nalizați setările prin apăsarea butonului SET. În locul presiunii atmosferice se va așa textul
God și aparatul se repornește.
4. Introduceți 2 baterii 1,5 V (AAA) în emițătorul extern. Prin apăsarea butonului SNOOZE/LIGHT (20)
veți porni pentru 10 secunde iluminarea ecranului.
5. Conectați adaptorul de rețea inclus în pachet de o priză de rețea, apoi de stația meteo. În cazul
utilizării de pe adaptor iluminarea ecranului este continuă. Luminozitatea poate setată în 3 trepte prin
apăsarea butonului SNOOZE/LIGHT (20).
Astfel stația meteo va recepționa semnalele emițătoarelor externe timp de 3 minute. În acest timp indica-
torul de recepție semnal clipește. În cazul unei recepții de succes se va așa temperatura și umiditatea
relativă exterioară. Dacă recepția a eșuat, încercați sincronizarea manuală a emițătorului extern.
Ezután a DCF77 órajel automatikus vételével folytatódik a beállítás. A DCF77 jel (8) villog a kijelzőn.
Eközben keressen olyan pozíciót az időjárás állomásnak, ahol a DCF77 jel jól fogható. Ezt a teljes
DCF77 szimbólum villogása jelzi. Erősebb jel fogható nyugati fekvésű ablak közelében, TV-készüléktől,
monitortól távolabb, továbbá éjszaka, amikor sokkal kisebbek a zavaró jelek.
Setarea durează 3-8 minute și dacă este corectă, pe ecran apare indicatorul DCF77. Astfel ați setat cu
succes data și ora exactă.
Dacă recepția semnalului a eșuat, încercați recepția manuală a semnalului DCF77, sau setarea ma-
nuală oră, fus orar, dată. Limba de așare a zilelor săptămânii se poate selecta doar prin setare manuală.
Poziționarea
Stația meteo, precum și emițătorul său extern pot așezate pe masă sau agățate pe perete. Pentru o
măsurare cât mai precisă, pentru emițător alegeți un loc uscat și la umbră. Deși este rezistent la stropirea
cu apă, nu este necesară expunerea acesteia într-un loc cu o umiditate constantă ridicată.
Pe cât posibil nu așezați unitățile în apropierea altor surse electromagnetice, cu care ar putea interfera.
Să aveți în vedere, că raza de acțiune a emițătorului este de 60 m, care desigur va scade dacă sunt
pereți, structuri de beton armat ori alte semnale de frecvență radio între acesta și stația meteo.
Sincronizarea manuală a emițătorului extern
Canalul de comunicare de bază al emițătorului extern este canalul 1. Dacă doriți să utilizați emițătoare
externe multiple (max. 3) la o stație, acestea trebuie să e setate pe canale diferite.
Setarea unui canal de comunicare alta decât canalul 1: după introducerea bateriei, cu ajutorul butonului
culisant CH de pe emițător puteți selecta dintre canalele 1, 2 sau 3. Pe ecranul LCD al emițătorului se
va așa canalul ales cu CH 1, CH 2 sau CH 3. În următorul pas țineți butonul CHANNEL apăsat până la
un sunet scurt. Astfel stația va reiniția căutarea și sincronizarea emițătoarelor, în timp ce indicatorul de
recepție semnal clipește. Procesul poate grăbit dacă apăsați butonul TEST de pe emițătorul extern. La
o recepție reușită, pe lângă numărul canalului se va așa temperatura exterioară și umiditatea relativă.
La o recepție eșuată vericați starea bateriilor în stație și în emițătoarele externe.
Recepția manuală a semnalului DCF77
DCF77 este un ceas atomic – emițător de sincronizare, care emite semnal pe undă lungă (77,5 KHz) în
Mainingen, Germania, la 25 km sudest de centrul orașului Frankfurt. Precizia ceasului atomic este de
1 secundă pe milion de ani. Semnalul poate recepționat pe o rază de 2000 km, astfel practic în toată
Europa. Cu ajutorul acestuia sunt setate automat și exact ora, data, ziua săptămânii, precum și ora de
vară sau de iarnă.
Stația împrospătează zilnic la ora 1:03 valorile de la ceasul DCF77. Dacă sincronizarea a eșuat, se
reinițiează la 2:03, apoi la 3:03, 4:03 și 5:03. Dacă careva din sincronizări s-a realizat cu succes, următo-
arele sincronizări din acea zi nu se vor iniția.
Dacă este neecsar, această procedură poată inițiată oricând și manual. Țineți butonul C/F apăsat timp
de cca. 3 secunde. Aparatul va emite un sunet și pe ecran va clipi indicatorul DCF77 (8). În acest timp
căutați un loc pentru stație, unde recepția semnalului DCF77 este potrivită. Acest fapt este semnalat pe
ecran de clipirea indicatorului DCF77. Dacă doriți să întrerupeți recepția, țineți butonul C/F apăsat.
Dacă sincronizarea nu se realizează nici cu nalizarea procesului de setări, va posibilă setarea
manuală la oră, fus orar, dată.
Setarea manuală: ora exactă, fus orar și dată
Țineți butonul SET apăsat timp de cca. 3 secunde, când aparatul așează ora exactă. Vor clipi acele
valori care pot modicate și pe care le puteți schimba prin apăsarea butonului SET: ora; minut; an;
ordine așare lună/zi sau zi/lună; luna; ziua; unitate de măsură presiune atmosferică (hPa/mb sau
mmHg); limba așării zilelor săptămânii; așare 12 sau 24 ore; pornit/oprit recepție DCF; pornit/oprit
sunet butoane (BI – ON/OFF); decalare fus orar (-12 h - +12 h). Setarea valorilor se poate efectua cu
butoanele ▲ sau ▼.
Așarea orei în format 12 sau 24 ore se poate selecta prin apăsarea scurtă a butonului SET. În cazul
formatului de 12 ore, orele de dupămasă sunt semnalizate de textul PM.
Recepția corectă a semnalului DCF77 va rescrie setarea manuală (ora exactă și data).
Setarea timpului de deșteptare
Puteți seta ora de deșteptare dacă țineți apăsat scurt butonul ALARM. Cu ajutorul
butoanelor ▲ sau ▼ veți putea seta ora, apoi minutele și în cel din urmă zilele
pentru alarma de deșteptare (MO-SU: în ecare zi; MO-FR: zile lucrătoare).
Activarea sau oprirea alarmei se poate realiza prin apăsarea scurtă a buto-
nului ALARM. Deșteptarea activă este semnalizată pe ecran cu iconița
ceas deșteptător, deasupra orei exacte.
Setarea limitelor la alarma de temperatură
1. Selectați cu butonul CHANNEL acel canal al emițătorului
extern, la care vreți să setați limitele de alarmă tempe-
ratură. Puteți seta pe ecare canal o limită diferită de
alarmă temperatură.
2. Țineți apăsat butonul ALERT, până valoarea
maximă clipește, care se poate seta cu
butoanele ▲/MEM sau ▼/CF.
3. Prin o nouă apăsare a butonului
ALERT puteți seta și valoarea de
limită minimă în mod similar.
HCW 28


