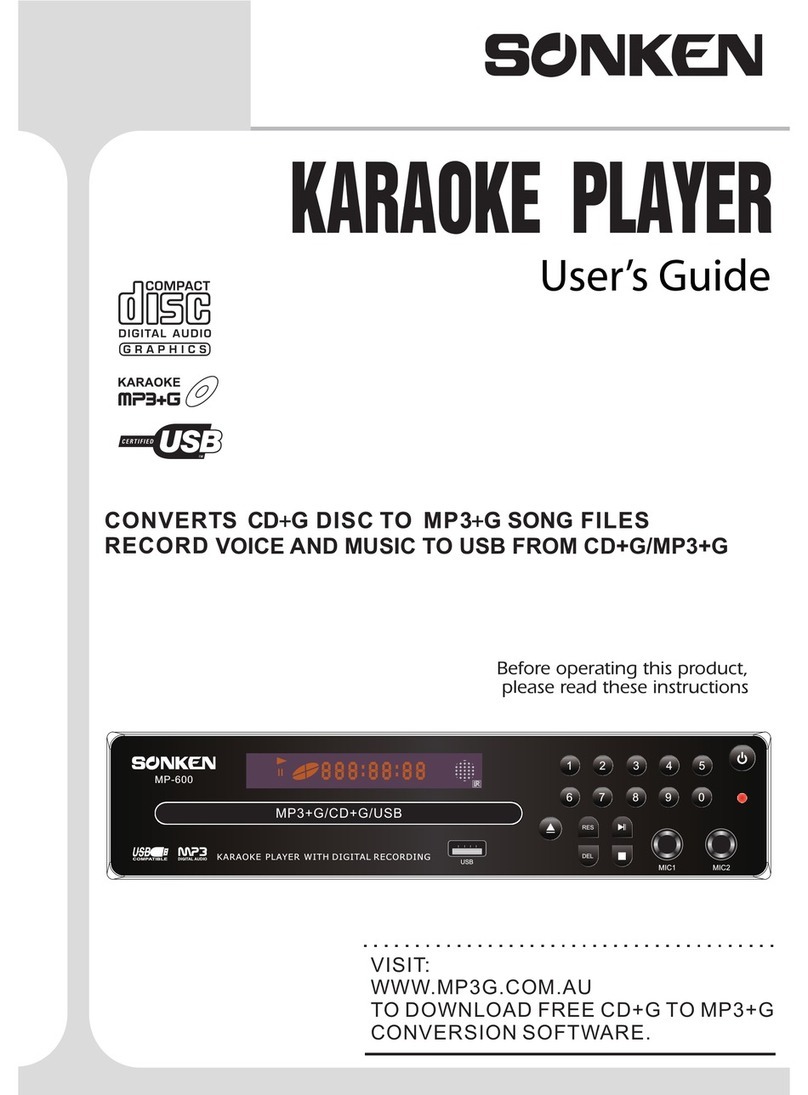
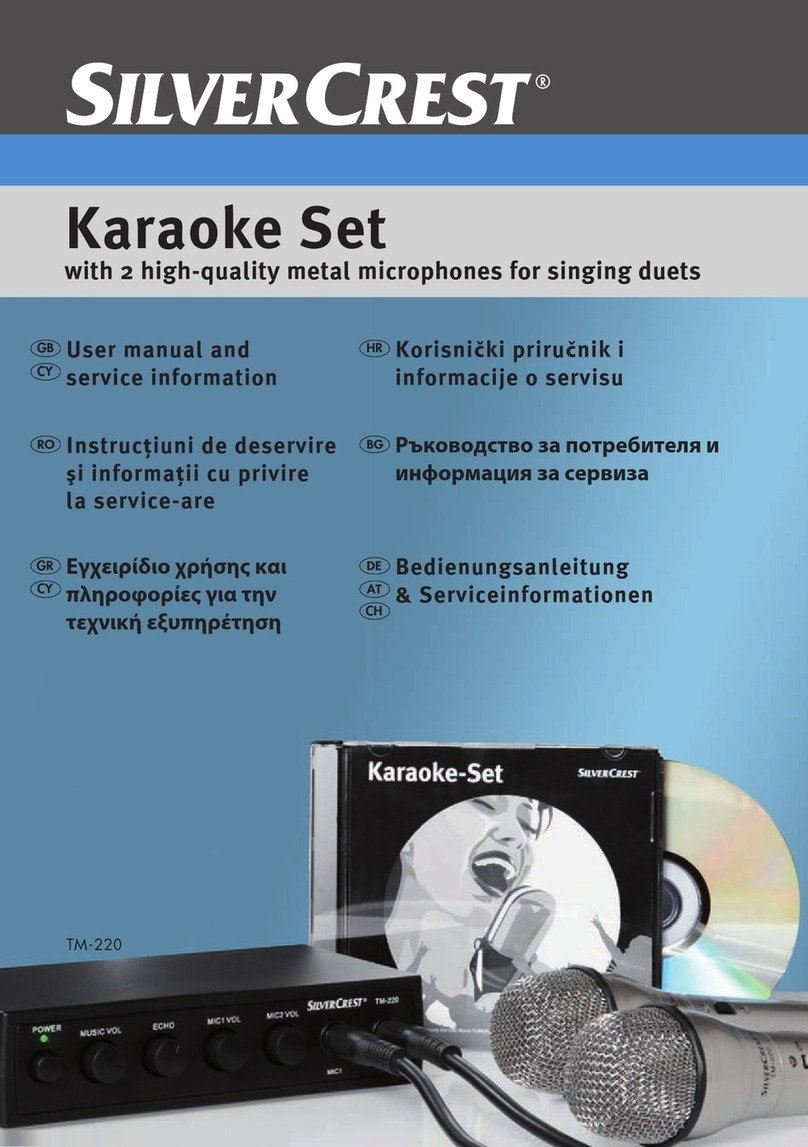
Sonken MP-600 User manual

1
© Copyright 2018 Karaoke Home Entertainment www.khe.com.au / www.khe.co.nz / www.picknmix.com.au
Sonken Karaoke Machines Guide
Table of Contents
How to Download an MP3+G Karaoke File ............................... 2
MP600 Karaoke Player User Guide....................................... 6-18
MP4000 Karaoke Machine User Guide............................... 19-34
Sonken MP600 and the Sonken MP4000

2
© Copyright 2018 Karaoke Home Entertainment www.khe.com.au / www.khe.co.nz / www.picknmix.com.au
How to Download MP3+G Files
Step 1 Go to www.picknmix.com.au and choose either Single Song or Digital Albums for MP3+G
(for compatible MP3+G devices like the karaoke boom box, MP600, MP2000, Miic Star MS62, Magic Sing ET23KH
and PCDJ Karaoki Hosting Software)
Step 2 Click “Sign-In or Register to add songs”
Step 3 Enter your KHE.com.au Account login details, and click “Sign-In” or if you do not have an account with
KHE.com.au then click “New Customer, Click here”
Step 4 Once you’ve logged in you will go back to the large list of songs which you can search through, you should see
your Username in the top right hand corner on the side bar, and “Click here to buy song credit”.
Click this button.

3
© Copyright 2018 Karaoke Home Entertainment www.khe.com.au / www.khe.co.nz / www.picknmix.com.au
Step 5 You’ll come to this screen below where you can see all the pricing tabled out for you, for how many songs,
how much per song, and how much for the total voucher.
You pay the Price at the very end, for the entire selection of songs now. You can choose and download your songs
over 12 months from the day you download your first song.
Select how many songs you want.
Read the terms and conditions & tick the box.
Select purchase song credit.
Step 6 Follow the prompts, login to PayPal and process the payment. Or enter your card details into PayPal and
process your payment.
Step 7 Once the payment has processed, you will go back to the screen with the songs listed and you can search by
song title, or artist. Select ADD, beside each song you wish to download.
Step 8 Your songs will appear and create a list on the right hand side of the page, and the website will tell you when
you’ve selected all your songs.
If you’re songs selected are correct, select the “Checkout” button
Step 9 Follow the prompts on screen to checkout the songs, checking you have the correct songs all the way
through. Please note: Once you’ve completed your order / downloaded your songs they cannot be exchanged /
refunded due to strict licensing restrictions.

4
© Copyright 2018 Karaoke Home Entertainment www.khe.com.au / www.khe.co.nz / www.picknmix.com.au
Step 10 Once you’ve completed the order, you will see under Order History, all your songs and a “DOWNLOAD”
button beside them.
Click this button and you will see a bar / pop up, select Save As and choose your file location on your computer
where you want the songs to download to. And click Save. The song will now download.
Follow this step for the rest of your songs.
Step 11 Once completed you will need to unzip your files.
Right click on the file, select Extract All

5
© Copyright 2018 Karaoke Home Entertainment www.khe.com.au / www.khe.co.nz / www.picknmix.com.au
Step 12 Choose the destination to be your root folder, in this case Downloads is where I’ve put the song, I want the
two files to extract into the main folder.
Click Extract.
Step 13 You will now see the below, two files for the 1 song, and the zipped file, you can delete the zipped file. Keep
the two files.
One is .mp3 and the other is .cdg –the files must be named exactly the same except for this extension.
In a karaoke machine, these two files get played at the same time to give you the lyrics on screen and the music at
the same time. Now you just copy to your USB / HDD / SD Card / Device and load into your machine accordingly.

6
© Copyright 2018 Karaoke Home Entertainment www.khe.com.au / www.khe.co.nz / www.picknmix.com.au
MP600 Karaoke Player Guide
Contents
How to Download MP3+G Files ........................................................................................................................................2
MP600 Karaoke Player Guide ...........................................................................................................................................6
How to Connect Your MP600............................................................................................................................................7
Getting Started with your MP600.....................................................................................................................................8
Multiplex (MPX) –Full Guide Vocals On/Off On an MP600 ............................................................................................ 8
Creating a Songbook on an MP600...................................................................................................................................9
How to Format a USB on a PC.........................................................................................................................................10
Recording Assistance on an MP600................................................................................................................................11
Recording Playback on an MP600...................................................................................................................................11
Understanding the USB Platform on an MP600 .............................................................................................................12

7
© Copyright 2018 Karaoke Home Entertainment www.khe.com.au / www.khe.co.nz / www.picknmix.com.au
Download & Install Song Book Generator For MP600’s Purchased Before July 2017 ...............................................12
Formatting the CSV Excel Song List For an MP600........................................................................................................13
MP600 FAQ Page.............................................................................................................................................................19
Sonken MP4000 Karaoke Machine Guide..................................................................................................................20-34
How to Connect Your MP600
Your Sonken MP600 Karaoke Player has the power cable connected to the unit, that
just needs to plug into a wall power socket. Then it also has the red, white and
yellow RCA / AV Cables (included in the box).
Your karaoke player can be plugged straight into your TV for quick karaoke fun
however, the sound output will be reflective of your television speakers.
Connection
Picture
Sound
TV Only
If you wish to use your TV for the visual on-screen lyrics and the sound, you
must plug all red, white and yellow RCA cables into matching Video and
Audio connections on your TV and select the appropriate AV Channel on
via the TVs source or input selector.
Please Note: You may get a voice delay when using your TV only, as TVs
have very small speakers and are not designed for karaoke use, you will
need to turn your TV volume up considerably in order to hear it properly
and you may still get delay. This is a limitation of the TV and we always
recommend you use a dedicated speaker, we only ever use a TV for the on-
screen lyrics.
Amplifier & Speaker / Powered
Speaker using L/R Audio
Plug the yellow cable from the AV
cable included into a matching
yellow Video Input connector on
your TV.
If your amplifier or powered
speaker has the red and white RCA
connections, you can plug that
straight in from the karaoke player
to matching connections on your
speaker.
Powered Speaker using AUX Input
Plug the yellow cable from the AV
cable included into a matching
yellow Video Input connector on
your TV.
You will need a RCA (red and white)
to AUX jack plug in order to connect
your MP600 to the Powered
Speaker via the AUX input.

8
© Copyright 2018 Karaoke Home Entertainment www.khe.com.au / www.khe.co.nz / www.picknmix.com.au
Please Note: If you find your music is a bit distorted even though
you’re using a separate speaker and its connected properly, you’ll
need to also turn down the Music Volume on the MP600 from
factory they come set to maximum. This can sometimes distort the
music, as anything played all at maximum volume can distort. Find
the Music Volume controls on the remote.
Please Note: If you are using a home theatre system it is
best to change the settings to 2-Channel Stereo however
be aware that if your speakers are all small satellite
speakers you may still damage them as they are not designed for the
use of microphones. Sound bars are never recommended for karaoke.
Getting Started with your MP600
Your MP600 Karaoke Player plays either CD+G discs, DVD* discs or MP3+G karaoke digital files. You can press the
Open/Close button to open the disc draw, put in a CD+G disc and the first track of the disc will begin to play.
Or you can insert an 8GB USB Stick with MP3+G karaoke files on it into the USB port, once the menu shows up, use
the remote to select your song.
Plug in a microphone to the front microphone port and start singing.
Multiplex (MPX) –Full Guide Vocals On/Off
On an MP600
As standard, karaoke songs show the on-screen lyrics (when played in a karaoke player like the MP600), and plays
the music, whilst you sing the main vocal and you get cover backing vocals in the chorus line and where ever else the
original singer had vocals; this is traditional or true karaoke.
However, some people need to learn a song or simply don’t want to sing alone; for this, we have Multiplex (MPX)
versions which have full cover guide vocals throughout the entire song which can be switched on/off as you wish. So
you can sing it as many times as you need with the vocal to learn the song and then switch it off and go solo!
There are no original artist performances used in any karaoke.
Not all karaoke songs have this feature, so it’s important to look for the red MPX or Multiplex in the title.
To change between the full cover guide vocal and the no vocal version, press the MPX button at the top of the
MP600 remote control

9
© Copyright 2018 Karaoke Home Entertainment www.khe.com.au / www.khe.co.nz / www.picknmix.com.au
Creating a Songbook on an MP600
The Sonken MP600 (models purchased after July 2017) have an in-built song book generator function which allows
you to create a printable book with all your songs for super easy song selection.
In order to create the song book, you must have all your songs in MP3+G format (2 files per song .cdg and .mp3) on
no more than an 8GB USB stick, with no other documents [Word Files, Photos etc] present on the USB.
Tip: Before adding your songs, you must format* the USB to FAT32 to clear it of all other items and residual files. (See
below for how to do)
Please Note: These songs need to be in MP3+G in order for the words to appear on the screen, they need to be
unzipped, and named identically except for the .cdg and .mp3 extensions. The number of songs which a USB (8GB
approx. 1600) will hold is variable upon the song lengths.
Step 1 Insert the USB stick and wait for the USB menu to come up on the screen
Step 2 Press the A-B button on the remote, follow on-screen prompts and wait for the machine to finish crunching
your songbook
Step 3 Once its done, take out the USB stick and insert it into your computer
Step 4 Open the songbook file .csv document on the USB and you’ll see all your songs listed with a dedicated
number in front of the machine, this is the song number that you’ll enter to bring up that specific song.

10
© Copyright 2018 Karaoke Home Entertainment www.khe.com.au / www.khe.co.nz / www.picknmix.com.au
If you would like instructions on how to format the songbook in an
excel document to change the columns around, and format the list
by artist or by song title and clean up the list a bit further for a nice
printing song book, see page 8 for “How to Format a Song Book”.
How to Format a USB on a PC
Formatting to FAT32 in 5 Easy Steps… (On a PC)
Step 1 Plug the empty USB into your computer.
Step 2 Go to “My Computer” or “This PC” where you should see the name of the USB stick.
Step 3 Now, do a right click on the USB Stick’s icon. You will see a few options, a few options down you will see
“Format”, click this one.
Step 4 A small screen will appear, be sure to select “File System: FAT32 (Default)”. And hit the “start” button.
Step 5 When it says it is complete, you are ready to move on. Add your songs and start singing. Should you ever find
you have an issue with your USB not reading in the machine, come back and do this. Remember to keep a copy of
your songs on your computer prior to wiping the stick though. *Even if the hard drive is new out of the box, it still
must be formatted.

11
© Copyright 2018 Karaoke Home Entertainment www.khe.com.au / www.khe.co.nz / www.picknmix.com.au
Recording Assistance on an MP600
Step 1 Make sure the machine is connected (see Page 2), plug in your
microphones and insert your disc/USB/SD Card. If you are singing off a disc,
you will need to insert a USB as well, to record your performance to. If you
are singing a song from your USB stick, it will record back to itself, creating a
new folder “Record”.
Step 2 Play your song, from either the disc or the USB stick/SD Card.
Step 3 Press the “RECORD” button on the remote.
Step 4 Then, over the top of the songs, a screen should appear with a
keyboard and REC001. If you wish to change the name of the recording you
can do so here, or you can do this later in your computer. In this case, use the
arrows on the remote to navigate to the “ENTER” button, and select.
Step 5 From here the song you have selected will restart from the beginning,
and a little red “REC •” should appear in the top left hand corner of your
screen: You can now sing and the music will be recording to the USB Stick, in
a separate folder called “Record”.
Step 6 When you wish to stop the recording, simply press the “RECORD”
button on the remote again. This will return to you the USB menu.
Recording Playback on an MP600
Playback on the MP600
Step 1 Keep the USB inserted in the front of the machine, click the DISC/USB
button on the remote
Step 2 Locate the “record” folder and select it, then use the → (right) arrow to
move across into the folder.
Step 3 There will be the list of your recorded files, either REC0001, REC0002 or
the names you entered in.
Step 4 Press enter to play any of these as you would any other file.
Playback on your Computer
Step 1 Plug the USB into your computer
Step 2 Open the USB so you can view all the folders
Step 3 Find the “record” folder and open it
Step 4 You will see the REC0001, REC0002 etc files that you recorded earlier, or the names you entered instead
Step 5 Double click on a file to play, doing this on your PC you will only hear the audio.

12
© Copyright 2018 Karaoke Home Entertainment www.khe.com.au / www.khe.co.nz / www.picknmix.com.au
Understanding the USB Platform on an MP600
When you insert a USB stick (up to 8GB) your MP600 will recognise and start switching to USB mode where it will
show you two columns, like below.
At the top you will see the currently title and artist that you have highlighted, if you’re having trouble reading the
song titles in this view, click “FILE MP3+G SONG LIST” on the remote to switch to wide view
On
the left hand column side is the folders that you have on your USB stick
On the right hand side is the song within the given folder
Download & Install Song Book Generator
For MP600’s Purchased Before July 2017
For MP600’s purchased after July 2017 your machines are already installed with the Song Book Generator therefore
you do not need this information, however, if you purchased your machine before then and would like the Song
Book Generator function in your machine, keep reading.
Step 1 You can purchase the Song Book Generator Upgrade from here.
Step 2 Once you’ve completed the purchase, you need to download the DVDROM.BIN file to your PC.
Step 3 Copy the DVDROM.BIN file to an empty USB Memory Stick (Maximum 8GB)
Step 4 Plug in and turn on your MP600 Karaoke Player, and turn on the TV too
so you can watch the installation process
Step 5 Make sure there is no CD in the draw.
Step 6 Insert your USB stick with the DVDROM.BIN file on it into the front of
the MP600.

13
© Copyright 2018 Karaoke Home Entertainment www.khe.com.au / www.khe.co.nz / www.picknmix.com.au
You do not have to select anything, the upgrade will count down from 20 to 0 and then begin the upgrade process,
or you can use the remote enter key to start it immediately.
Do not switch the player off or remove the USB memory stick whilst unit is upgrading as your player will not work
thereafter, and is not covered under warranty if you do so.
Step 7 The upgrade will take less than a minute and when it is done the draw will open on the machine, once this is
done you can close the draw and remove the USB stick, and the upgrade is complete.
Formatting the CSV Excel Song List
For an MP600
In order to generate the song list, you must follow the instructions on Page 4 of this document. Once the .csv Excel
document is on your USB and inserted to your PC, you can open it and see how your files have transferred to song
list. If there is artist names missing or different characters in the middle of song titles etc it may not be as neat to
work with, but you can edit this all during this process in the Excel doc.
Step 1 Once you have all your data open in an Excel spreadsheet
like this, you can start configuring the data into different columns
and sorting the song list either by title or artist, or both in two
separate lists.
Step 2 Next, go to Find and Select and click “Replace”
Step 3 Enter a full stop in the first field “find” and a hyphen - in the second field “replace” like so.. and click “replace
all”.

14
© Copyright 2018 Karaoke Home Entertainment www.khe.com.au / www.khe.co.nz / www.picknmix.com.au
Step 4 Next, in Excel, highlight the column you wish to split, whichever column your title and artist has shown up in
by clicking on the A, B or C etc at the top. Then select DATA, and Text to Column
Step 5 Choose “Delimited” and click Next.
Step 6 Choose “other” and enter a hypen - then click next. And then finish.

15
© Copyright 2018 Karaoke Home Entertainment www.khe.com.au / www.khe.co.nz / www.picknmix.com.au
Step 7 Easy to modify to your liking list:
Now depending on how you have your original files formatted there may still some that aren’t 100% like song 36 on
my list, because I had it formatted M.I.L.F$ so this one I will manually fix but the majority are fine and will be very
easy to swap around if need be.
Options for the list:
a) You can leave as is and simply put it into a black table for easy printing

17
© Copyright 2018 Karaoke Home Entertainment www.khe.com.au / www.khe.co.nz / www.picknmix.com.au
b) You can print one like this, Title –Arist and then make a second Artist –Title for those who know the Artist
not the song name.
Firstly just highlight the B column where you have the song names, and select Cut (CTRL+X)
Then PASTE this data into column D, you can then delete the empty column B.

18
© Copyright 2018 Karaoke Home Entertainment www.khe.com.au / www.khe.co.nz / www.picknmix.com.au
Now they’re the other way around.
Highlight from the B1 column all the way down to your last song in column C, so both columns (not the track
numbers) should be highlighted.
Right click, and choose Sort A-Z
Now all the artist will be sorted from A-Z and the songs next to them…like so
Delete once
empty

19
© Copyright 2018 Karaoke Home Entertainment www.khe.com.au / www.khe.co.nz / www.picknmix.com.au
MP600 FAQ Page
Q: Can the machine remove the singing on a disc?
A: The MP600 has the Multiplex (MPX) function
(see Page 3) which allows you to switch on/off the
full guide vocals on a MPX karaoke track. However,
a common misconception with these machines, is
that they can remove the vocal on a normal CD, this
is not the case. If you play a normal CD in them,
they will play just as an audio CD. Only proper formats (CD+G, MP3+G and Karaoke DVD) will perform as Karaoke.
Q: Does the machine record?
A: Yes, the MP600 does record from either CD+G or MP3+G to a USB stick. See Page 5 and 6 for detailed information.
Q: Does it have key control?
A: Yes, the MP600 has key control on the remote control you have a 6-Step Key Control to step the song up or down
to better suit your vocal range.
On top half of remote
Q: How do I download songs?
To download MP3+G Karaoke Files, go to www.karaokemp3g.com.au and create an account. Purchase credit of your
choice via PayPal and then select your songs and download to your computer. Unzip and copy unzipped files to a
USB stick which goes into the front of the MP600. For support and detailed instructions on the download process go
to www.picknmix.com.au/faq
Q: Can I connect my iPod or Smart Phone to the Karaoke Machine?
A: No, although the machine does have USB port it does not support these devices; however, if you are wanting to
play normal MP3 songs you can. Just transfer the songs to an empty 8GB (Maximum) USB Stick and insert it into the
front of the machine. Please Note: Normal MP3 songs will NOT display lyrics or any other visuals on the screen you
will just hear the audio.
Q: Can I put my CD+G discs on the USB stick for quicker playback?
You certainly can, if you have lot of discs to convert doing so in the player can be time consuming as the players are
slower at converting process. If your song files need renaming that is a very tedious process with a remote control as
the keyboard. But don’t worry there is a much faster way using your Windows based PC to convert your discs using

20
© Copyright 2018 Karaoke Home Entertainment www.khe.com.au / www.khe.co.nz / www.picknmix.com.au
either Audio Grabber or MP3G Toolz both which are Free to download and use.
Want to learn how? Go to www.how-to-convert-cdg.com
Sonken MP4000 Karaoke Machine Guide
Contents
How to Download MP3+G Files ........................................................................................................................................2
MP600 Karaoke Player Guide ......................................................................................................................................6-18
MP4000 Karaoke Machine Guide ...................................................................................................................................19
How to Connect Your MP4000........................................................................................................................................21
Getting Started with your MP4000.................................................................................................................................22
Multiplex (MPX) –Full Guide Vocals On/Off...................................................................................................................22
Bluetooth on your MP4000.............................................................................................................................................23
Meet Your MP4000 Remote ...........................................................................................................................................24
MP4000 Functions Explained..........................................................................................................................................26
Understanding the USB Platform on the MP4000..........................................................................................................27
Recording Assistance on the MP4000.............................................................................................................................28
Recording Playback .........................................................................................................................................................28
Create a Songbook on the MP4000 ................................................................................................................................29
Format Song Book on the MP4000.................................................................................................................................30
Other manuals for MP-600
1
This manual suits for next models
1
Table of contents
Other Sonken Karaoke System manuals

