manuals.online logo
Brands
  1. Home
  2. •
  3. Brands
  4. •
  5. Sony
  6. •
  7. Car Receiver
  8. •
  9. Sony XR-1947 Product guide

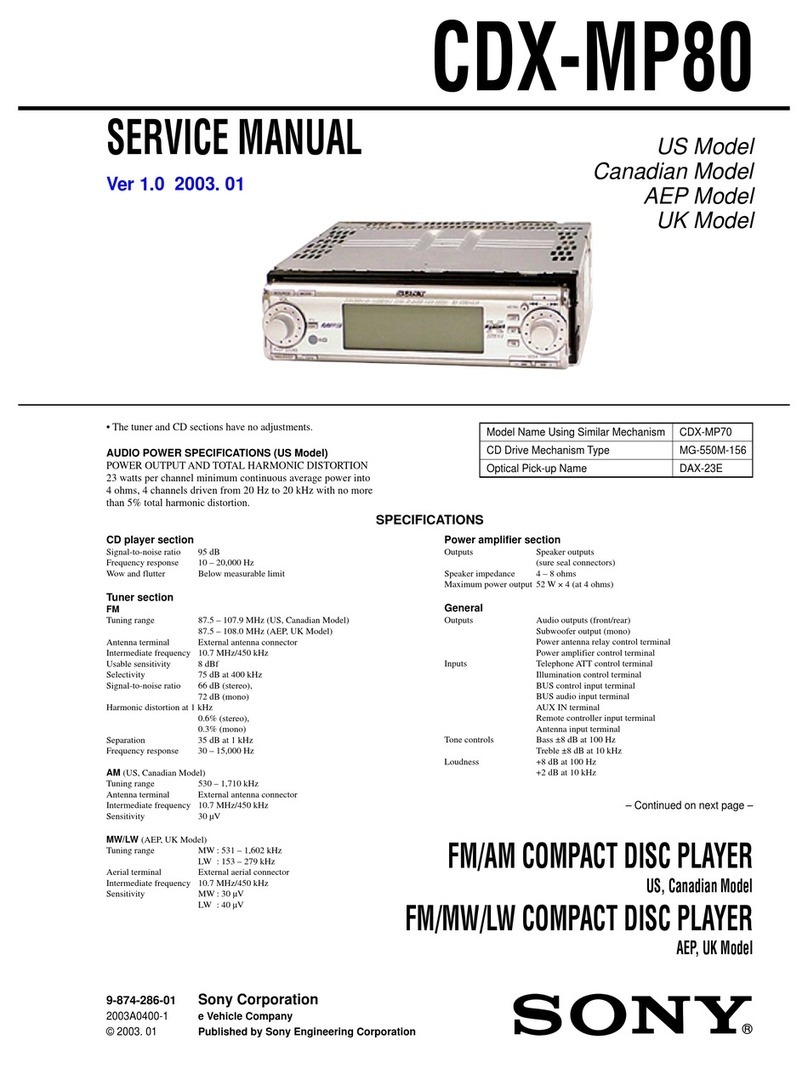
Sony XR-1947 Product guide

Other manuals for XR-1947

1

Other Sony Car Receiver manuals

Sony XR-C543SP User manual

Sony

Sony XR-C543SP User manual

Sony MEX-M72BT User manual

Sony

Sony MEX-M72BT User manual

Sony CDX-MP30 User manual

Sony

Sony CDX-MP30 User manual

Sony XR-C2604J User manual

Sony

Sony XR-C2604J User manual

Sony CDX-GT610U User manual

Sony

Sony CDX-GT610U User manual

Sony CDX-L550X - Fm/am Compact Disc Player User manual

Sony

Sony CDX-L550X - Fm/am Compact Disc Player User manual

Sony CDX-GT710HD User manual

Sony

Sony CDX-GT710HD User manual

Sony CDX-L300 Installation/Connection Product guide

Sony

Sony CDX-L300 Installation/Connection Product guide

Sony CDX-GT565UV Product guide

Sony

Sony CDX-GT565UV Product guide

Sony CDX-C660 - Fm/am Compact Disc Player User manual

Sony

Sony CDX-C660 - Fm/am Compact Disc Player User manual

Sony CDX-F5000 - Fm/am Compact Disc Player Product guide

Sony

Sony CDX-F5000 - Fm/am Compact Disc Player Product guide

Sony XDCAM EX Series User manual

Sony

Sony XDCAM EX Series User manual

Sony CDX-GT09 User manual

Sony

Sony CDX-GT09 User manual

Sony CDX-GT35U - Fm/am Compact Disc Player User manual

Sony

Sony CDX-GT35U - Fm/am Compact Disc Player User manual

Sony CDX-GT240 Product guide

Sony

Sony CDX-GT240 Product guide

Sony XR-CA300 - Fm-am Cassette Car Stereo User manual

Sony

Sony XR-CA300 - Fm-am Cassette Car Stereo User manual

Sony XR-2100 User manual

Sony

Sony XR-2100 User manual

Sony XR-CA660X User manual

Sony

Sony XR-CA660X User manual

Sony CDX-GT572 User manual

Sony

Sony CDX-GT572 User manual

Sony MEX-BT3150U User manual

Sony

Sony MEX-BT3150U User manual

Sony CDX-565MXRF Operating Instruction correction: multi-session... User manual

Sony

Sony CDX-565MXRF Operating Instruction correction: multi-session... User manual

Sony CDX-C8850 - Fm/am Compact Disc Player User manual

Sony

Sony CDX-C8850 - Fm/am Compact Disc Player User manual

Sony DSX-S100 User manual

Sony

Sony DSX-S100 User manual

Sony RXD-700 User manual

Sony

Sony RXD-700 User manual

Popular Car Receiver manuals by other brands

Linear Series LS5050 Operation and installation manual

Linear Series

Linear Series LS5050 Operation and installation manual

Kenwood KRC-160 instruction manual

Kenwood

Kenwood KRC-160 instruction manual

T+A Elektroakustik K1 CD-RECEIVER operating instructions

T+A Elektroakustik

T+A Elektroakustik K1 CD-RECEIVER operating instructions

SoundMax SM-CDM1052 instruction manual

SoundMax

SoundMax SM-CDM1052 instruction manual

Xtrons HD107HD user manual

Xtrons

Xtrons HD107HD user manual

Mopar RB3 manual

Mopar

Mopar RB3 manual

Clarion ADDZEST DMZ615 owner's manual

Clarion

Clarion ADDZEST DMZ615 owner's manual

PIE GM12-POD/S Operation manual

PIE

PIE GM12-POD/S Operation manual

Hyundai H-910H instruction manual

Hyundai

Hyundai H-910H instruction manual

Motorola VWA63 Service manual

Motorola

Motorola VWA63 Service manual

Sound Storm STM93R user manual

Sound Storm

Sound Storm STM93R user manual

Nextar D3201 instruction manual

Nextar

Nextar D3201 instruction manual

Alpine CDE-163BT owner's manual

Alpine

Alpine CDE-163BT owner's manual

Kenwood KDC-X303 quick start guide

Kenwood

Kenwood KDC-X303 quick start guide

Axxera XDMA7600 Installation & owner's manual

Axxera

Axxera XDMA7600 Installation & owner's manual

XM OnyX quick start guide

XM

XM OnyX quick start guide

Rydeen DV638A owner's manual

Rydeen

Rydeen DV638A owner's manual

Soundstream VIR-5000 owner's manual

Soundstream

Soundstream VIR-5000 owner's manual

manuals.online logo
manuals.online logoBrands
  • About & Mission
  • Contact us
  • Privacy Policy
  • Terms and Conditions

Copyright 2025 Manuals.Online. All Rights Reserved.

Sony Corporation 1996 Printed in Indonesia
3-858-378-11 (1)
FM/AM
Cassette Car
Stereo
Installation/Connections
XR-1947
Installation
Parts for Installation and Connections
The numbers in the list are keyed to those in the instructions.
1
Precautions
•Choose the installation location carefully so that the unit will not hamper the driver during driving.
•Avoid installing the unit where it would be subject to high temperatures, such as from direct
sunlight or hot air from the heater, or where it would be subject to dust, dirt or excessive vibration.
•Use only the supplied mounting hardware for a safe and secure installation.
Mounting angle adjustment
Adjust the mounting angle to less than 20°.
Mounting Example
Installation in the dashboard
1Remove the transit lock by turning it 90°. 2Bracket1
Remove the bracket.
3
182 mm
53 mm
1
Bend these claws, if necessary.
4
65
6
6
5
64
5
5
Fire wall
Dashboard
2
3
To support the unit
Mounting the Unit in a Japanese Car
You may not be able to install this unit in some makes of Japanese cars. In such a case, consult your
Sony dealer.
TOYOTA
Bracket
6max. size ø5 ×8 mm
6max. size ø5 ×8 mm
NISSAN
6max. size ø5 ×8 mm
Bracket
6max. size ø5 ×8 mm
Note
To prevent malfunction, install only with the supplied screws 6and use existing parts supplied to your car.
to dashboard/center console
Note for Connecting
If there is alternator noise (a whining sound when raising engine speed), ground the master unit
by connecting it to a metal point of the car with the supplied chassis ground cord 8. Connect the
ground cord to the master unit with part 2as shown in the illustration.
To a metal point of the car
2
2
×1
4
×1
3
×1×1
5
×5
(incl. 1 reserve)
×2 ×1
8
×1
76
8
Connections
Caution
•This unit is designed for negative ground 12 V DC operation only.
•Before making connections, disconnect the ground terminal of the car battery to avoid short circuits.
•Connect the yellow and red power input leads only after all other leads have been connected.
•Run all ground wires to a common ground point.
Frequency Select Switch
The AM (FM) tuning interval is factory-set to the 9K (50 K) position. If the frequency allocation system
of your country is based on 10 kHz (200 kHz) interval, set the switch on the bottom of the unit to the
10 K (200 K) position before making connections.
Change the position with a jeweler’s screwdriver, etc.
Connection Example
Notes on the control leads
•The ANT REM lead (blue) supplies +12 V DC when you turn on the
unit. When the ANT REM lead is connected to the power antenna, the
antenna will be extended as long as the unit is turned on.
•A power antenna without relay box cannot be used with this unit.
Memory hold connection
When the yellow power input lead is connected, power will always be
supplied to the memory circuit even when the ignition key is turned off.
Notes on speaker connection
•Before connecting the speakers, turn the unit off.
•Use speakers with an impedance of 4 to 8 ohms, and with adequate power
handling capacities. Otherwise, the speakers may be damaged.
•Do not connect the terminals of the speaker system to the car chassis, and
do not connect the terminals of the right speaker with those of the left
speaker.
•Do not attempt to connect the speakers in parallel.
•Do not connect any active speakers (with built-in amplifiers) to the
speaker terminals of the unit. Doing so may damage the active speakers.
Therefore, be sure to connect passive speakers to these terminals.
7
Black striped
Black striped
Black striped
to a power antenna relay control box
Max. supply current 0.5 A
AMP/ANT REM
Fuse (10A)
LINE OUT
from car antenna
Power amplifier
Rear speaker
Blue
Red
Yellow
to the +12 V power terminal which is energized in the
accessory position of the ignition key switch
Be sure to connect the black earth lead to it first
to the +12 V power terminal which is energized at all times
Be sure to connect the black earth lead to it first.
Black to a metal point of the car
First connect the black earth lead, then connect the yellow and
red power input leads.
White
Left
Right
Front speakers
Gray
Black striped
Green
Purple
Left
Right
Rear speakers
RCA pin cord(RC-63(1 m), RC-64 (2 m) or RC-65(5 m))(not supplied)