MD 7328_AutoradioUK_corrected.fh10 Thu Oct 23 13:50:38 2003 Seite 9
C M Y CM MY CY CMY K
10
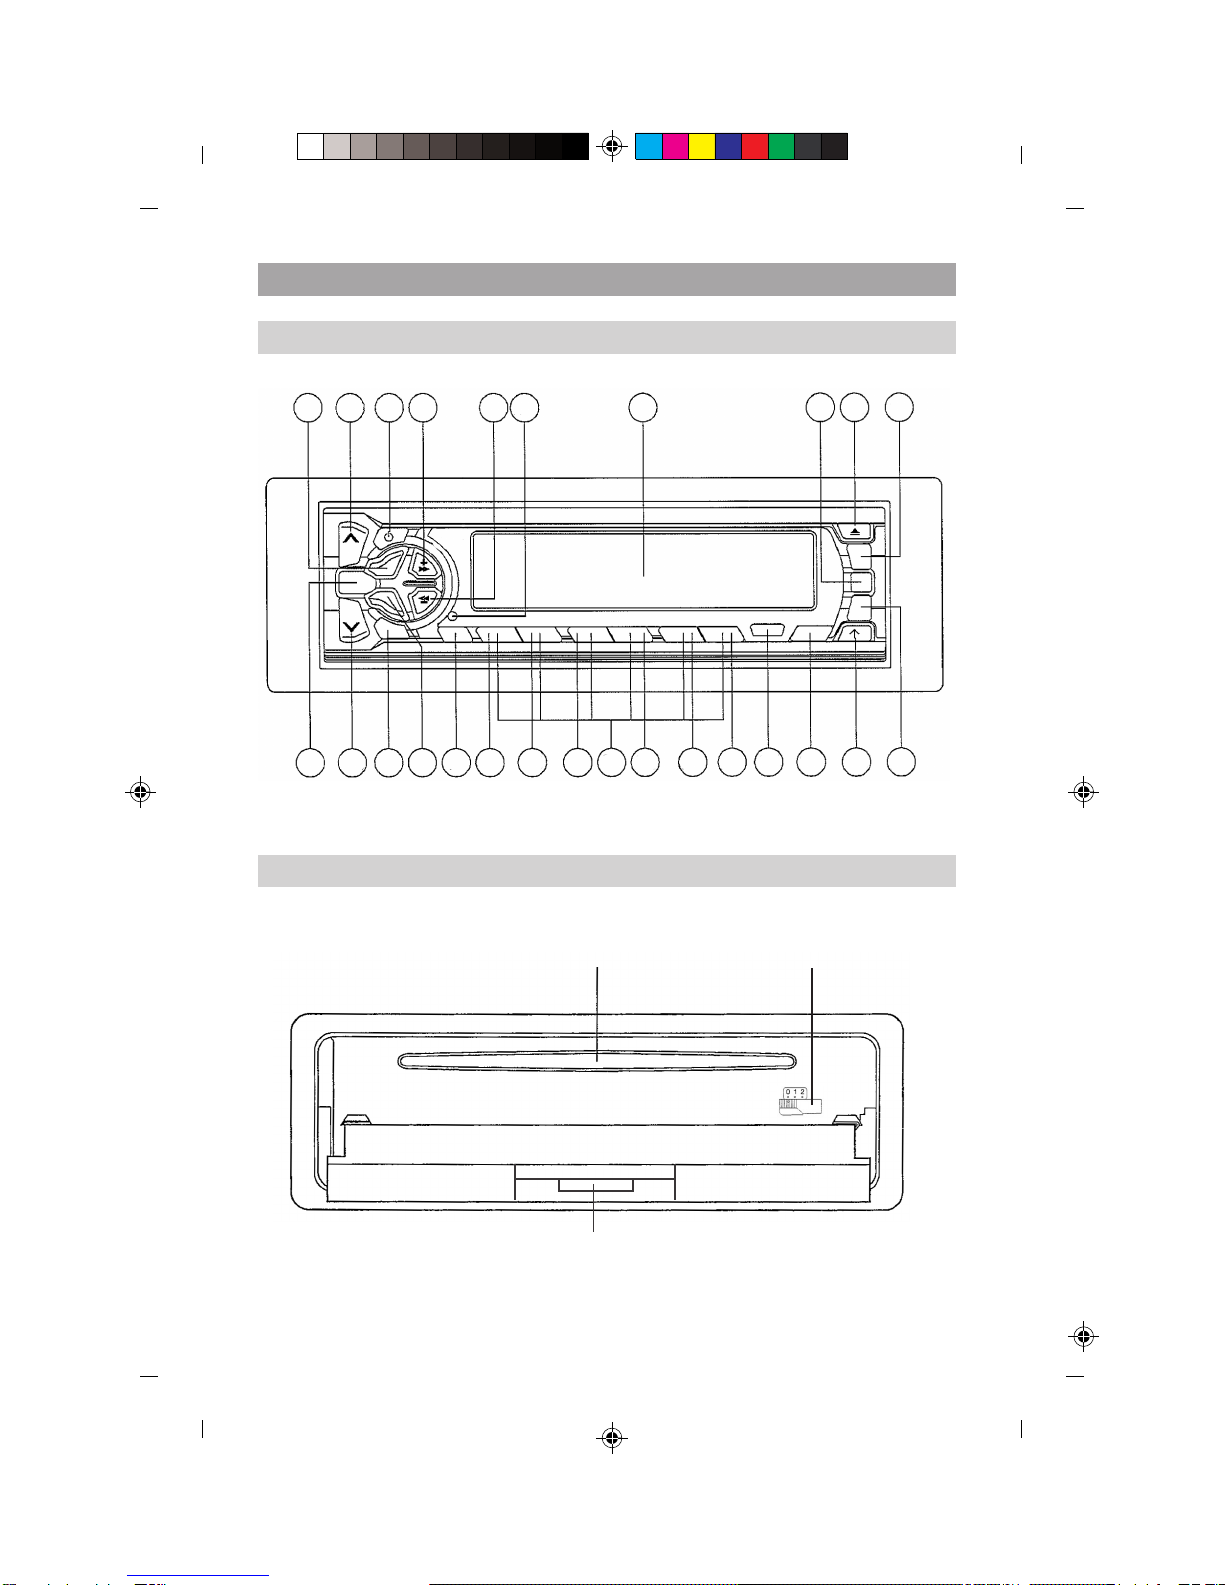
INSTALLATION
8. To further secure the unit, use the supplied
metal strap to secure the back of the unit
in place. Use the supplied hardware (Hex
Nut M5mm and Spring Washer) to attach
one end of the strap to the mounting bolt
on the back of the unit.
If necessary, bend the metal strap to fit your
vehicle's mounting area. Then use the supplied
hardware (Tapping Screw 5x25mm and Plain
Washer) to attach the other end of metal strap
to a solid metal part of the vehicle under the
dashboard.
This strap also helps ensure proper electrical grounding of the unit. Reconnect the
cable to the vehicle battery´s negative (-) terminal. Then replace the outer trim ring.
Removing the unit
1. Make sure the ignition is turned off, then
disconnect the cable from the vehicle
battery's negative (-) terminal.
2. Remove the metal strap attached to the
back of the unit (if attached)
3. Insert the release frame key into the groove
at the right side of the frame, then
prize out to remove the frame. (You can
also use the key to remove the frame
from the left side.)
4. After releasing the frame, insert the release
unit keys (supplied with the unit) into the
grooves at both sides of the unit as shown
in this figure until you hear a click sound.
Pulling the keys enables you to remove the
unit from the dashboard.