manuals.online logo
Brands
  1. Home
  2. •
  3. Brands
  4. •
  5. Sony
  6. •
  7. CD/CDR Drive
  8. •
  9. Sony VGC-RB10M - Vaio Desktop Computer Guide

Sony VGC-RB10M - Vaio Desktop Computer Guide

Other manuals for VGC-RB10M - Vaio Desktop Computer

2

This manual suits for next models

59

Other Sony CD/CDR Drive manuals

Sony VGN-BX565B - VAIO - Pentium M 1.86 GHz Guide

Sony

Sony VGN-BX565B - VAIO - Pentium M 1.86 GHz Guide

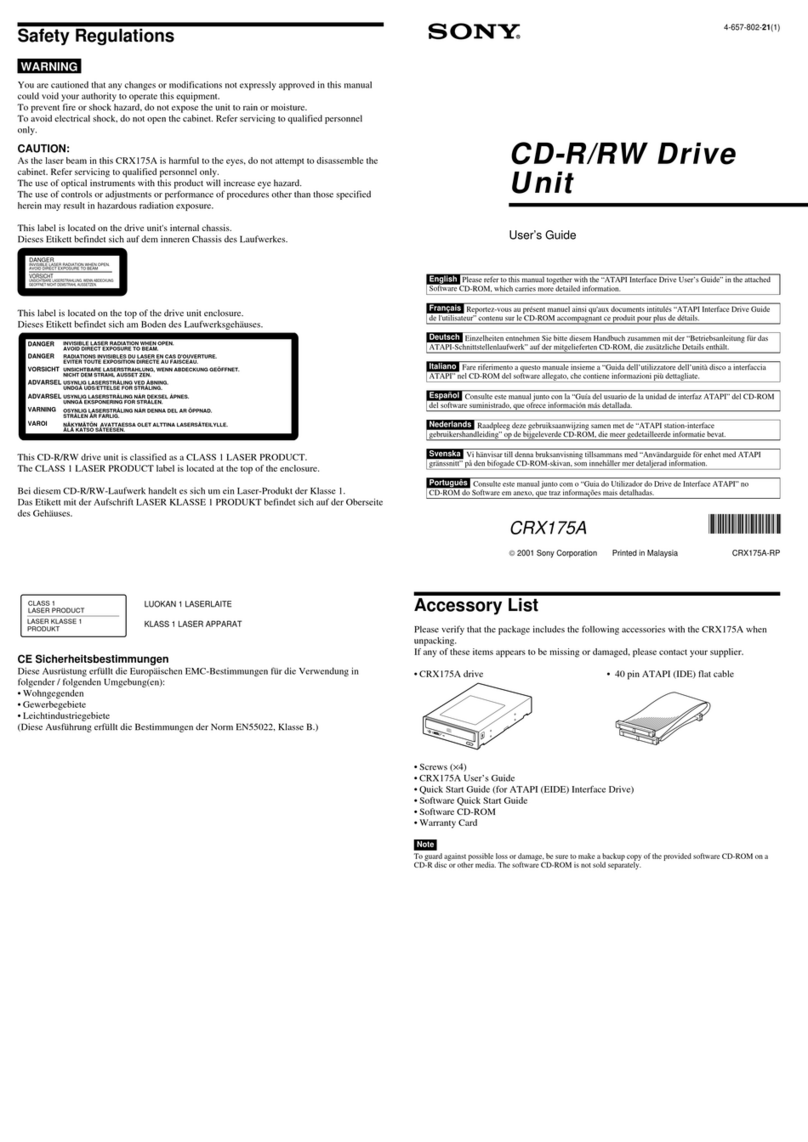
Sony CRX225A User manual

Sony

Sony CRX225A User manual

Sony CRX1600L User manual

Sony

Sony CRX1600L User manual

Sony BDX-S500U User manual

Sony

Sony BDX-S500U User manual

Sony CRX10U User manual

Sony

Sony CRX10U User manual

Sony CRX1750U User manual

Sony

Sony CRX1750U User manual

Sony DRU-120A User manual

Sony

Sony DRU-120A User manual

Sony DRX-120L User manual

Sony

Sony DRX-120L User manual

Sony CDU 5211 Series User manual

Sony

Sony CDU 5211 Series User manual

Sony CDU625 User manual

Sony

Sony CDU625 User manual

Sony CDU535 Series User manual

Sony

Sony CDU535 Series User manual

Sony CRX320AE User manual

Sony

Sony CRX320AE User manual

Sony CDU701 User manual

Sony

Sony CDU701 User manual

Sony CRX230A User manual

Sony

Sony CRX230A User manual

Sony varo PCGA-CD51 User manual

Sony

Sony varo PCGA-CD51 User manual

Sony XDCAM PDW-U1 User manual

Sony

Sony XDCAM PDW-U1 User manual

Sony CRX - 160E User manual

Sony

Sony CRX - 160E User manual

Sony CDU701 User manual

Sony

Sony CDU701 User manual

Sony VGN-SR130N Guide

Sony

Sony VGN-SR130N Guide

Sony CRX320EE User manual

Sony

Sony CRX320EE User manual

Sony SDX-D700C Manual

Sony

Sony SDX-D700C Manual

Sony CDU311 User manual

Sony

Sony CDU311 User manual

Sony SMO-F551-SD User manual

Sony

Sony SMO-F551-SD User manual

Sony VGN-N1 Series Guide

Sony

Sony VGN-N1 Series Guide

Popular CD/CDR Drive manuals by other brands

QPS Que!Fire installation manual

QPS

QPS Que!Fire installation manual

Panasonic KX-LD742 operating instructions

Panasonic

Panasonic KX-LD742 operating instructions

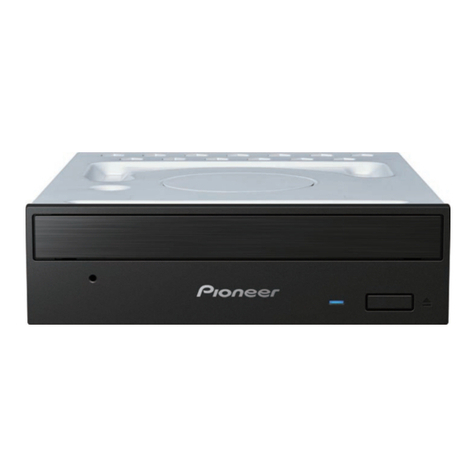
Pioneer BDR-S13U-X owner's manual

Pioneer

Pioneer BDR-S13U-X owner's manual

Panasonic LK-MC606BP Operation manual

Panasonic

Panasonic LK-MC606BP Operation manual

Panasonic CF-VCW Series operating instructions

Panasonic

Panasonic CF-VCW Series operating instructions

LG CRD-8320B owner's manual

LG

LG CRD-8320B owner's manual

Conner CFP2107 Series product manual

Conner

Conner CFP2107 Series product manual

Plextor 12-20C Using

Plextor

Plextor 12-20C Using

Samsung SC-152G manual

Samsung

Samsung SC-152G manual

Philips CDD3610 user manual

Philips

Philips CDD3610 user manual

Yamaha CD Recordable/Rewritable Drive CRW3200 owner's manual

Yamaha

Yamaha CD Recordable/Rewritable Drive CRW3200 owner's manual

Panasonic CF-VCW Series Supplementary instructions

Panasonic

Panasonic CF-VCW Series Supplementary instructions

Roland CD-01A owner's manual

Roland

Roland CD-01A owner's manual

Ricoh MP7080A user manual

Ricoh

Ricoh MP7080A user manual

Yamaha CRW-F1DX owner's manual

Yamaha

Yamaha CRW-F1DX owner's manual

Plextor PL-MAN2 Operation manual

Plextor

Plextor PL-MAN2 Operation manual

Pioneer BDR-XD07B operating instructions

Pioneer

Pioneer BDR-XD07B operating instructions

Pioneer BDR-2213 owner's manual

Pioneer

Pioneer BDR-2213 owner's manual

manuals.online logo
manuals.online logoBrands
  • About & Mission
  • Contact us
  • Privacy Policy
  • Terms and Conditions

Copyright 2025 Manuals.Online. All Rights Reserved.

P/N 994630200 Rev. C1/2
VGC-RBxx Series Optical Disk Drive
Lower Replacement Instructions
IMPORTANT!
PLEASE READ BEFORE YOU START
These easy instructions are intended to guide you through the replacement process.
üTo avoid electric shock please make sure product is turned off and disconnected from the power source.
Remove jewelry before you begin work to avoid scratching the surface of your desktop computer.*
ü
Place your desktop computer on a clean, stable and covered surface to avoid damage to the computer's
case.*
üFollow the ESD (Electrostatic Discharge) damage prevention instructions:
oHold parts by the edges, away from exposed circuitry when possible.
oDo not walk around excessively as this promotes static build-up.
ü
The appearance of the electronic components shown in the illustrations may be different from the
components shipped. This slight difference does not affect the accuracy of these instructions.
* Sony is not responsible for any loss of data associated with your computer or any damage caused by incorrect handling of the computer
under these procedures. The terms of your Sony Limited Warranty continue to apply.
Step 1.CAUTION!
Disconnect the power cord. Failure to
do so can result in damage to the PC or personal injury.
Using the enclosed magnetic screwdriver, remove the two(2)
indicated screws, loosening thechassis panel cover. Rotate
the unit so the panel with the vents is facing you. Remove the
panel and set it aside.
Step 2.
Loosen the front panel
cover
by
pulling down
the
two
(
2
)
blackclips on the bottom of the unit: Step [2A], and thethree(3)
black clips on the inside ofthe front of the unit: Step [2B], as
indicated above.
Step 3.
Carefully r
emove the front
panel in the direction of arrow and s et
aside.
Step 4
.
Remove the power connector
[1
]
and the IDE data cable
[2
]
from the optical
disk
drive you are replacing. (In this example:the lower optical drive.) NOTE
! Your PC may be
equippedwith more than one optical disk drive.
2
Screws
Inside View
[1]
[
2
]
Pull two (2) clips at the
bottom of unit.
[2A][2B]
P/N 994630200 Rev. C2/2
VGC-RBxx Series Optical Disk Drive
Lower Replacement Instructions
Step
5
.
Using the enclosed
magnetic
screwdriver,removethe two(2)
screw sfrom the optical drive you are
replacing. (In thisexample:the lower
optical drive.)
Step
6
.
Pull out the
original optical drive
from thechassis in the direction of the
arrow.
Step
7
.
Carefully slide the new optical
drive into the newly vacant space in the
chassis
, making sure the screw holes are
aligned.
Step
8
.
Using the enclosed
magnetic
screwdriver,reinstall the previously
removed screwsfollowing the above
sequence.(In this example: the lower
optical drive.) IMPORTANT! Do not
over tighten the screws!
Step 9.
Reconnect the IDE data
cable
[1
]
and the power cable
[2]
to the new optical disk
drive you have replaced. (In this example: the lower optical drive.)
Step
10
.
Reinstall
the front panel to
its
originalposition,as shown.
Step
11
.
Reinstall
the
left chassis cover panel in the direction of arrow.
The
n
u
sing the
enclosed magnetic screwdriver, reinstall thetwo(2)previously removed screws.
IMPORTANT! Do not over tighten the screw s! Return the original optical disk drive to
Sony following the included shipping instructions
2
Screws
[1]
[
2
]
12