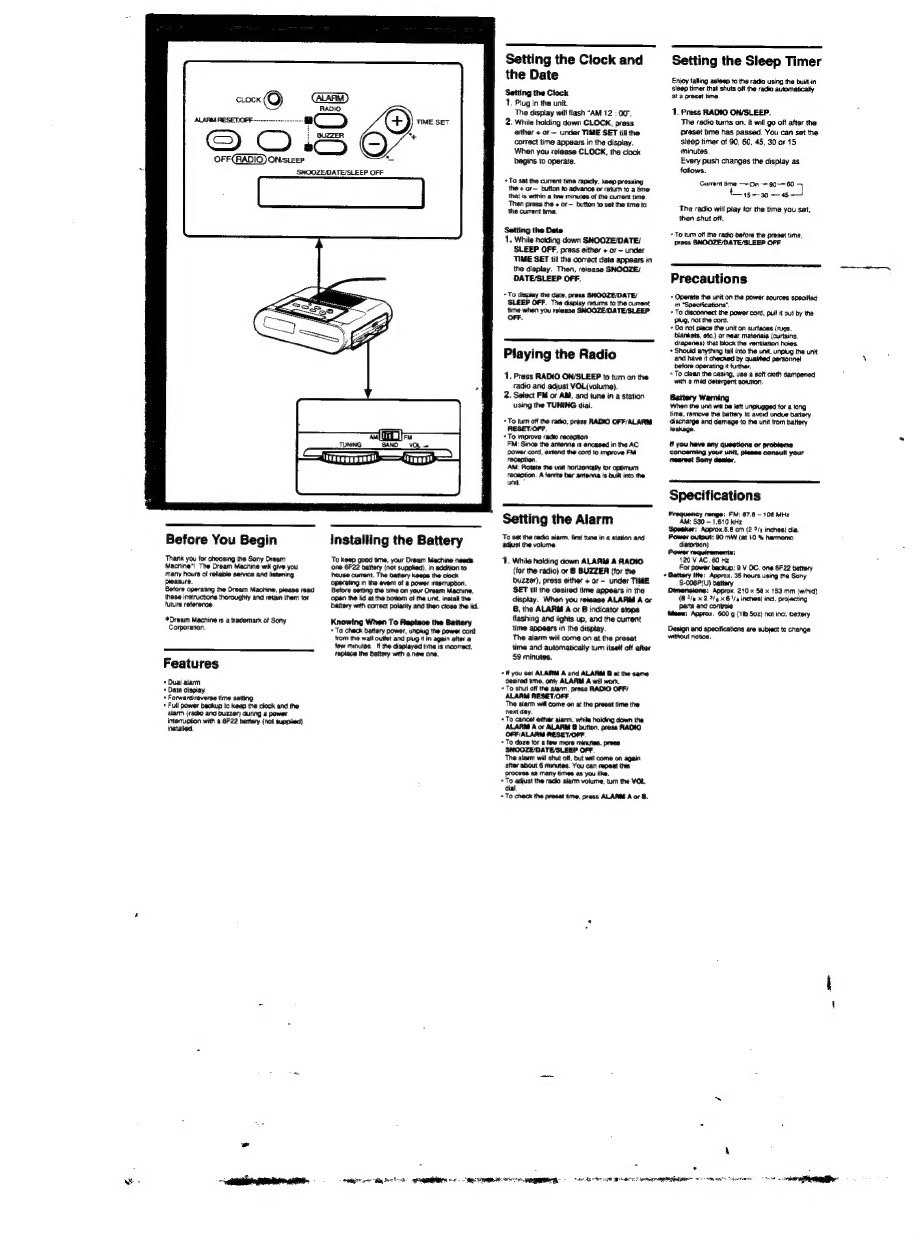
Sony DREAM MACHINE ICF-C243 User manual
Other Sony Clock Radio manuals

Sony
Sony ICF C05iP User manual

Sony
Sony ICF-C723 - Ic Memory Clock Radio User manual

Sony
Sony Dream Machine ICF-C630 User manual

Sony
Sony Dream Machine ICF-C773 User manual

Sony
Sony ICF-CD543RMSIL - Kitchen Cd Clock Radio User manual

Sony
Sony ICF-C143 Marketing User manual

Sony
Sony ICF-C211 - Am/fm Clock Radio User manual

Sony
Sony ICF-C255RC - Auto Time Set Clock Radio User manual

Sony
Sony Dream Machine ICF-C233L User manual

Sony
Sony ICF-CD837 User manual

Sony
Sony DREAM MACHINE ICF-C793 User manual

Sony
Sony ICF-C211 - Am/fm Clock Radio User manual

Sony
Sony Dream Machine ICF-C111 User manual

Sony
Sony Dreram Machine ICF-CD863V User manual

Sony
Sony Dream Machine ICF-C411 User manual

Sony
Sony ICF-CDK70 - Currently Not Available User manual

Sony
Sony ICF-C11iP User manual

Sony
Sony Dream Machine ICF-C1iPMK2 User manual

Sony
Sony Dream Machine ICF-C1iPMK2 User manual

Sony
Sony ICF-CD7000 User manual