manuals.online logo
Brands
  1. Home
  2. •
  3. Brands
  4. •
  5. Sony
  6. •
  7. Monitor
  8. •
  9. Sony pr960f User manual

Sony pr960f User manual

Other Sony Monitor manuals

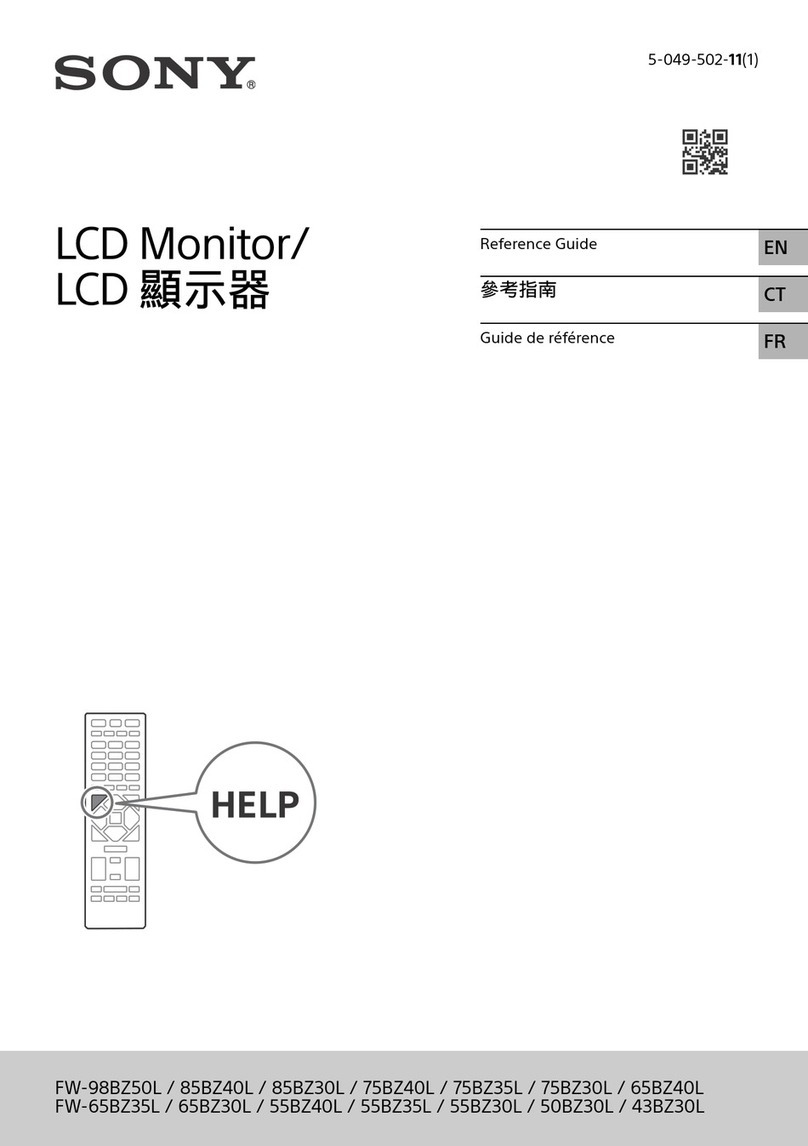
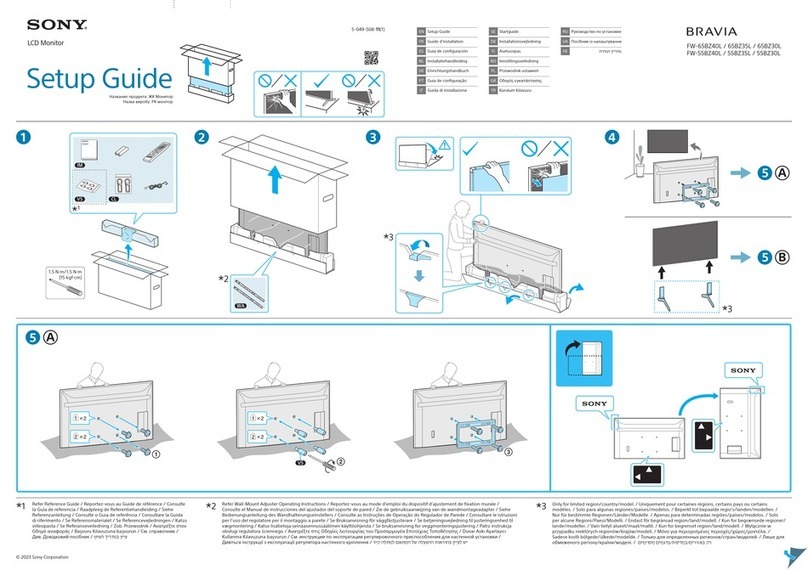
Sony BRAVIA FW-43BZ35F User manual

Sony

Sony BRAVIA FW-43BZ35F User manual

Sony Multiscan CPD-M151 User manual

Sony

Sony Multiscan CPD-M151 User manual

Sony XVM-R70 - Monitor User manual

Sony

Sony XVM-R70 - Monitor User manual

Sony VAIO PCVA-15XD2 User manual

Sony

Sony VAIO PCVA-15XD2 User manual

Sony BRAVIA FW-75BZ40H User manual

Sony

Sony BRAVIA FW-75BZ40H User manual

Sony LMD-3251MT User manual

Sony

Sony LMD-3251MT User manual

Sony SDM-E76A User manual

Sony

Sony SDM-E76A User manual

Sony Trinitron CRT Monitor User manual

Sony

Sony Trinitron CRT Monitor User manual

Sony PVM-2541A User manual

Sony

Sony PVM-2541A User manual

Sony SDM-P234 - PremierPro Widescreen 23" LCD... User manual

Sony

Sony SDM-P234 - PremierPro Widescreen 23" LCD... User manual

Sony FD Trinitron CPD-L181A User manual

Sony

Sony FD Trinitron CPD-L181A User manual

Sony BRAVIA FW-85BZ35F User manual

Sony

Sony BRAVIA FW-85BZ35F User manual

Sony CPD-17F03T User manual

Sony

Sony CPD-17F03T User manual

Sony Trinitron GDM-500PST9 User manual

Sony

Sony Trinitron GDM-500PST9 User manual

Sony PVM-1380 User manual

Sony

Sony PVM-1380 User manual

Sony GXD-L65H1 User manual

Sony

Sony GXD-L65H1 User manual

Sony Trinitron CPD-E530 User manual

Sony

Sony Trinitron CPD-E530 User manual

Sony SDM-S204E User manual

Sony

Sony SDM-S204E User manual

Sony PlasmaPro PFM 42V1 User manual

Sony

Sony PlasmaPro PFM 42V1 User manual

Sony HMM-3000MT User manual

Sony

Sony HMM-3000MT User manual

Sony Multiscan SDM-M81 User manual

Sony

Sony Multiscan SDM-M81 User manual

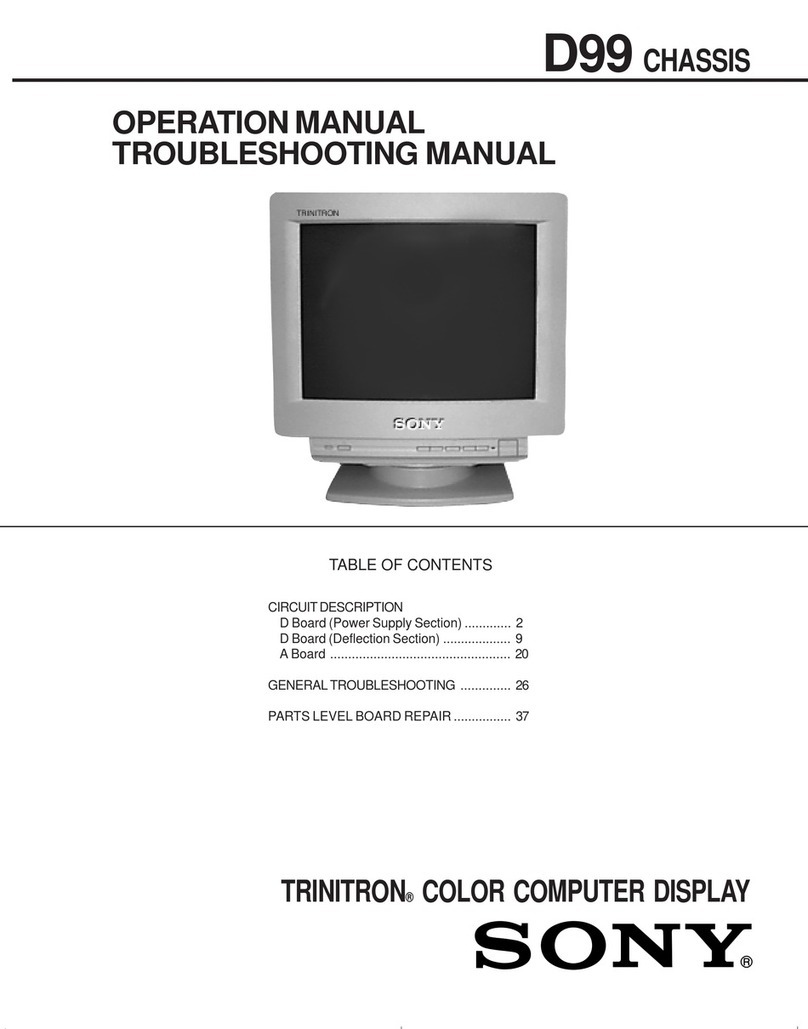
Sony TRINITRON 17VC User manual

Sony

Sony TRINITRON 17VC User manual

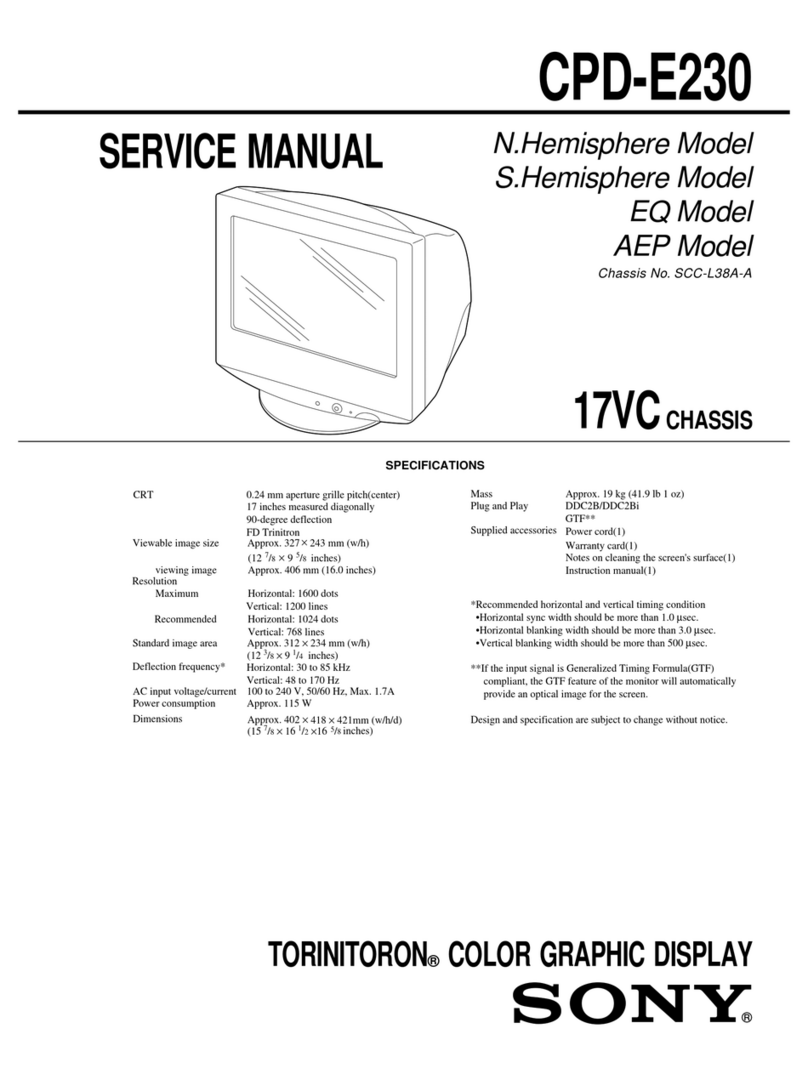
Sony Trinitron CPD-E230 User manual

Sony

Sony Trinitron CPD-E230 User manual

Sony SDM-V72W User manual

Sony

Sony SDM-V72W User manual

Popular Monitor manuals by other brands

Samsung ME32C user manual

Samsung

Samsung ME32C user manual

ViewSonic VA926-LED user guide

ViewSonic

ViewSonic VA926-LED user guide

Furuno Mu 120c Operator's manual

Furuno

Furuno Mu 120c Operator's manual

Asus VB171D - 17" LCD Monitor Service manual

Asus

Asus VB171D - 17" LCD Monitor Service manual

AOC 9GLR Technical specifications

AOC

AOC 9GLR Technical specifications

DMG RAFFAELLO manual

DMG

DMG RAFFAELLO manual

AOC LM720 - 17" Technical specifications

AOC

AOC LM720 - 17" Technical specifications

Memorex MT1701 user guide

Memorex

Memorex MT1701 user guide

ViewSonic VE510s-4 Service manual

ViewSonic

ViewSonic VE510s-4 Service manual

Farenheit T-1503CM instruction manual

Farenheit

Farenheit T-1503CM instruction manual

Ditel DINOS DN129/AT Quick installation guide

Ditel

Ditel DINOS DN129/AT Quick installation guide

Kenwood DMX1025BT quick start guide

Kenwood

Kenwood DMX1025BT quick start guide

Dell S2409WFP user guide

Dell

Dell S2409WFP user guide

EverFocus EN-7517E instruction manual

EverFocus

EverFocus EN-7517E instruction manual

Dell P3222QE user guide

Dell

Dell P3222QE user guide

Panasonic TH152UX1 - 152" PLASMA TV Service manual

Panasonic

Panasonic TH152UX1 - 152" PLASMA TV Service manual

LG 50PM1M -  - 50" Plasma Panel Service manual

LG

LG 50PM1M - - 50" Plasma Panel Service manual

Asus VW247H user guide

Asus

Asus VW247H user guide

manuals.online logo
manuals.online logoBrands
  • About & Mission
  • Contact us
  • Privacy Policy
  • Terms and Conditions

Copyright 2025 Manuals.Online. All Rights Reserved.

English8188
¨¨¨
1
English
TABLE OF CONTENTS
SAFETY INSTRUCTIONS .................................................................. 2
INTRODUCTION ............................................................................. 4
Package Contents ..................................................................... 4
Installing or Removing the Tilt/Swivel Base ............................ 5
Specifications ........................................................................... 6
Recommended Use of the Monitor .......................................... 7
CONTROLS AND ADJUSTMENTS ................................................... 8
Front User Controls. ................................................................ 8
"General" ................................................................................. 9
"Picture" .................................................................................. 9
"Geometry" .............................................................................. 9
"Color" ..................................................................................... 9
"Advance" .............................................................................. 10
Moire ............................................................................. 10
Convergence .................................................................. 10
Purity.............................................................................. 10
Degauss .......................................................................... 10
"Property" .............................................................................. 10
Status .............................................................................. 11
Recall ............................................................................. 11
Language ........................................................................ 11
"Signal" .................................................................................. 11
Contrast ................................................................................. 11
Energy Declaration ................................................................ 12
TECHNICAL INFORMATION ......................................................... 13
Compatibility ......................................................................... 13
Pin Assignment ............................................................... 13
Pin Assignments of the BNC and USB Connectors ......... 13
Preset Timing Chart ........................................................ 14
TROUBLESHOOTING .................................................................... 15
DIMENSION .................................................................................. 16
¨¨¨
2
English
SAFETY INSTRUCTIONS
1. Please read carefully all of these instructions below and keep the manual
for later use.
2. Please install the swivel base for this product before using it.
3. The voltage ratings and the rated frequency are on the overlay centered
at the rear side of this product. Do not connect with any other sources
of voltage or frequency, and, please follow all warnings and instructions
marked on the product.
4. Unplug this product from the wall outlet before cleaning and use a
damp cloth to clean it. Do not use liquid cleaners or aerosol cleaners.
5. Do not expose this product to rain or moisture.
6. Do not place this product on an unstable cart, stand, or table. The
product may fall, causing serious damage to the product.
7. Do not block or cover ventilating openings with cloth or other material.
Neither should this product be placed near or over a radiator or a heat
register, nor should the product be placed in a built-in installation
unless proper ventilation is provided.
8. This product is equipped with a 3-wire grounding model plug. This
plug will only fit into a grounding-model power outlet. This is a safety
feature. If you are unable to insert the plug into the outlet, contact
your electrician to replace your obsolete outlet. Do not defeat the safety
purpose of the grounding-model plug. Choose a Tandem Blade
attachment plug configuration power cord for 230V AC input.
Due to the safety requirements of different areas, please select a suitable
power cord according to the following rules, in addition to the electric
rating:
A. Northern America area: Please select a UL listed and CSA certified
power cord.
B. Germany: Please select a VDE certified power cord.
C. Nordic countries: Please select a power cord certified by SEMKO,
NEMKO, DEMKO or FIMKO.
D. The other areas: Please select a power cord suitable to the local
power system and power outlet.
English8388
¨¨¨
3
English
SAFETY INSTRUCTIONS
Usually when this product is sold a suitable power cord is provided by
the manufacturer. However, this product is sometimes resold or
transported to another area with a different power system and safety
requirements. Please pay attention to the selection of a suitable power
cord.
The plug on the power cord is intended to serve as the disconnect
device, the socket-outlet shall be installed near the equipment and
shall be easily accessible.
9. Do not allow anything to rest on the power cord. Do not locate this
product where persons can walk on the cord.
10. Never push objects of any kind into this product through cabinet slots
as they may touch dangerous voltage points or short out parts that
could result in the risk of fire or electric shock. Never spill liquid of
any kind on the product.
11. Do not attempt to service this product yourself, as opening or removing
covers may expose you to dangerous voltage points, or other risks.
Refer all servicing to service personnel.
12. Unplug this product from the wall outlet and refer servicing to qualified
service personnel under the following conditions.
A. When the power cord or plug is damaged or frayed.
B. If liquid has been spilled into the product.
C. If the product has been exposed to rain or water.
D. If when the operating instructions are followed, the product does
not operate normally, adjust only those controls that are covered
by the operating instructions since improper adjustment of other
controls may result in damage and will often require extensive work
by a qualified technician to restore the product to normal operation.
E. If the product has been dropped or the cabinet has been damaged.
F. If the product exhibits a distinct change in performance, indicating
a need for service.
¨¨¨
4
English
Introduction
The monitor is a multiple frequency high-resolution color monitor for IBM
compatible PC's or Macintosh and workstation systems. The monitor is
equipped with microprocessor based intelligence and multiple frequency
scanning capability, allowing it to provide maximum compatibility for various
system platforms.
The monitor uses the latest screen technology including a 0.24mm SONY FD
Trinitron® CRT to display crisp text and vivid color graphics. The full-function
digital control and On-Screen Display (OSD) system provides easy adjustment
of image geometry and color settings for different display modes with the
precision of a fixed frequency monitor.
The monitor also has full ergonomic features. In addition to the friendly controls
and user comfort features, the emission level of the electric and magnetic field
is kept low to meet the Swedish MPR II and TCO standards.
The monitor is also equipped with energy saving functions; it is compatible
with the VESA power saving standards.
Furthermore, the monitor has a built-in USB (Universal Series Bus) hub. Please
refer to the "USB SetUp Guide" for USB hub use information.
INTRODUCTION
Package Contents
The following lists all of the items included in the monitor package box. Please
save the original box and packing materials for future transportation or shipment
of the monitor.
Rear View
Front View
User's Manual
USB Cable
Diskette
Power Cord Signal Cable
PR960F
User's Manual
English8588
¨¨¨
5
English
Installing or Removing the Tilt/Swivel Base
1.Turn off the system and all attached peripherals.
2.Carefully set the monitor upside down.
Remove the Tilt/Swivel Base:
1.Squeeze and hold the latches.
2.Pull the tilt/swivel base to the rear of the monitor and lift to remove the
base.
Installing the Tilt/Swivel Base:
1.Align the base with the slots on the bottom of the monitor and insert the tilt/
swivel base into the slots.
2.Push the tilt/swivel base firmly toward the front of the monitor until the
latches click into the locked position.
INTRODUCTION
Install Remove
¨¨¨
6
English
INTRODUCTION
Specifications
Note: Specifications are subject to change without notice.
Color Picture Tube 19" (18" viewable screen size) diagonal measurement,
90 degree deflection, SONY FD Trinitron® CRT, anti-
glare, anti-reflection, anti-static, medium short
persistence phosphor
AG Pitch 0.24 mm(center)
Input Signal Video: 0.7 Vp-p/75 ohm, analog positive
Sync: Separate Sync.: TTL Level
Horizontal Sync.: positive/negative
Vertical Sync.: positive/negative
Composite Sync.: TTL Level, positive/negative
on green video
(0.3Vp-p Negative)
Scan Frequency Horizontal: 30 to 110 kHz automatically
Vertical: 50 to 160 Hz automatically
Max. Resolution 1600 x 1200 pixel, non-interlaced
Display Colors Analog input, unlimited colors
Pixel Rate 232.5 MHz
Plug & Play DDC 1 / DDC 2B
USB Downstream port x 4
Per downstream port support current 500mA(Max.)
Power Supply 100-120 VAC/200-240 VAC, 50/60 Hz (automatically)
Power Consumption 125W max.
Dimensions 460(W) x 469(H) x 485(D) mm
Weight 31 kgs(G.W.), 26.5 kgs(N.W.)
Environment Operating Temperature: 0°C to 35°C
Consideration Humidity 20% to 80%
Storage Temperature: 20°C to 60°C
Humidity 10% to 90%
English8788
¨¨¨
7
English
Recommended Use of the Monitor
When setting up and using the monitor, pay special attention to the following
for optimum performance:
 Do not use your monitor against a bright background or where sunlight or
other light sources will shine directly on the screen.
 The monitor should be placed just below eye level (10°~15°) for optimum
viewing.
 Set the monitor's brightness to match ambient room light.
 For optimum focus, the contrast control should not be set to the maximum
level unless the input signal level is extremely low. Also, the brightness
control should be set to a point where the overall background area just
begins to disappear.
 Allow adequate ventilation around the monitor so that the heat from the
monitor can be properly dissipated.
 Neither the monitor itself, nor any other heavy objects, should rest on the
power cord. Damage to the power cord can cause fire or an electric shock.
 Keep the monitor away from high-capacity transformers, electrical motors,
or other strong magnetic fields.
 Your monitor should not be used in damp, dusty, or dirty areas.
 Handle your monitor with care when transporting it.
INTRODUCTION
CAUTION
 Do not scrape or knock the surface of the CRT with a pen, a
screwdriver and so on.
 Clean the CRT surface with a lint-free, nonabrasive, soft cloth, do
not use a solution or glass cleaner containing corpuscles like
abrasives, alcohols and alkalines.
!
ê
¨¨¨
8
English
CONTROLS AND ADJUSTMENTS
Controls and Adjustments
Once you have installed the monitor with your system, please read the
instructions of this section which give you some guidelines on how to use the
monitor more efficiently. It leads you through the various function of the user
controls and explains how to adjust the monitor to your personal preference.
Front User Controls
1. Power Switch
To turn the monitor on or off.
2. Power LED Indicator
As long as the monitor is powered, this indicator is lit. In normal operation, it
lights green. While in stand-by mode, the indicator lights yellowish-green,
while in off mode it is amber.
3. Adjust Keys
To adjust the parameter of the selected function.
To adjust the contrast level of the screen.
4. Menu Key
To display and select the "General", "Picture", "Geometry", "Color",
"Advance", "Property", "Signal" functions.
Power Saving Note:
This monitor is equipped with a automatic power-saving circuitry design that
will work with any computer which meets the VESA DPMS standard. It also
meets the ENERGY STAR low power state definition.
English8988
¨¨¨
9
English
Geometry
Color
Picture
General
Advance
Property
Signal
Sidepin
50
50
63
78
50
Geometry
Color
Picture
General
Advance
Property
Signal
9300°K
6500°K
5000°K
User
65
65
65
D. Color
C. Geometry
B. Picture
A.General
CONTROLS AND ADJUSTMENTS
a. Press "4"to select Brightness or Contrast.
b. Press "+" or "" for preferred picture.
a. Press "4"to select Vertical and Horizontal position,
Vertical and Horizontal size.
b. Press "+" or "" for preferred picture.
a. Press "4"to select Side-pin, Balance, Keystone,
Parallel and Rotation.
b. Press "+" or "" for preferred picture.
a. Press "4"to select various white color temperature
standards.
b. In User item press "+" to confirm action color
adjustment.
c. Press "4" to select Red, Green and Blue.
d. Press "+" or "" to increase or decrease density.
(1) Press "3" or "4" to open the On-Screen menu function. Seven adjustment
functions will appear on the On-Screen menu.
Press "3" key to scroll down through the selections.
Geometry
Color
Picture
General
Advance
Property
Signal Brightness
100
50
Geometry
Color
Picture
General
Advance
Property
Signal
Geometry
Color
Picture
General
Advance
Property
Signal
9300°K
6500°K
5000°K
User
:Proceed
User
70
70
70
¨¨¨
10
English
50
R
R
B
B
Geometry
Color
Picture
General
Advance
Property
Signal
Moire
Converge
Purity
Degauss
:Proceed
CONTROLS AND ADJUSTMENTS
F. Property
Geometry
Color
Picture
General
Advance
Property
Signal
Status
Recall
Language
:Proceed
E. Advance
a. Press "4"to select Moire, Converge or Degauss.
b. Press "+" to proceed.
c. Press "+" or "" to gain preferred picture.
Press "4"to select Status, Recall or Language sub-
manual.
a. In Converge, press "+" to proceed.
b.Press "4"to select Horizontal or Vertical adjust.
c. Press "+" or "" to gain preferred picture.
E-1. Moire
E-2. Converge
a. In Moire, press "+" to proceed.
b. Press "+" or "" to gain preferred picture.
0
Moire
50
Purity a. At Purity item, press "+" to proceed.
b.Press "4"to select the function you want to adjust.
Color purity can be adjusted in the top and bottom
rows, and, the four corners of the screen.
c. Press "+" or "" to gain preferred color uniformity.
E-3. Purity
50
Purity