10 SRX-series 4K Projector - System Installation Guide
3Selection of Lens
It is important to select a lens that is appropriate to the screen width that will be used, the size of the room where
the projector will be installed, and the aspect ratio of the displayed image. The matrix charts below provide a
guideline on which lens is most appropriate. First, pick the chart that matches the aspect ratio, and then select the
lens model that is the closest match to the screen width and throw distance.
For example, if you are displaying in full-screen mode, and have a screen size of 8,000 mm and a throw distance of
19,000 mm, the most appropriate lens will be LKRL-Z117. If your specifications identify two lens models, then make
your choice based on how the projector will be utilized.
Please note: the matrix charts below are not comprehensive. For more information on each lens, please refer to
Appendix 2.
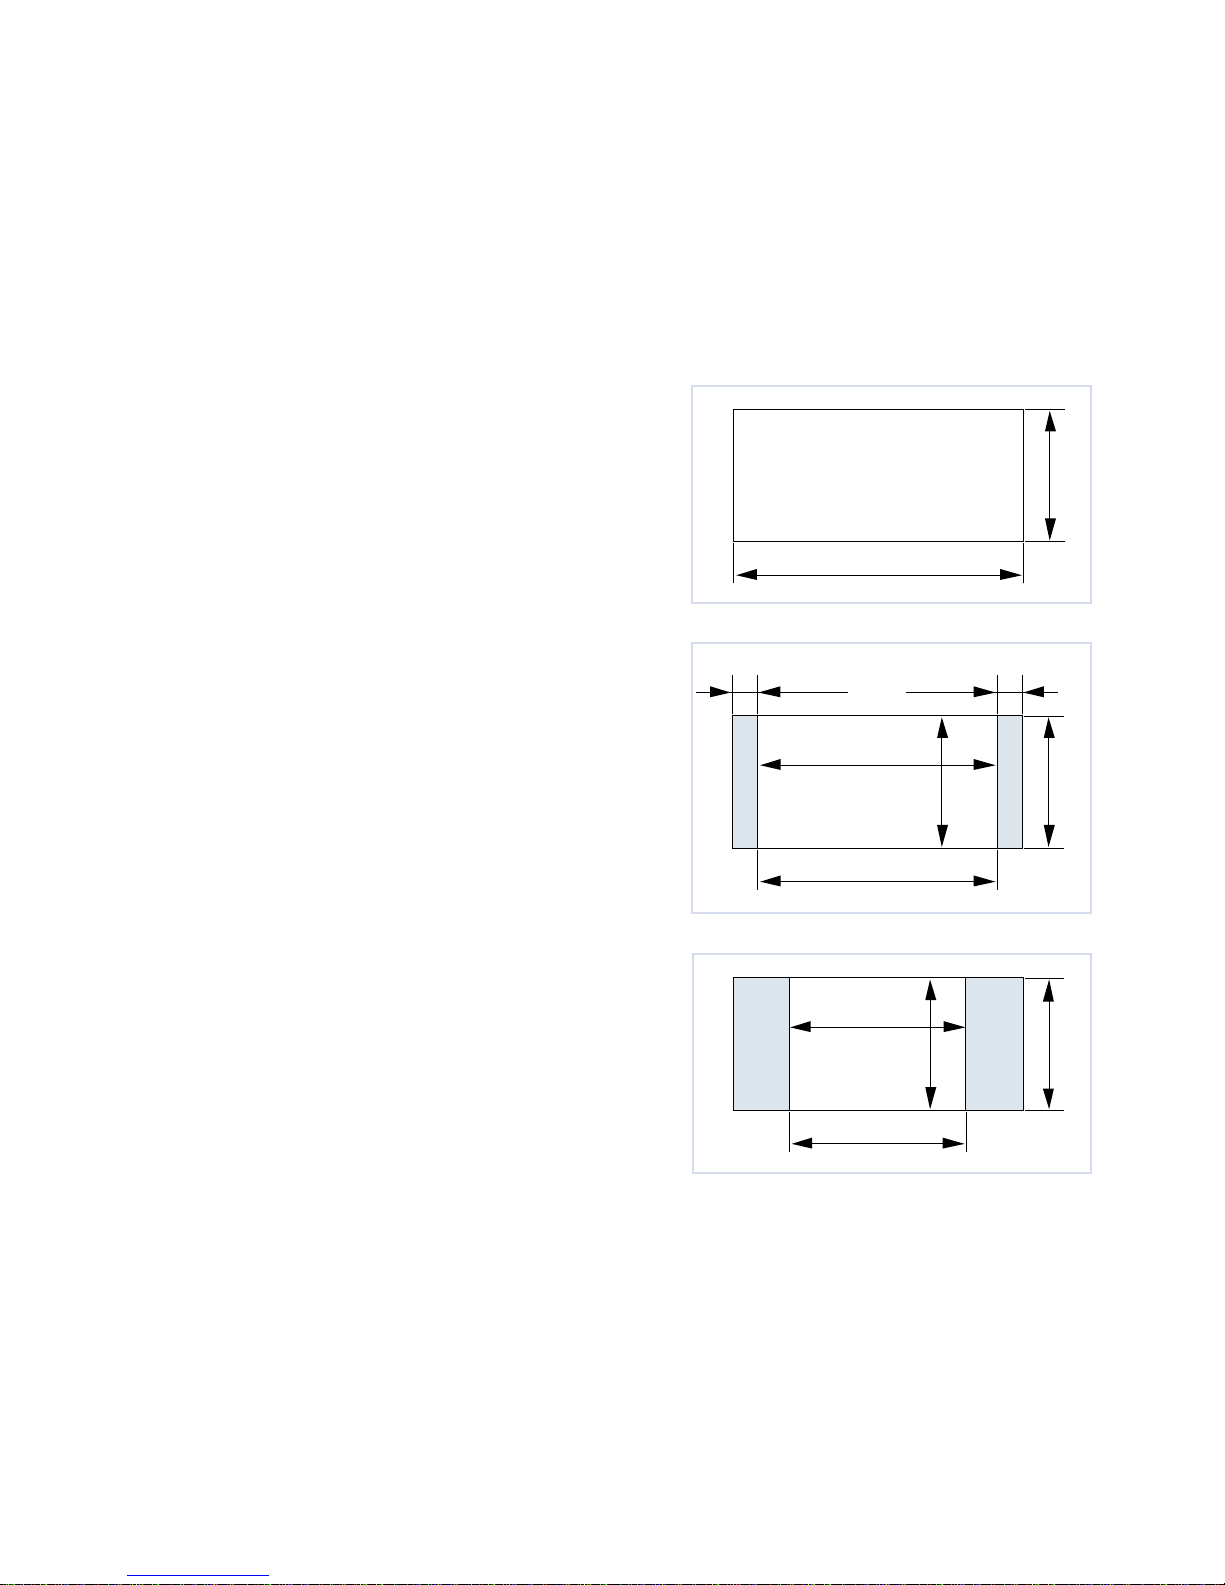
Zoom lenses
L (min): Minimum distance between the center of lens and screen
L (max): Maximum distance between the center of lens and screen
Fixed focal length lens
L: Distance between the center of lens and screen
Note that the minimum screen width recommended for these models is 4,490 mm with the exception of the LKRL-90
lens which can focus at as little as 1,796 mm.
For full-screen display (a 4096-pixel (4k x 2k) image)
Zoom lenses (mm)
Screen Width 4,500 6,000 8,000 10,000 12,000 16,000
LKRL-Z115 L (min) 6,554 8,778 11,743 14,709 17,674 23,605
L (max) 8,056 10,780 14,412 18,044 21,676 28,940
LKRL-Z117* L (min) 7,900 10,440 13,830 17,220 20,610 27,390
L (max) 10,630 14,090 18,710 23,330 27,960 37,200
LKRL-Z119* L (min) 8,128 10,744 14,233 17,721 21,210 28,187
L (max) 13,366 17,740 23,572 29,404 25,236 46,900
LKRL-Z122* L (min) 10,220 13,530 17,940 22,350 26,750 35,570
L (max) 17,770 23,610 31,400 39,180 46,960 62,530
LKRL-Z140 L (min) 16,937 22,502 29,922 37,342 - -
L (max) 31,943 42,512 56,604 70,695 - -
Fixed focal length lens (mm)
Screen Width 1,800 2,250 3,350 4,500 5,600 6,800
LKRL-90 L 1,550 1,960 2,970 4,020 5,030 6,130
Zoom lenses (inches)
Screen Width 177 1/5 236 2/9 315 393 5/7 472 4/9 630
LKRL-Z115 L (min) 258 345 3/5 462 1/3 579 695 5/6 929 1/3
L (max) 317 1/6 424 2/5 567 2/5 710 2/5 853 2/5 1,139 3/8
LKRL-Z117* L (min) 310 7/8 411 544 3/8 677 7/8 811 3/8 1,078 3/8
L (max) 418 5/8 555 737 918 7/8 1,100 3/4 1,464 5/8
LKRL-Z119* L (min) 320 423 560 1/3 697 2/3 835 1,109 3/4
L (max) 526 1/5 698 2/5 928 1,157 5/8 1,387 1/4 1,846 1/2
LKRL-Z122* L (min) 402 1/4 532 3/8 706 879 1/2 1,053 1/8 1,400 1/4
L (max) 700 929 7/8 1,236 1/4 1,542 3/4 1,849 1/8 2462
LKRL-Z140 L (min) 666 4/5 885 8/9 1,178 1,470 1/7 - -
L (max) 1,257 3/5 1,673 2/3 2,228 1/2 2,783 2/7 - -
* Equipped with Zoom and Focus Memory functions
Fixed focal length lens (inches)
Screen Width 70 7/8 88 5/8 131 7/8 177 1/5 220 1/2 267 3/4
LKRL-90 L6177 1/8 116 7/8 158 1/4 198 241 3/8