manuals.online logo
Brands
  1. Home
  2. •
  3. Brands
  4. •
  5. Sony
  6. •
  7. Stereo System
  8. •
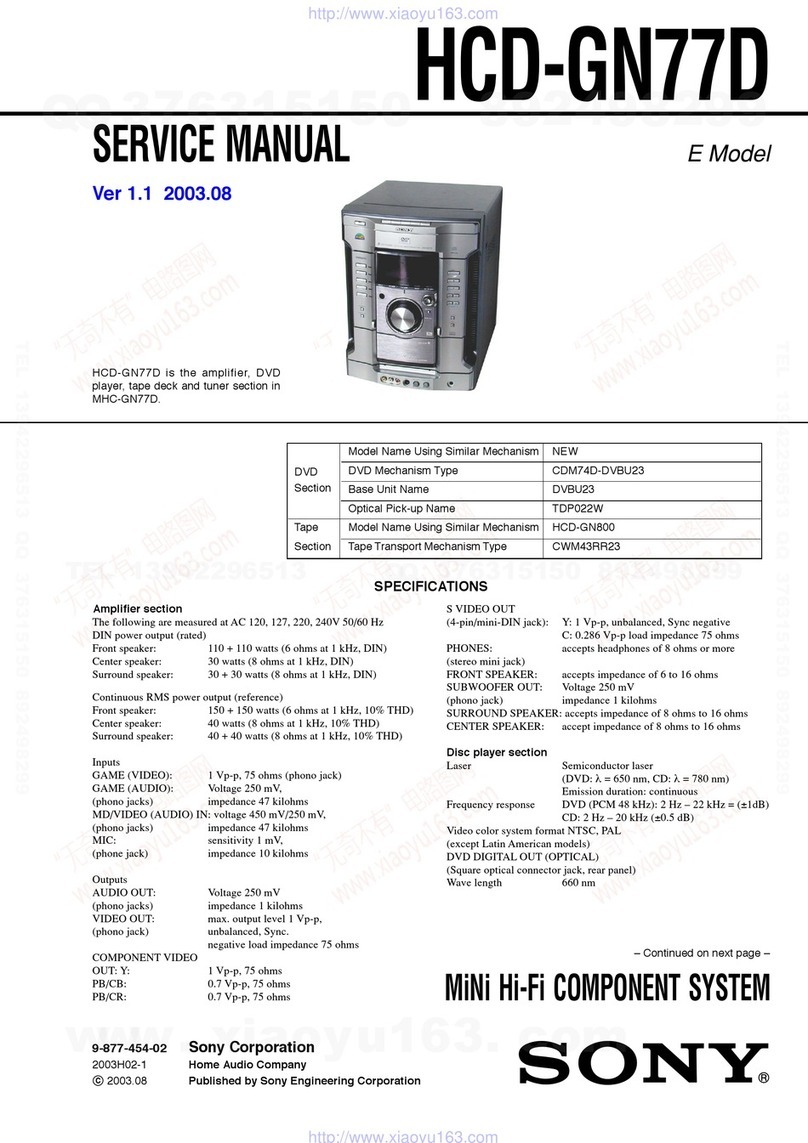
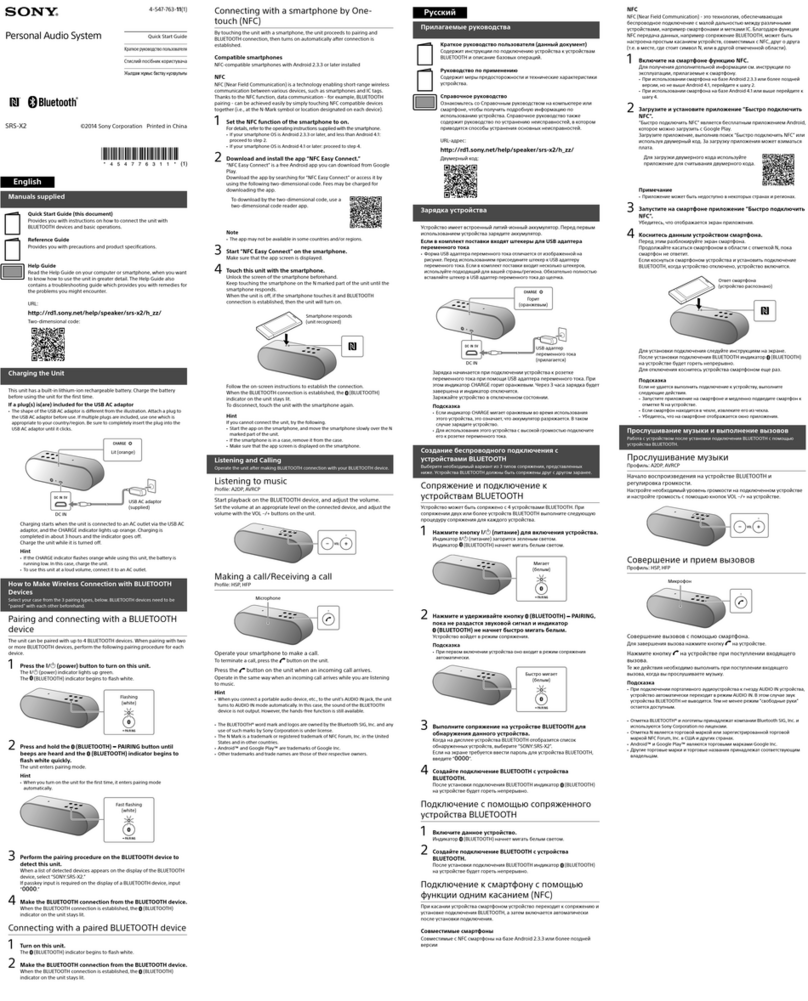
  9. Sony NAS-Z200DIR User manual

Sony NAS-Z200DIR User manual

NAS-Z200DiR/Z200iR.GB.4-151-739-11(1) NAS-Z200DiR/Z200iR.GB.4-151-739-11(1)
© 2009 Sony Corporation Printed in China
4-151-739-11(1)
Wireless Network Audio System
NAS-Z200DiR/Z200iR
Setup Guide 2 Connecting the antennas and power cord (main unit)
WARNING
DO NOT plug the power
cord into a wall outlet
until the following steps
to are completed.
DAB wire antenna
FM wire antenna
AM loop antenna
To a wall outlet
Connect the AM loop antenna (aerial).
Connect the FM wire antenna (aerial).
When using an external antennaOn the unit
External
antenna
FM wire antenna
Connect the DAB wire antenna (aerial) (for the UK model only).
DAB wire antenna
Connect the power cord to a wall outlet.
3 Connecting the AC power adaptor (remote control)
4 Playing a CD
The unit can play audio CDs and CD-R/RW discs recorded with MP3 audio tracks.
For further details of the CD function, refer to the operating instructions.
////
ENTER
HOME


+/–
Press  (power) to turn on the unit.
Press HOME to display the Home menu.
Press ///to select [CD] and press ENTER to enter
the CD function.
Insert a disc in the disc slot.
Disc slot
Insert a disc with
the label side
facing forward.
When you insert a disc, playback starts automatically.
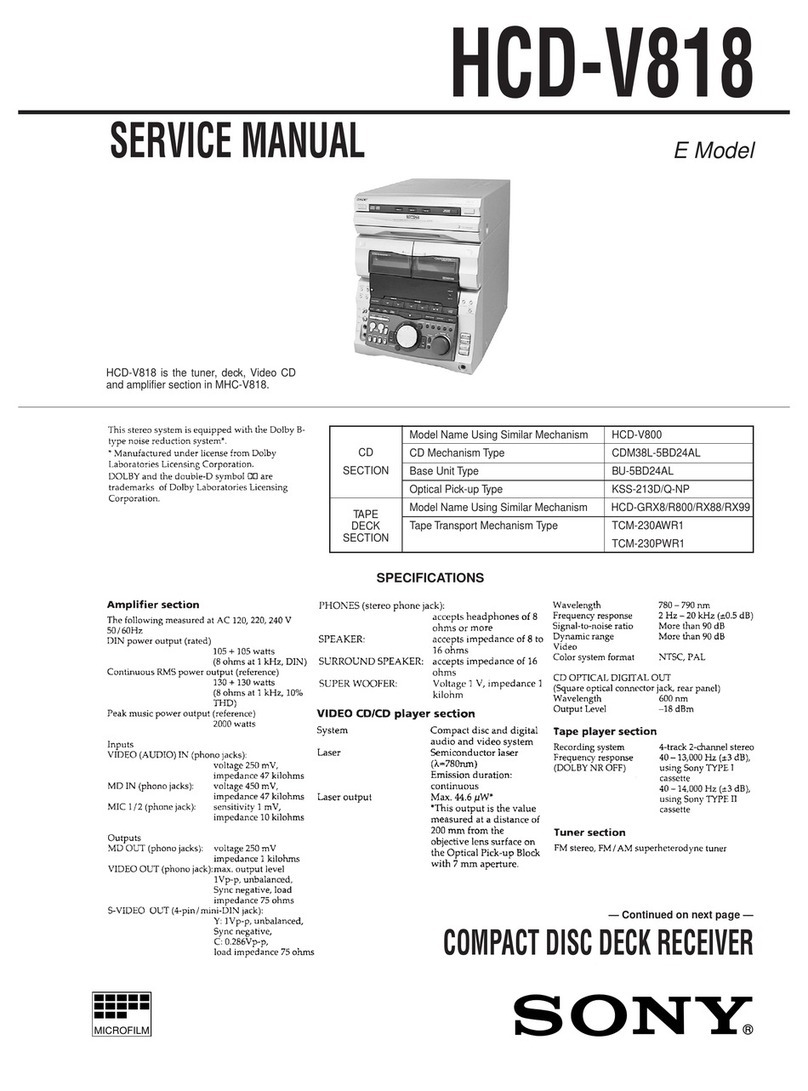
Press +/– to adjust the volume.
To stop playing
Press .
To change tracks
Press /.
To eject a disc
Press on the main unit.
1 Checking the supplied
accessories
Remote control (1) Remote control charger (1)
AC power adaptor (1)
For models except the UK model For the UK model

AM loop antenna (1)
FM wire antenna (1)
Operating Instructions (1)
This manual provides full explanations of the various settings, operations and the network
connection procedure. This manual also contains precautions for the safe use of the unit.
Setup Guide (this manual)
“Internet Radio service on NAS-Z200DiR/Z200iR” leaflet (1)
DAB wire antenna (1) (for
the UK model only)
VAIO Media plus
CD-ROM (1)
Do not play this disc on an
audio CD player.
Thank you for purchasing the Sony NAS-Z200DiR/Z200iR Wireless Network Audio System.
You can now enjoy listening to the music from various sources, such as a computer, Internet
radio, iPod, etc. To listen to the music stored on your computer with this unit, install the
supplied VAIO Media plus server software on your computer, and connect the unit and your
computer through a wireless network.
This Setup Guide explains how to connect the unit to your home network and how to perform
basic operations.
5 Listening to an FM/AM/
DAB* radio station
HOME ////
ENTER
Press HOME to display the Home menu.
Press ///to select [Tuner], and then press
ENTER.
Press /to select [FM], [AM], or [DAB]*, and then
press ENTER.
If you select [DAB], DAB Automatic Scan starts. When scanning is completed,
a list of available DAB stations is created.
Press /to select a station.
Scanning stops automatically when a station is turned in, and then “Tuned”
and “Stereo” (for stereo reception only) appear in the display.
* For the UK model only
Please read the following first:
To listen to the music stored on your computer with this unit, you will need the following
environment and information.
A wireless home network that can access the audio data on your computer.
Internet access to connect to Internet radio from your home network.
The network name (SSID)* that identifies your wireless network.
Confirmation about whether security measures for your wireless home network have
been applied or not.
If your wireless home network is secured by encryption, the network key (security key)*
for your network.
* E.g., password for your network, WEP key, WPA key, or WPA2 key.
This information could be available from a label on your wireless router/wireless LAN access point or
in the operating manual. You may need to refer to the person who set up your wireless network or to
information provided by your Internet service provider.
Router
Internet
Wireless LAN
access point
Wireless router
Connect one end of the AC power adaptor to the DC IN jack
of the charger and the other end to a wall outlet.
To a wall outlet
Place the remote control on the charger.
CHARGE
indicator
When you place the remote control on the charger,
the CHARGE indicator lights up and charging
starts. The CHARGE indicator turns off when the
remote control is fully charged.
After charging has completed and before using the unit, set the display language and the
clock.
Selecting the display language
1Press  (power) to turn on the unit.
2Press HOME to display the Home menu.
3Press ///to select [Settings], and then press ENTER.
4Press /to select [Remote Control] – [Language], and then press ENTER.
5Press /to select the desired language, and then press ENTER.
The display appears in the selected language.
Setting the clock
1Press HOME to display the Home menu.
2Press ///to select [Settings], and then press ENTER.
3Press /to select [Common Setting] – [Clock Setting], and then press ENTER.
“0:00” appears in the display.
4Press /to select [Change], and then press ENTER.
5Press /to set the hour, and then press ENTER.
A 24-hour clock is used for the time display.
6Press /to set the minute, and then press ENTER.
7Press /to select [OK], and then press ENTER.
Locate the antenna away from the unit and other AV equipment.
Adjust the location and angle for good AM reception.
Adjust the location and angle for good FM reception.
If preferred, use a commercially available 75 coaxial cable to connect the unit to an external antenna to
improve reception.
Ensure the antenna is fully extended.
Use an external DAB antenna (aerial) for a more robust DAB signal. It is recommended you only use the
supplied DAB wire antenna for areas of strong DAB reception or as a temporary measure until you install
an optional external antenna.
Use a 75 coaxial cable with male F type connector to connect the unit to an external antenna.
Ensure the antenna is fully extended.
NAS-Z200DiR/Z200iR.GB.4-151-739-11(1) NAS-Z200DiR/Z200iR.GB.4-151-739-11(1)
8 Playing audio data stored on your computer (Home
Network function)
For further details regarding network
settings and other functions, refer to the
resources listed on the right.
Press HOME to display the Home menu.
Press ///to select [Home Network] from the Home
menu, and then press ENTER.
The server selection display appears.
Press /to select the name of the server you want to
connect to, and then press ENTER.
If the name of the server does not appear, press to select [Update info] and press
ENTER.
Press /to select the item you want to play.
The items that are displayed (tracks, artists, albums, genres,
folder name, etc.) depends on the connected server.
Press ENTER.
Press BACK to go back to the higher directory.

See the operating instructions for full explanations of the various settings, operations and
functions.

See the troubleshooting section in the operating instructions for solutions to common
problems and details of error messages.

Go to the customer support site of Sony Europe, http://support.sony-europe.com/ (for
customers in Europe only).
7Connecting the unit to your home network (network
setting)
Press HOME to display the Home menu.
Press ///to select [Settings], and then press ENTER.
Settings menu appears.
Press /to select [Network Setting], and then press
ENTER.
“Switch to Home Network, when the setting is completed.” appears in the display.
Press /to select [OK], and then press ENTER.
Press /to select [Connection Setting] – [Manual], and
then press ENTER.
When “Change the wireless LAN setting values?” appears,
press /to select [Yes], and then press ENTER.
The unit automatically starts searching for a connectable wireless network (SSID).
Press /to select the network name (SSID) from the list,
and then press ENTER.
The display changes to the Network key (security key) input display.
The Network key (security key) input display appears only when your home
network is secured by encryption. If it does not appear, skip step and go to step
.
Enter the network key (security key), and then press and
hold ENTER.
Use the following buttons to enter the network key (security key).
Buttons Descriptions
/Selects the desired character type.
Each time you press /, the character type changes in the following order
sequentially.
Numbers (0 to 9) Uppercase alphabet (A to Z) Lowercase alphabet (a
to z) Symbols (!, “, #, $, ...) Numbers (0 to 9) …
/Selects the character. Press and hold down /until the desired character
appears.
ENTER Enters the character and moves the insertion point over one space (a “0”
appears by default).
Pressing and holding this button enters the text string and completes the
text entering.
BACK Cancels the input of a character.
Press /to select [Full automatic] from the Address
Setting display, and then press ENTER.
When “Switch network settings to manual.” appears, press
/to select [OK], and then press ENTER.
When the unit connects to your home network, the unit changes to the Home
Network function and the server selection display appears.
For details on other setting (custom setting, proxy setting, etc.), or on connecting the unit
through an AOSS connection or Instant (S-IWS) connection, refer to “Connecting the unit
to your home network (network setting)” in the operating instructions.
Repeat steps and until the track list appears.
Press /to select the track you want to play, and then
press ENTER.
The unit starts playing the selected track and the playback display appears.
Wireless LAN signal strength
Track name
Playback indication
and time information
(elapsed time)
Artist name
Album name
Play mode
If the unit cannot connect with your computer, try doing step 9 to confirm that the
Internet radio reception is possible. If there is no problem with the Internet radio
reception, refer to “VAIO Media plus” in the “Troubleshooting” section of the operating
instructions.
////
ENTER
BACK
HOME
After you have connected the unit to your home network, connect the unit to your
computer. You can listen to the audio data stored on your computer with the unit’s
speakers.
9 Listening to the Internet Radio
6 Installing the VAIO Media plus software on your computer
For details on the system requirements of the computer to use the supplied VAIO Media plus software, refer to “System requirements” in the operating instructions.
HOME ////
ENTER
To use the unit to listen to Internet radio, your wireless network needs to be connected to
the Internet via your broadband router.
For details on the settings of your wireless router/wireless LAN access point, refer to the
operating manual supplied with the device.
After you connect your wireless network to the Internet, you can listen to Internet radio
broadcasts offered on the Web by Live365 and SHOUTcast on the unit. For details on
Live365, refer to the supplied leaflet “Internet Radio service on NAS-Z200DiR/Z200iR”.
If you have trouble receiving the Internet radio, refer to “Internet Radio” in the
“Troubleshooting” section of the operating instructions.
Turn on your computer and login with administrator
rights.
Insert the supplied VAIO Media plus CD-ROM into the CD-
ROM drive of your computer.
The installation launcher starts automatically, then a Software Setup window
appears on the screen.
If installation launcher does not start automatically, double-click “SetupLauncher.
exe” on the disc.
Install the VAIO Media plus software following the
instructions given in the message on the screen.
When the installation has completed, start up the VAIO
Media plus software.
Go to the [Start] menu, and select [All programs] – [VAIO Media plus] – [VAIO
Media plus].
The introduction window appears the first time you start the VAIO Media plus
software.
HOME ////
ENTER
BACK
After you have installed VAIO Media plus on your computer, carry out the network settings
for connecting the unit to your home network.
Press HOME to display the Home menu.
Press ///to select [Internet Radio], and then press
ENTER.
Press /to select [Live365] or [SHOUTcast], and then press
ENTER.
If you select [Live365] in step 3, press /to select the
desired station, and then press ENTER.
If you select [SHOUTcast] in step 3, press /and
ENTER to narrow down the choices to the desired genre.
Afterwards, select the desired station, and then press
ENTER.
The unit starts receiving the selected radio station.
When the introduction window appears, follow the
instructions that appear on the screen to make the initial
settings.
The Windows Firewall, Share name and Share status settings are automatically
configured.
Note on firewall software
If the firewall function in commercially available software is enabled on your computer, VAIO Media plus
may not work correctly even after the initial setup is completed. In case this happens, refer to the “Help” of
the VAIO Media plus software, the “Troubleshooting” section in the operating instructions, or the operating
manual of your anti-virus software.
This manual suits for next models

1

Other Sony Stereo System manuals

Sony CHC-P11 User manual

Sony

Sony CHC-P11 User manual

Sony HCD-BX9 User manual

Sony

Sony HCD-BX9 User manual

Sony SRS-BTS50 User manual

Sony

Sony SRS-BTS50 User manual

Sony MHC-RXD2 - 3 Cd Mini System User manual

Sony

Sony MHC-RXD2 - 3 Cd Mini System User manual

Sony MHC-RXD9 - 3 Cd Mini System User manual

Sony

Sony MHC-RXD9 - 3 Cd Mini System User manual

Sony CMTBX1 - CMT BX1 Micro System User manual

Sony

Sony CMTBX1 - CMT BX1 Micro System User manual

Sony MHC-DX101 User manual

Sony

Sony MHC-DX101 User manual

Sony CMT-MX700Ni User manual

Sony

Sony CMT-MX700Ni User manual

Sony HCD-CL5MD User manual

Sony

Sony HCD-CL5MD User manual

Sony XPlod MEX-BT5000 User manual

Sony

Sony XPlod MEX-BT5000 User manual

Sony SRS-X33 Reference guide

Sony

Sony SRS-X33 Reference guide

Sony DHC-FLX7D User manual

Sony

Sony DHC-FLX7D User manual

Sony MHC-GN900 User manual

Sony

Sony MHC-GN900 User manual

Sony LBT-G3000 User manual

Sony

Sony LBT-G3000 User manual

Sony HCD-GX250 User manual

Sony

Sony HCD-GX250 User manual

Sony MHC-ZX10 - Mini Hifi Component System User manual

Sony

Sony MHC-ZX10 - Mini Hifi Component System User manual

Sony MHC-C33 User manual

Sony

Sony MHC-C33 User manual

Sony MHC-VX3 User manual

Sony

Sony MHC-VX3 User manual

Sony RDP-X200iPN User manual

Sony

Sony RDP-X200iPN User manual

Sony SEN-211 User manual

Sony

Sony SEN-211 User manual

Sony Muteki LBT-ZX66i User manual

Sony

Sony Muteki LBT-ZX66i User manual

Sony HCD-ZT4 User manual

Sony

Sony HCD-ZT4 User manual

Sony MHC-V90DW User guide

Sony

Sony MHC-V90DW User guide

Sony HCD-BX5 User manual

Sony

Sony HCD-BX5 User manual

Popular Stereo System manuals by other brands

LG DM5660K owner's manual

LG

LG DM5660K owner's manual

Kenwood HM-383MD instruction manual

Kenwood

Kenwood HM-383MD instruction manual

Panasonic SC-PM37MD operating instructions

Panasonic

Panasonic SC-PM37MD operating instructions

Panasonic RXDS12 - RADIO CASSETTE W/CD operating instructions

Panasonic

Panasonic RXDS12 - RADIO CASSETTE W/CD operating instructions

Philips FW 8 Instructions for use

Philips

Philips FW 8 Instructions for use

JVC CA-MXG9BK Service manual

JVC

JVC CA-MXG9BK Service manual

Panasonic SA-AK78 Service manual

Panasonic

Panasonic SA-AK78 Service manual

Polk Audio RM700 SERIES manual

Polk Audio

Polk Audio RM700 SERIES manual

Aiwa NSX-SZ20 Service manual

Aiwa

Aiwa NSX-SZ20 Service manual

Akai AC-220 Service manual

Akai

Akai AC-220 Service manual

Magnacoustics Genesis ULTRA installation manual

Magnacoustics

Magnacoustics Genesis ULTRA installation manual

Samsung MM-N7 instruction manual

Samsung

Samsung MM-N7 instruction manual

Bticino MY HOME Technical guide

Bticino

Bticino MY HOME Technical guide

Philips FW545C manual

Philips

Philips FW545C manual

ACOUSTIC SOLUTIONS BD-1738 instruction manual

ACOUSTIC SOLUTIONS

ACOUSTIC SOLUTIONS BD-1738 instruction manual

Panasonic RX-CT890 Service manual

Panasonic

Panasonic RX-CT890 Service manual

Sanyo MDG-007 Service manual

Sanyo

Sanyo MDG-007 Service manual

tez audio Home Series user manual

tez audio

tez audio Home Series user manual

manuals.online logo
manuals.online logoBrands
  • About & Mission
  • Contact us
  • Privacy Policy
  • Terms and Conditions

Copyright 2025 Manuals.Online. All Rights Reserved.