BENVDBPRTV - 12/15/2020 12:22 PM
AZ1 VERSIONUP PROCEDURE(EU) 5
1. SERVICE BOARD ---------------------------------------------------------------- 6
1-1. Steps After Replacing the Service Board
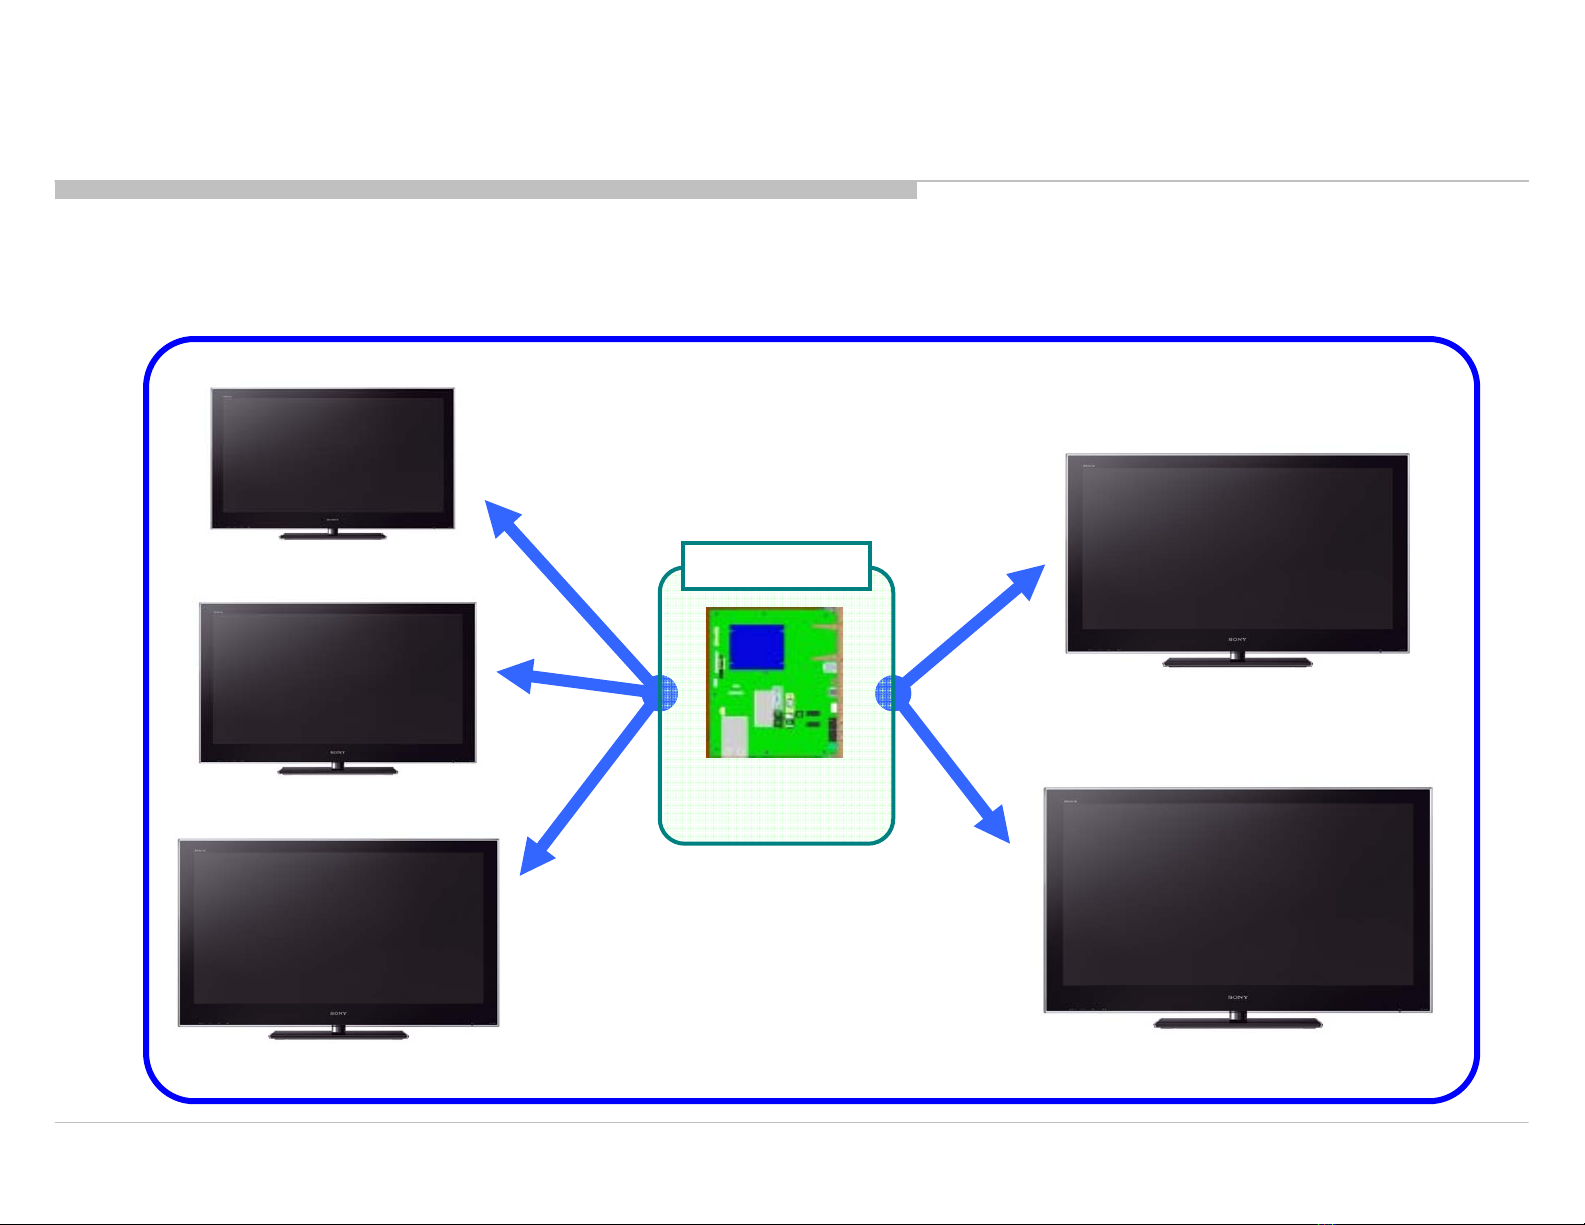
1-2. Images Supported by the Service Board
1-3. How to Upgrade the Version by Using USB
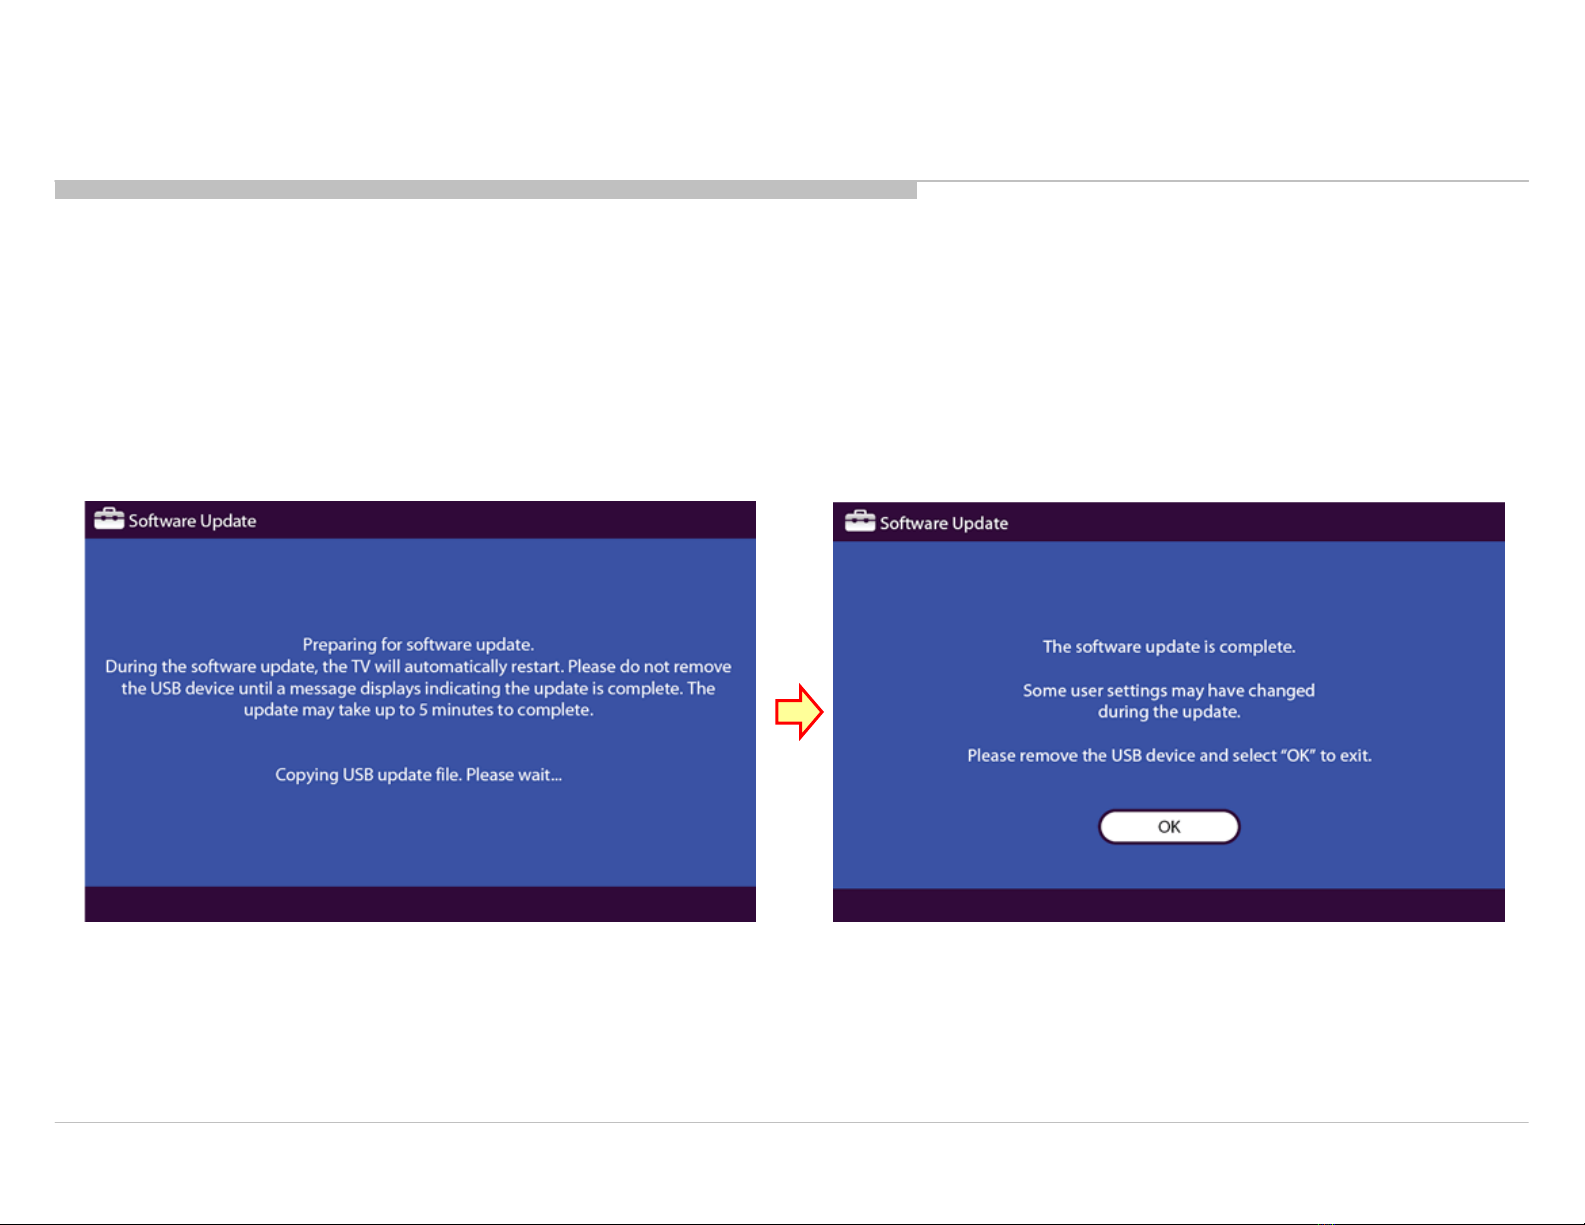
1-4. Screens Displayed while Upgrading the Version
1-5. Confirming the Model ID and Product ID from the Service Menu
1-6. How to Change the Product ID (SEG)
1-7. How to Change BTK and GAISO of MIMAS
1-7-1. How to Change BTK of MIMAS (2a-2, 2a-3)
1-7-2. How to Change GAISO of MIMAS (3a-2, 5-0, 5-2)
1-8. How to Change the PEM Settings
1-8-1. To reset WB_CTRL in PEM
1-9. How to Store Changed Data
1-10. Reconfirming Model_ID/Product_ID/Software_Ver
1-11. Be Sure to Perform the Following after Replacing the Set or B** Board.
2. SERVICE PANEL ---------------------------------------------------------------- 21
2-1. Steps After Replacing the Service Panel
2-2. How to Change the PEM Settings
2-3. How to Store Changed Data
2-4. How to Upgrade the Version by Using USB
2-5. Screens Displayed while Upgrading the Version
2-6. Confirming the Software Version from the Service Menu
2-7. Resetting the Panel Operation Time from the Service Menu
TABLE OF CONTENTS
3. T-CON BOARD ------------------------------------------------ 28
3-1. Steps After Replacing the T-con Board
3-2. How to Change the PEM Settings
3-3. How to Upgrade the Version by Using USB
3-4. How to Change the PEM Settings
3-5. How to Change the PEM Settings
3-6. Confirming the Software Version from the Service Menu
4. DRIVER BOARD ----------------------------------------------- 34
4-1. Steps After Replacing the Driver Board
4-2. How to Change the PEM Settings
4-3. How to Change the PEM Settings
4-4. Confirming the Software Version from the Service Menu