– 4 –
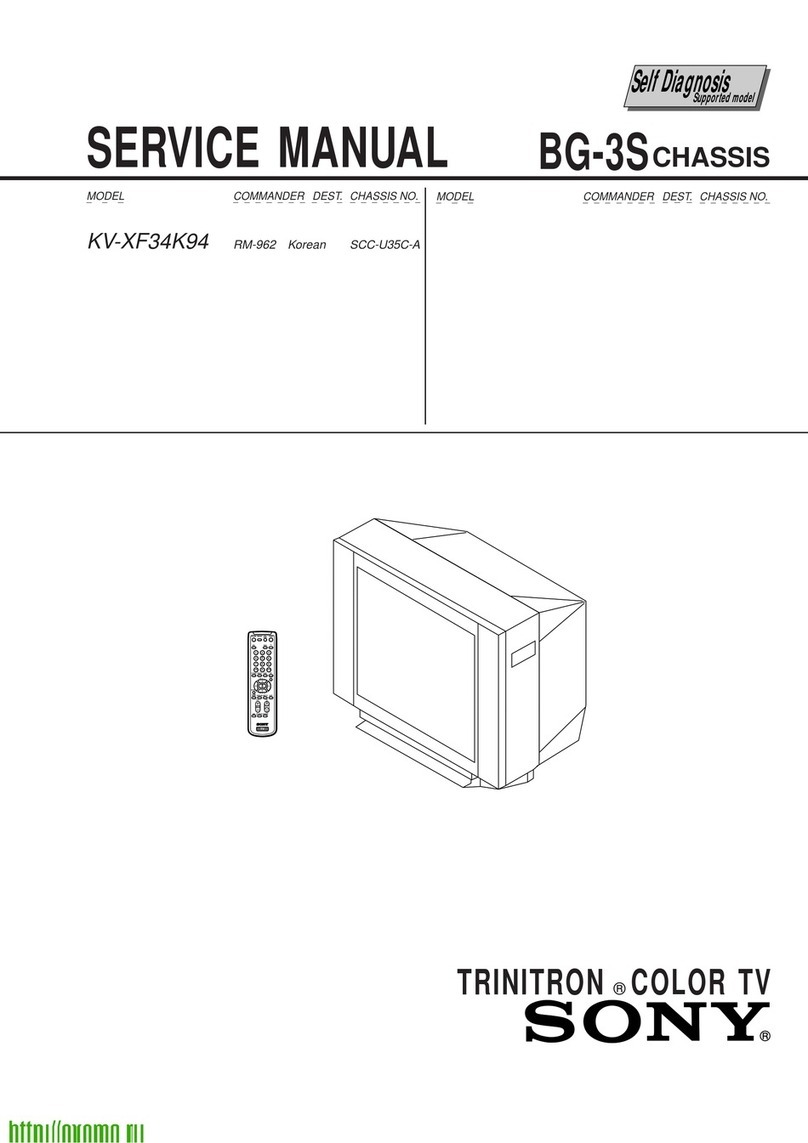
KV-XA25M60/XA25M63/XA25N90
RM-954 RM-914
TABLE OF CONTENTS
Section Title Page
SELF DIAGNOSIS FUNCTION................................ 5
1. GENERAL........................................................................ 8
2. DISASSEMBLY
2-1. 3D Speaker Box Removal ....................................... 41
2-2. Rear Cover Removal................................................ 41
2-3. Speaker Removal ..................................................... 41
2-4. Chassis Assy Removal ............................................. 41
2-5. F Bracket Removal .................................................. 41
2-6. Service Position ....................................................... 41
2-7. Replacement of Parts ............................................... 42
2-7-1 Replacement of Light Guide .............................................. 42
2-7-2 Replacement of Power Button ........................................... 42
2-8. J and J1 Boards Removal......................................... 42
2-9. Terminal Bracket Removal ...................................... 42
2-10. B1 Board Removal................................................... 42
2-11. H Board Removal .................................................... 42
2-12. A and B Boards Removal ........................................ 43
2-13. Picture Tube Removal.............................................. 43
2-14. Removal of Anode Cap............................................ 43
3. ADVANCE OPERATION
3-1. "RESET" Function................................................... 44
4. SET-UP ADJUSTMENTS
4-1. Beam Landing .......................................................... 45
4-2. Convergence Adjustment ......................................... 46
4-3. Focus Adjustment .................................................... 48
4-4. G2 (Screen) and White Balance Adjustments......... 49
5. CIRCUIT ADJUSTMENTS
5-1. Adjustments with Commander ................................ 50
5-2. Adjustment Method ................................................. 50
5-3. Picture Quality Adjustments.................................... 55
5-4. Deflection Adjustment ............................................. 55
5-5. H-Trapezoid Adjustment ......................................... 56
5-6. A Board Adjustment after IC003 Replacement ...... 56
5-7. Picture Distortion Adjustment ................................. 57
Section Title Page
6. DIAGRAMS
6-1. Block Diagram .......................................................... 59
6-2. Circuit Board Location ............................................. 61
6-3. Schematic Diagrams ................................................. 62
(1) Schematic Diagram of H Board ......................... 63
(2) Schematic Diagram of A Boards ........................ 65
(3) Schematic Diagram of B Boards ....................... 81
(4) Schematic Diagram of C6 and B1 Boards ........ 89
(5) Schematic Diagram of VM1 Board .................... 91
(6) Schematic Diagram of J, J1 and F Boards ........ 93
6-4. Voltage Measurements.............................................. 98
6-5. Waveforms .............................................................. 103
6-6. Printed Wiring Boards and Parts Location............. 105
6-7. Semiconductors....................................................... 112
7. EXPLODEDVIEWS
7-1. Picture Tube ............................................................ 114
7-2. Chassis .................................................................... 115
7-3. 3D Speaker .............................................................. 115
8. ELECTRICAL PARTS LIST.................................... 116

