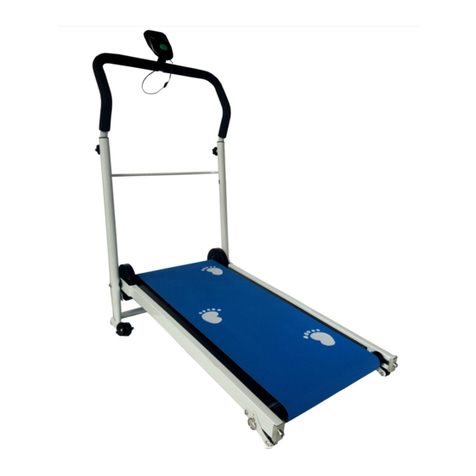
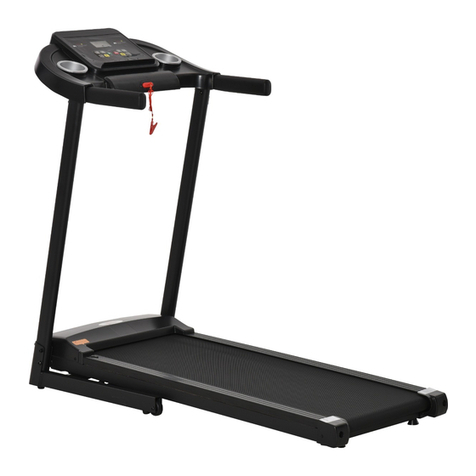
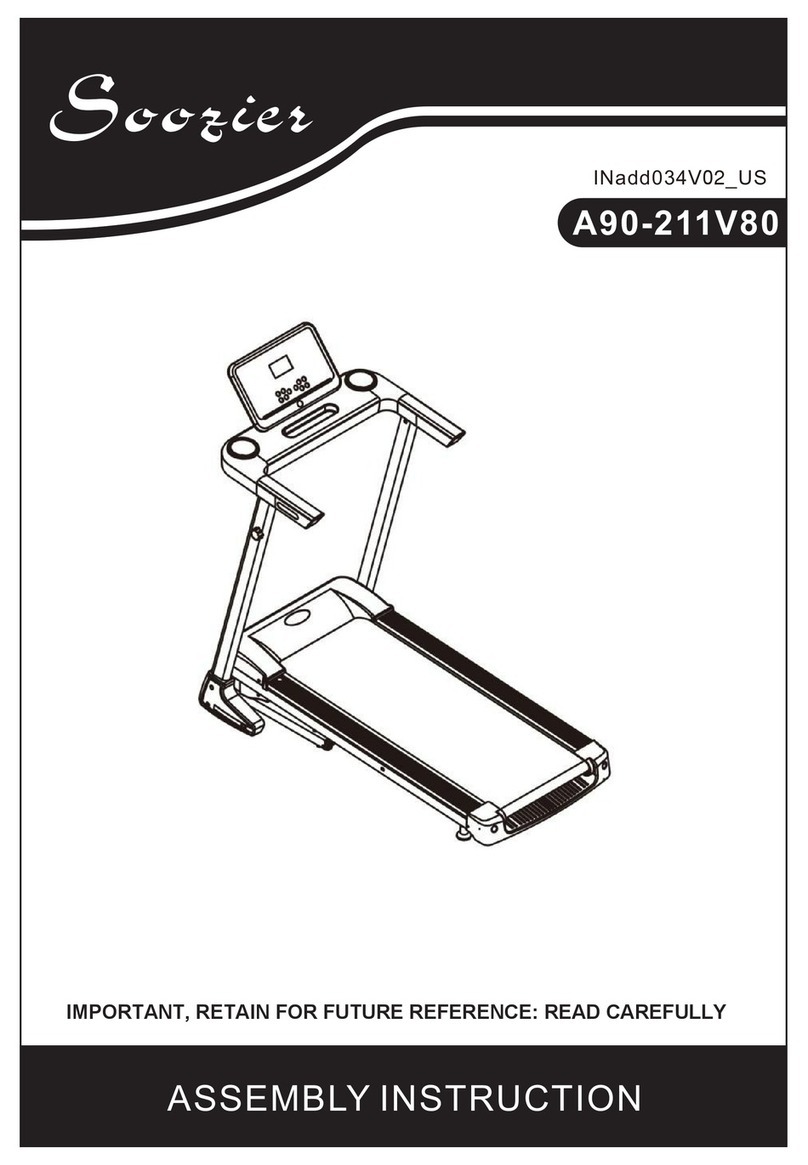
Soozier A90-271 User manual

ASSEMBLY & INSTRUCTION MANUAL
INan012_US
A90-271
IMPORTANT, RETAIN FOR FUTURE REFERENCE: READ CAREFULLY

WARNINGS
IMPORTANT SAFETY INSTRUCTIONS
• When using an electrical appliance, basic precautions should always be followed, including the following:
• Read all instructions before using (this appliance).
• DANGER – To reduce the risk of electric shock:
1) Always unplug this appliance from the electrical outlet immediately after using and before cleaning.
• WARNING – To reduce the risk of burns, fire, electric shock, or injury to persons:
1) An appliance should never be left unattended when plugged in. Unplug from outlet when not in use,
and before putting on or taking off parts.
2) Do not operate under blanket or pillow. Excessive heating can occur and cause fire, electric shock, or injury to persons.
3) Close supervision is necessary when this appliance is used by, on, or near children, invalids, or disabled persons.
4) Use this appliance only for its intended use as described in this manual.
Do not use attachments not recommended by the manufacturer.
5) Never operate this appliance if it has a damaged cord or plug, if it is not working properly, if it has been dropped or
damaged, or dropped into water. Return the appliance to a service center for examination and repair.
6) Do not carry this appliance by supply cord or use cord as a handle.
7) Keep the cord away from heated surfaces.
8) Never operate the appliance with the air openings blocked. Keep the air openings free of lint, hair, and the like.
9) Never drop or insert any object into any opening.
10) Do not use outdoors.
11) Do not operate where aerosol (spray) products are being used or where
oxygen is being administered.
12) To disconnect, turn all controls to the off position, then remove plug from outlet.
13) WARNING: Connect this appliance to a properly grounded outlet only. See Grounding Instructions.
14) This appliance is not intended for use by persons with reduced physical, sensory or mental capabilities, or lack of
experience and knowledge, unless they have been given supervision or instruction concerning use of the appliance
by a person responsible for their safety. Keep children under the age of 13 away from this machine.
15) WARNING :
i) Do not use the appliance in close proximity to loose clothing or jewelry. Keep long hair away from the appliance while in
use. For Household/Residential Use Only
17) CAUTION :Risk of Injury to Persons .To Avoid Injury, use extreme caution when stepping onto or off of a moving belt .
18) WARNING – Risk of personal injury – Keep children under the age of 13 away from machin
2

WARNINGS
GROUNDING INSTRUCTIONS
This product must be grounded. If it should malfunction or breakdown, grounding provides a path of least
resistance for electric current to reduce the risk of electric shock.
This product is equipped with a cord having an equipment grounding conductor and a grounding plug.
The plug must be plugged into an appropriate outlet that is properly installed and grounded in accordance with all
local codes and ordinances.
DANGER – Improper connection of the equipment-grounding conductor can result in a risk of electric shock.
Check with a qualified electrician or serviceman if you are in doubt as to whether the product is properly grounded.
Do not modify the plug provided with the product – if it will not fit the outlet, have a proper outlet installed
by a qualified electrician. For a grounded, cord-connected product rated less than 15A and intended for use on a nominal
120-V supply circuit, the instructions in either (1) or (2):
1) This product is for use on a nominal 120-V circuit, and has a grounding plug that looks like the plug illustrated in sketch
A in Figure 86.1. A temporary adapter that looks like the adapter illustrated in sketches B and C may be used to connect
this plug to a 2-pole receptacle as shown in sketch B if a properly grounded outlet is not available. The temporary adapter
should be used only until a properly grounded outlet (sketch A) can be installed by a qualified electrician.
The green colored rigid ear, lug, or the like extending from the adapter must be connected to a permanent ground such as
a properly grounded outlet box cover. Whenever the adapter is used, it must be held in place by a metal screw.
2) This product is for use on a nominal 120-V circuit and has a grounding plug that looks like the plug illustrated in sketch
A in Figure 86.1. Make sure that the product is connected to an outlet having the same configuration as the plug.
No adapter should be used with this product.
3

WARNINGS
• Read, understand, and carefully follow all warnings, instructions, and procedures on treadmill and in this instruction
manual before using.
• Inspect treadmill for incorrect, worn, or loose components and then correct, replace, or tighten prior to use.
• Care should be used when mounting or dismounting the treadmill.
• Read, understand, and test the emergency stop procedures before use.
• Read and review all warning labels. Call Customer Service (see Warranty section) to obtain replacements if needed.
• Do not exceed weight capacity:100 kg.
• The safety and integrity designed into the machine can only be maintained when treadmill is regularly examined for
damage and repaired. It is the sole responsibility of the user/owner or facility operator to ensure that regular maintenance
is performed. Worn or damaged components shall be replaced immediately or the treadmill removed from service until the
repair is made. Only manufacturer-supplied or -approved components shall be used to maintain and repair the treadmill.
• BEFORE starting any fitness or strength program, consult with your physician or health official. This will ensure that you
engage in the proper strength or fitness program for your age and physical condition.
• Before using the treadmill answer these questions:
Have you been sick recently? Have you had prolonged dizziness recently?
Have you been out of breath for no reason recently? Have you have had chest pain recently?
Do you currently have any injuries preventing you from exercise? Are you pregnant?
Do you have any conditions or reasons you should NOT exercise?
Are you over 35 years old and physically inactive?
• IF YOU ANSWER “YES” TO ANY OF THE ABOVE QUESTIONS, YOU SHOULD SEEK FURTHER ADVICE FROM
YOUR DOCTOR PRIOR TO EXERCISING.
• Do not use treadmill in a moist environment. Always make sure there is adequate air circulation.
• Use treadmill on smooth, level surface only.
• Do not place any objects on treadmill. Do not get treadmill wet.
• Leave about 3 ft (1 m) of room in front of and on either side of treadmill. Leave about 6 ft (2 m) of room behind treadmill.
• Always wear suitable exercise clothing and gear. Do not wear clothing that may be caught or hooked onto parts of
treadmill. Keep hair away from moving parts
• Always wear shoes when using treadmill. Do not use treadmill barefoot.
• Keep out of reach of children under the age of 13. Use adult supervision when operating around children.
• Always unplug treadmill when not in use or when storing.
• Do not leave treadmill running for extended periods of time as it could cause damage to motor or controller and speed up
4

the wear and aging of bearings, running belts, and running boards.
• Keep power cord away from moving objects and extreme temperatures. Do not allow power cord to be bent or crushed,
such as under a door, to avoid damage to the cord.
Do not attempt to service the treadmill beyond what is instructed in this manual as this could cause serious injury and void
warranty. Call customer service if problem occurs.
• Do not have more than one person using treadmill at once.
• If you feel faint, unwell, or have physical discomfort, discontinue use immediately and consult a doctor. Always inspect
treadmill before each and every use. If unit appears damaged in any way, discontinue use.
• For personal, home use only.
• Do not jump on treadmill.
• Do not use or store in places exposed to direct sunlight or in high temperatures.
• Do not use if power cord or plug appear damaged or if socket is loose.
• Power plug must be reliably grounded and the outlet must have a dedicated
circuit to avoid sharing with other electrical equipment.
• Be mindful of surroundings when using treadmill.
• Do not spray or spill water on treadmill to avoid electrical shock or fire.
• Do not lift or move treadmill using handlebars as this will damage unit.
• Do not use unit without handlebars erected as this could cause injury.
• Keep batteries out of reach of children.
• Do not mix old and new batteries.
• Do not mix alkaline, standard (carbon-zinc), or rechargeable (Ni- Cd, Ni-Mh, etc.) batteries.
• Do not expose batteries to extreme heat.
• Please recycle old batteries. Do not dispose with other household waste.
5

TREADMILL DIGRAM
Antiskid Border
"T" Wrench
Running Belt
Power plug
Keyboard
Safety Lock
Motor Cover
Handlebar
Rear cover
Cushion
Rear cover
6

EXPLOSIVE VIEW
1
0
2
C
7

EXPLOSIVE LIST
No Description Qty No Description Qty
1 MAIN FRAME 1 30 CONTROL BOARD 1
2 HANDLE 1 31 PCB DISPLAY 1
3 FIXED BORAD 1 32 TWRENCH 1
4 RUNNING DESK 1 33 POWER SWICH 1
5 FRONT ROLLER 1 34 POWER PLUG 1
6 REAR ROLLER 1 35 SAFE LOCK 1
7 RUNNING BELT 1 36 PC BOARD 1
8 PJ BELT 1 37 INSIDER CONNECT WIRE OF
HANDLE
1
9 ANTI-SKID BOARDER 2 38 CONNECT WIRE-RED 1
10 MOTOR BOTTOM COVER 1 39 CONNECT WIRE-BLACK 1
11 MOTOR UPPER COVER 1 40 GROUNDING WIRE 1
12 MOTOR FRONT COVER 1 41 SCREW M8*85 2
13 DISPLAY 1 42 SCREW M8*55 3
14 LEFT REAR COVER 1 43 SCREW M8*12 4
15 RIGHT REAR COVER 1 44 SCREW M8*35 6
16 FIX PLATE FOR ANTISKID
BOARDER
6 45
SCREW φ8*30
2
17 WHEEL 2 46 BOLT M6*30 2
18 CUSHION 2 47 BOLT M5*14 4
19 REAR CUSHION 2 48 SCREW ST4*16 6
20 RUNING DESK CUSHION 6 49 SCREW ST4*10 11
21 KEYBOARD UPPER COVER 1 50 SCREW ST3*12 6
22 KEYBOARD BOTTOM COVER 1 51 BOLT ST3*10 14
23 IPad BOARD 1 52 SCREW ST4*13 8
24 T WRENCH HOLDER 1 53 SCREW ST4*16 9
25 OUTSIDER BOTTOM COVER
OF HANDLE
2 54
SCREW ST4*19
2
26 INNER BOTTOM COVER OF 2 55 WASHER φ5.3 2
8
HANDLE
27 SPRING 2 56 WASHER φ8.5 7
28 BOLT SLEEVE 2 57 SPRING WASHERφ8.5 2
29 MOTOR 1 59

TECHNICAL SPECIFICATIONS
Voltage 100-120V 60Hz
Rated power 0.75 HP
Speed 1-10 km/h
Product size L143*W69*H13cm
Running area L110*W42cm
Max user's weight 100 kg
Usage Class HC
PART LIST
Picture Part name Qty
Treadmill 1
Manual 1
T Wrench 1
I pad shelf 1
Power plug 1
Safety lock 1
Remote control 1
Lubrication( Silicone oil ) 1
9

- 9 -
ASSEMBLE INSTRUCTION
Please check all the accessories after carton opened . Please inform us if some accessories
missing . Please read the assemble steps carefully before assemble .
Step 1 :
Please take out the treadmill and lay flat on ground as picture 1 shown
Step2:
Pull the handlebar as picture 2 shown and tighten the screws on the side of handlebar by tool.
picture 1
Picture 2
10

- 10 -
Step3:
Assemble the I pad shelf to the shelf of keyboard as picture 3 shown
Step 4:
Put the safety lock on the keyboard as picture 4 shown.
OPERATION INSTUCTION
1.Power Switch on /off :
Make sure the power supply is normal ,connect the power plug to the machine . Open the Power Switch on , the light will
be turn on .You will sound a tick and the display of also light up at same time
2. Safety lock :
Please make sure the Safety lock put on the yellow area appointed on keyboard before start treadmill and clip it to your
cloths in case of emergency accident happen so that the safety lock will pull out from Keyboard to stop treadmill running
immediately. If you want to continue to use treadmill , please put safety lock back on Keyboard to restart treadmill ,
otherwise the treadmill doesn't work if safety lock not fixed.
Picture 3
Picture 4
11

3. Fold treadmill:
Please turn off the power switch and pull out the power plug from power supply . Please operate according to the opposite
of assembling. You can save space to stock the treadmill after folding .
4.Treamdill movement :
As shown in the figure , ,the tail of the treadmill can be lifted up and down with both hands ,which is suitable for
short-distance movement in the room .
FUNCTION INSTUCTION
1.Keyboard
Start/stop:Start/stop the treadmill
Mode:Select and Set Time-Dist-Cal
Speed+/-:increase or decrease speed
Program:P1---P12
Quick-button Speed:1MPH、3MPH、5MPH、
12

2 .LED DISPLAY
◆"Start/stop” light display: Running: green color .Stop: red color .
◆Time,Speed,Calorie,Distance,Step,display in a cycle every 6 second and shown
in a same windows
◆Step: Current movement Steps. When the step on 9999,Automatic Zero and recalculate.
Display and Set range :
Remote Control Operation :
::Start /Stop button
/:Speed up /down buttons
Function Display range Mode default Prog default Set range
Speed 0.6MPH—6.2MPH 0.6 -------- 0.6MPH—6.2MPH
Time 5:00—99:59 30:00 30:00 5:00---99:00
Dist 0.00MP—99.9MP 1.00MP -------- 0.5MP—99.5MP
Cal 0Kcl—990Kcl 50Kcl -------- 10Kcl—995Kcl
Step 0000—9999 ------- -------- ------------
13

3.System operation
Quick -Start / Stop (manual mode):
Please make sure the Safety lock put on the yellow area appointed on keyboard before start treadmill and clip it to your
cloths. Press the Start/stop button to start treadmill ,the treadmill start running with a lower speed after 3 second
countdown. Press Speed+/- button to adjust the speed .If you want to stop running , press Start/Stop button or pull out
the safety lock from keyboard directly .
4.Mode :
Press Mode Key ,select Time, Dist, Cal and the window will show the default then press the Speed+/- button to set the
value you desired. Press the Start/stop button to start treadmill ,the treadmill start running with a lower speed after 3
second countdown. If you want to stop running , press the Speed - Button to 0 level , the treadmill will stop slowly .
5.Program :
When the treadmill is in waiting state, press PROG key to select program mode P1--P12, you can refer to below detail
data of program list . The window will show the default then press the Speed+/- button to set the value you desired.
Press the Start/stop button to start treadmill ,the treadmill start running with a lower speed after 3 second countdown.
When the program running over , the treadmill will stop slowly .
14

Detail data of program list:
P1
Level 1 2 3 4 5 6 7 8 9 10
Speed 1.2 2.5 3.7 5 3.7 2.5 3.7 5 3.7 1.2
P2
Level 1 2 3 4 5 6 7 8 9 10
Speed 0.6 1.2 1.8 2.5 3.7 4.3 2.5 1.8 1.2 0.6
P3
Level 1 2 3 4 5 6 7 8 9 10
Speed 1.2 2.5 5 3.1 3.7 4.3 3.7 5 3.1 1.8
P4
Level 1 2 3 4 5 6 7 8 9 10
Speed 0.6 1.2 3.7 1.2 3.7 1.2 3.7 2.5 3.7 1.2
P5
Level 1 2 3 4 5 6 7 8 9 10
Speed 0.6 1.8 3.1 1.8 3.1 3.7 5 3.1 1.8 1.2
P6
Level 1 2 3 4 5 6 7 8 9 10
Speed 1.2 3.7 5 4.3 5 4.3 5 4.3 3.1 1.2
P7
Level 1 2 3 4 5 6 7 8 9 10
Speed 1.2 2.5 1.2 2.5 3.7 5 3.7 2.5 1.2 0.6
P8
Level 1 2 3 4 5 6 7 8 9 10
Speed 0.6 3.1 5 3.1 5 3.7 5 3.1 1.8 1.2
P9
Level 1 2 3 4 5 6 7 8 9 10
Speed 1.2 2.5 2.5 2.5 3.7 3.7 2.5 3.7 2.5 0.6
P10
Level 1 2 3 4 5 6 7 8 9 10
Speed 1.2 1.8 1.2 2.5 1.2 3.1 2.5 3.1 2.5 1.2
P11
Level 1 2 3 4 5 6 7 8 9 10
Speed 0.6 1.8 3.1 4.3 5 4.3 3.7 3.1 1.8 0.6
P12
Level 1 2 3 4 5 6 7 8 9 10
Speed 1.2 2.5 3.7 5 5 5 3.7 2.5 1.2 0.6
15

6. Application Software (App)
You can download the "aSports" application with QR code shown here .Mobile device requirement: Android 4.3
or later with Bluetooth 4.0, iOS7.0 or Newer . Please turn on your Bluetooth function on your device first, then
search the bluetooth " EsAudio V2.3 " and connect it successfully .
IOS system : You can search" aSports "on App store to download this application also .
Notes on using the App:
As an Android user, please make sure that under "Settings - > Device Security "a tick under "Unknow sources"
is set. if a second user wants to use the treadmill, the App can usually be used in two ways :
1: The user must log out of the App, then the second user must log in to the App
2: Turn the power switch off and then on again .
Application Connection with the device :
Step 1:
16

- 16 -
Please make sure the power of treadmill turn on and Bluetooth must be switched on , then open the " aSports"
App. Please click the mark to switch the Unit ( Metric and English ) and language your prefer
( Chinese , English are available now ) . Then click "Back" bottom to main page .
Step 2
Click the bottom and entry next page . Please noted the bottom is not available for treadmill .
Click the bottom and entry next page .
Step 3
17

Clink the bottom , the treadmill will start to run after countdown 3second.You can speed up or down by Speed
bottom / . Please noted that "incline" bottom is not available for this treadmill .
Step 4
If you want to stop the treadmill , you can click the bottom and the treadmill will stop slowly and shown the above window.
You can close this window and back to main page .
Step 5
Click the bottom or clink to set TIME /DISTANCE/ CALORIES you prefer and save data.
18

TIME: 1-180 Mins
DISTANCE: 1.0-30Km
CALORIES :100-3000Kcal
7.Auto Stand-by and sleep Mode
Stop without any operation for 6 minutes , the system closed all the display and enters into the sleep state .Press any key
or remote control to activate.
8.Safety Lock
In any case ,pull out the safety lock can stop the treadmill in an emergency .The window shows "E--7" fault code, treadmill
can't work according to your instruction. After the safety lock reinstalled , the treadmill will enter into stand-by mode and
waiting for your instruction .
DAILY MAINTANCE
Manual Refueling
Running board lubrication- Silicone oil has been provided (White Bottle) .The treadmill is brand-new and has been
pre-factory lubricated. Lubrication is not necessary directly after purchase. Lubrication needs constant maintenance
regular after purchase. The friction between the running board and running belt has a great effect on the treadmills’ life.
So please lubricate your machine regular (every one month).
The steps are as follows:
Step 1. Please unplug power supply for the treadmill and loosen the belt
(belt tension screws located at the end of the treadmill).
Step 2. After loosening the screws, lift up the running belt and clean in-between the running board. Squeeze the small
white bottle of SILICONE oil which was supplied with your purchase and wipe it evenly across the board.
Step 3. Plug power supply and run the treadmill for 1 minute and the oil spread itself evenly , then to use the treadmill .
19

Running belt adjustment
How to adjust the running belt?
1)Insert the 6 mm inner hexagonal wrench into the adjusting screw on the left side of the running belt and rotate the
wrench clockwise for 1/4 turns to adjust the rear roller to tighten the running belt.
2)Repeat step 1 to adjust the right screw. It must be determined that the adjustment screw rotates the same distance so
that the rear roller is adjusted parallel to the frame.
3)Repeat steps 1 and 2 until the running belt does not slip. Note: The running belt can't be adjusted too tightly, which will
break the running belt and increase the pressure of the front and rear rollers, causing problems such as roller bearing
damage and abnormal noise. If you want to reduce the tension of the running belt, turn the wrench counterclockwise.
Note that the left and right sides are rotated to the same distance.
Adjust the running belt to the middle position
When you are using the treadmill , if the two feet are not the same force when walking, the pressure on the running belt is
unbalanced and the running belt is off center. This deviation is normal. When no one is on the running belt, it will return to
the center. If it does not return to the center, you will need to adjust the belt back to the center.
How to adjust the running belt to the middle?
1)Move the treadmill to no-load operation and adjust the speed to 3.7MPH .
2)Observe the distance from the running belt to the left and right border. If left deviation, use inner hexagonal wrench, rotate the left
1/4 screw clockwise. If right deviation, use inner hexagonal wrench and turn the 1/4 screw on the right side clockwise. If the running
belt is still not in the middle, repeat the above action until it is adjusted to the middle.
3)After adjusting the running belt to the middle, adjust the speed to 6.2MPH and observe the deviation of the running belt and
whether there is slipping during running. If there is a deviation, repeat the running step.
4)warning! Do not over tighten the rollers! This will cause permanent bearing damage. If the above steps are not effective, you need
to tighten the running belt again.
20
This manual suits for next models
1
Table of contents
Other Soozier Treadmill manuals
