Southwestern Industries ProtoTRAK KMX Operating instructions

Southwestern Industries, Inc.
2615 Homestead Place
Rancho Dominguez, CA 90220-5610 USA
T | 310.608.4422
F | 310. 764.2668
Service Department: 800.367.3165
e-mail: sales@southwesternindustries.com | service@southwesternindustries.com | web: southwesternindustries.com
ProtoTRAK®KMX Upgrade
Quick Programming Guide
Document: P/N 29826
Version: 032217

Copyright 2016, Southwestern Industries, Inc. All rights are reserved. No part of this
publication may be reproduced, stored in a retrieval system, or transmitted, in any form or by
any means, mechanical, photocopying, recording or otherwise, without the prior written
permission of Southwestern Industries, Inc.
While every effort has been made to include all the information required for the purposes of this
guide, Southwestern Industries, Inc. assumes no responsibility for inaccuracies or omission and
accepts no liability for damages resulting from the use of the information contained in this
guide.
All brand names and products are trademarks or registered trademarks of their respective holder.

1
Southwestern Industries, Inc.
ProtoTRAKKMX Upgrade Quick Programming Guide
A Quick Programming Guide for ProtoTRAK KMX
Upgrades
If you have upgraded your ProtoTRAK to the new ProtoTRAK KMX it may not be necessary to
thoroughly study the full Safety, Programming, Operation and Care Manual that was shipped
with your new ProtoTRAK.
The KMX stays true to the basic ProtoTRAK system of operation so you will find that almost
everything you already know will not have to be relearned. The ProtoTRAK KMX simply builds
upon what you know while adding some new powerful features and options to make your work
easier and better.
The point of this brief manual is to identify what is different and what has been added so you
can quickly get back to work. Along the way we have included Section numbers of the main
manual so you can go quickly to them to fill out your understanding of what is new.
HARDWARE
Sensors / Glass Scales - You may keep and use them or not. The KMX does an excellent
job of compensating for backlash and machine tool error.
Electronic Handwheel Option - These replace the mechanical handwheels and enable
you to use the very powerful TRAKing features on your machine (see Section 3.4.9 and 11.7)
and GO TO in the DRO Mode (see Section 6.6).
Full Color LCD
FRONT PANEL
Soft Keys - These have been moved from the bottom to the right side of the screen.
Up and Down Arrow Keys - These two keys are used for:
Feedrate override in Run and DRO Modes
Data Forward and Data Back to move through the prompts in an event
Up Arrow can be used to Page Back from the top prompt to the previous event
Down Arrow can be used to Page Forward from the bottom prompt to the next event
Pan the Tool Path picture up and down
F / C Key - This key is used with the Electronic Handwheel option to switch from Fine (.200
in/rev) to coarse (.800 in/rev) resolution.
ACC Key - This key is used to turn on and off an accessory (like the coolant pump or spray
mister) for systems with the Auxiliary function option. Press once to turn on and again to turn
off. Press and hold until the Status Line shows ACC AUTO to have the KMX control this function
during Run. The key is inactive for machines that do not have the auxiliary function option.

2
Southwestern Industries, Inc.
ProtoTRAKKMX Upgrade Quick Programming Guide
BASIC OPERATIONS
On / Off - The On/Off switch is located under the power cord on the back panel. You should
turn the KMX off with the following shut down procedure: Press Mode, Restore, Shut Down,
answer Yes and turn off the power at the back panel switch.
Switch From 3 to 2 Axis Operation - Press Mode, RSTR, Go To 2 Axis.
Edit Mode - All Editing has been integrated into the Program Mode.
DRO FUNCTIONS
GO TO - You must purchase the Electronic Handwheel option to use the Go To function. It
allows you to input an Absolute value for X and/or Y and/or Z where motion will stop as you
crank the handwheel; even as you continue cranking. The procedure is:
Press GO TO.
Select X,Y,Z and input the value and then Abs Set.
Crank the handwheel. Your motion will stop at the value input above.
PROGRAM FUNCTIONS
Event 0 or Header Event - An Event 0 has been added to the 2-axis KMX (previously, it
was only used with the 3-axis MX3 and AGE3) to allow you to scale your print, and delete
groups of events, activate prompts to implement auxiliary or accessory functions (see Section
7.1.1)
Irregular Pocket - A new event has been added to allow you to define almost any irregular
shape pocket made up of any number of mills and arcs. A finish cut may be included in the
event (see Sections 7.3 & 7.5).
Irregular Profile - A new event has been added to streamline the programming of a series
of mill and arc events used to create any Profile shape. A finish cut may be included in the
event (see Sections 7.3 & 7.5)
Face Mill - A new event has been added to streamline the programming of a series of mill
events used to face off a block of material. Z motion is made off the part.
AGE (Auto Geometry Engine) - Applies to MX, M, EDGE and EMX upgrades. When you
program an Irregular Pocket or an Irregular Profile the AGE is automatically started. It is
powerful software that works behind the easy to use geometry programming of the ProtoTRAK
KMX. Unlike other events, AGE allows you to:
Enter the data you know and skip the prompts you don’t.
Use different types of data (like angles) that may be available from the print.
Enter guesses for the X and Y ends and centers not available on the print to aid in the
automatic calculation of the points you need.
If you know the end and center points and input them the event will declare OK (next to
the event type) so you can go on to the next event.

3
Southwestern Industries, Inc.
ProtoTRAKKMX Upgrade Quick Programming Guide
With the AGE, you can easily overcome limitations in the data the print provides without having
to spend time in laborious calculations. We strongly encourage you to study Section 8 to learn
this powerful tool.
Subroutine Copy - Applies to MX, M, EDGE and EMX upgrades. Copy works exactly like
Subroutine except it takes the repeated, rotated or mirrored events and copies them into
subsequent events. This allows you to edit the events if they are not exactly like the events to
be repeated, rotated or mirrored (see Section 7.3.6)
Editing Programs - Applies to MX, M and AGE upgrades. The ProtoTRAK KMX eliminates
the Edit Mode and incorporates the Deleting and Insertion functions into the Program Mode.
Once an event has been selected and shown on the right side of the screen, pressing Delete
Event will delete this partial or completed event and renumber subsequent events.
To Inset an event get the two events between which you want the Inserted event located on
the left and right side of the screen. Press Insert Event, select he event type of your Inserted
event and program as normal. All subsequent events will be renumbered (see Section 7.2).
SET UP
Deleting Groups of Events - To delete groups of events, go to Event 0, press the Delete
Events soft key and input the first and last event to be deleted.
Verify –This feature gives you a 3-D solid model representation of the part. Press VERIFY
from the initial set-up screen, then press DEFINE STOCK to input stock dimensions relative to
the program abs. 0. Finally, press MAKE PART. Note, you will need to be a little patient,
especially for complex parts.
RUN
TRAKing / Electronic Handwheel Option - The TRAKing / Electronic Handwheel
function is optional on all models except DPM AGE 5 and Sport B5 models where the feature
already exists.
TRAKing is a special kind of CNC run. When you press Stop and then the TRAKing soft key, the
programmed X, Y, and Z motion is simultaneously controlled by turning the table or saddle
handwheel. Turning one of the handles in the clockwise direction moves all axes forward
through the program; turning counterclockwise moves backward through the program and the
federate depends on how fast you turn the handwheel. Basically you are “manually” machining
the program path.
TRAKing comes in handy whenever you are a little unsure about any aspect of your program or
set-up. For example on the first run of a part –instead of pressing Go and holding your hand
over the E-STOP, use TRAKing to bring the tool to the part while you watch the tool and DRO.
Once assured that everything is alright, press Stop and get into CNC Run.

4
Southwestern Industries, Inc.
ProtoTRAKKMX Upgrade Quick Programming Guide
In two axis TRAKing, any Z Electronic Handwheel will be inoperable during X / Y TRAKing but
will become operable when X and Y pause for a Set z or Check Z prompt. Pressing Go reverts
the system back to X / Y TRAKing.
PROGRAM I /O
Erase Current Program - This has been moved to the Program I / O Mode.
.MX2 / .MX3 / .PT4 Program Extensions - The ProtoTRAK KMX produces programs
labeled with a .PT4 extension. The KMX will open .PT4 programs as well as any programs
written on our legacy controls with .MX2 or .MX3 extensions. All .MX2 and .MX3 programs will
automatically be converted to .PT4 programs as they are opened so they are compatible with
and can run on the KMX.
.PT4 programs written on the KMX may be saved as .MX2 or .MX3 programs so they can be run
on our legacy controls. However they may not contain events that are missing in your legacy
control.
Save and Open Temp - Save Temp (temporary) allows you to save your program, all tool
information and your X, Y, Z position status prior to turning the ProtoTRAK off, say over night.
The procedure to Save Temp is:
Go to DRO Mode
Call out Tool # 1
Load Tool # 1 into the spindle
Move X, Y and Z to their Abs 0 position
Go to Program I/O
Press Save and then Save Temp
Press Mode, Restore, and Shut Down then turn off the power at the back panel
During the time the KMX is off be sure nothing has moved the table or adjusted the tools. If
uncertain reset your Abs 0 and/or reset your tools when you turn the KMX back on.
The procedure to Open Temp is:
Press Mode and then Program I/O
Press Open Temp
G-Code Programs - The KMX G-Code compatibility is more robust than what was available
on your original ProtoTRAK. See Section 12.8 for G-Codes and M-Codes recognized by the
KMX.
Networking - Networking is more robust and easier to implement than what was available on
your original ProtoTRAK. See section 12.9 for details and instructions.

F10302 | Rev: 020620
TRAK Machine Tools
Southwestern Industries, Inc
TRAK Warranty Policy
Warranty
TRAK products are warranted to the original purchaser to be free from defects in workmanship and
materials for the following periods:
Product
Warranty Period
Materials
Factory Labor
New TRAK/ProtoTRAK
1 Year
1 Year
Any EXCHANGE Unit
90 Days
90 Days
The warranty period starts on the date of the invoice to the original purchaser from Southwestern
Industries, Inc. (SWI) or their authorized distributor.
If a product, subsystem or component proves to be defective in workmanship and fails within the
warranty period, it will be repaired or exchanged at our option for a properly functioning unit in similar or
better condition. Such repairs or exchanges will be made FOB Factory/Los Angeles or the location of our
nearest factory representative or authorized distributor.
Disclaimers of Warranties
•This warranty is expressly in lieu of any other warranties, express or implied, including any
implied warranty of merchantability or fitness for a particular purpose, and of any other
obligations or liability on the part of SWI (or any producing entity, if different).
•Warranty repairs/exchanges do not cover incidental costs such as installation, labor, freight, etc.
•SWI is not responsible for consequential damages from use or misuse of any of its products.
•TRAK products are precision mechanical/electromechanical/electronic systems and must be given
the reasonable care that these types of products require. Evidence that the product does not
receive adequate Preventative Maintenance may invalidate the warranty. Excessive chips built up
around ballscrews and way surfaces is an example of this evidence.
•Accidental damage, beyond the control of SWI, is not covered by the warranty. Thus, the
warranty does not apply if a product has been abused, dropped, hit or disassembled.
•Improper installation by or at the direction of the customer in such a way that the product
consequently fails, is considered to be beyond the control of the manufacturer and outside the
scope of the warranty.
•Warranty does not cover wear items that are consumed under normal use of the product. These
items include, but are not limited to: windows, bellows, wipers, filters, drawbars and belts.
Table of contents
Other Southwestern Industries Industrial Equipment manuals
Popular Industrial Equipment manuals by other brands
Jäger
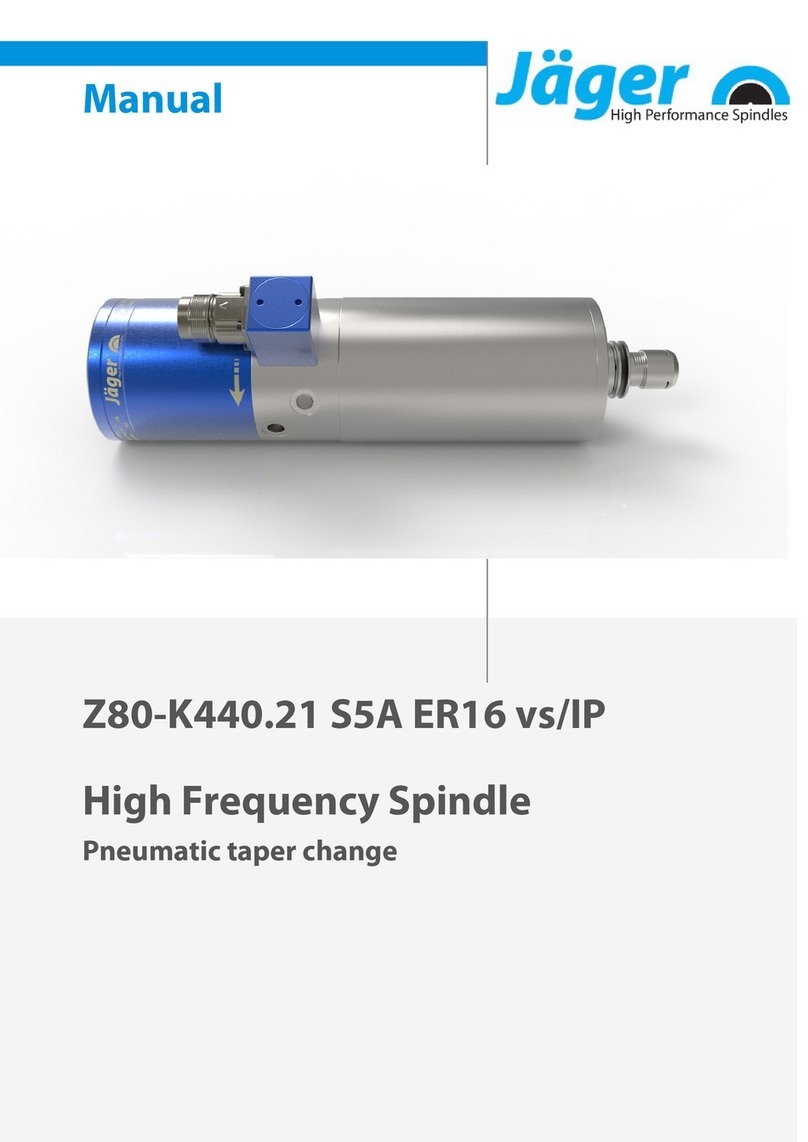
Jäger Z80-K440.21 S5A ER16 vs/IP manual
GESTRA
GESTRA NRG 26-60 Installation & operating manual
Siemens
Siemens Flender KMP Series Assembly and operating instructions
Bercomac
Bercomac BERCO 700964 owner's manual

PCB Piezotronics
PCB Piezotronics ICP 352C67 Installation and operating manual
ASA Electronics
ASA Electronics DA VINCI ST Original instructions
ABB
ABB HT609944 Operation manual
Teknatool
Teknatool nova PRO-TEK SUPERNOVA2 Quick start instruction manual
Halfen
Halfen HIT-HP MV Assembly instructions
Guangli
Guangli GL1 Installation

ITALVIBRAS GIORGIO SILINGARDI
ITALVIBRAS GIORGIO SILINGARDI CDX Series Technical handbook
Rottler
Rottler SG9A Operation and maintenance manual
